Good morning Mike,
Well, it's the next day after I wrote the bit about wood filler and paint. I threw a 50 grit belt onto the sander and that took care of the situation. I had been using a medium grade belt but it clogged up too quickly and my belt cleaning bar wouldn't remove it.
Yeah, I would probably use epoxy on another trailer but this one will most likely be sliced and diced half a dozen times as I experiment with various options. The Ben Moore paint I'm using is an Alkyd fortified 100% Acrylic Latex enamel. This way I can touch up any changes easily and I'm not particularly concerned about edge matching. Two coats of primer on and one coat of paint at this point. Hope to be done with paint by tomorrow. Trying to make a show-and-tell on Thursday.
About the floor, that was someone else. I remember the post you refer to but don't recall which heading it was under. My floor is one-half inch BCX on two-by-two framing. Seems quite strong. BTW the walls are 1x2 pine with 1/4" birch underlay on outside with good side in (no insulation-need access to framing to experiment). The roof is 2x2 fir joists with the same skin but will have a mottled white and cream 1/8" panel for ceiling (and foam insulation). In fact, I may have overbuilt this thing. I can walk around on the roof with no problem.
On the subject of walls, I've always wanted to try this. Make the frame (be it squared or rounded) out of 2" thick stock. Fasten the skin to both sides with glue and screws. When dry, remove the screws and then slice the 2" stock down the center somehow leaving two exactly duplicate sides. Haven't worked out the slicing part yet.
Hang in there. Stick built IS a bit slower.
Teardrops n Tiny Travel Trailersor t n ttt for short (tnttt.com) |
Insulated Weekender
22 posts
• Page 2 of 2 • 1, 2
![]() by DANL » Sun Aug 08, 2004 10:15 am
by DANL » Sun Aug 08, 2004 10:15 am
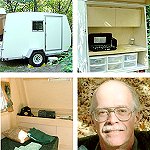
The tiny trailer in the avatar is designed to carry our recumbents and sometimes sleep in. We LOVE having a kitchen in the woods and a place for most of our gear.
Dan Jones http://sunsetlanding.com/teardrop/teardrop_intro.html
Dan Jones http://sunsetlanding.com/teardrop/teardrop_intro.html
-
DANL - Donating Member
- Posts: 199
- Joined: Mon May 24, 2004 10:42 pm
- Location: Plymouth MN
![]() by mikeschn » Sun Aug 08, 2004 12:01 pm
by mikeschn » Sun Aug 08, 2004 12:01 pm
That's it for today. I now have a floor, 1 complete wall, and 1 partial wall...
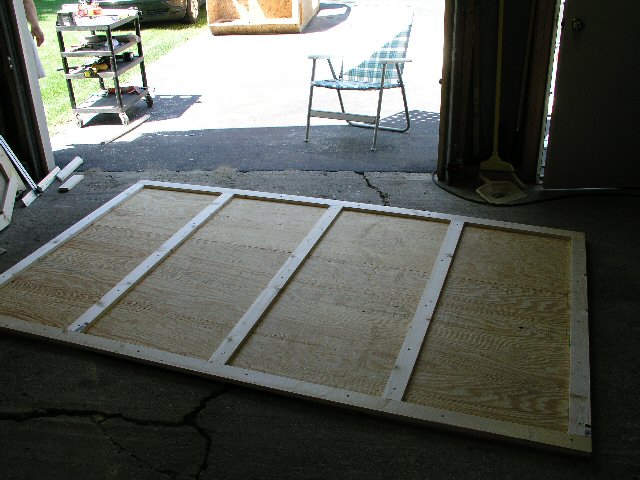
That floor is 5' x 8' by the way!!!
Back in the days of rockets, engineers were told to build them better, cheaper and faster. The reply was always the same... "Pick two".
This is the thought that comes to mind when as I build this Weekender. I started out wanting to build it cheaper, faster and lighter. Pick two...
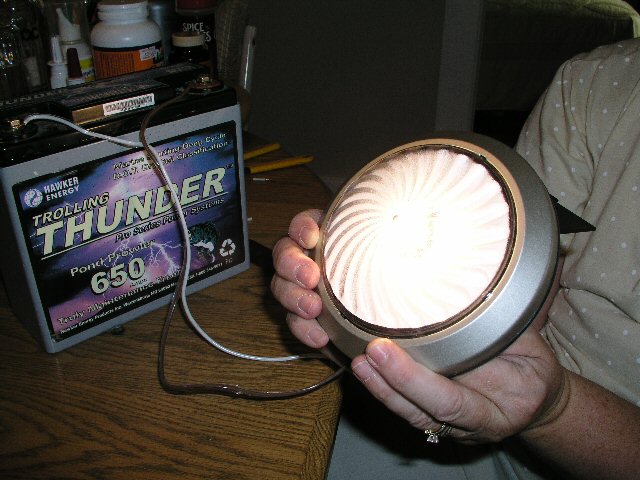
One of the ways I wanted to lower my lighting costs was to get a closet light for $6.99
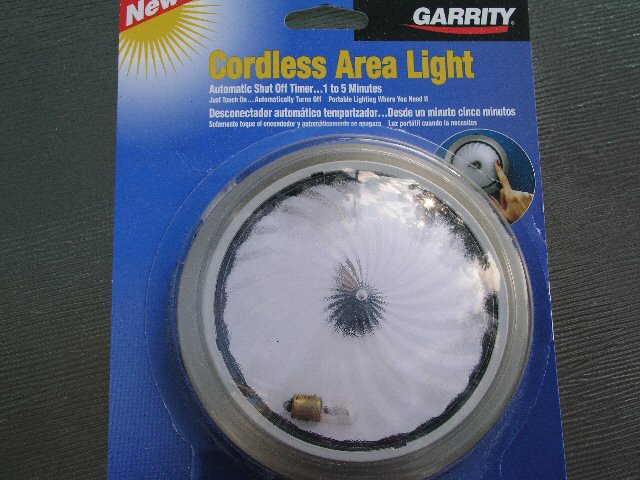
But it doesn't run 12V you say... By George, your right... okay, lets find a 12V bulb...
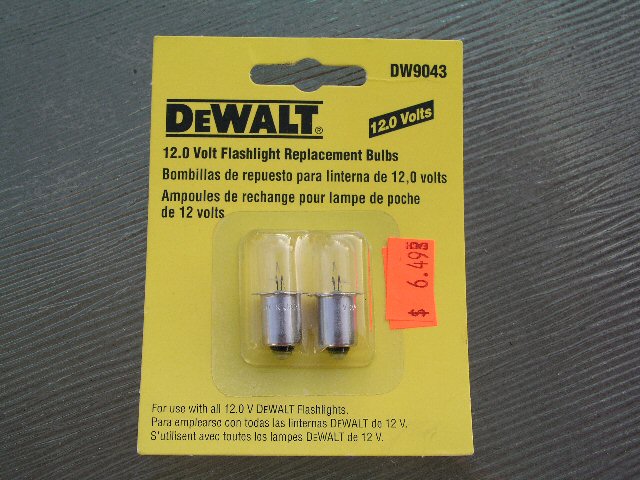
In spite of the bulbs, I have lowered my lighting cost quite a bit from the last teardrop!!!
Mike...
That floor is 5' x 8' by the way!!!
Back in the days of rockets, engineers were told to build them better, cheaper and faster. The reply was always the same... "Pick two".
This is the thought that comes to mind when as I build this Weekender. I started out wanting to build it cheaper, faster and lighter. Pick two...
One of the ways I wanted to lower my lighting costs was to get a closet light for $6.99
But it doesn't run 12V you say... By George, your right... okay, lets find a 12V bulb...
In spite of the bulbs, I have lowered my lighting cost quite a bit from the last teardrop!!!
Mike...
The quality is remembered long after the price is forgotten, so build your teardrop with the best materials...
-

mikeschn - Site Admin
- Posts: 19202
- Images: 479
- Joined: Tue Apr 13, 2004 11:01 am
- Location: MI