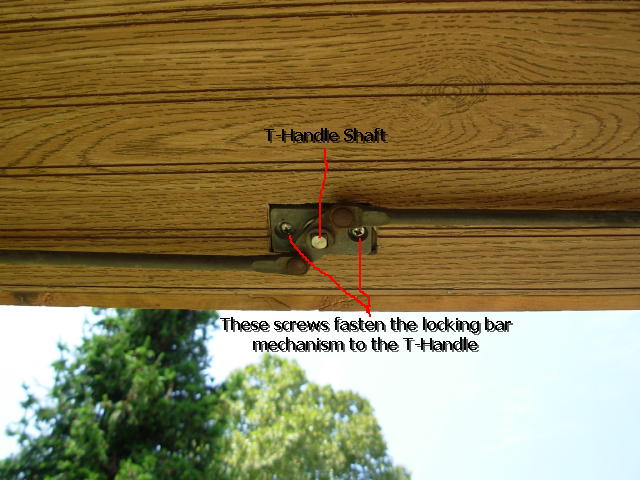
Heikki, I used a locking bar mechanism & T-handle from an old P/U camper shell that I had. It wasn't being used so I scavenged it. Had to shorten the rods by about 1.5" each & that was actually the biggest problem I had. Those rods are 'hardened' & were a real b!tch to cut, especially with only a manually operated hacksaw

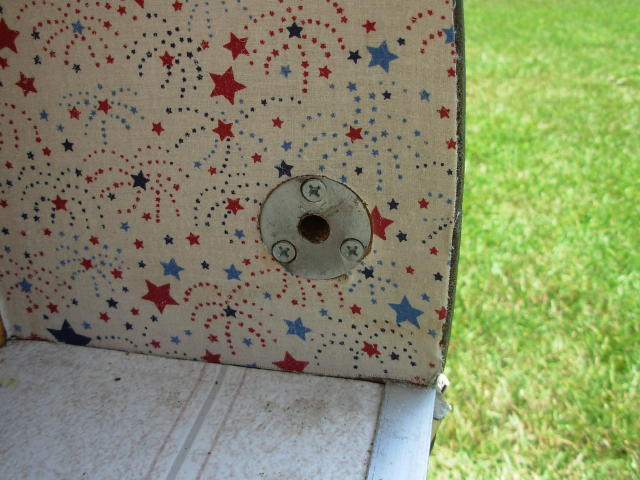
. After installing the T-handle & locking rods I turned the handle to retract the rods to 'open' position, marked the rods for correct length, took them off the T-handle & cut them while they were being held in a sturdy vise. Dressed the ends lightly with a file so they'd easier slide into the locking receptacle. After reinstalling the rods I smeared the very end of each with lipstick, closed the hatch & while holding the hatch down tightly, I turned the T-handle as if locking/latching the hatch, then turned the handle back to retract the rods. The lipstick left a very visible mark on the inside walls of the galley where the locking receptacle needed to be. I then simply drilled the appropriate sized hole to correct depth. I had enough room to then attach a large steel washer (with 3 screws countersunk) to reinforce each hole that receives the locking rods (I'd planned for this ahead of time so the galley walls at these points are solid wood all the wa thru to the aluminum skin). When my hatch is closed the rods extend almost an inch into the receptacle on either side of the galley. It was a simple, relatively easy install, well within Danny's K.I.S.S. parameters

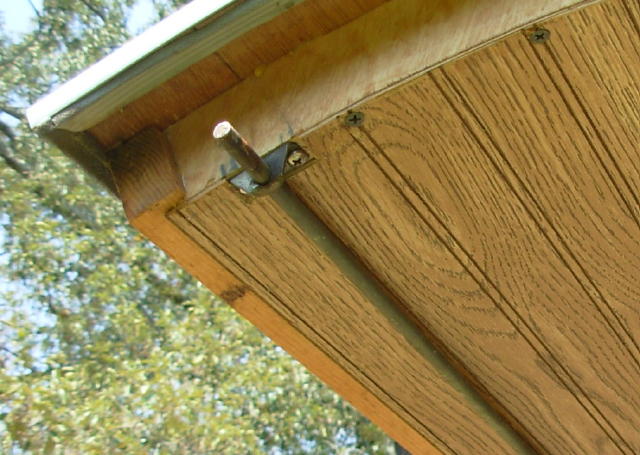
Here's a few pix -
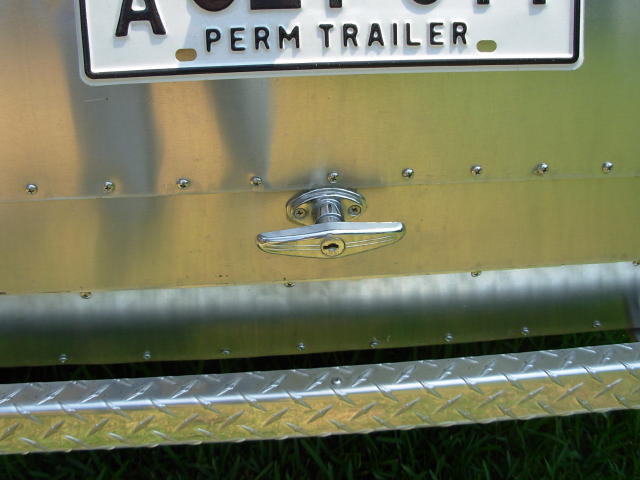
T-handle in closed postion
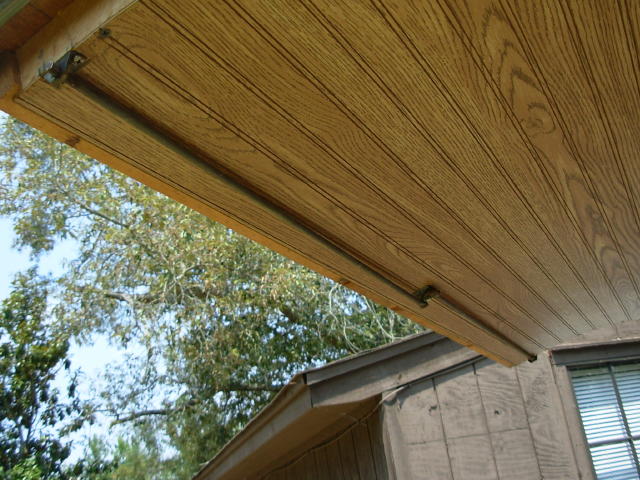
Inside view of locking device
Close-up of T-handle/rod connection w/rods in locked position
Locking rod receptacle
Showing how much of the rod actually extends into receptacle
 Danny
Danny


