Diemjoe wrote:I was wondering if someone could explain the method for creating the Dado in Doug's Girlings Illustrations. Is it truly routed out of a skinned sleleton to the width of the top piece of floor Plywood or is the Skeleton bottom sawed off then skinned with the sawed Skeleton bottom Reattached to the floor?
I hope this question makes sense.
Diemjoe:
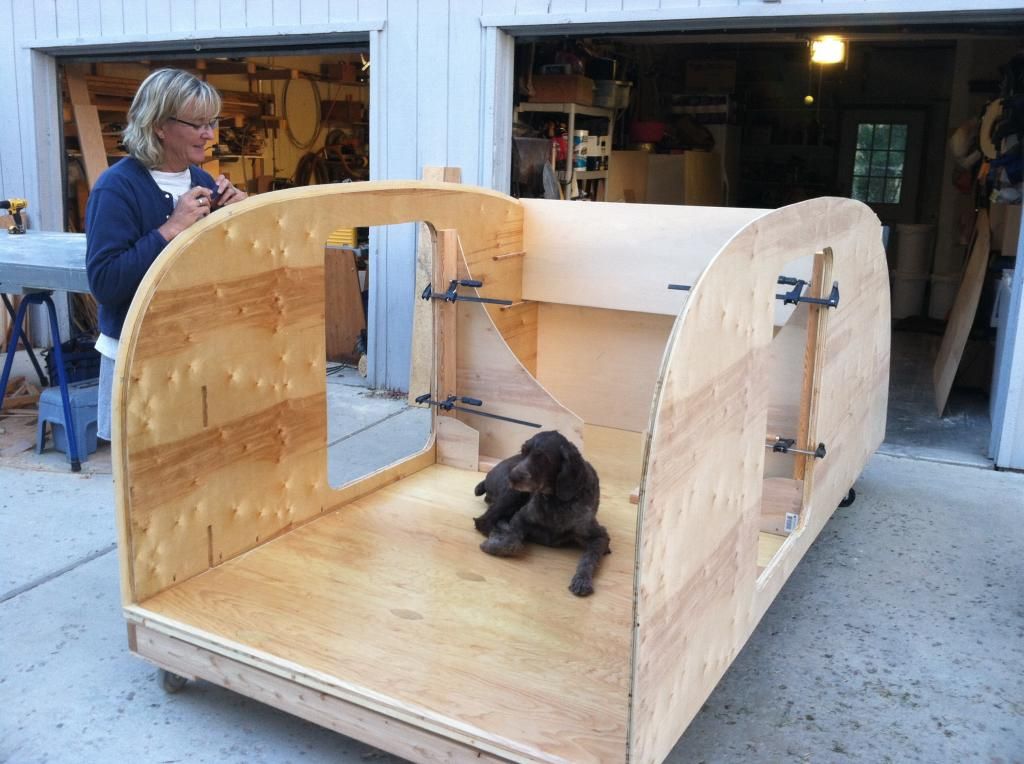
You're question has been sitting unanswered for a couple of days. I've built walls for three teardrops, all using sandwiched construction and Fredrick's build manual. I have not used the dado'd method as shown in the illistrations.
I wouldn't do it with a router. Here's how I'd build the walls. Let's assume you are going to make the walls with 3/4" plywood for the skeleton and 1/4" ply for the interior/exterior.
1. Cut your exterior walls. (You can "gang" cut both at the same time.)
2. Cut your structural skeletons. The bottom of the skeleton will be the "top" of the dado that will sit on your wall.
3. Glue your skeleton to the exterior wall. The exterior will be about.... I don't know.... maybe 2.75" higher than your skeleton. (depends on your individual sketch)
4. Rip a piece of 3/4" plywood the width of the bottom portion of your wall (and the length of the wall).
5. Rip a piece of 1/4" ply the same width and glue it to the above piece of 3/4".
5a. Let's call thise pieces the "dado blocks" for slimplicity.
6. Make up a three or four "spacer blocks" that are the same width of your floor. For simplistic sake, let's say your are using 3/4" plywood for your floor. Cover these pieces with wax paper.
7. Set your wall on your saw horses of bench or whatever horizontal surface you are building on.
8. Glue your dado blocks to the bottom of your wall and use the spacer blocks to form the correct width of dado while the glue sets.
Capish?
Tony
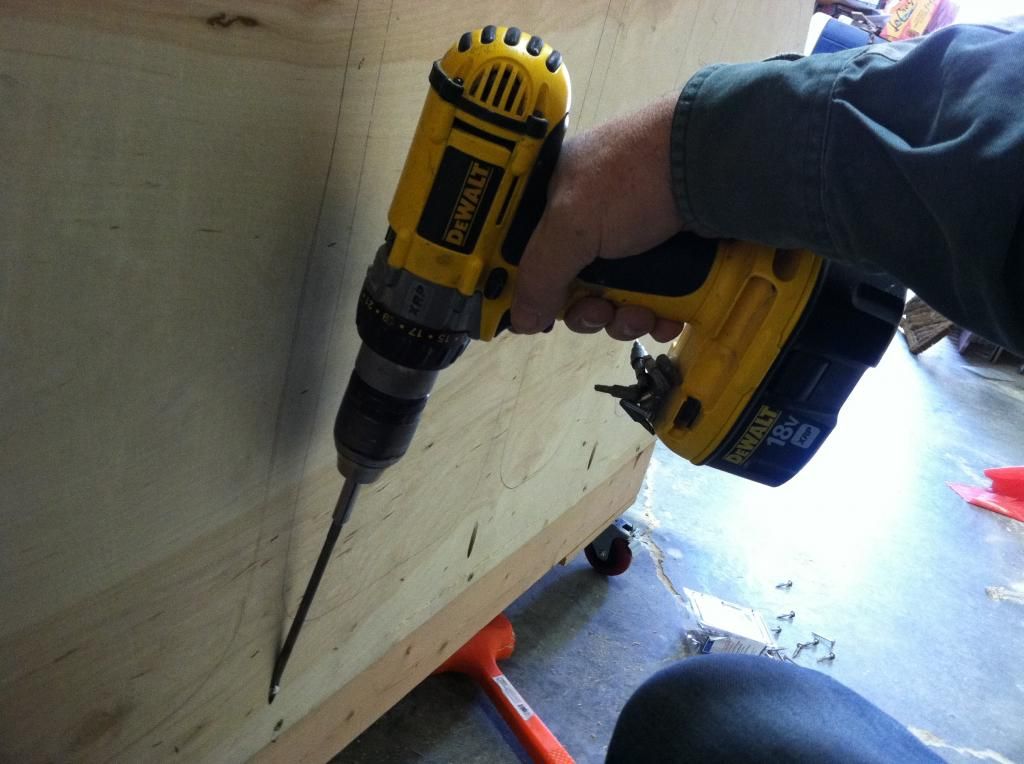
p.s. I use the rabbit joint. It's easy to set the wall in place. I use PL Premium glue, screw to the outside of the wall into the floor (3/4" pine "skeleton), and then Kreg screw into the floor from the outside, and screw from the floor up into the wall's skeleton with flathead screws.
You can see I did the Kreg screws on the inside of these walls:


 to your editor, and thanks again!
