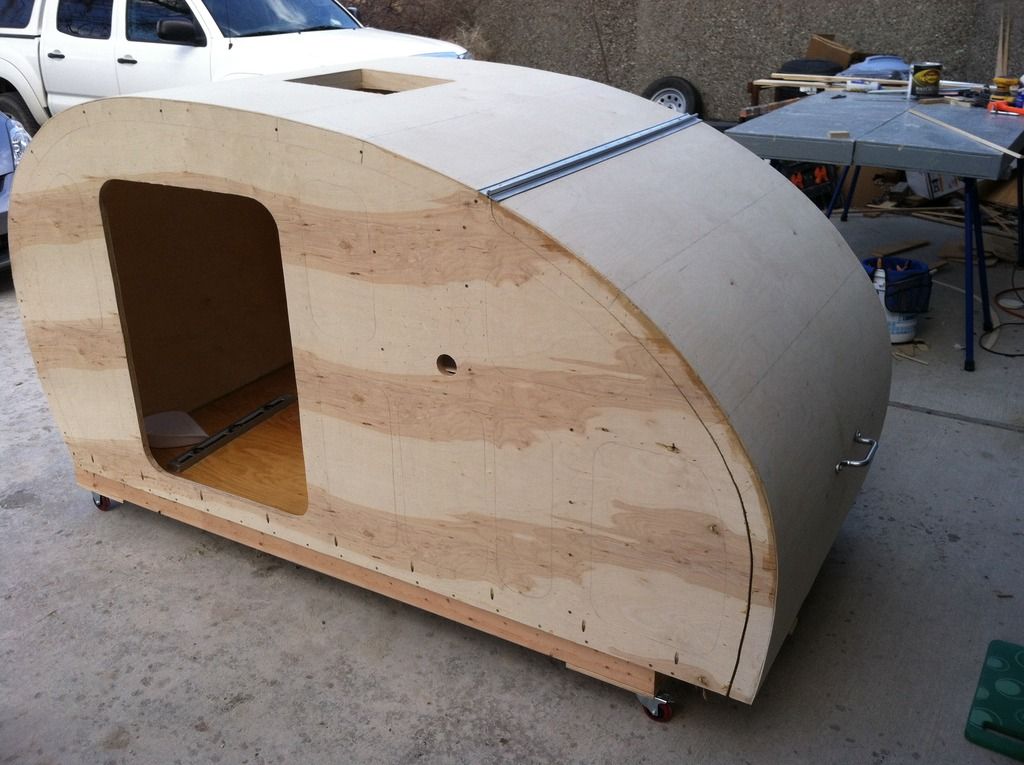
hatch research

Anything to do with mechanical, construction etc

Re: hatch research

Postby grant whipp » Mon Aug 18, 2014 1:19 am

Supernaut wrote:I wanted to suggest my own idea for hatch design and thought I might as well put it here rather than starting a new thread.

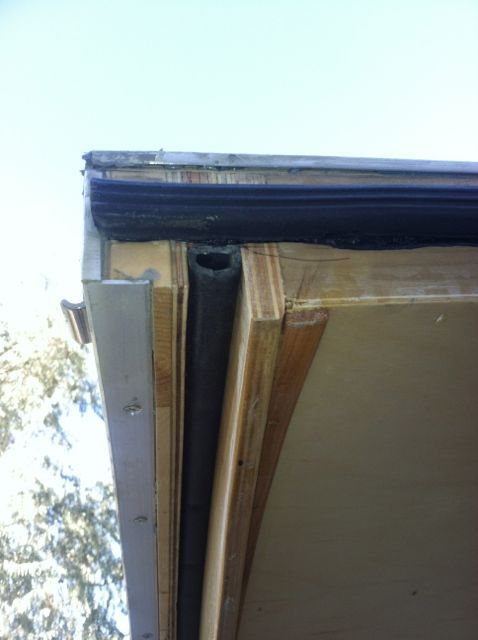
My build is in the early stages but one thing I have never seen is a tear drop hatch built like a car's truck. For Example

Image

The rain water easily falls into the gaps around the trunk and then into the rain channel harmlessly falling away. The rubber seal keeps the trunk nice and dry, normally never challenged by water anyway. I have considered trying to build a tear drop hatch this way. The channel would be waterproof with maybe fiberglass strips or such. I believe this would make a hurricane hinge unnecessary as well. However, as I have never seen any tear drop built this way in my research thus far, I wonder if there is a fatal flaw in this idea that I am not seeing.


I'm not saying that this is a bad idea, 'cause it does work ... however, on the few that I have seen done over the years, the owners/builders ended up converting to a "hurricane"-type hinge after a couple of years. It's all well-and-good until the wind starts blowing ... :thinking:

CHEERS!
Celebrating Retirement after over 32 Years of Building, Promoting, Supporting, Supplying, Living the Lifestyle, and Loving Teardrop Trailers!
"Life Moves a Little Slower When You're On Teardrop Time"
The nature of Life, itself, is change ... "Those who matter, don't mind, and those who mind, don't matter."
Image
User avatar
grant whipp
Teardrop Manufacturer
 
Posts: 1815
Images: 117
Joined: Sun Jan 16, 2005 2:00 pm
Location: Jefferson State ('tween CA & OR!)

Re: hatch research

Postby capnTelescope » Mon Aug 18, 2014 11:29 pm

Supernaut wrote:My build is in the early stages but one thing I have never seen is a tear drop hatch built like a car's truck.

Come on over and take a look at mine. I'm just getting to the nitty-gritty part.

grant whipp wrote:the owners/builders ended up converting to a "hurricane"-type hinge after a couple of years.

Tain't as easy as it looks. You might still get me as a customer (in a couple of years).
I'll burn that bridge when I come to it.

Brad
ImageImageImage

Building the Bed & Breakfast
User avatar
capnTelescope
Lifetime member
 
Posts: 1218
Images: 368
Joined: Sun Jun 27, 2004 3:44 pm
Location: Round Rock, TX

Re: hatch research -- Count your ribs!

Postby capnTelescope » Sun Sep 28, 2014 7:54 am

I got to the final steps on my hatch, and discovered an important design principle. Too late, of course.

If you plan to use a center-mounted latching device on your hatch, you need to have an even number of ribs.

An odd number of ribs puts puts one right in the center where you wanted to mount your hatch latch-handle-turny thing. Not so good.

Plan ahead!
I'll burn that bridge when I come to it.

Brad
ImageImageImage

Building the Bed & Breakfast
User avatar
capnTelescope
Lifetime member
 
Posts: 1218
Images: 368
Joined: Sun Jun 27, 2004 3:44 pm
Location: Round Rock, TX
Top

Re: hatch research

Postby RunnerDuck » Tue Oct 13, 2015 6:44 pm

tony.latham wrote:The smartest thing I did on my build was to purchase Steve Fredrick's teardrop Shop Manual. (run a search here). It's not cheap but worth every nickel.

The hatch? It was actually rather simple and straight forward following his manual. I waisted a fair amount of blood pressure wondering how big a challenge it was going to be. His method uses part of the wall and an interior piece made from 1/2" baltic birch.

Image

TL


Thanks Tony,

I have a question about your sandwich for the hatch cover edges.

In the photo above you do not show the 1/8" spacer that Steve Fredrick's Shop Manual talks about. I hope Steve doesn't get mad but I copied part of one of his pictures for this discussion. By the way, if you are building a teardrop for the first time I highly recommend buying Steve's Manual.

spacer.jpg
spacer.jpg (22.46 KiB) Viewed 1048 times

In this photo Steve shows an 1/8" spacer that I'm just not sure where it goes and if it's temporary or a permanent part of of the galley wall or the hatch.

Could you please comment on this? Did you use the spacer? If so, how did you use it?

Thanks,
User avatar
RunnerDuck
Teardrop Master
 
Posts: 167
Joined: Sat Aug 22, 2015 4:26 am
Location: Coupeville, Whidbey Island, Washington
Top

Re: hatch research

Postby tony.latham » Tue Oct 13, 2015 8:11 pm

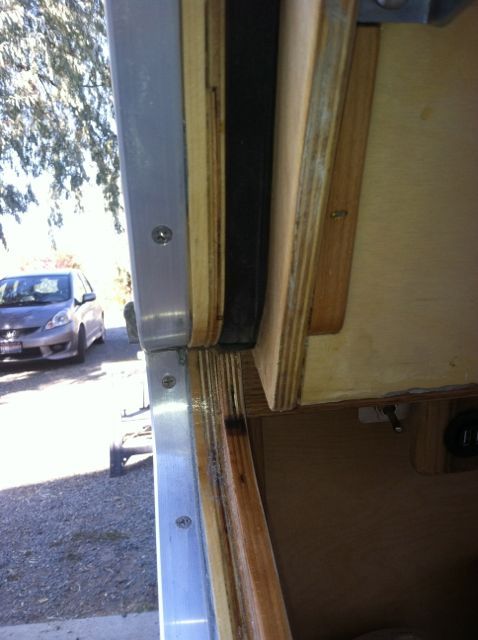
The spacer is not added to the hatch, it's added to the galley portion of the wall and fits flush with the other layers of the wall. The next piece added to the galley wall–-on the inside––is the 1/2" thick piece that protrudes up from the wall and touches the rubber seal inside the hatch. Look on page 258 of Steve's manual.

That 1/8" spacer that's in the wall allows the 1/2" protruding lip (he calls it the inner galley) to fit into the center of the hatch's (3/4") groove with an 1/8" to spare on both sides. It works great.

Capish?

Tony
User avatar
tony.latham
Gold Donating Member
 
Posts: 6902
Images: 17
Joined: Mon Jul 08, 2013 4:03 pm
Location: Middle of Idaho on the edge of nowhere
Top

Re: hatch research

Postby RunnerDuck » Wed Oct 14, 2015 6:09 pm

tony.latham wrote:The smartest thing I did on my build was to purchase Steve Fredrick's teardrop Shop Manual. (run a search here). It's not cheap but worth every nickel.

The hatch? It was actually rather simple and straight forward following his manual. I waisted a fair amount of blood pressure wondering how big a challenge it was going to be. His method uses part of the wall and an interior piece made from 1/2" baltic birch.

No springback and no leakage. :beer:

TL


Hi Tony,

Did you cut the hatch sides out of the finished body or did you cut them out after the fact and laminate them up separately?

Also where does the 1/8" spacer go? That's the only thing I'm perplexed about. He says "Don't worry if the fit is not exact, if too small it gets filled in later." With what?

Thanks,
User avatar
RunnerDuck
Teardrop Master
 
Posts: 167
Joined: Sat Aug 22, 2015 4:26 am
Location: Coupeville, Whidbey Island, Washington
Top

Re: hatch research

Postby tony.latham » Wed Oct 14, 2015 8:16 pm

Hi Tony,

Did you cut the hatch sides out of the finished body or did you cut them out after the fact and laminate them up separately?

Also where does the 1/8" spacer go? That's the only thing I'm perplexed about. He says "Don't worry if the fit is not exact, if too small it gets filled in later." With what?

Thanks,


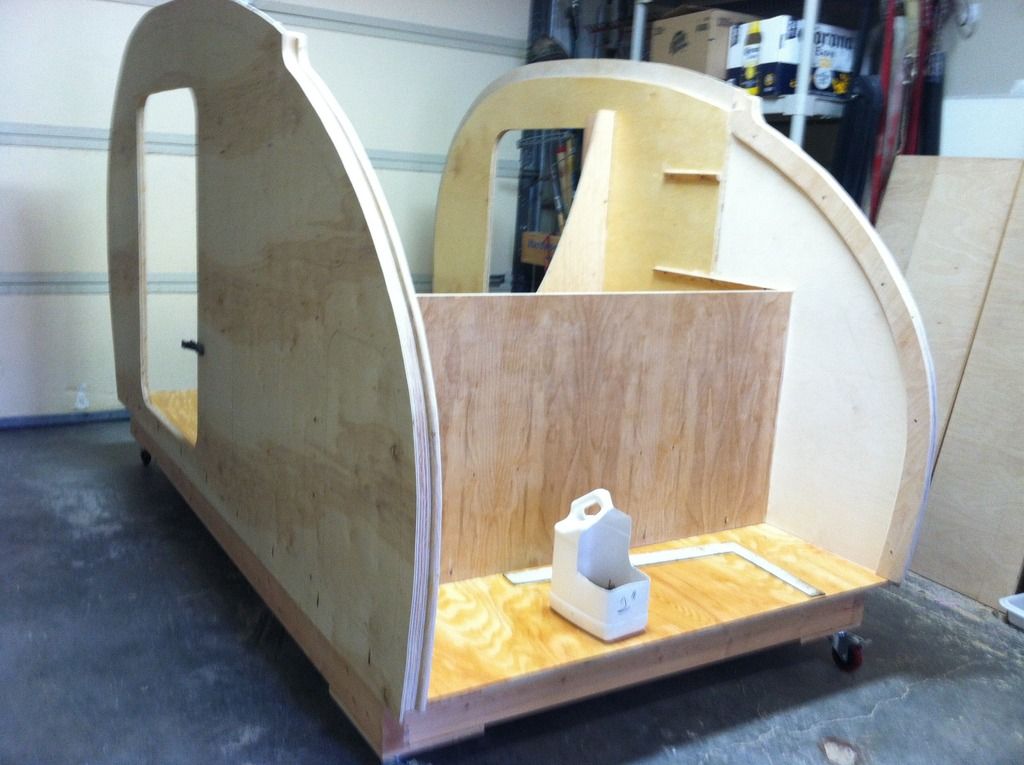
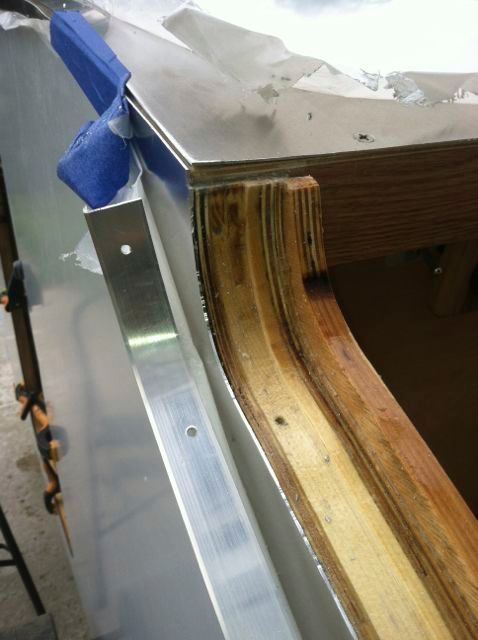
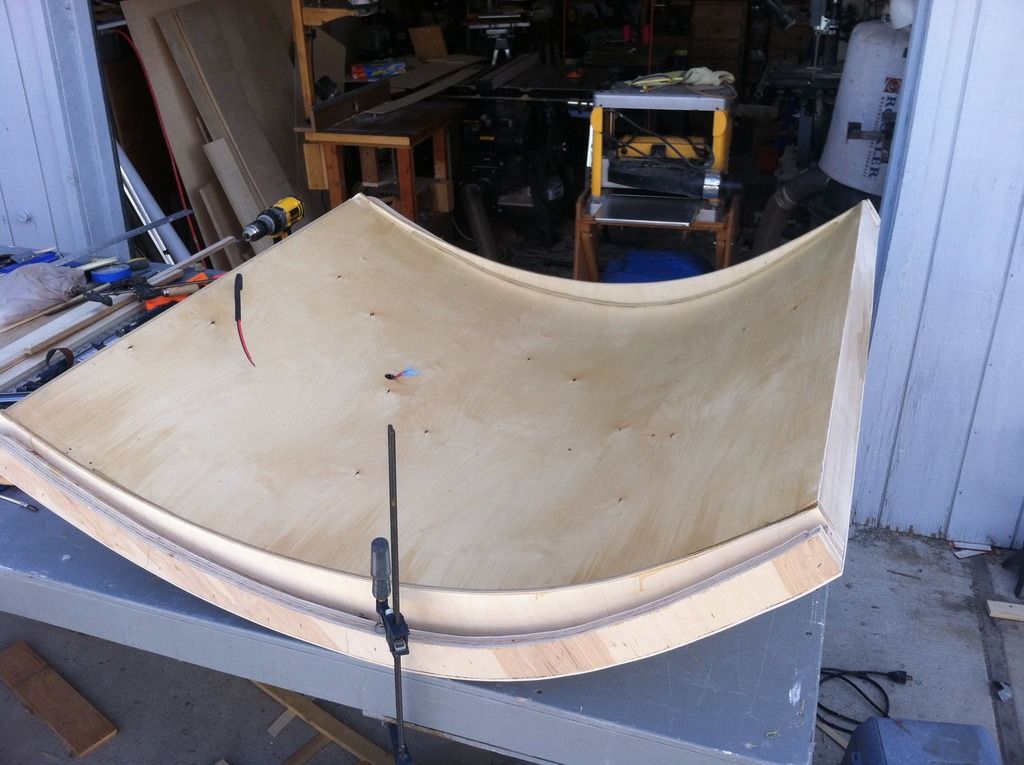
I cut the sides of the hatch off of the almost-finished wall and set them aside. (It'd be a lot of extra work to lay them up separately and make them fit.) Then I glue in the 1/8" spacer in the galley wall. You can use a trim bit to make it flush with the rest of the wall. Once that's done, glue in the 1/2" interior galley piece (that sticks up about a half inch and will eventually touch the seal in the hatch). Now... if there are any voids where the 1/8" piece is––and there really shouldn't be––you could fill it with some glue/sawdust of epoxy or whatever your filler preference is.

Here's a wall that's almost ready to be attached to the floor:

Image

On this little 4 x 8', I saves some weight by using with a 3" lip of 1/2" ply but it was a bit of a pain. But you can see the area that has the extra layer of 1/8" that is the spacer (the lighter colored wood on the right wall).

Image

Here's another look at one of those walls:

Image

I don't know if this pic helps, but the 1/8" piece on the wall puts the half-inch lip right in the middle of the groove in the hatch when its closed. (You really can't see it in the wall pic, but it's there.)

Image

Perhaps you can see the spacer here?

Image

Image

Image

Image

Tony
User avatar
tony.latham
Gold Donating Member
 
Posts: 6902
Images: 17
Joined: Mon Jul 08, 2013 4:03 pm
Location: Middle of Idaho on the edge of nowhere
Top

hatch research

Postby hpuckett4 » Thu Oct 22, 2015 11:31 am

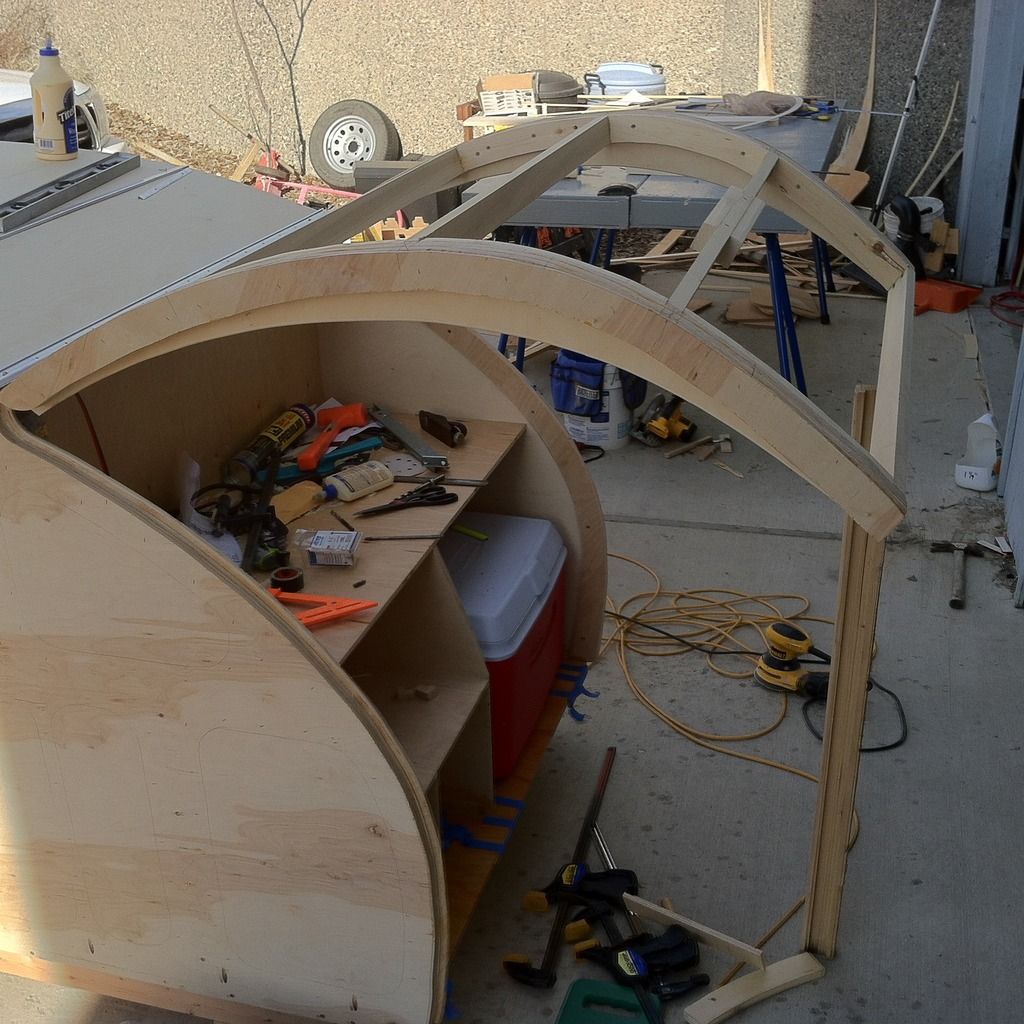
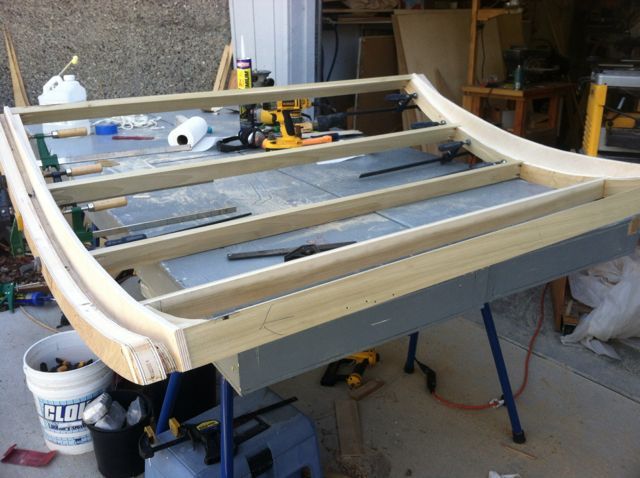
Concerning the hatch spars, is there something very wrong with using only the two vertical curved spars and then filling it with horizontal spars. Will that be stable enough if I use quality wood for the spars? It is only 4' wide.
User avatar
hpuckett4
Teardrop Builder
 
Posts: 49
Images: 4
Joined: Wed Aug 26, 2015 5:09 pm
Top

Re: hatch research

Postby tony.latham » Thu Oct 22, 2015 12:01 pm

hpuckett4 wrote:Concerning the hatch spars, is there something very wrong with using only the two vertical curved spars and then filling it with horizontal spars. Will that be stable enough if I use quality wood for the spars? It is only 4' wide.


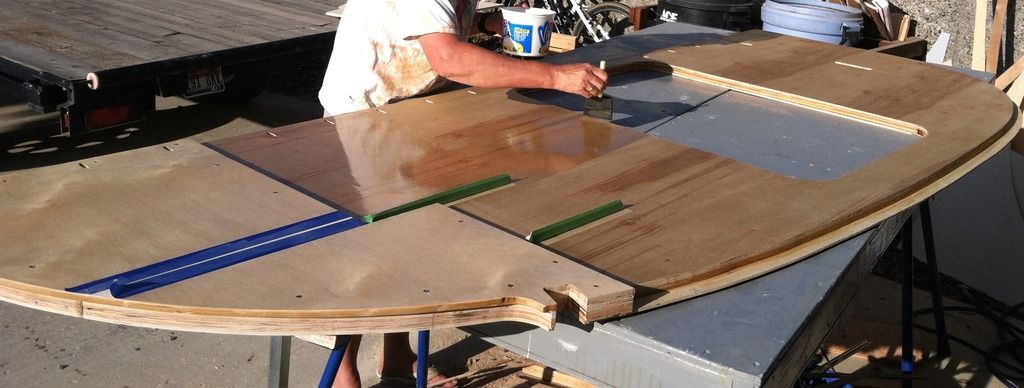
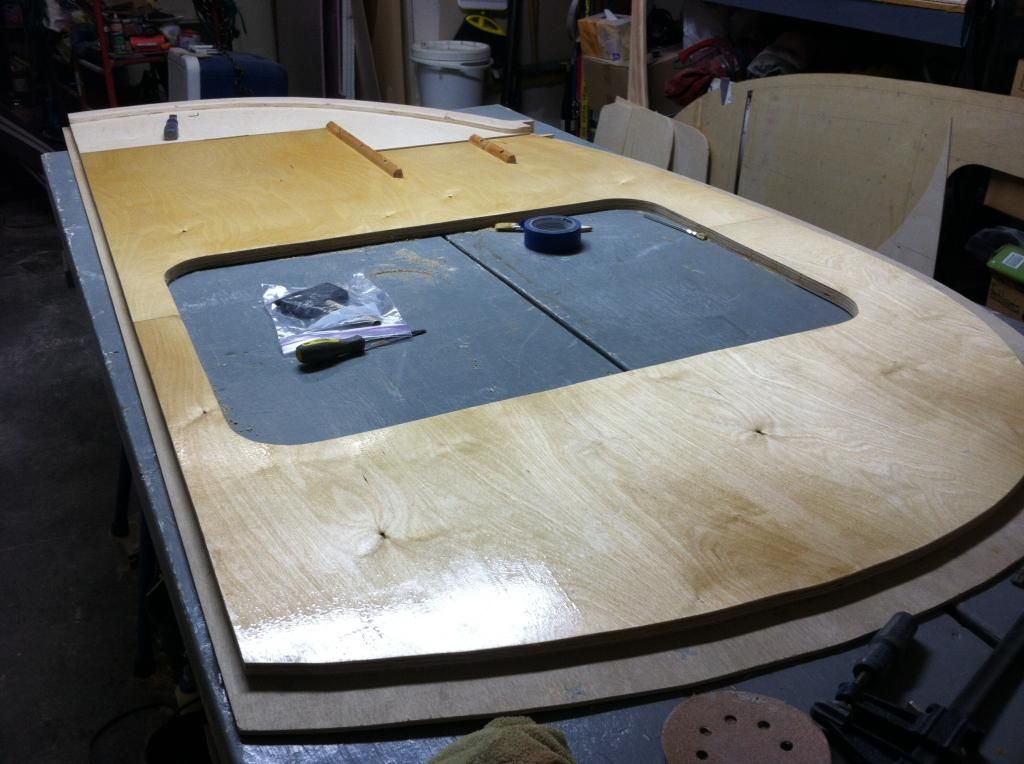
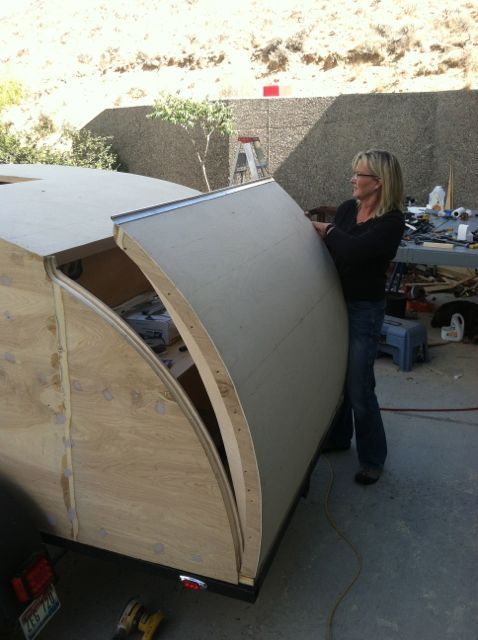
I think it depends. The issue is springback. In other words, once the hatch is sheathed, it flattens out a bit. If you are using the Fredrick's hatch method, the answer is a definitive no. But the sides on those hatches are beefed up with 4" wide "gussets," 3/4" spacers, and the 2" endwalls.

Image

Image

Image

Tony
User avatar
tony.latham
Gold Donating Member
 
Posts: 6902
Images: 17
Joined: Mon Jul 08, 2013 4:03 pm
Location: Middle of Idaho on the edge of nowhere
Top

Re: hatch research

Postby KCStudly » Thu Oct 22, 2015 6:41 pm

What Tony said +1. Even with four 3 inch deep 1x solid wood hatch ribs, 1 sheet of 5mm and two layers of 3/4 foam, my hatch still "moves" with the weather enough to change the seal gap by about a 1/16 of an inch here and there. Hopefully that will stabilize once I get the outer skin on.

My point is that it is the depth of the arched piece of wood, and how many, that determines whether the plywood tends to flatten the hatch or not. Having the deepest part of the section at mid-arch close to where your strut anchors will be, like in Tony's picture, is probably best because that is where the highest bending moment will be.
KC
My Build: The Poet Creek Express Hybrid Foamie

Poet Creek Or Bust
Engineering the TLAR way - "That Looks About Right"
TnTTT ORIGINAL 200A LANTERN CLUB = "The 200A Gang"
Green Lantern Corpsmen
User avatar
KCStudly
Donating Member
 
Posts: 9615
Images: 8169
Joined: Mon Feb 06, 2012 10:18 pm
Location: Southeastern CT, USA
Top

Previous

Return to Teardrop Construction Tips & Techniques

Who is online

Users browsing this forum: No registered users and 21 guests