ekim952522000 wrote:alaska teardrop wrote:....
I would recommend .040" or .050" aluminum for the exterior held on with the correct VHB tape & rivets.
An example:
....
Fred, is the reason for the VHB tape and the rivets mostly for piece of mind? My understanding was the VHB tape was supposed to be able to replace rivets or vice versa. Although I have no practical experience with VHB tape.
Thanks,
Mike
Mike,
Yes & no. In my unscientific experimenting with scrap aluminum, VHB tape, hammer & pry bar, I've found that it has good tensile strength but not so good shear strength.
I should point out that the goal for both the Northern Lite & Stacie's Glampette was building light weight. The tubing sizes & method of construction are different from your design in that the aluminum skin is an integral element of the structure (especially the N.L.), hence more rivets. Your floor & cabin framing will already be a strong structure & should require less riveting.
So, I'll describe how I would use the tape & rivets as if I were building your trailer and you take it from there.
Floor: Tape the one inch of perimeter on top of the frame rails inside of the vertical posts & tape the cross members. 46"x94"x.063" aluminum. Rivet the perimeter on 4" centers & cross members on 6" centers.
Side walls: Tape all of the 1" tubing & the top 1" of the side rail (the height of side would be 49" from top to bottom of side rail). 48"x96"x.040" aluminum (leaves 1" of exposed frame at the bottom). Rivet the perimeter on 4" centers. I would also extend the midlevel horizontal tube from the door all the way back to the rear & add a matching tube from door to front and rivet. No rivets needed around the door because the frame will clamp the sheet.
Roof: Tape all & rivet the perimeter only. .063" aluminum. 4" centers.
Lower front wall: Tape all & rivet the perimeter and center vertical tube. .063" aluminum. 4" centers.
Upper front wall, upper & lower rear walls: Tape & rivet perimeters. .040" aluminum.
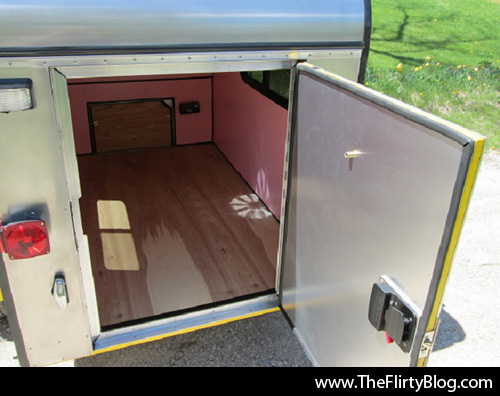
Hatch: Tape only inside & out. .040" aluminum inside & out. It may need rivets to install latch mechanisms ect. Rivet heavy duty aluminum hinge. See N.L. tail gate & Glampette rear door for ideas.
I might also consider one sheet of aluminum for the roof from the top of the front wall to the top of the hatch with two bends.
Of all the VHB tape that 3M makes, 4919F is made for this application. If you can't find it, I could give you my supplier in Grand Rapids. One trick that I soon learned is to tape all the tubes, peal back a short length of the film and lay to the side to hold the sheet in place, offer up the aluminum sheet until you get it placed just right and then gently pull the film from between the pieces. If you peel all the tape & the piece is not just right, you may have to do it all over again! Remember also that the tape acts as a weather seal.
I'd use the 3/16" closed end aluminum structural rivets with steel mandrel of the appropriate length. See N.L. thread for details. After attaching the sheet with tape I'd then drill the rivet holes through the aluminum & steel at the same time while pressing the aluminum hard against the steel tube with one hand. This helps to avoid shavings between the two. Because this type of rivet is really hard to pull with a hand riveter, I'd suggest a pneumatic riveter.
Of course if you're willing to experiment, you could skip the rivets, see how it goes & add the rivets later if needed.
Fred