Oh yeah and somewhere along the way I installed a Dometic 13.5 Roof Mount AC unit. Anybody here have a newer Dometic roof mount with the ne R410 refrigerant ? This thing just doesn't seem to get real cold. It blows cold as long as the compressor is kicked on and running but it seems to kick off before getting very cold in the trailer. The after 20 minutes or so it kicks back in. Short cycling. This thing is all but brand new. I took if off my Dads 5th wheel when he got it home and realized it wouldn't fit in the barn. Its only been used 3 times this year and it just doesn't seem to ever cool the camper off to me. I have had to run a fan all night to stay cool.
Anybody else have troubles cooling their trailer with a roof top AC??
Teardrops n Tiny Travel Trailersor t n ttt for short (tnttt.com) |
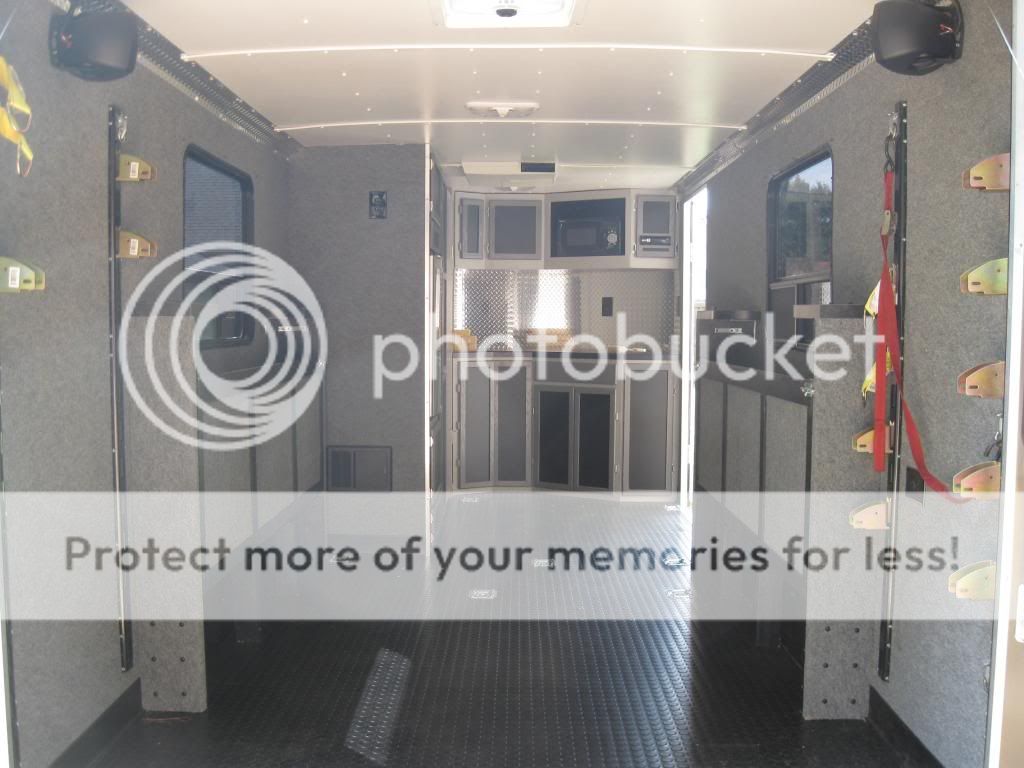
Poppy's Toybox / Toyhauler Build
49 posts
• Page 2 of 4 • 1, 2, 3, 4
Re: Poppy's Toybox / Toyhauler Build
![]() by Dirtclod » Sun Oct 06, 2013 7:50 pm
by Dirtclod » Sun Oct 06, 2013 7:50 pm
- Dirtclod
- Teardrop Master
- Posts: 151
- Images: 9
- Joined: Tue Oct 16, 2012 6:43 pm
- Location: White Bluff TN
Re: Poppy's Toybox / Toyhauler Build
![]() by hankaye » Sun Oct 06, 2013 9:40 pm
by hankaye » Sun Oct 06, 2013 9:40 pm
Dirtclod, Howdy;
Have you checked the Thermostat... maybe it's placement
Most problems with RV a/c's are due to problems with that.
hank
Have you checked the Thermostat... maybe it's placement
Most problems with RV a/c's are due to problems with that.
hank
Striving for a less complicated life since 1949 ...
Every day I beat my own previous record for number of consecutive days I've stayed alive.
Every day I beat my own previous record for number of consecutive days I've stayed alive.
- hankaye
- 2000 Club

- Posts: 2567
- Images: 1
- Joined: Thu Dec 06, 2012 5:35 pm
- Location: S.W. New Mexico
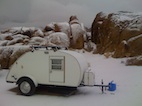
 Just wait ..Mine is not quite a twin of yours but is at least a distant relative ...


HyCVbqBPl(ebQrTw~~60_58.JPG)