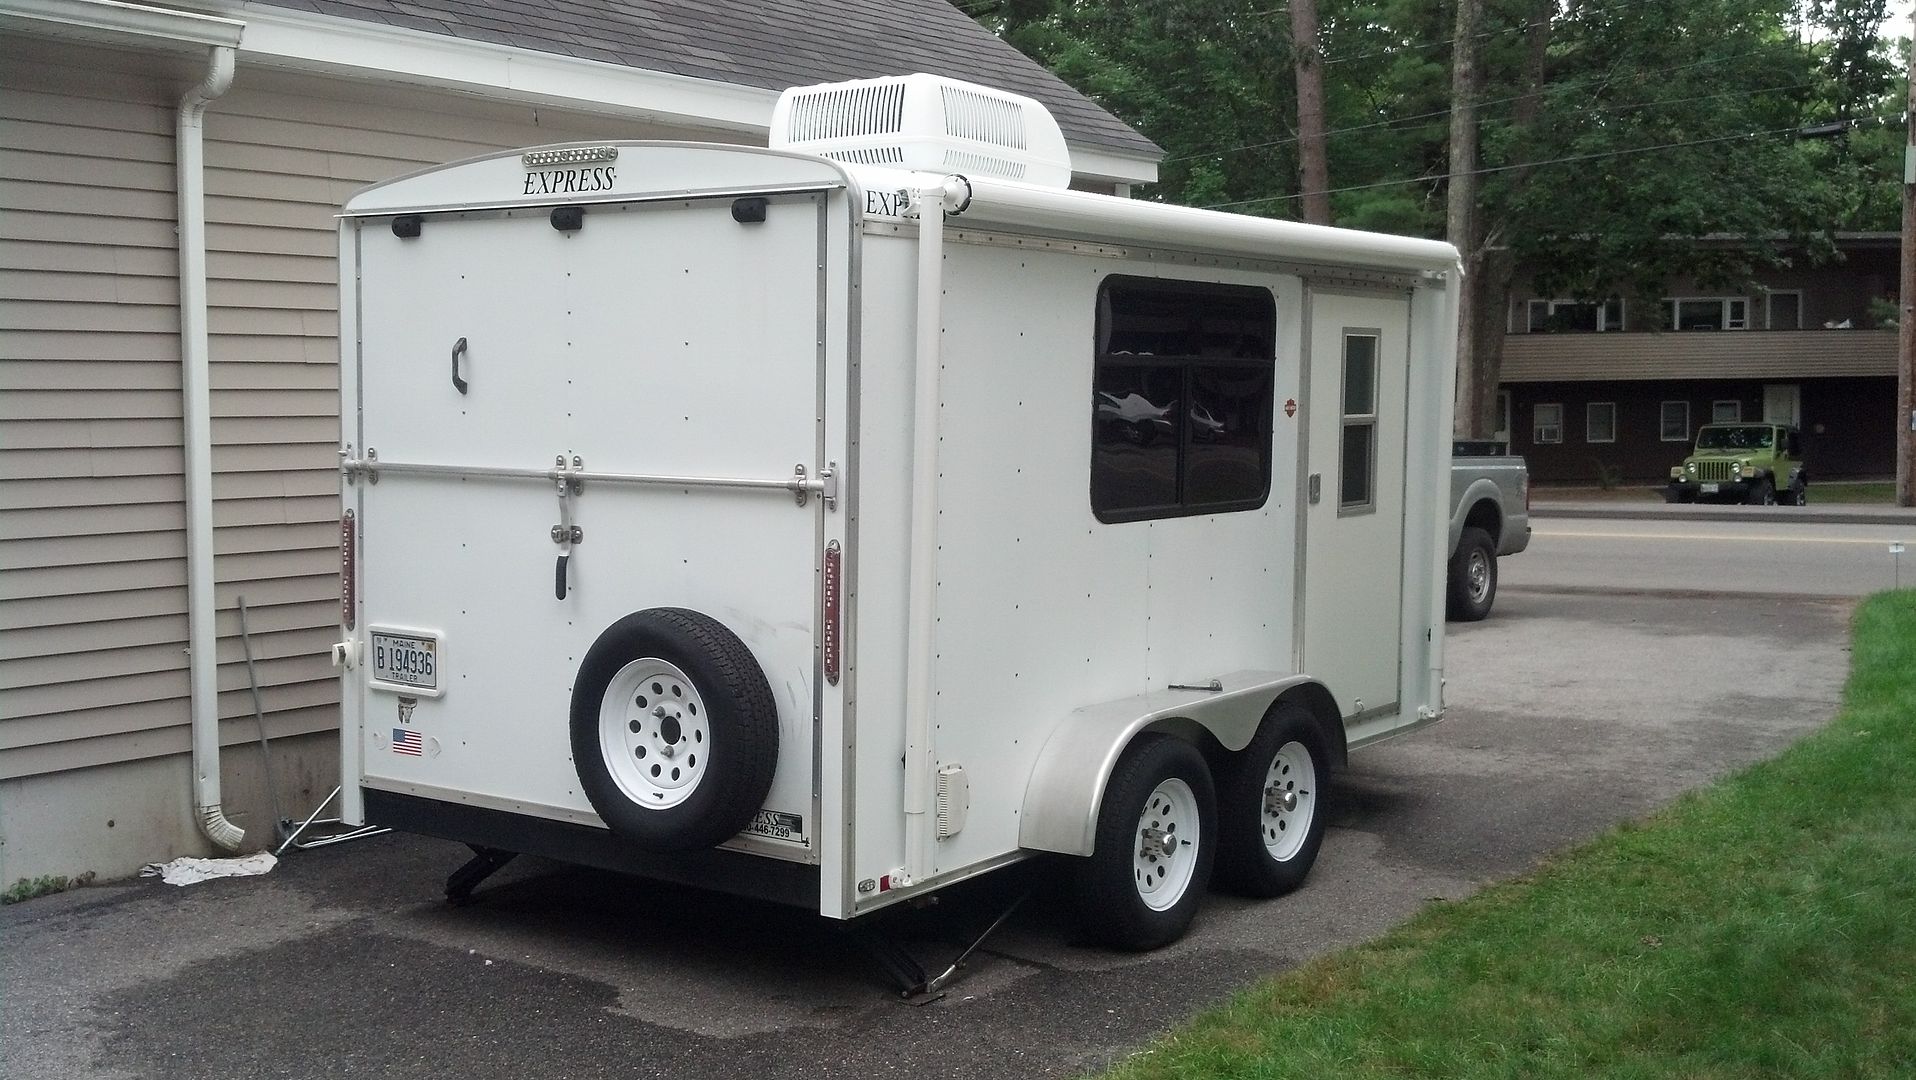
'SNO ESCAPE, New to me 7x14 CT conversion

Converting Cargo Trailers into TTTs

Re: New to me 7x14 CT conversion

Postby Jiffypop207 » Tue Aug 12, 2014 10:09 pm

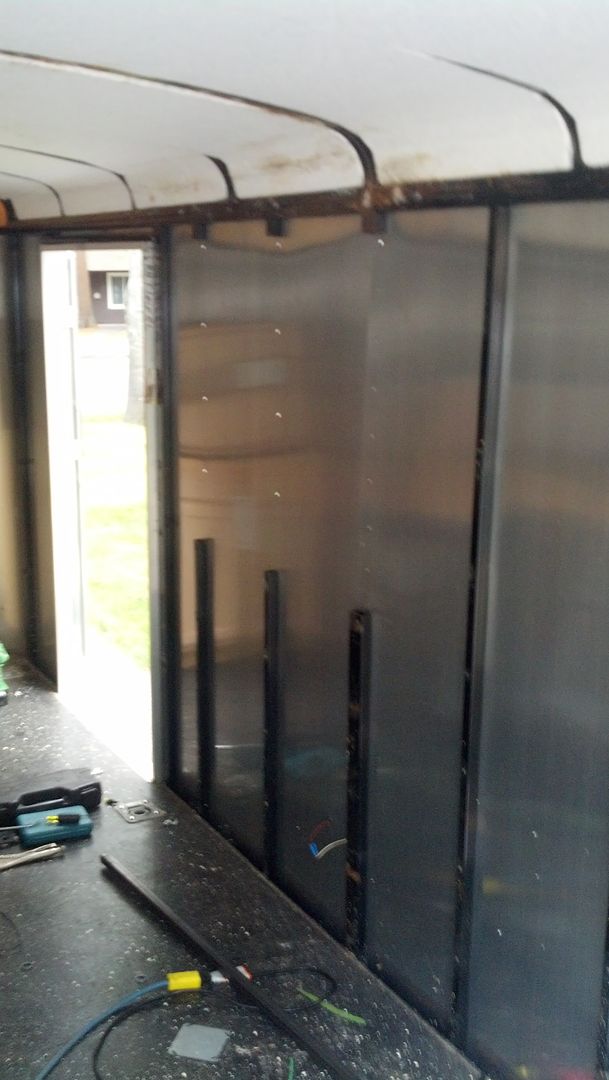
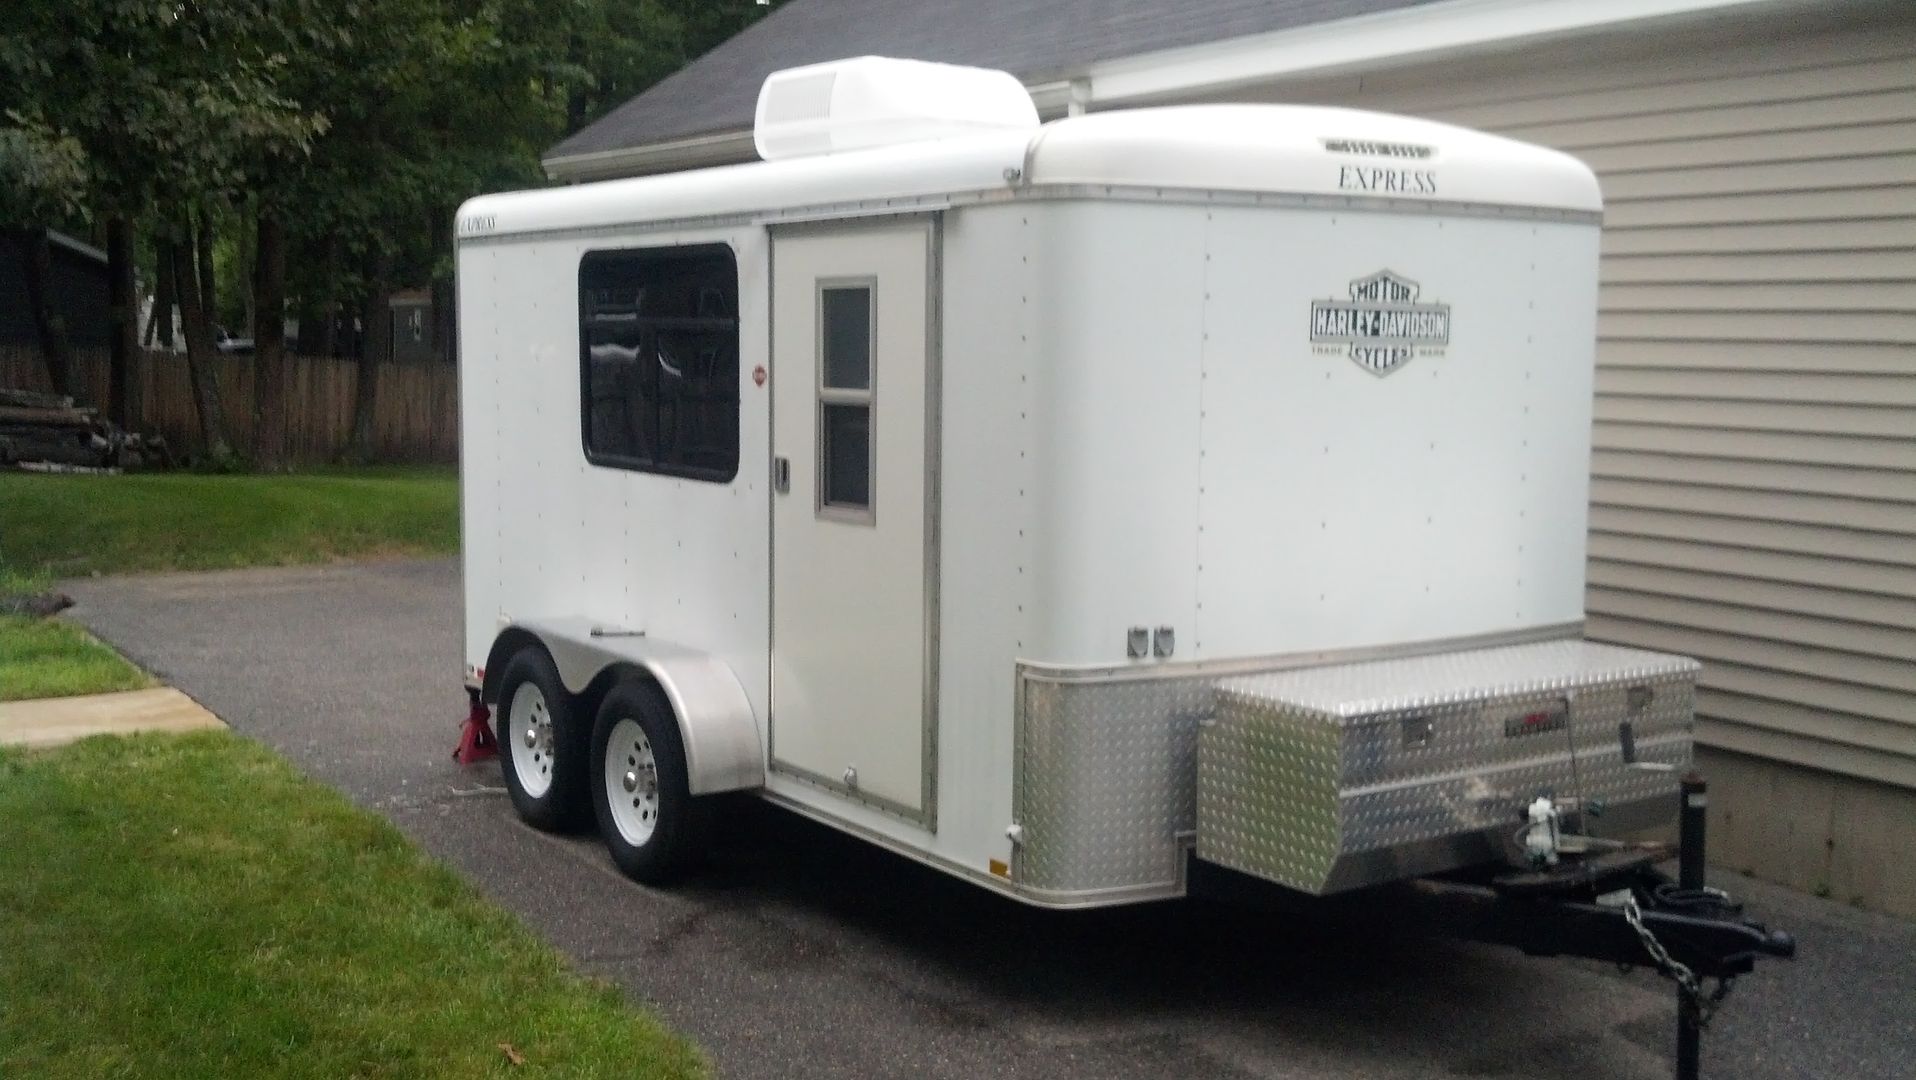
Got home from work and took a few measurements for the big window placement to be sure I did not get into the molding on the top side of the exterior and which existing stud would be best to leave and but up against. Then, I marked the studs to cut and started making the rough opening
Image

Then I framed in the header and sill and re-attched the studs to them. I removed the screws in the opening area from the skin to give me some room for cutting and for welding. Got the hole prepped without any damage to the skin. The windows proximity to the top exterior molding and the door caused the skin to bulge a little in one area, but when I run my bead of silicone around the window perimeter the bulge with blend right in.
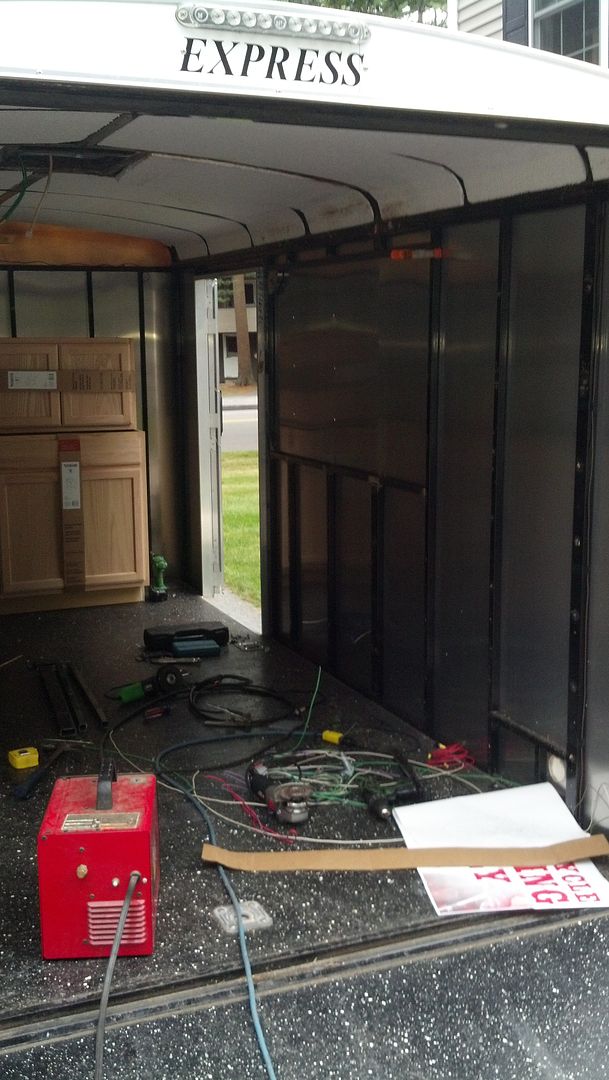
Image

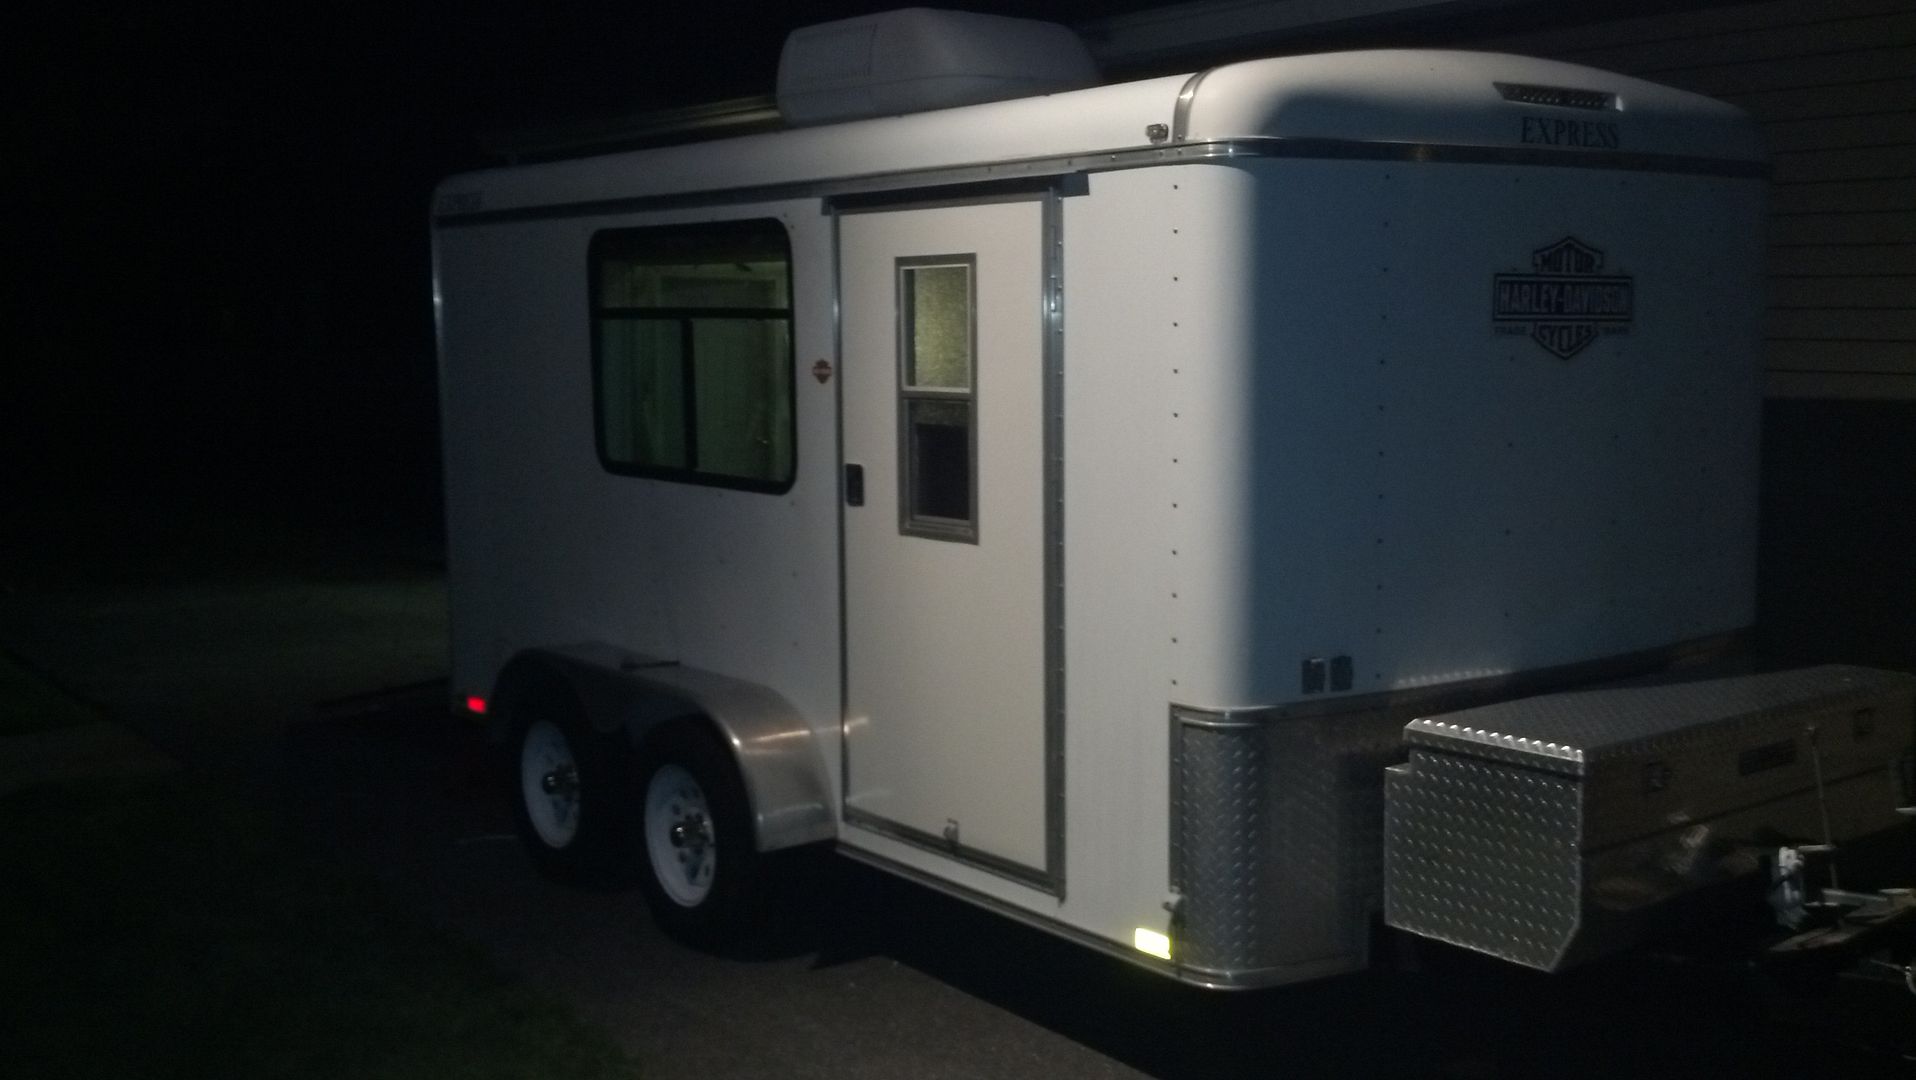
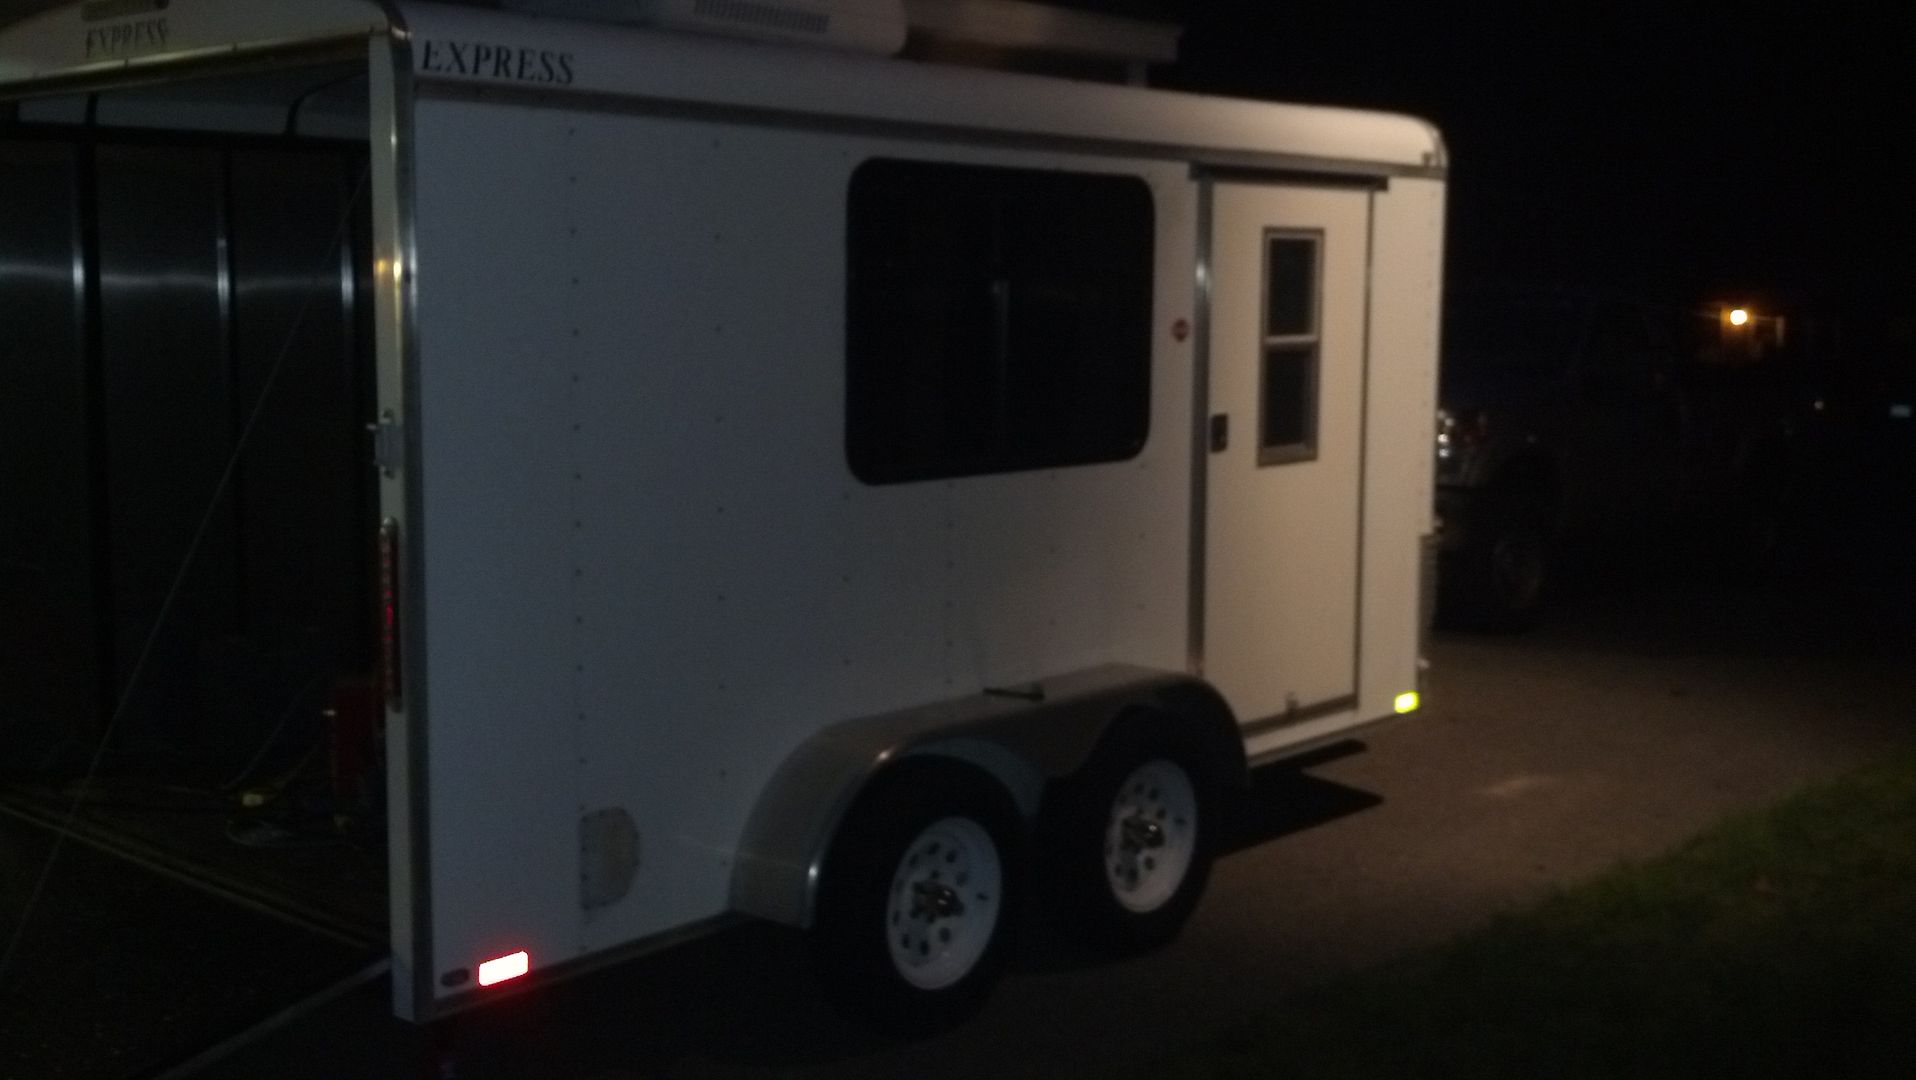
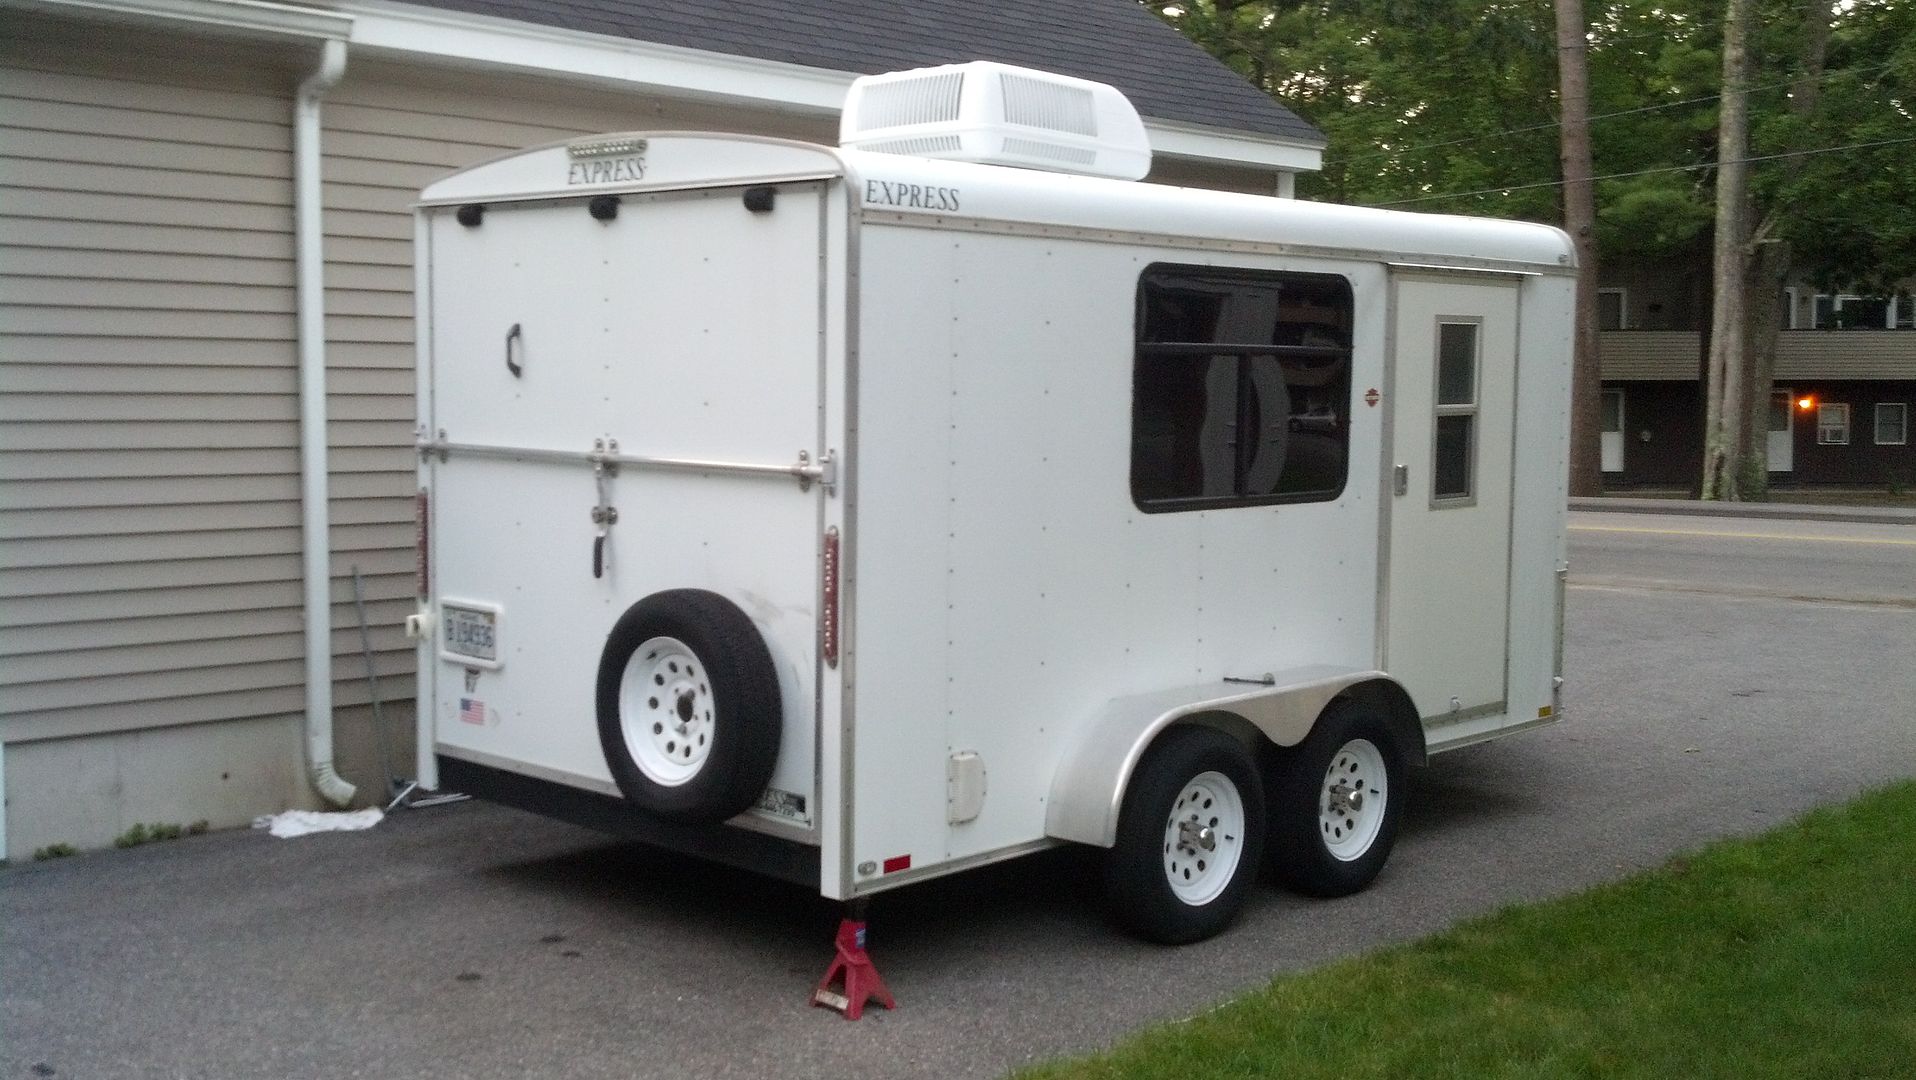
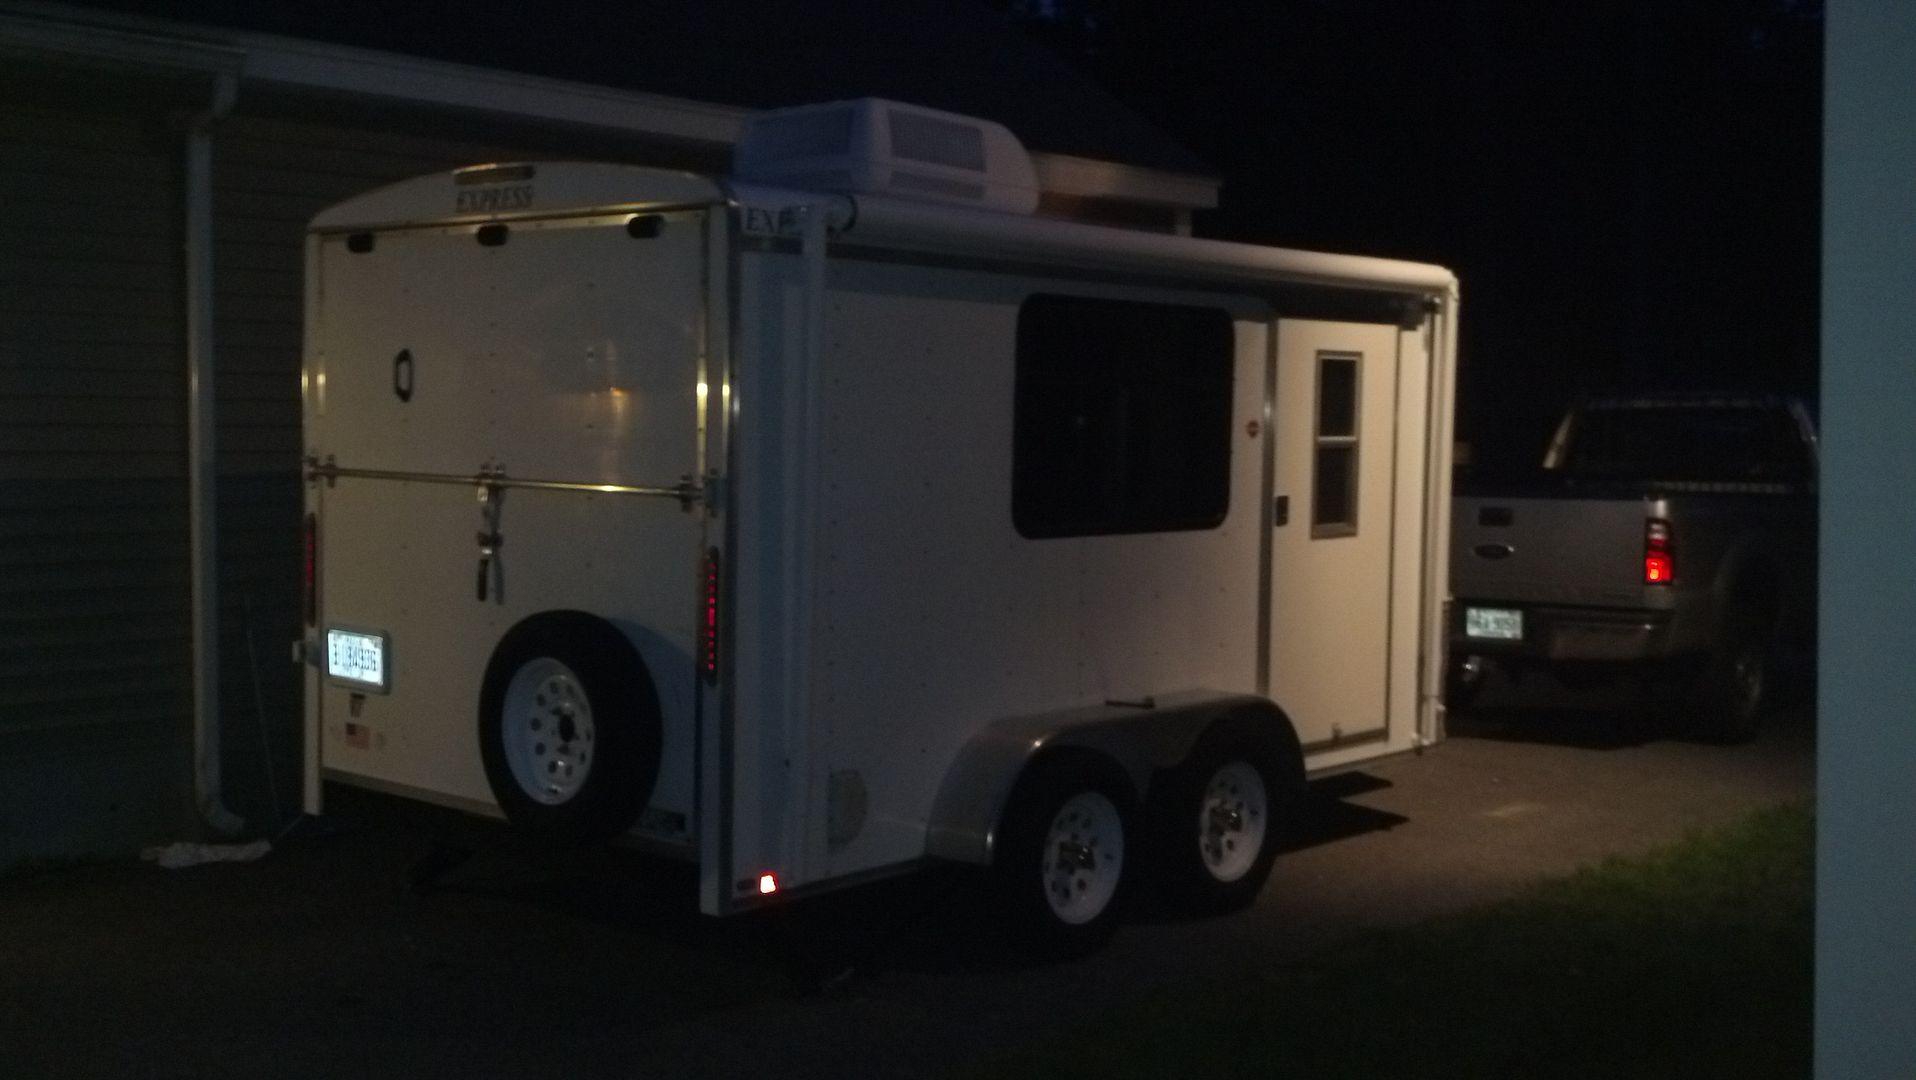
It is supposed to rain impressively tomorrow so I wanted to get the window in. With aid from my neighbor to hold the window in place while I screwed the interior ring on we got the window in just after dark.
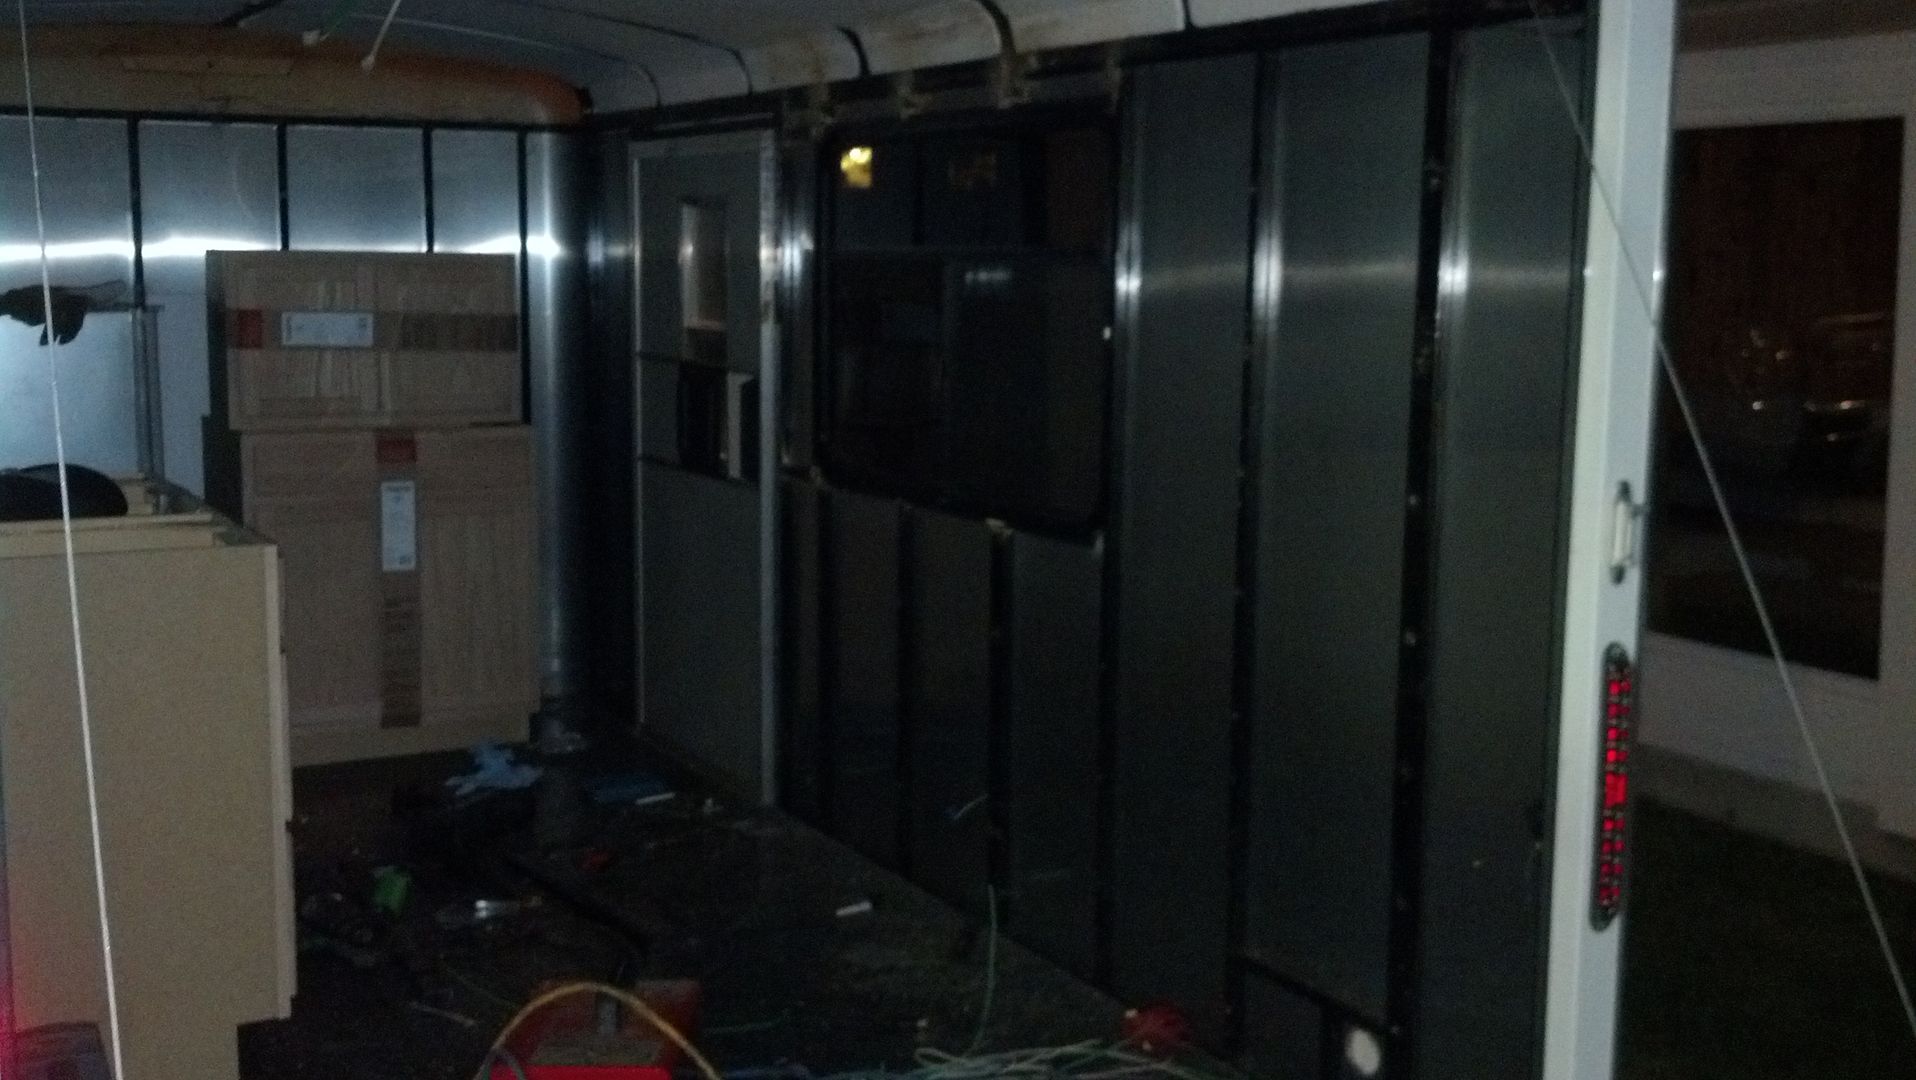
Image
Image
Image

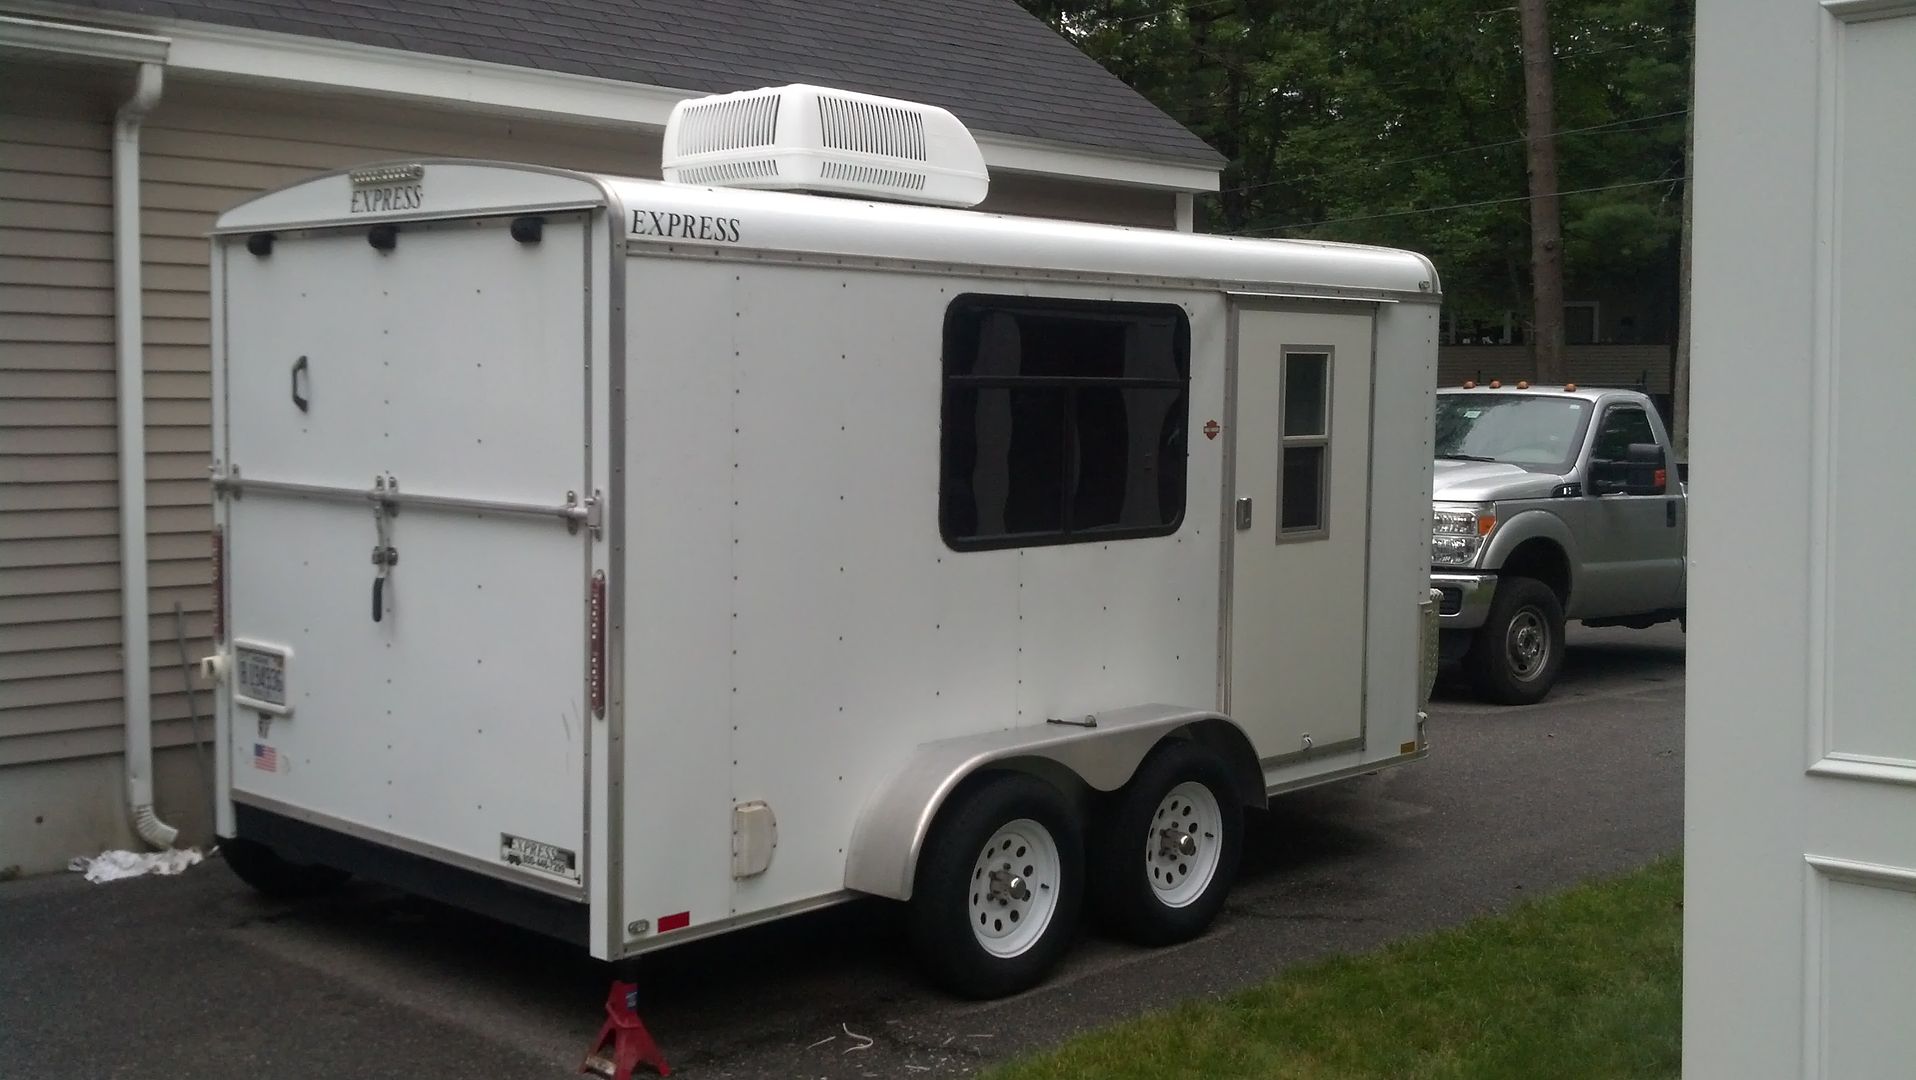
Compared to other window sizes I have seen used this one is pretty big in that location, but it will be nice with the table being right there. I am used to having it as it came out of the A-liner. I will install the curtain from the A-liner that was for this window and privacy will not be an issue when I am in there or my bike is when parked in route to a campground.

The other window and the fridge vents will require cutting a stud and framing in the header and sill, after that I will try to fit the rest in between existing studs. Should be able to get more than one hole done per night for the remainder of the items.

Adam
User avatar
Jiffypop207
Teardrop Master
 
Posts: 205
Joined: Wed Sep 09, 2009 8:39 pm
Location: Old Orchard Beach, ME

Re: New to me 7x14 CT conversion

Postby Jiffypop207 » Wed Aug 13, 2014 7:54 am

Couple shots this morning in better lighting....
Image
Image

Adam
User avatar
Jiffypop207
Teardrop Master
 
Posts: 205
Joined: Wed Sep 09, 2009 8:39 pm
Location: Old Orchard Beach, ME

Re: New to me 7x14 CT conversion

Postby Spotman » Wed Aug 13, 2014 9:30 am

:thumbsup: Very nice window set up.
2018 Heartland Terry Classic V21
2018 Toyota Tundra DC
User avatar
Spotman
500 Club
 
Posts: 674
Images: 241
Joined: Thu Jul 27, 2006 4:16 pm
Location: Virginia Beach, VA.
Top

Re: New to me 7x14 CT conversion

Postby hankaye » Wed Aug 13, 2014 10:31 am

Jiffypop207, Howdy;

That's one serious window you have there, down right wicked it is...
When you install your batteries you can go ahead and eliminate the wee bitty
battery for the brakes, just wire them into the main batteries you will have.
The TT and the 5er that I live in now don't have the bitty battery, just the main ones.

hank
Striving for a less complicated life since 1949 ...
Every day I beat my own previous record for number of consecutive days I've stayed alive.
hankaye
2000 Club
2000 Club
 
Posts: 2567
Images: 1
Joined: Thu Dec 06, 2012 5:35 pm
Location: S.W. New Mexico
Top

Re: New to me 7x14 CT conversion

Postby dustboy » Wed Aug 13, 2014 10:44 am

Jiffypop207 wrote:Between a new side wall or a marginal fix at best, what I have into it, what I could sell it for, what I can use out of it vs what I would have to buy new/used it seemed I would make out best this route.

Adam


Fair enough! Looks like you found a lot of good parts in there. Didn't know those things had such issues. Somebody can probably make a really sweet TD off that frame.
dustboy
Teardrop Master
 
Posts: 279
Images: 10
Joined: Fri Jan 11, 2013 5:27 pm
Top

Re: New to me 7x14 CT conversion

Postby Jiffypop207 » Wed Aug 13, 2014 11:31 am

hankaye wrote:Jiffypop207, Howdy;

That's one serious window you have there, down right wicked it is...
When you install your batteries you can go ahead and eliminate the wee bitty
battery for the brakes, just wire them into the main batteries you will have.
The TT and the 5er that I live in now don't have the bitty battery, just the main ones.

hank


Great idea.
User avatar
Jiffypop207
Teardrop Master
 
Posts: 205
Joined: Wed Sep 09, 2009 8:39 pm
Location: Old Orchard Beach, ME
Top

Re: New to me 7x14 CT conversion

Postby lrrowe » Wed Aug 13, 2014 1:00 pm

I had though of this concept also. But I am a little bothered by what the issue would be if the main batteries were too weak or disconnected for some reason. Is this a valid concern?
Bob

First Post on Purchase of Trailer: http://www.tnttt.com/viewtopic.php?f=42&t=60722
Hot water infloor and radiator heating project:[url]http://www.tnttt.com/posting.php?mode=reply&f=54&t=62327[/

Image Image
User avatar
lrrowe
Donating Member
 
Posts: 3285
Images: 439
Joined: Sun Feb 10, 2013 5:54 am
Location: SW Virigina
Top

Re: New to me 7x14 CT conversion

Postby hankaye » Wed Aug 13, 2014 11:27 pm

lrrowe, Howdy;

Interesting question ... but, the brakes get power from the tow vehicle (Blue wire), while
being towed on the road, when parked wheel chocks are normally used along with the rear
stabilizers and the front jack (or legs on a 5er), are also in contact with the ground ensuring
the trailer stays where you park it. If the trailer "Breaks away" while being towed, the batteries
that you have installed and have been receiving a charge from the tow vehicle's alternator will be
more than enough to stop the trailer, that's all it's there for, to stop the vehicle in case of an on
road emergency.

hank
Striving for a less complicated life since 1949 ...
Every day I beat my own previous record for number of consecutive days I've stayed alive.
hankaye
2000 Club
2000 Club
 
Posts: 2567
Images: 1
Joined: Thu Dec 06, 2012 5:35 pm
Location: S.W. New Mexico
Top

Re: New to me 7x14 CT conversion

Postby Jiffypop207 » Thu Aug 14, 2014 8:48 am

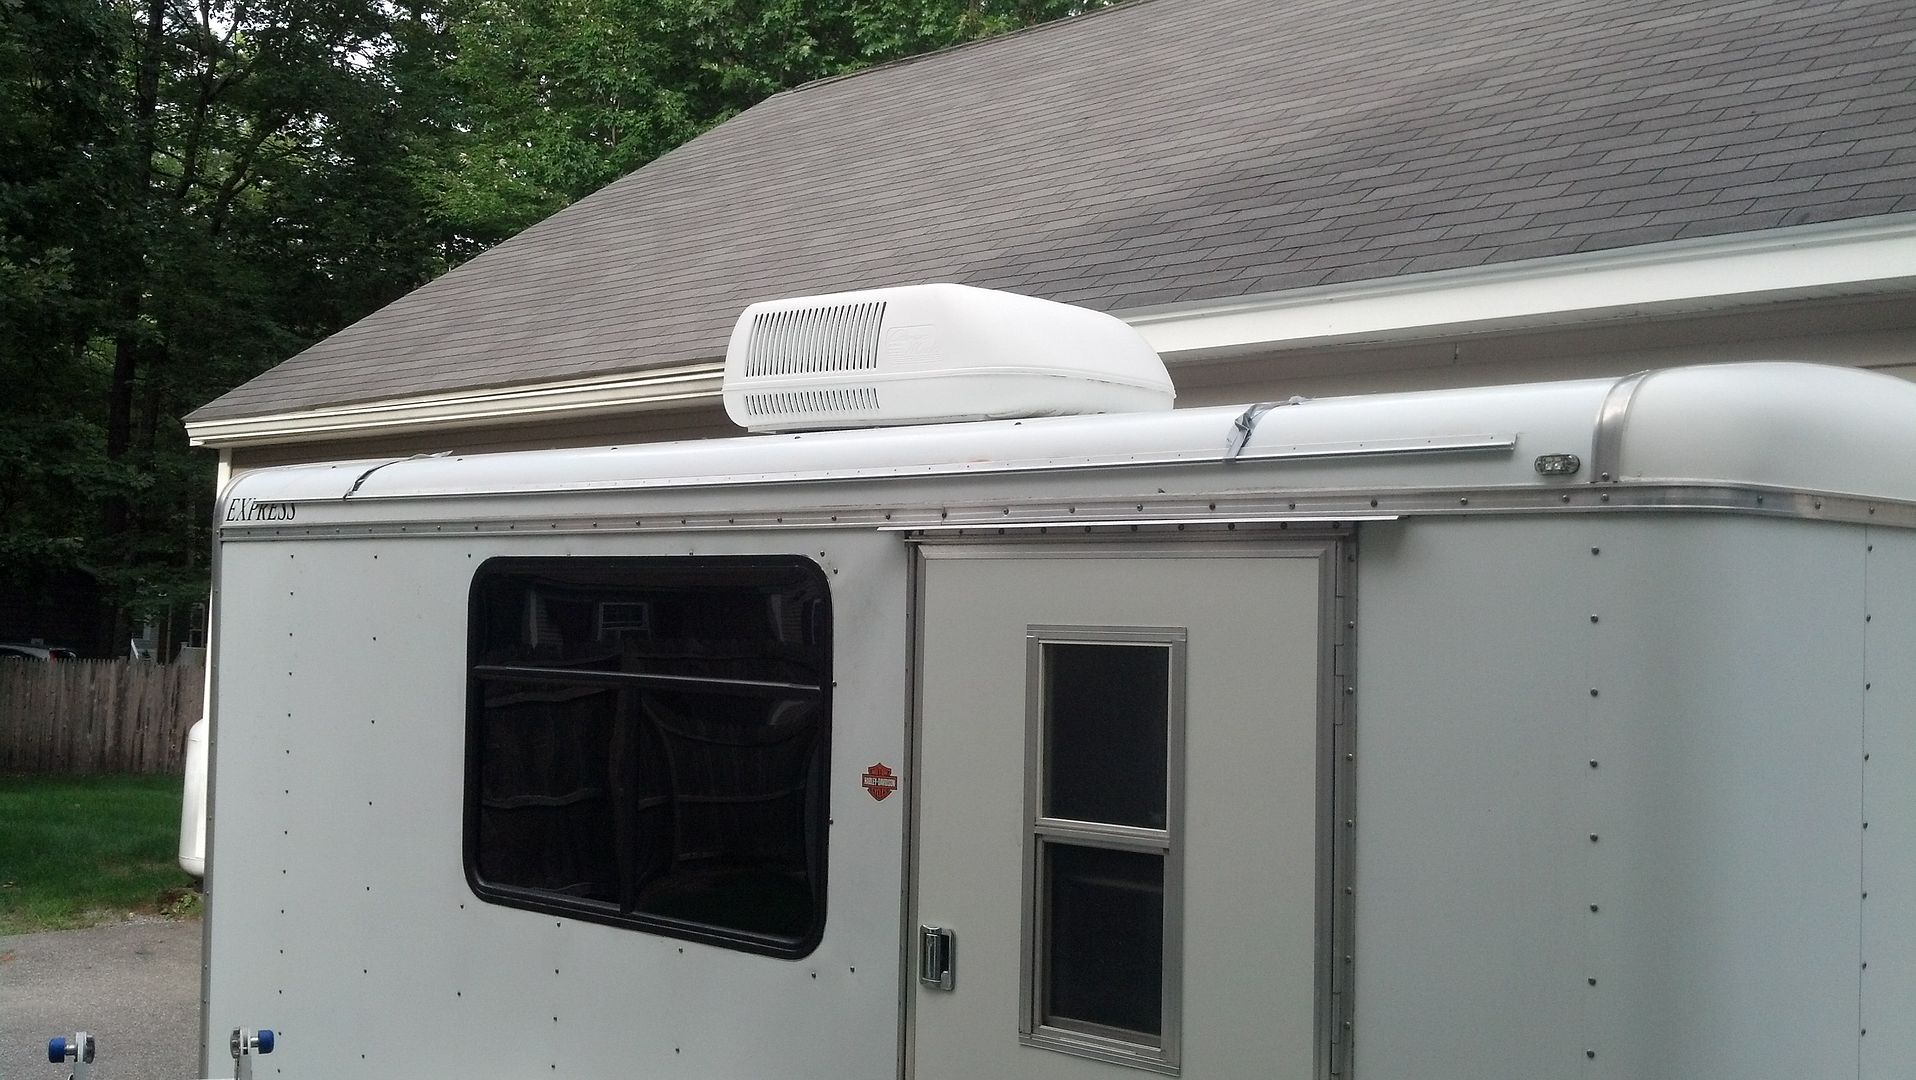
Didn't do any work last night on the CT, but was sure glad I made the push to get that window completely in. We got 6.5" of rain last night. Impressive to watch it rain that hard. I spent time in the garage tearing apart my teardrop. Went into the CT to grab a tool or two.........SO.....a tip from me to anyone working on a CT outside. If you remove the retaining ring on a rooftop AC so you can strip out the trailer, then temporarily replace it inbetween each phase of your work to "Squish" the gasket to make the seal. Even with a rounded roof rain that hard splatters and seeps under the loosened AC. Not puddling quantities inside but wet none then less.......Left the ramp down when I left this morning for work to promote it drying out LOL. Lesson learned. Answers do not come without first making a mistake.

Adam
User avatar
Jiffypop207
Teardrop Master
 
Posts: 205
Joined: Wed Sep 09, 2009 8:39 pm
Location: Old Orchard Beach, ME
Top

Re: New to me 7x14 CT conversion

Postby Jiffypop207 » Tue Aug 19, 2014 7:16 am

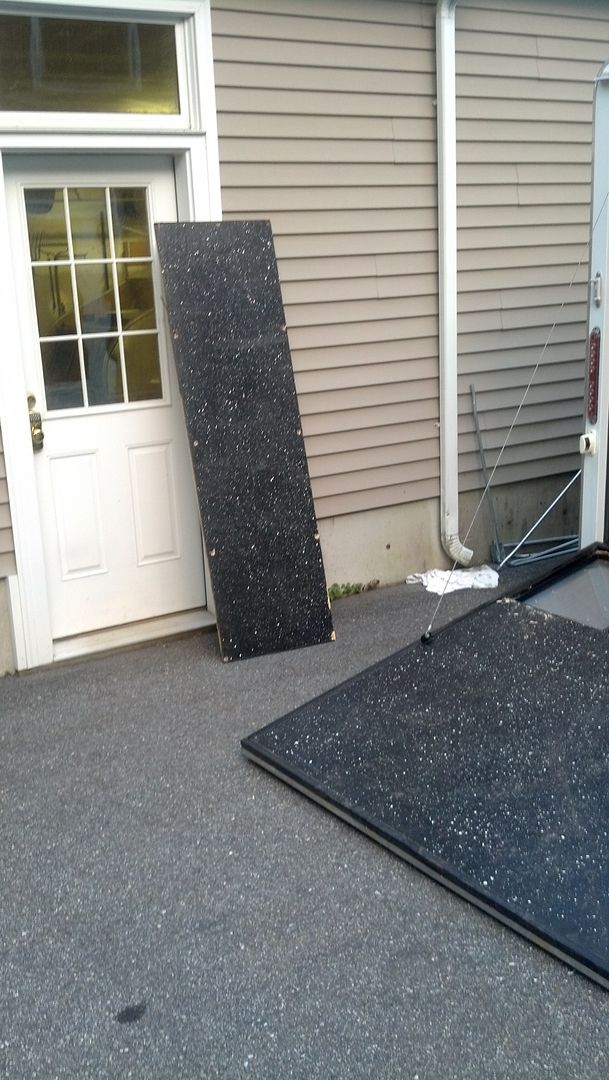
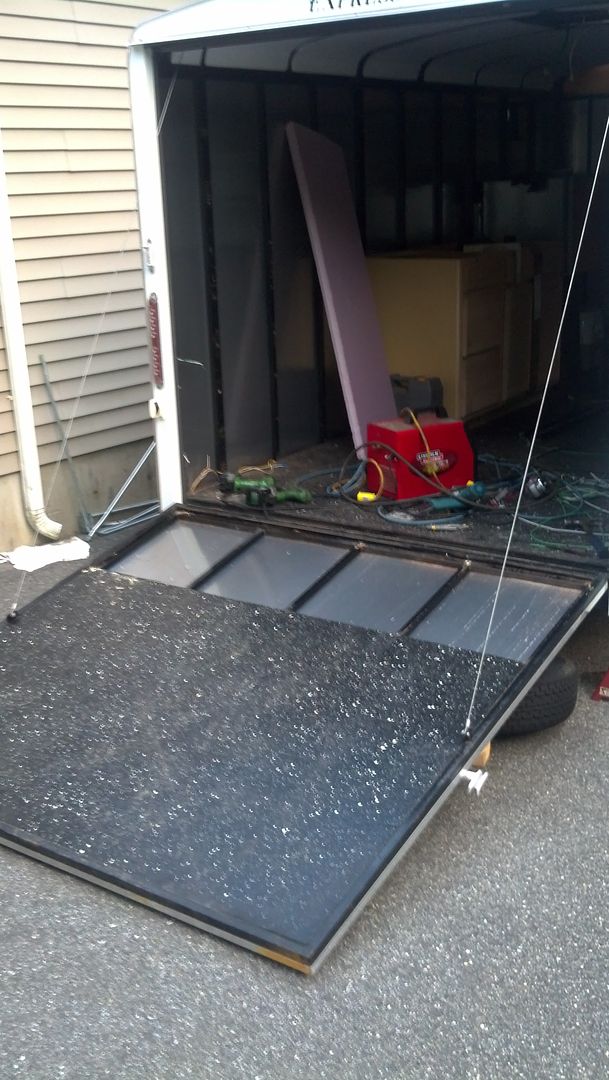
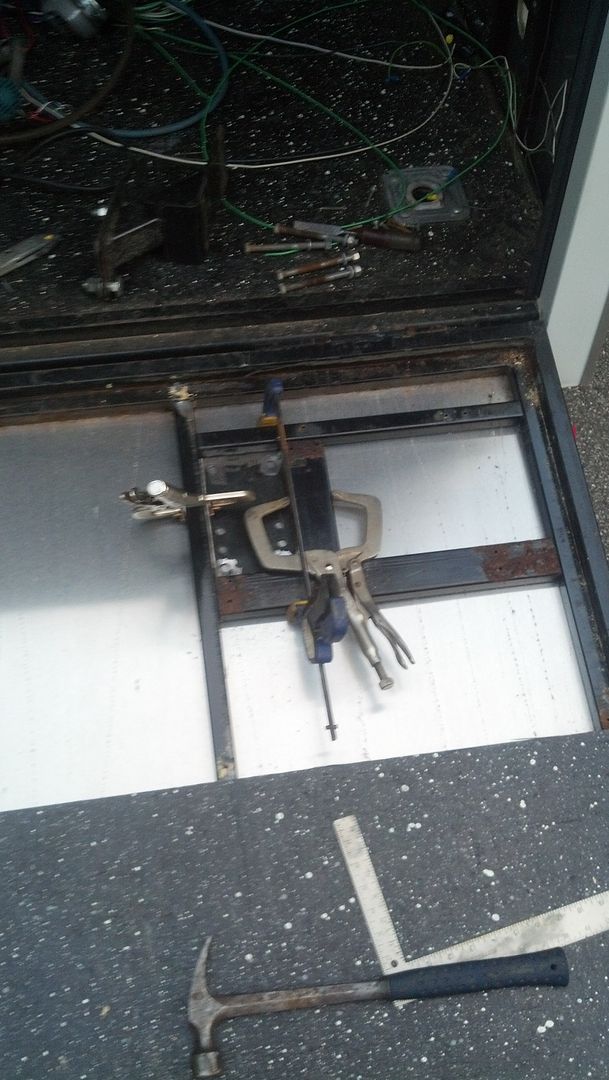
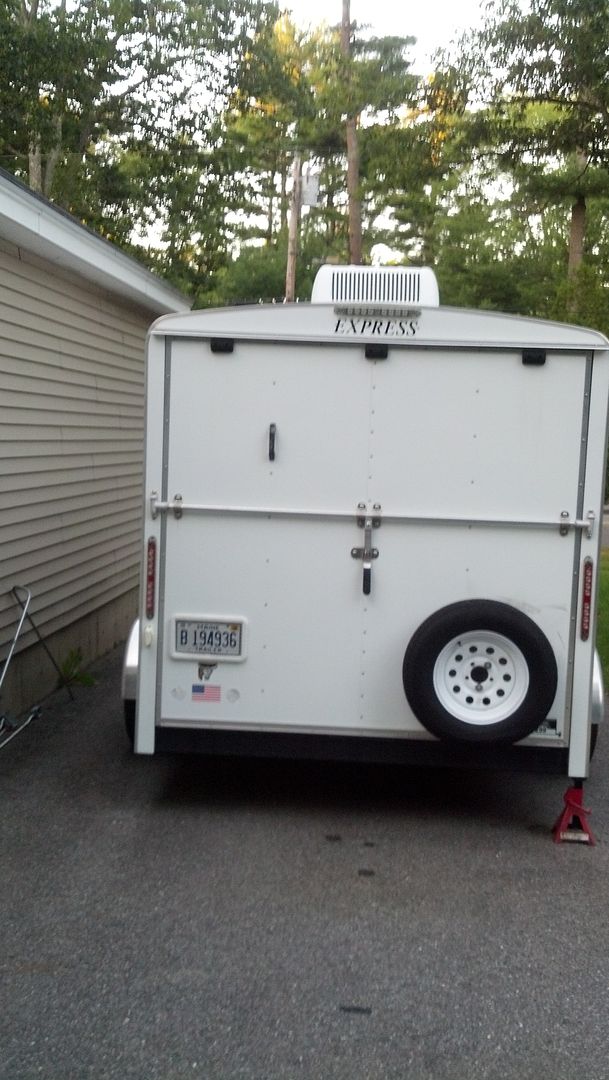
Got some work done on the trailer last night after waking from my post work/food coma nap. My floor and ramp are covered with an epoxy paint. I wanted to mount my spare on the ramp like a few I have seen before. To remove the plywood from the ramp I needed to locate and expose the screw heads to remove them. I used a magnet to find the screw locations and then a hammer and chisel to expose them. This made quick work of the process and I soon had the plywood off...
Image
Image

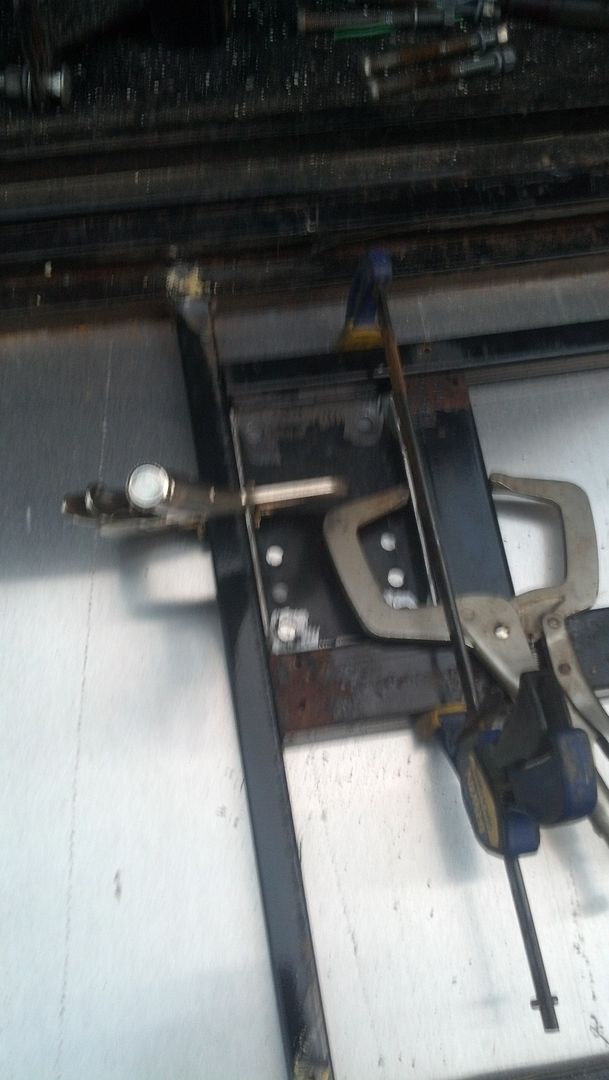
Then I took the backer to the tongue bracket and set it in the ramp. I had to trim the sides down so they were no longer proud of the ramp structure and would insure the plywood would sit back correctly. I cut tubing to box around the backer and then welded it all in...
Image
Image

I then drilled out the 4 bolt holes used through the exterior skin. I put in new stainless bolts, temporarily secured them with a nut and welded the head to the backer so I do not have to pull the plywood if I were needed to remove the tire holder bracket. Here is the tire bracket in place. I will pull it off today when I get nylock stainless nuts of the correct size, caulk the bolts, and re-install...
Image

My ramp has a single lever to unlock both sides simutaneously, so I placed the tire off to the passenger side. A couple shots of the tire in place...
Image
Image

I am going to slip some rigid insulation in the ramp while it is open before I close it back up with the existing plywood. If I can keep starting and completing a task a night I will push through this conversion in quick time, but that will not likely be the case.


The awning is being delivered TODAY!!! Very excited to get that installed.

Adam
User avatar
Jiffypop207
Teardrop Master
 
Posts: 205
Joined: Wed Sep 09, 2009 8:39 pm
Location: Old Orchard Beach, ME
Top

Re: New to me 7x14 CT conversion

Postby lrrowe » Tue Aug 19, 2014 8:08 am

Good job.
I considered doing the same on my barn doors, but gave up the idea after realizing it would affect the opening of the door at the complete end of it's opening. I mean that it will not lay flat against the trailer when open. Your method looks as if it will have no impact on opening your ramp.
Bob

First Post on Purchase of Trailer: http://www.tnttt.com/viewtopic.php?f=42&t=60722
Hot water infloor and radiator heating project:[url]http://www.tnttt.com/posting.php?mode=reply&f=54&t=62327[/

Image Image
User avatar
lrrowe
Donating Member
 
Posts: 3285
Images: 439
Joined: Sun Feb 10, 2013 5:54 am
Location: SW Virigina
Top

Re: New to me 7x14 CT conversion

Postby Jiffypop207 » Wed Aug 20, 2014 6:35 am

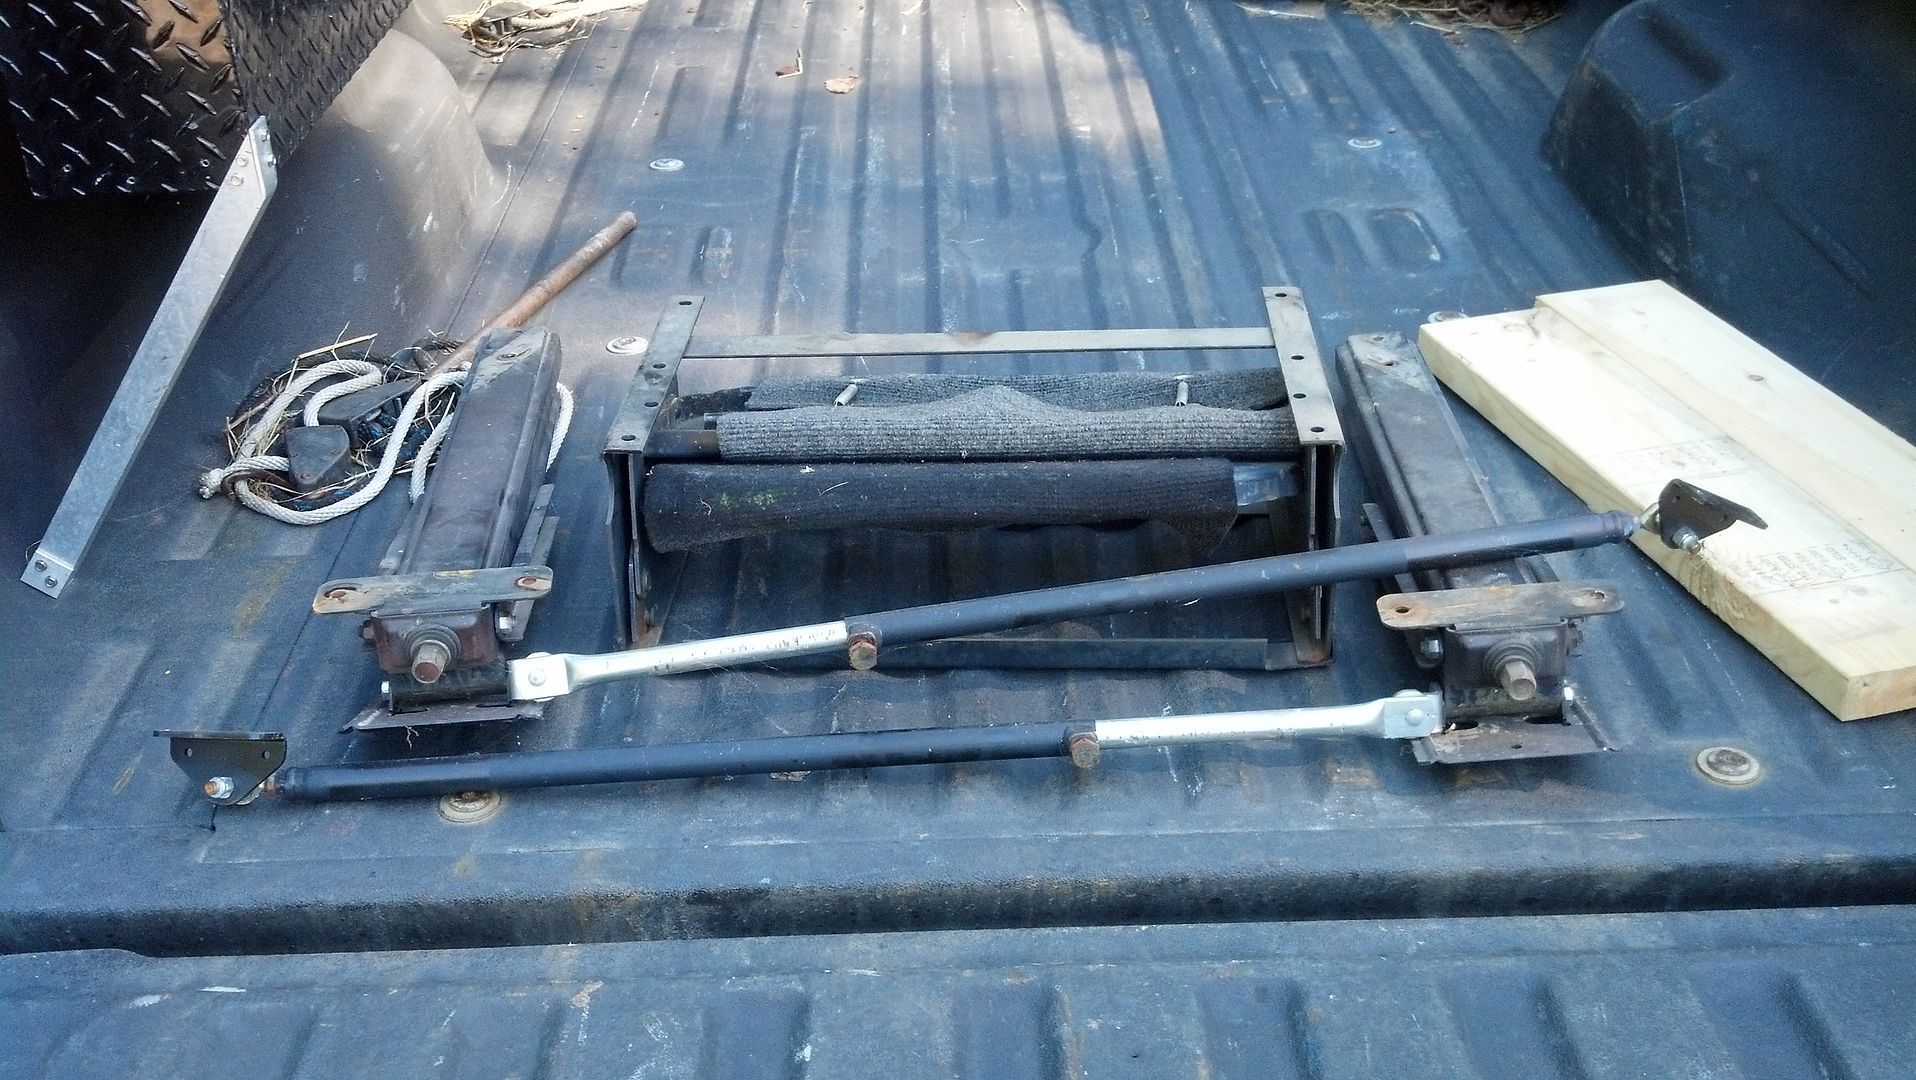
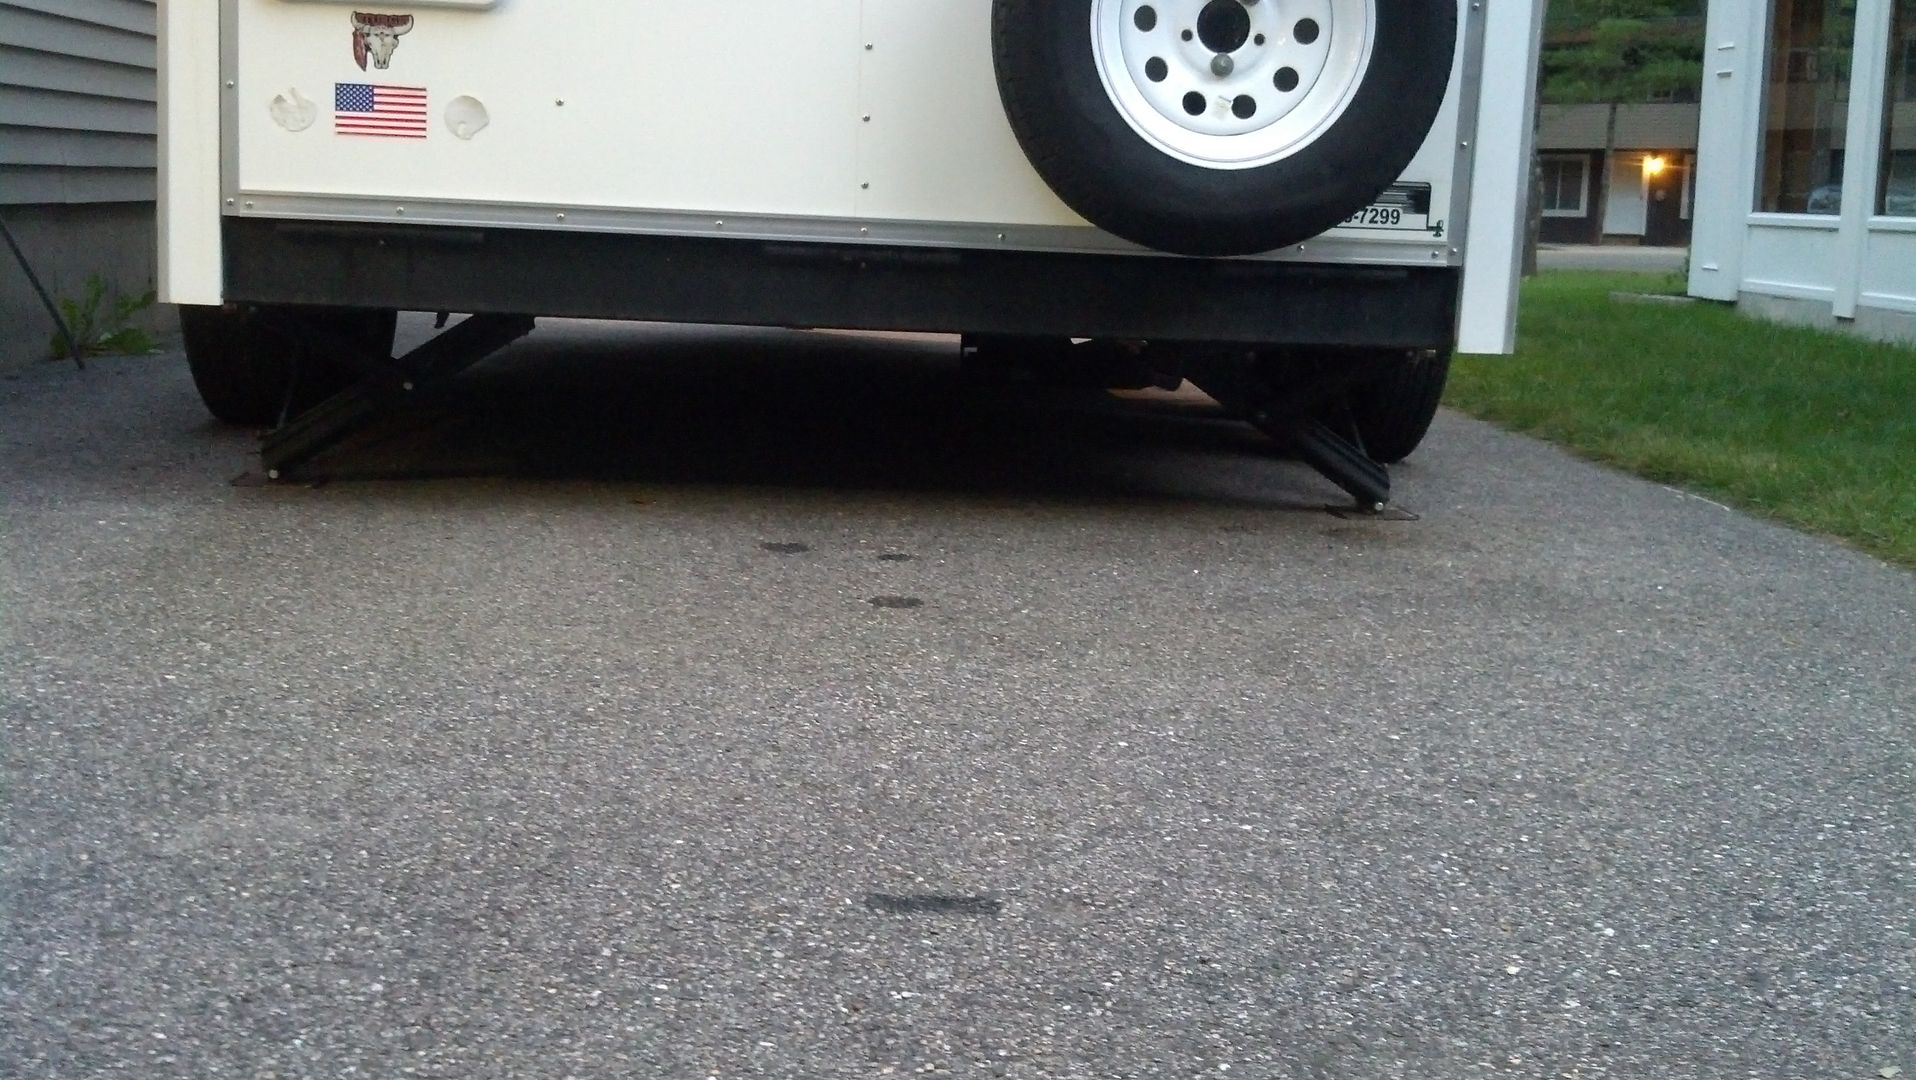
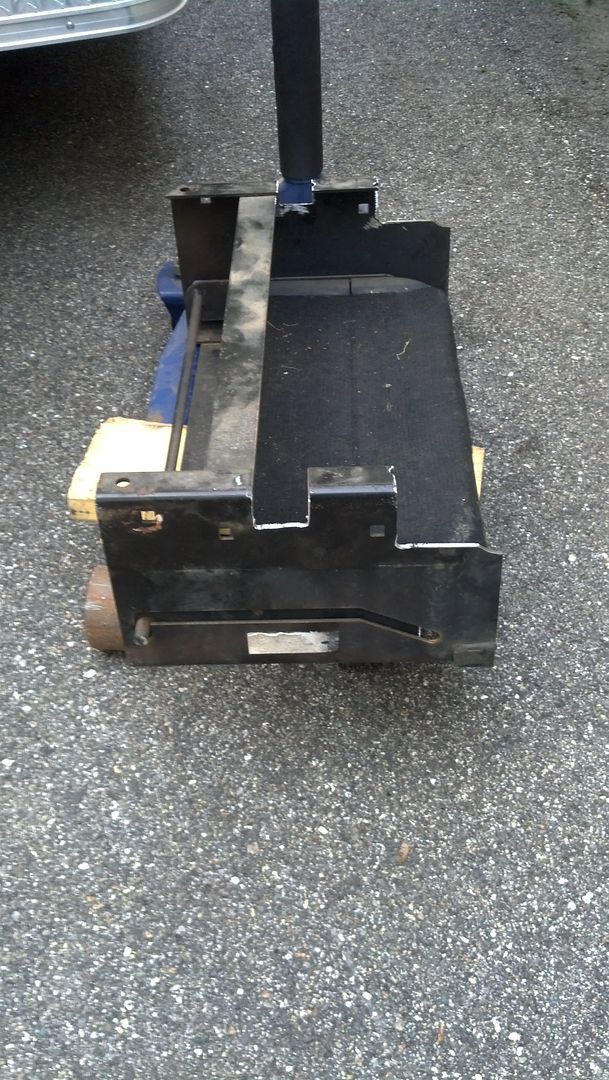
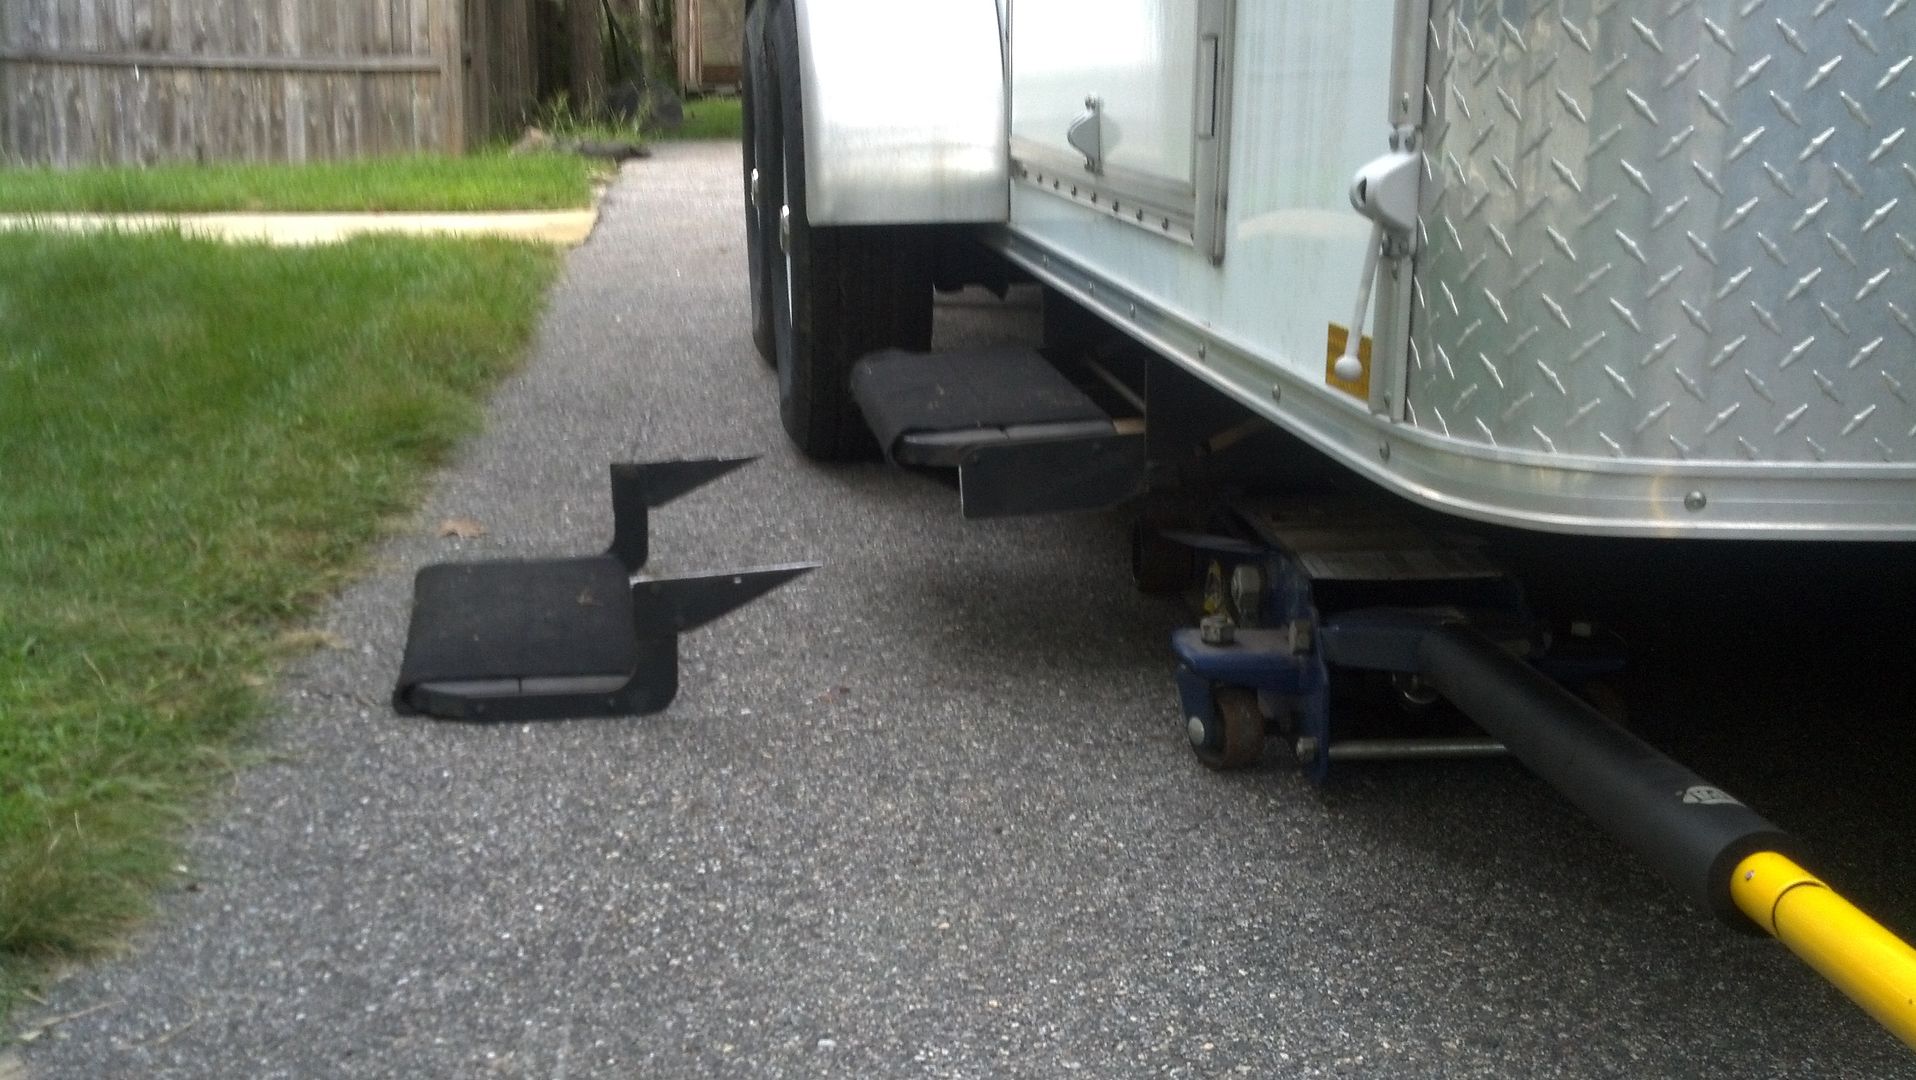
Took a couple items off the A-liner yesterday whilst I was waiting for the flatbed semi to arrive so I could load and move our Lull. A set of two step pull out stairs and two stabilizers with Lock-arm stabilizers on them.
Image

I placed the stairs in rough location on my trailer to see if they will work.....I will be able to use them, but I need to notch them unit to get it out to the edge of the trailer and make another notch for the trailer wiring conduit so I can push them up to where I want. No big deal. I will likely also have to remove the lower step, but time will tell on that part.

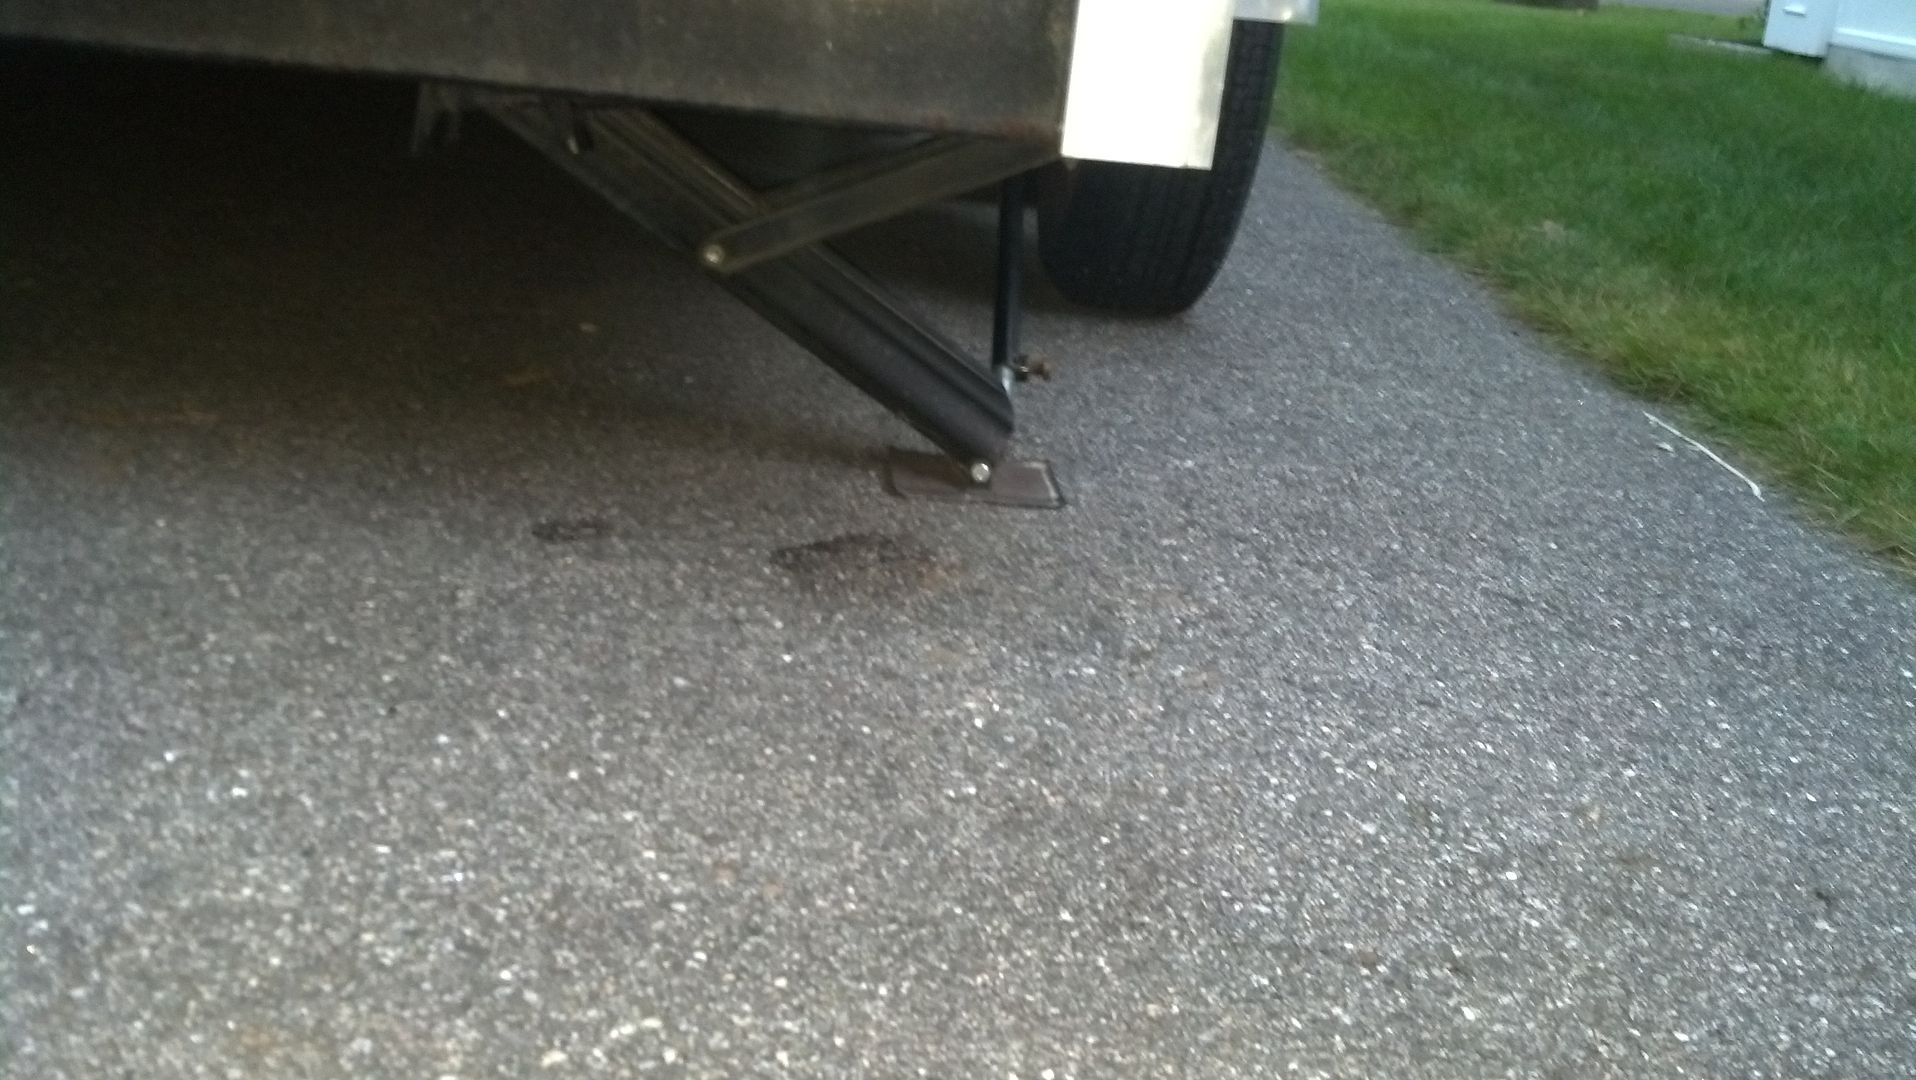
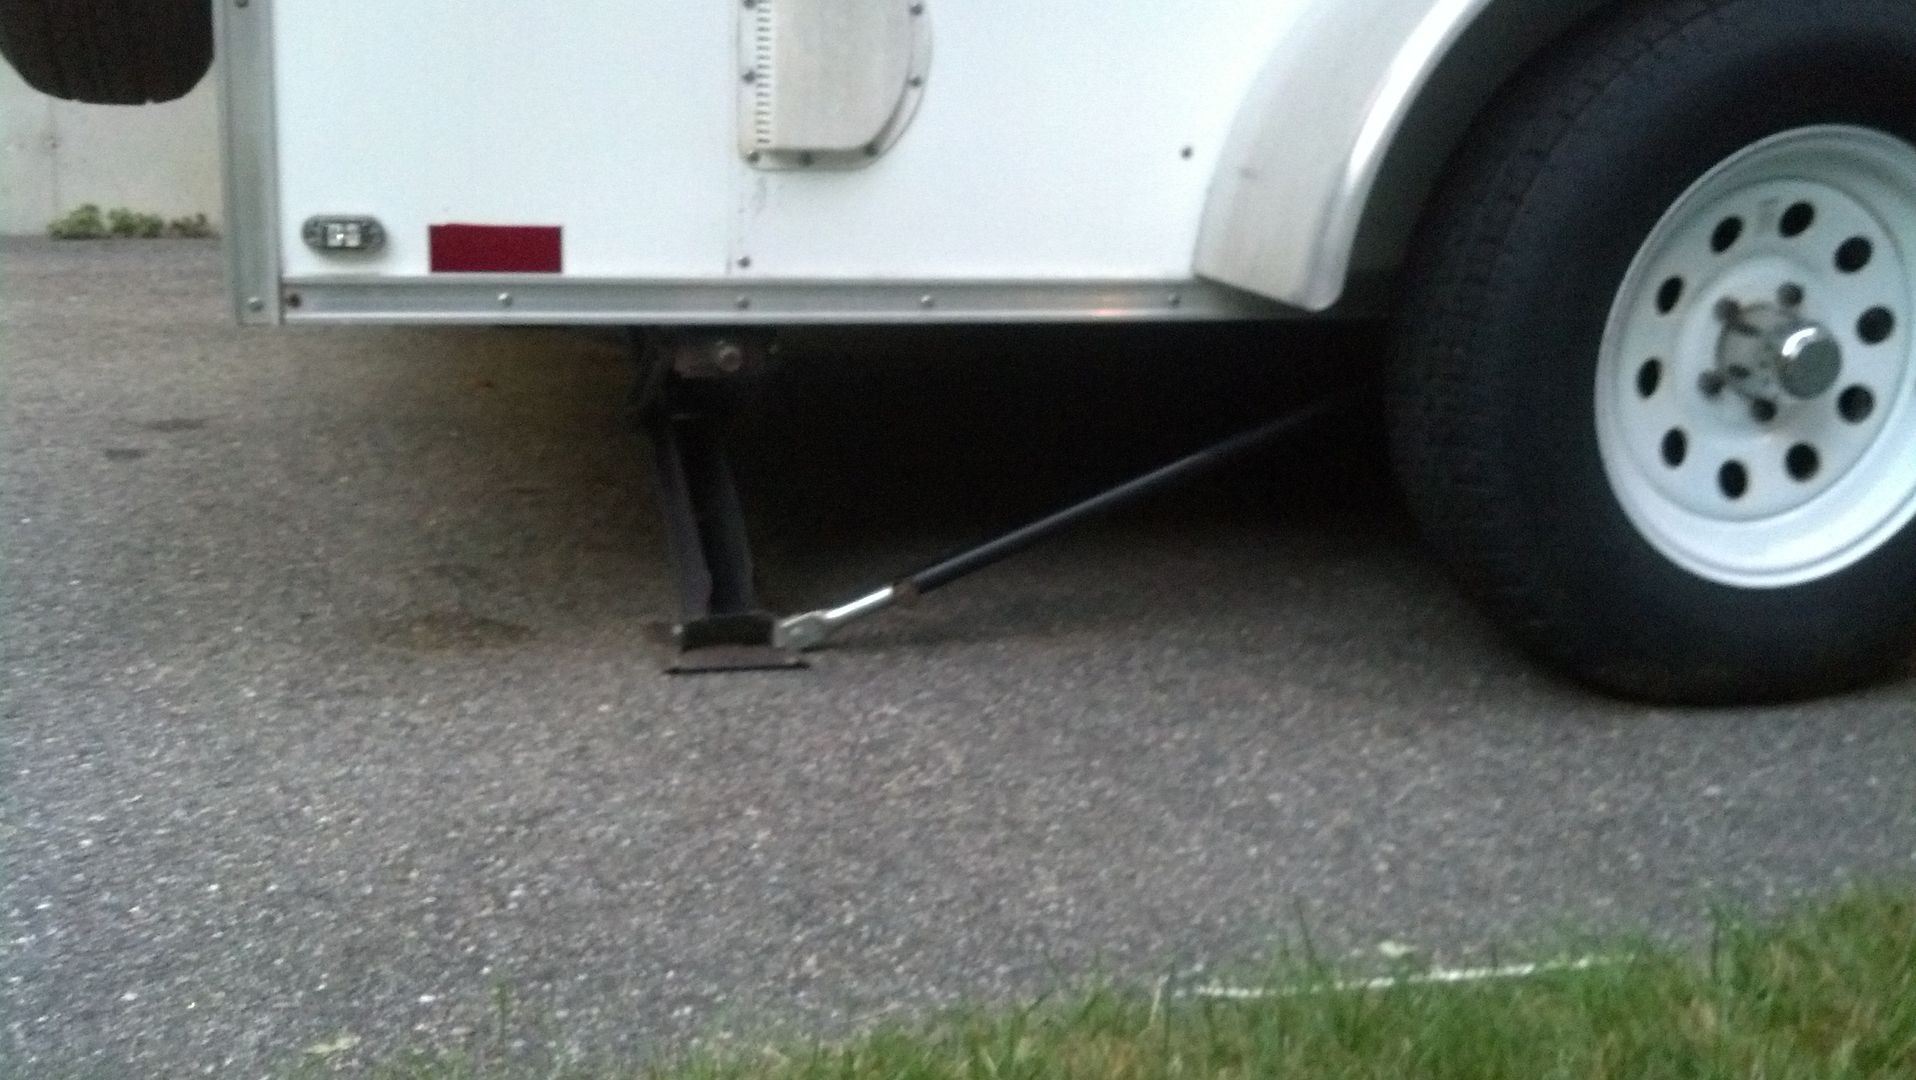
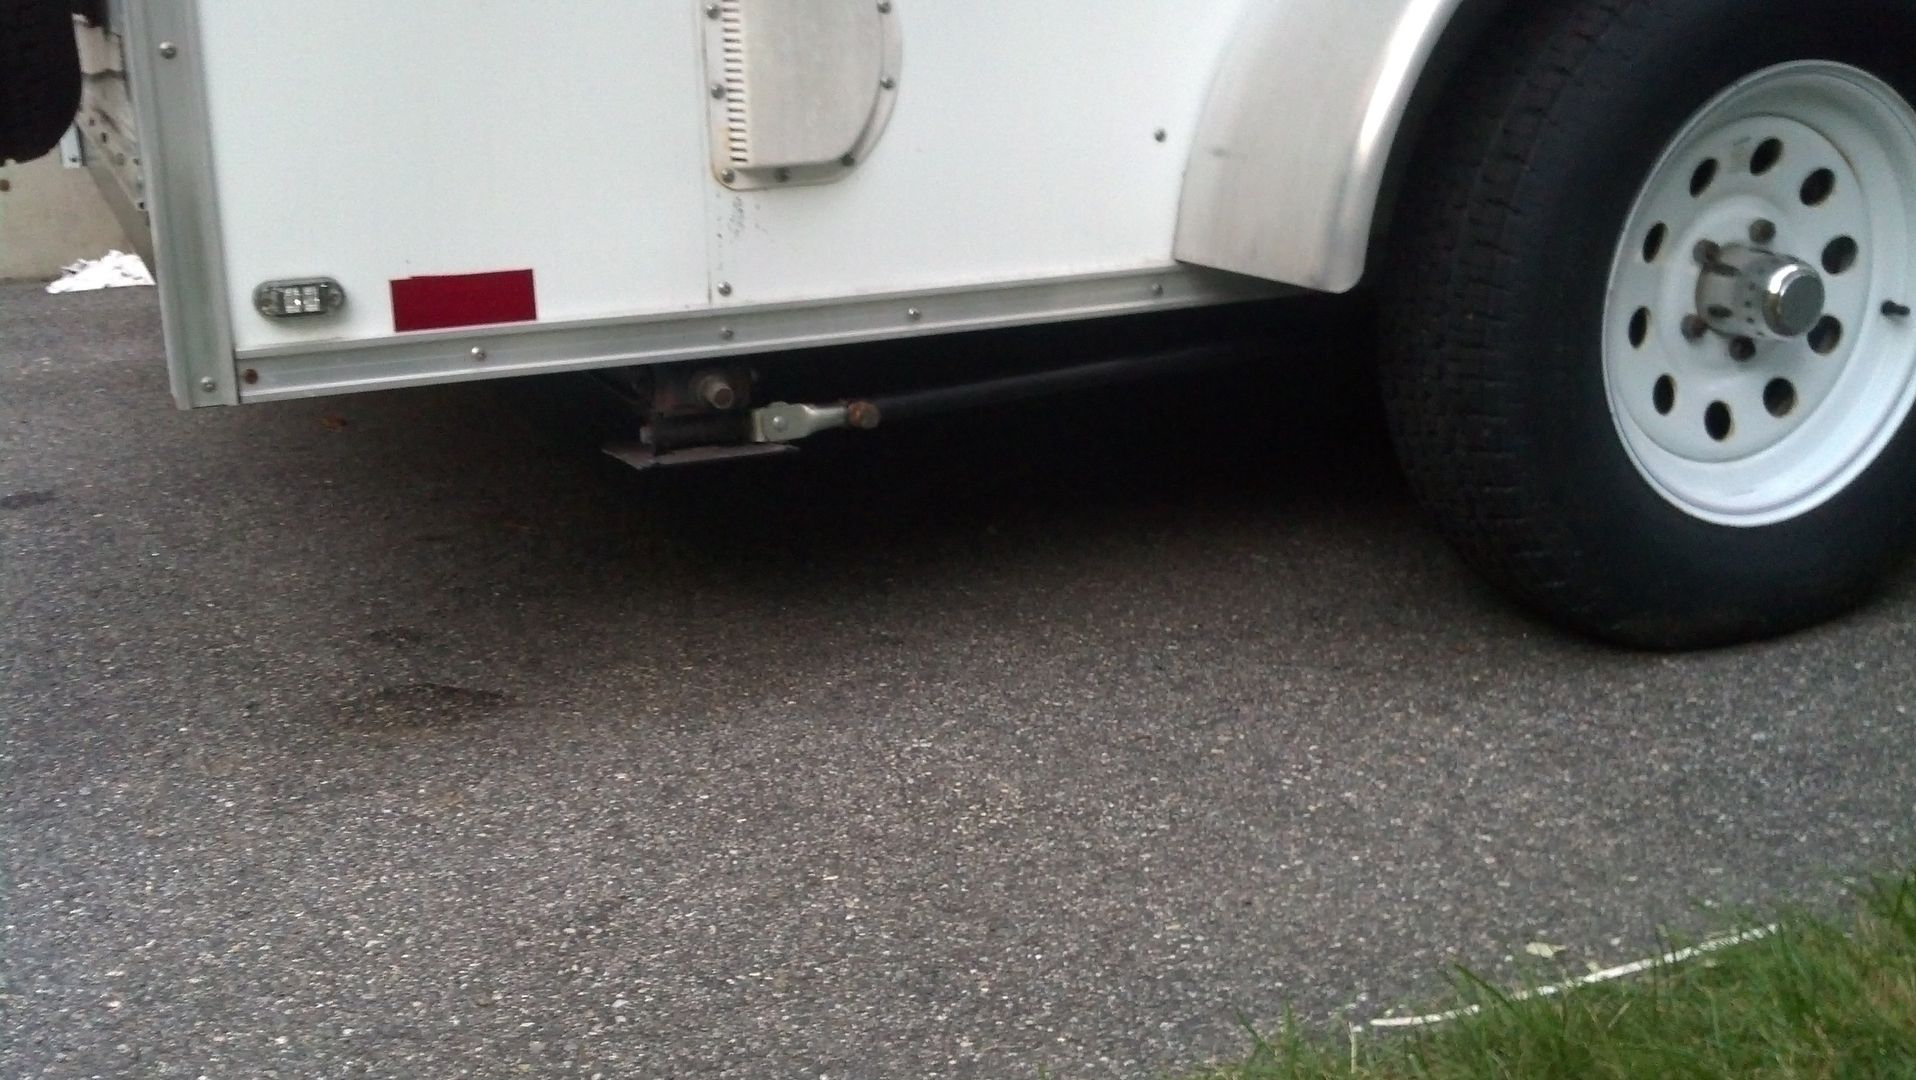
I installed the stabilizers on the rear. Not all the way back, but one cross-member forward. This will lessen the likelihood of them getting dragged. Before mounting I held them up to see what the best position was for them and what the best direction was to mount the Lock-arm.

Here they are mounted
Image
Image

This is how the Lock-arms look when deployed
Image

And how they look stored
Image

With just the two installed I went in the trailer and tried to rock it by shifting weight and lunging and stopping quick. I could not budge it as was the case with my A-liner, but I had four on there. I will likely add the two fronts as well seeing I have them, but this will aid the the construction for the time being. The Lock-arms certainly do as advertised and were a great investment.

Adam
User avatar
Jiffypop207
Teardrop Master
 
Posts: 205
Joined: Wed Sep 09, 2009 8:39 pm
Location: Old Orchard Beach, ME
Top

Re: New to me 7x14 CT conversion

Postby Jiffypop207 » Fri Aug 22, 2014 12:57 pm

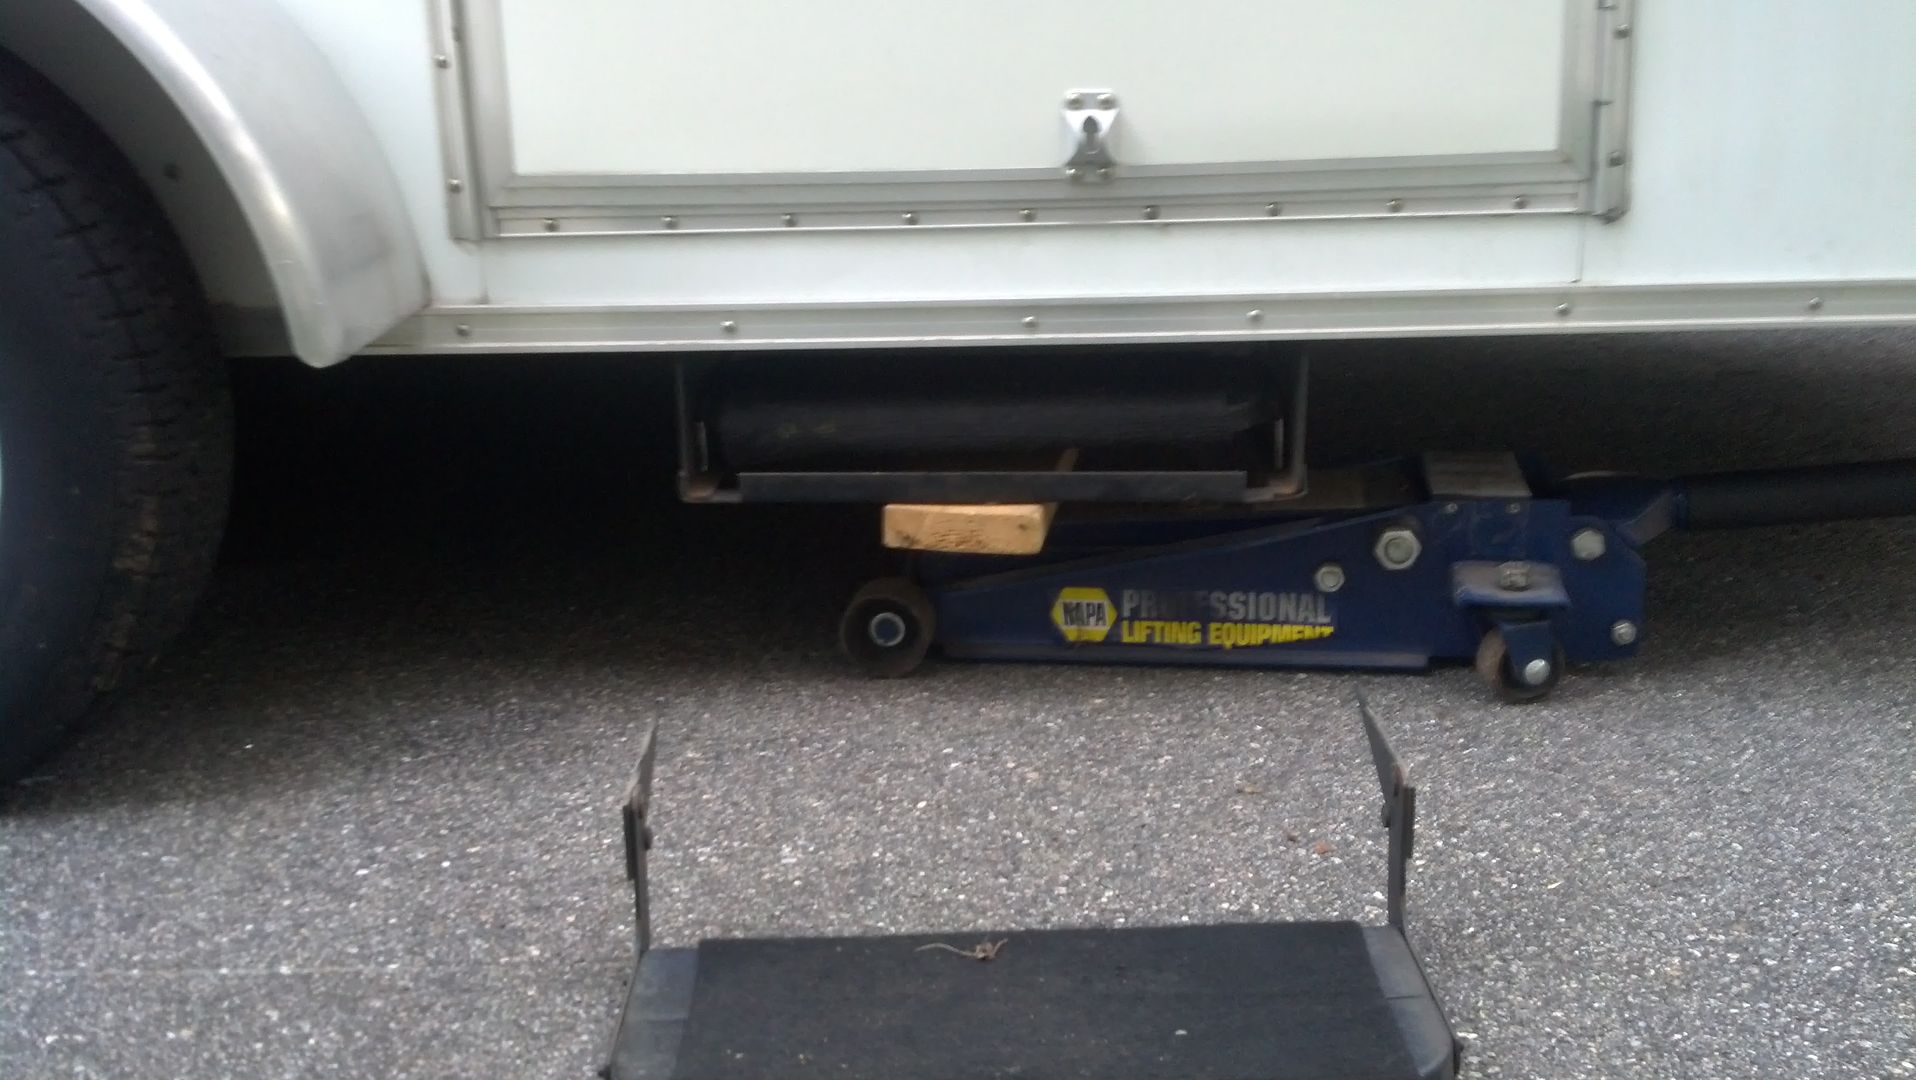
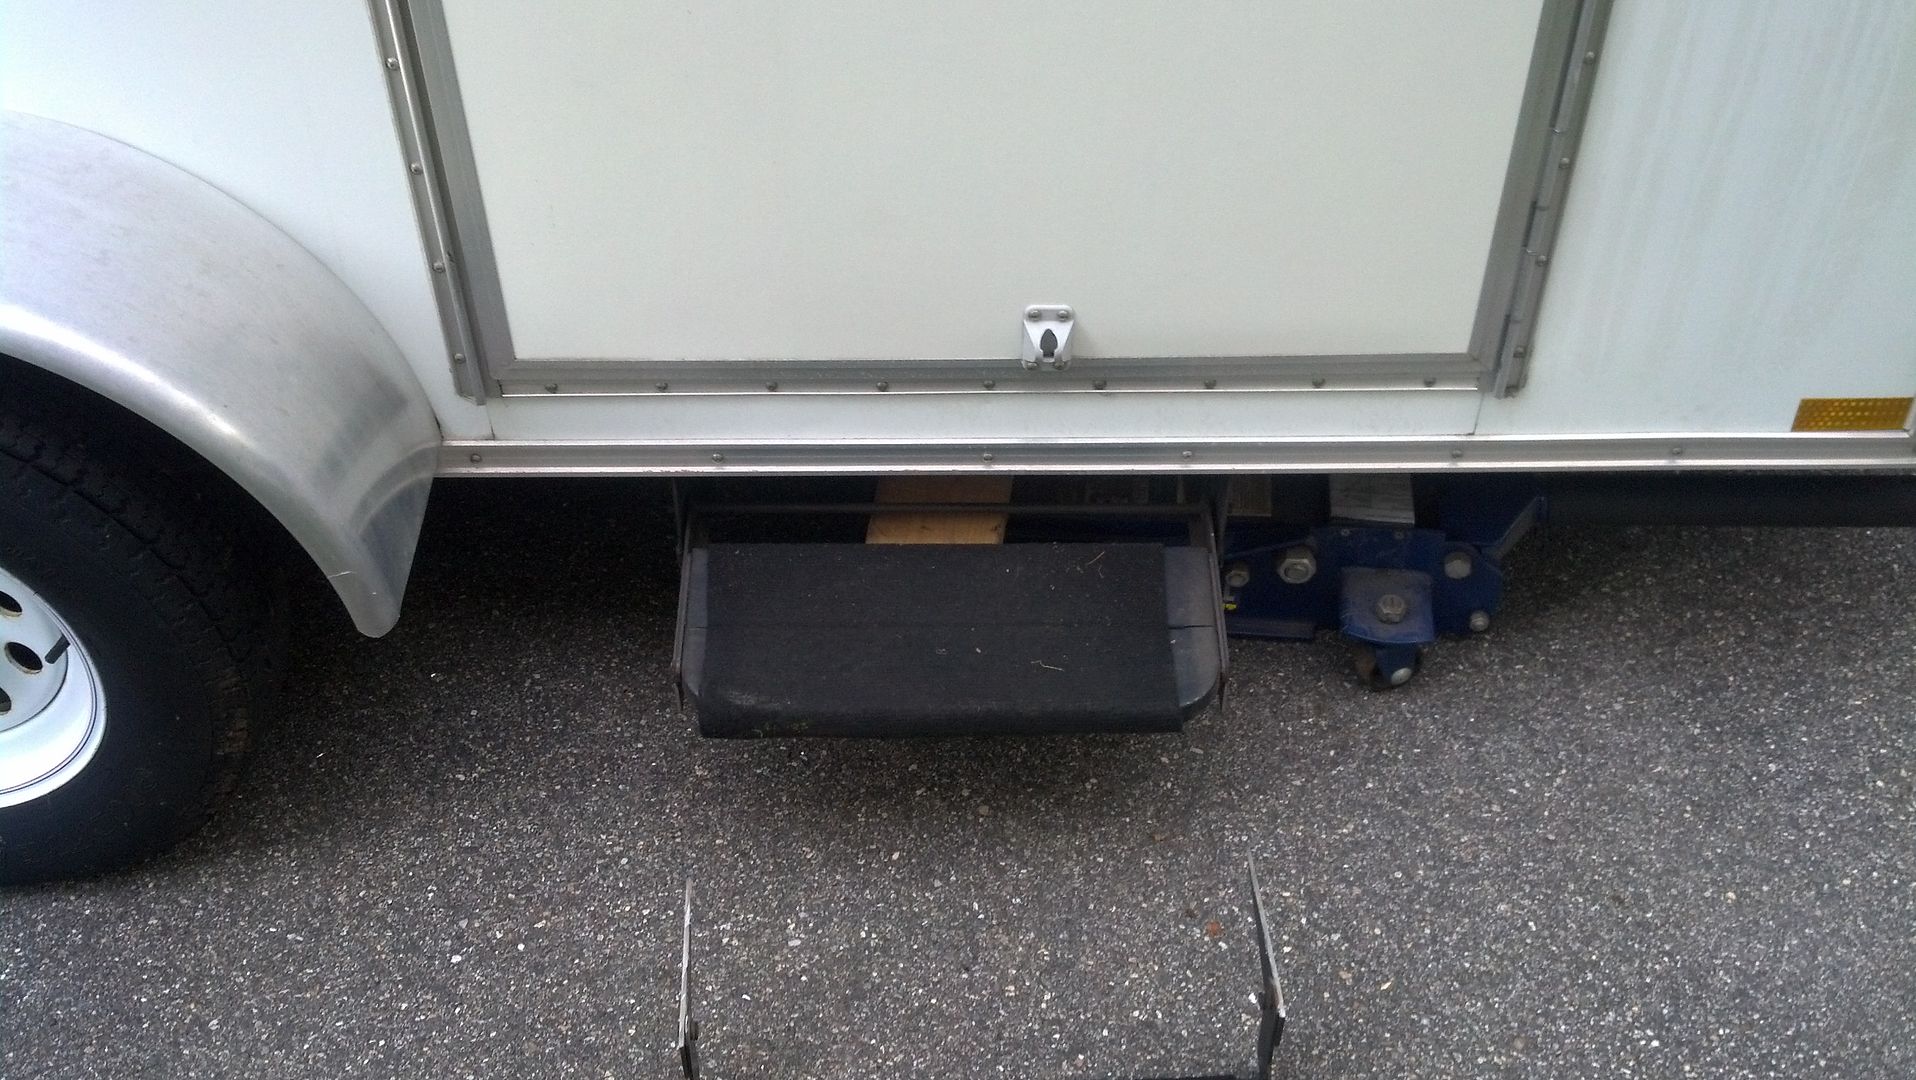
Tuesday finally got the email saying they were trying to contact me for days to deliver my awning.....Excellent, so I setup delivery for Wednesday. I called at the end of the day wednesday to see if I was going to get the delivery.....didn't get put on the truck to go out for delivery. So wednesday night I decided to hack up my stairs to make them work. I had to notch for the siderail as they are 5" tall and the joists are 3" making there be a 2" drop. Also I mentioned I needed to notch for the wiring conduit (1" square tubing) so here are the notches....
Image

I slipped the stairs into postion and the lower floded into storage would never allow the stairs to slide back into drive mode nor would the lower stair be able to be flipped out due to clearance issues. So I cut off the bottom step and tossed the stair on a jack and lifted them into place.......looking good
Image
Image
Image

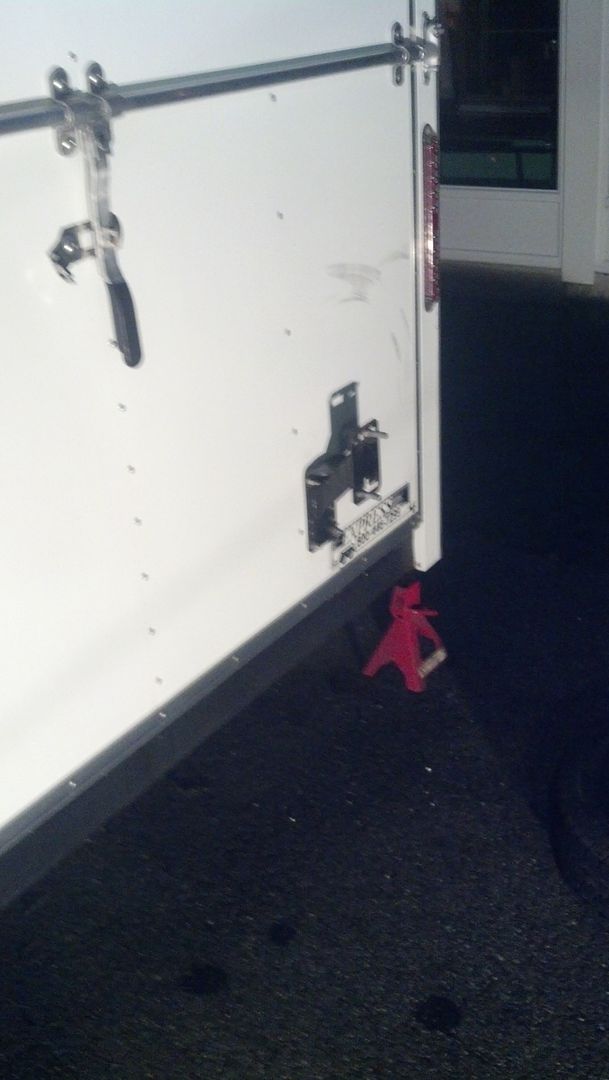
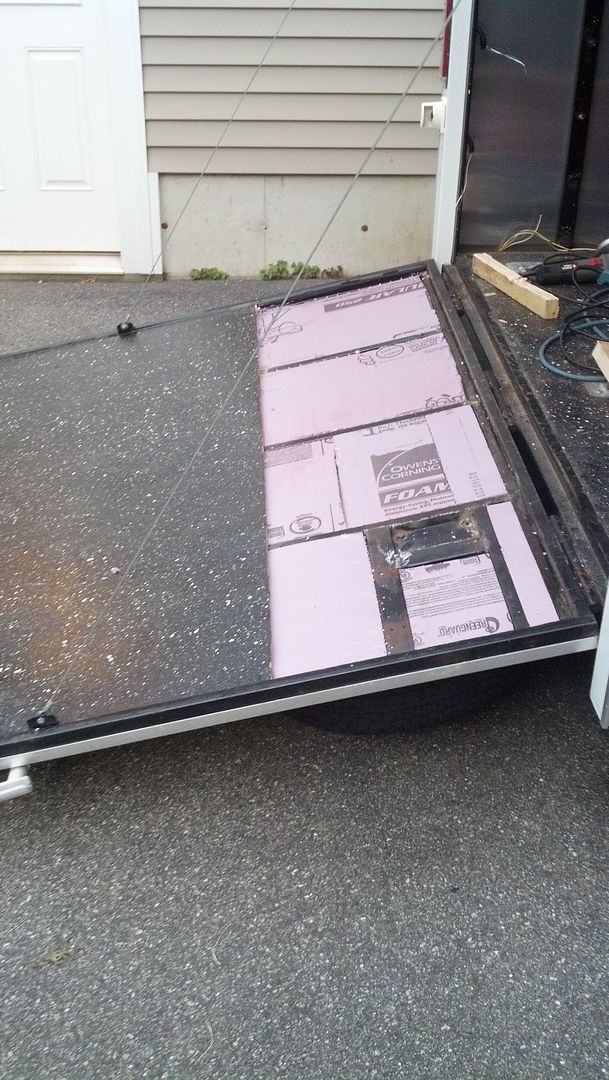
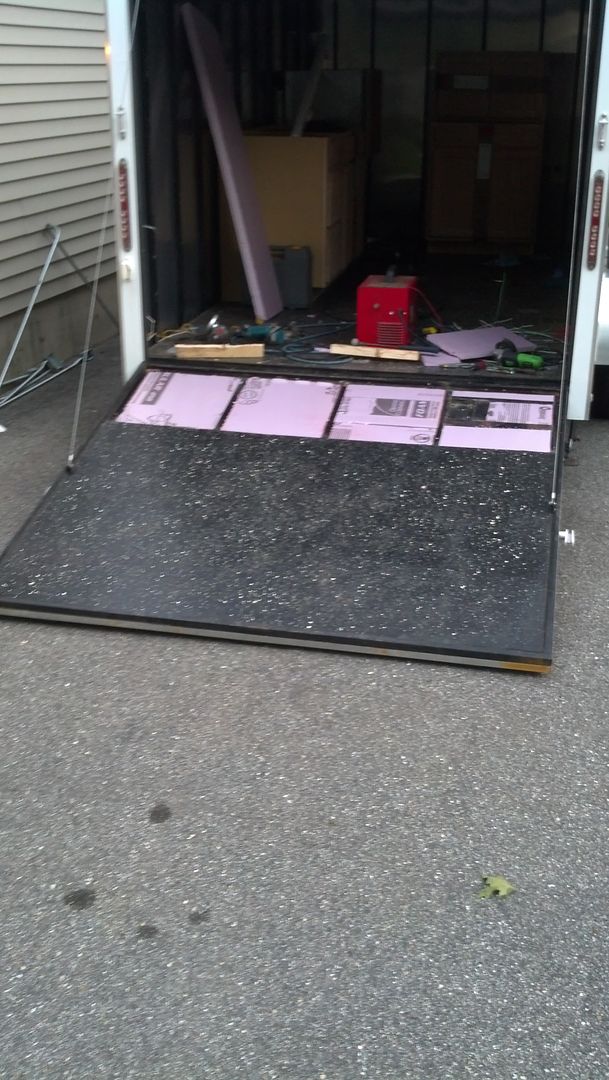
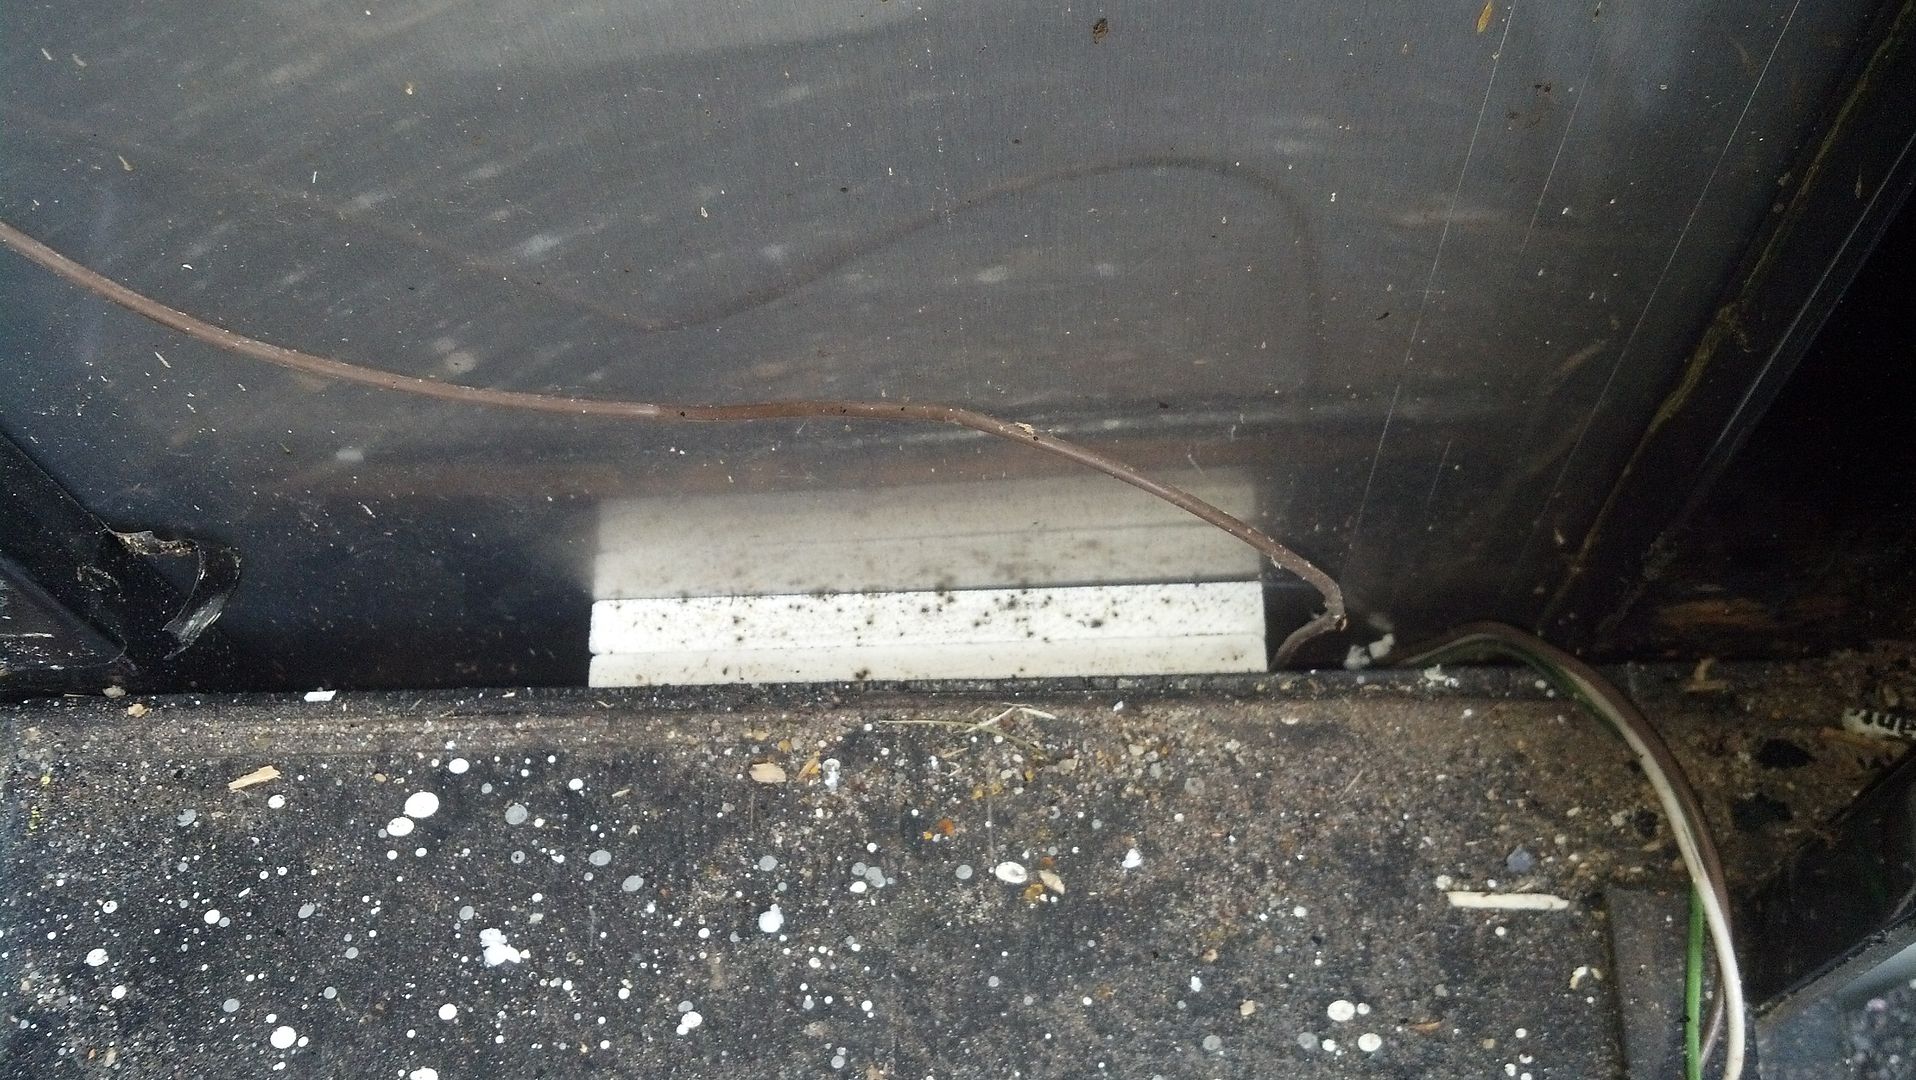
Then I isnsualted the rear ramp while it was opened up. The bolts for the ramp latches fouled most of that place, but I slide the foam in as far as I can......Some day the rest of the ramp will be done. No hurry on that!!
Image
Image

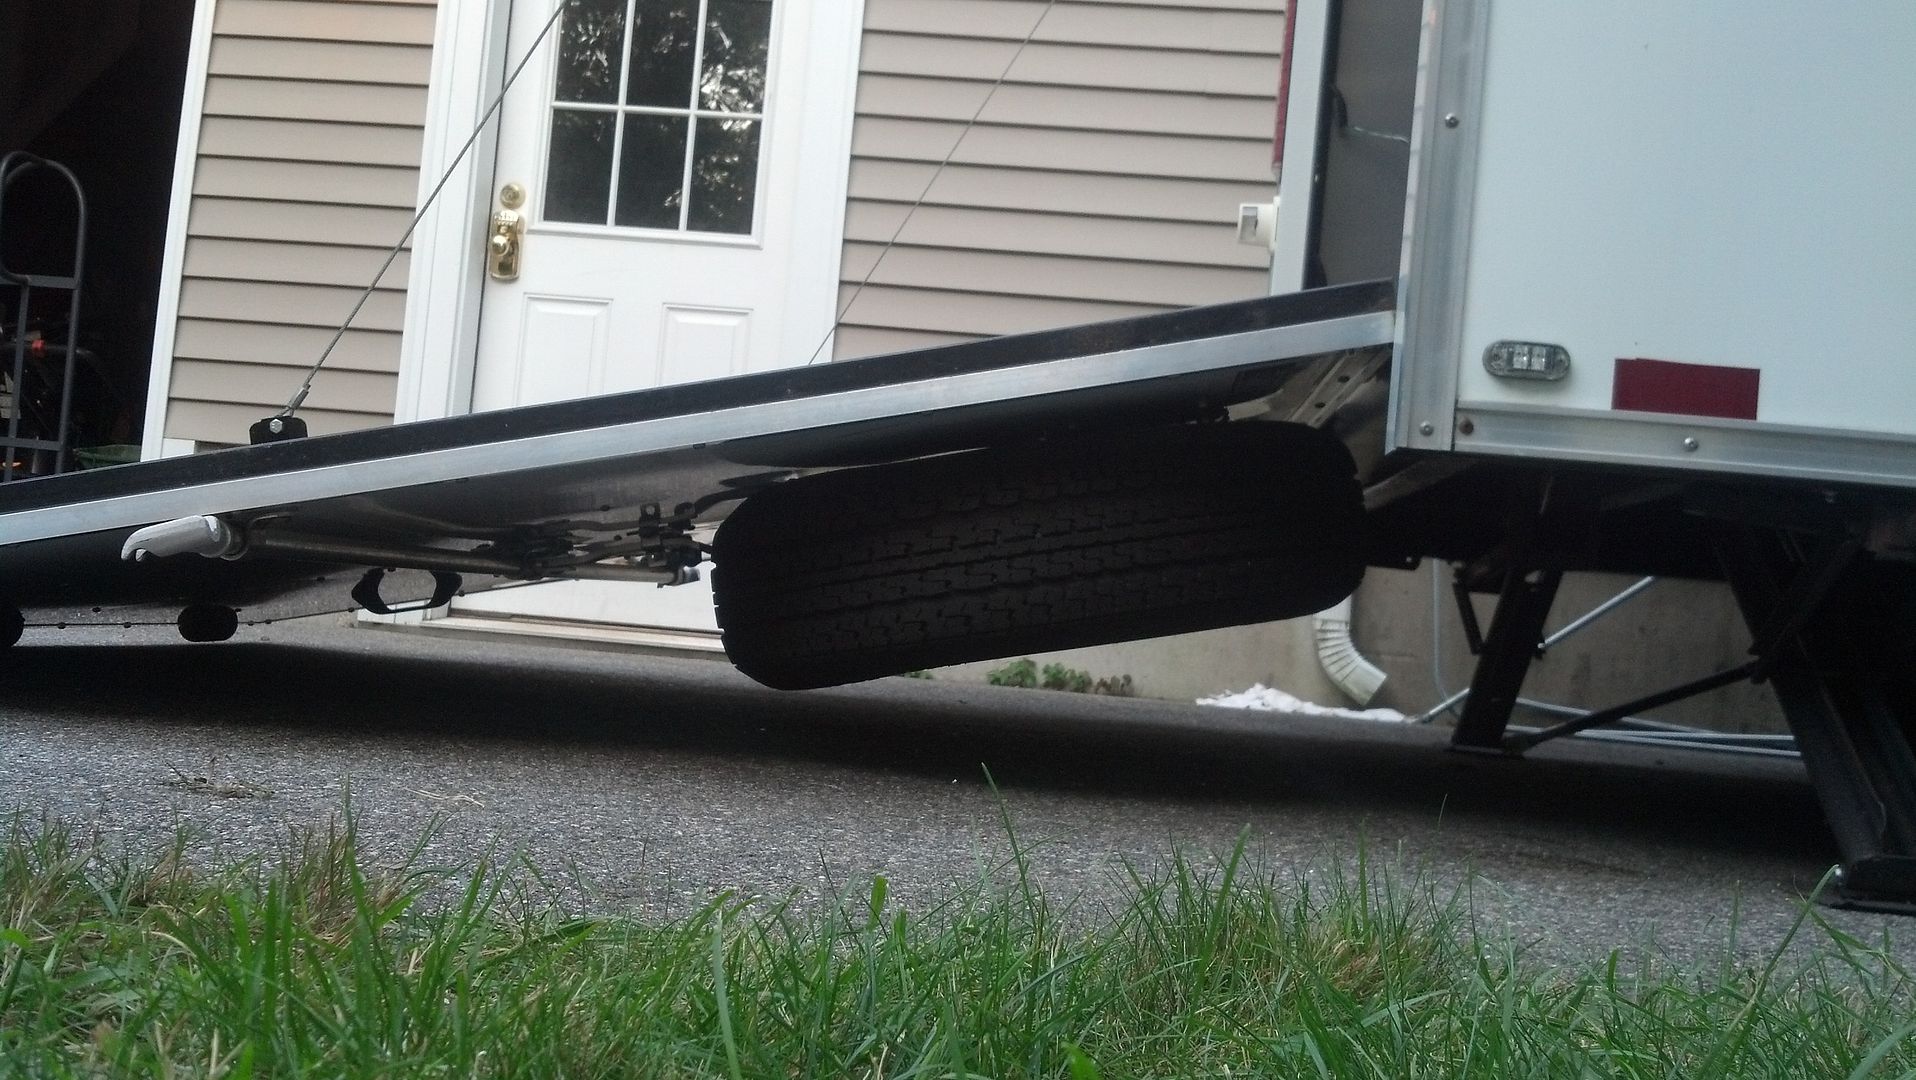
Put the plywood back down and fastened it. I remembered to snap a shot of the tire clearance while the ramp was down also
Image
User avatar
Jiffypop207
Teardrop Master
 
Posts: 205
Joined: Wed Sep 09, 2009 8:39 pm
Location: Old Orchard Beach, ME
Top

Re: New to me 7x14 CT conversion

Postby Jiffypop207 » Fri Aug 22, 2014 12:58 pm

Tuesday finally got the email saying they were trying to contact me for days to deliver my awning.....Excellent, so I setup delivery for Wednesday. I called at the end of the day wednesday to see if I was going to get the delivery.....didn't get put on the truck to go out for delivery. So wednesday night I decided to hack up my stairs to make them work. I had to notch for the siderail as they are 5" tall and the joists are 3" making there be a 2" drop. Also I mentioned I needed to notch for the wiring conduit (1" square tubing) so here are the notches....
Image

I slipped the stairs into postion and the lower floded into storage would never allow the stairs to slide back into drive mode nor would the lower stair be able to be flipped out due to clearance issues. So I cut off the bottom step and tossed the stair on a jack and lifted them into place.......looking good
Image
Image
Image

Then I isnsualted the rear ramp while it was opened up. The bolts for the ramp latches fouled most of that place, but I slide the foam in as far as I can......Some day the rest of the ramp will be done. No hurry on that!!
Image
Image

Put the plywood back down and fastened it. I remembered to snap a shot of the tire clearance while the ramp was down also
Image
User avatar
Jiffypop207
Teardrop Master
 
Posts: 205
Joined: Wed Sep 09, 2009 8:39 pm
Location: Old Orchard Beach, ME
Top

Re: New to me 7x14 CT conversion

Postby Jiffypop207 » Fri Aug 22, 2014 1:21 pm

Thursday I accepted delivery of the Awning...Whoot Whoot!

After work I got to business. First I installed the awning rail with some putty tape on the back. Here it is ready to be fastened with the duct tape hanger trick I stole of this video https://www.youtube.com/watch?v=NN4WLSQlvLc, which is excellent for anyone looking to install and awning for the first time.
Image

Then I installed the bottom brackets. I did not want them on the lower trim, but rather sitting on top of it flat on the side of the trailer. The trailer wall framing is made out of 1"x 1" tubing and goes down outside the 5" frame rails creating a gap where I wanted to mount the bottom bracket. I had some 1/2" PVC board in my garage and made a double layer spacer between the skin and frame rail to take up the space.
Image

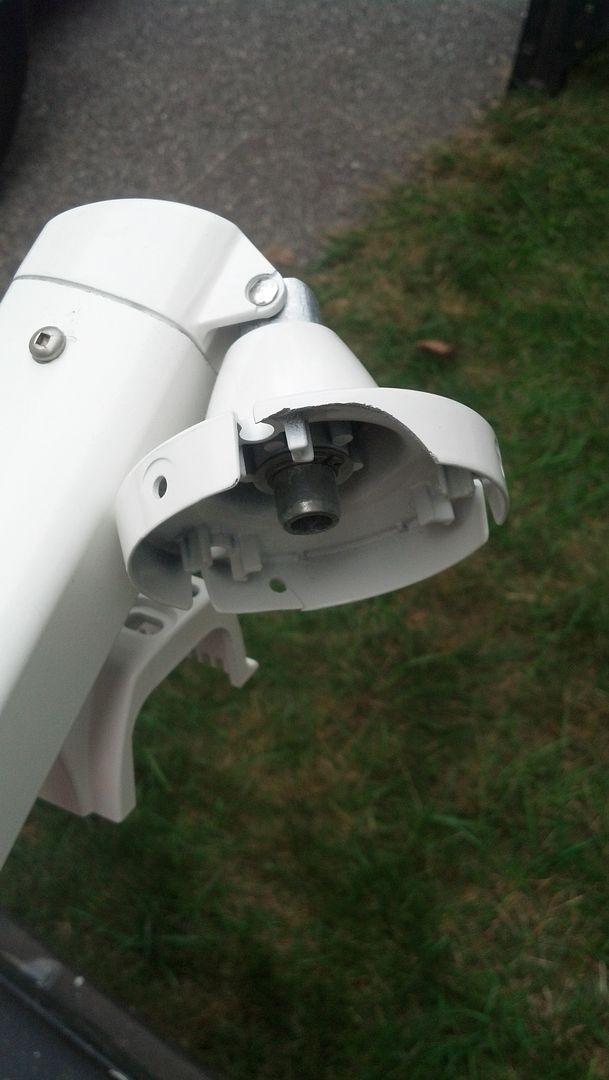
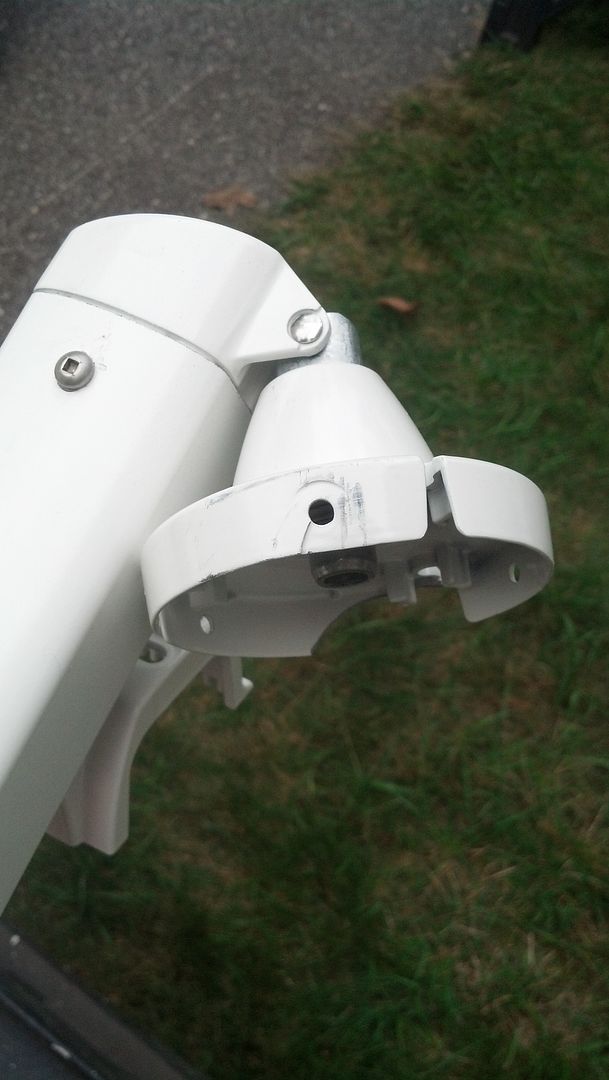
Then I went to mount the arms to the awning roller. First arm went on fine. I went to put the other side on and noticed it got damaged in shipping. I was still able to use it, but I called the company today to get a replacement.
Image
Image

With the arms mounted I slid the assembly into the awning rail, who needs two people. The benefits of being tall. Following the instructions I rolled it out some to mount the upper arms
Image

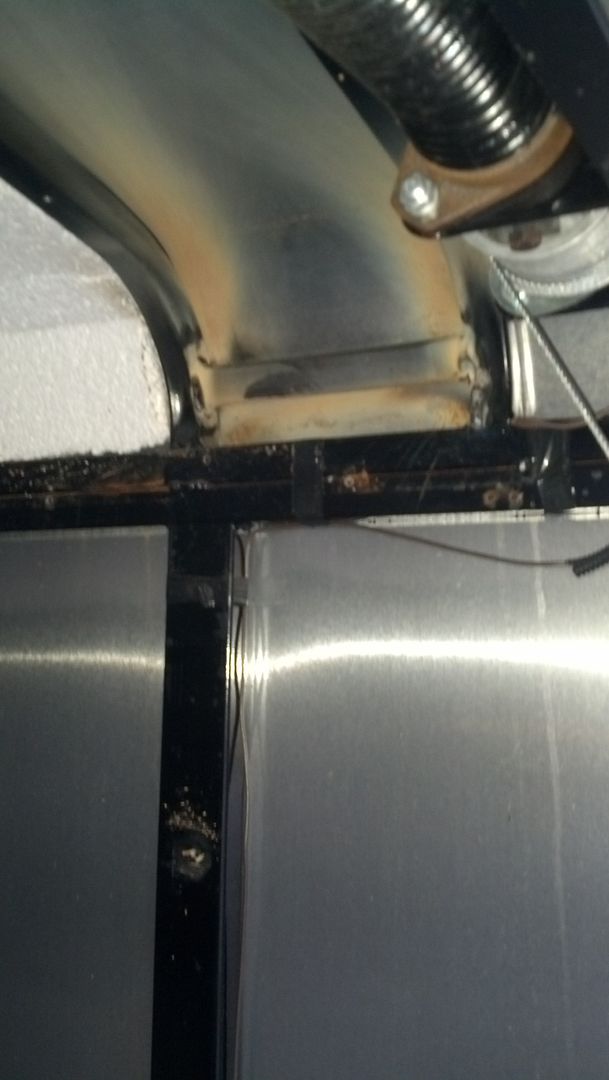
The upper brackets land only on the skin. I placed them, marked the screw penetration locations, predrilled them, and then went inside to add some structure. I added a piece of 1"x 1" square tubing to catch the fasteners.
Image

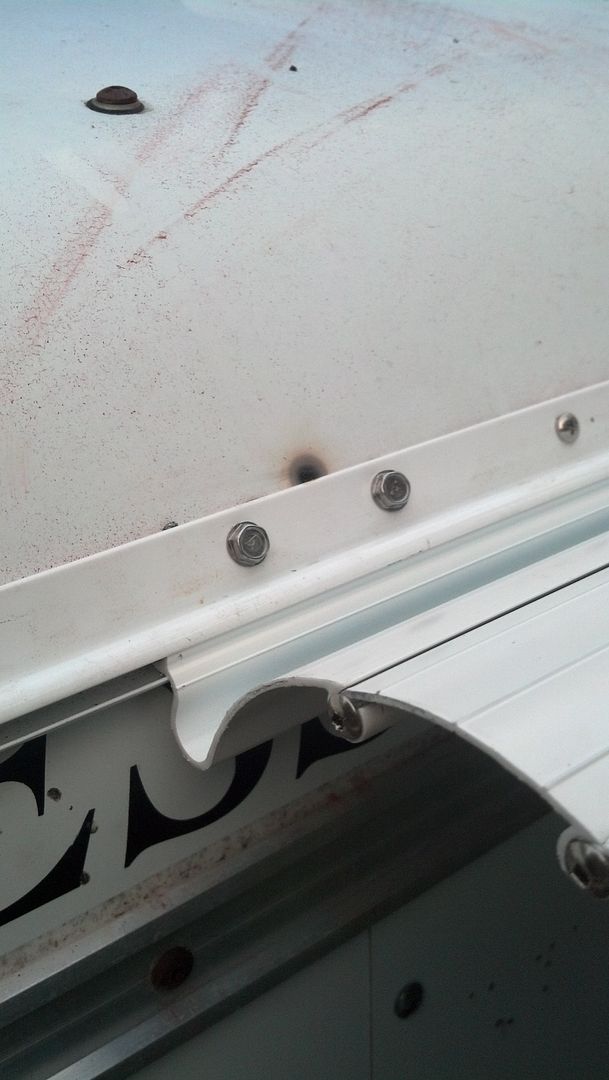
I got a little too close to the skin for maybe to long on one of my welds and got the skin a little too hot. When I silicone the awning rail, no one will know the wiser
Image

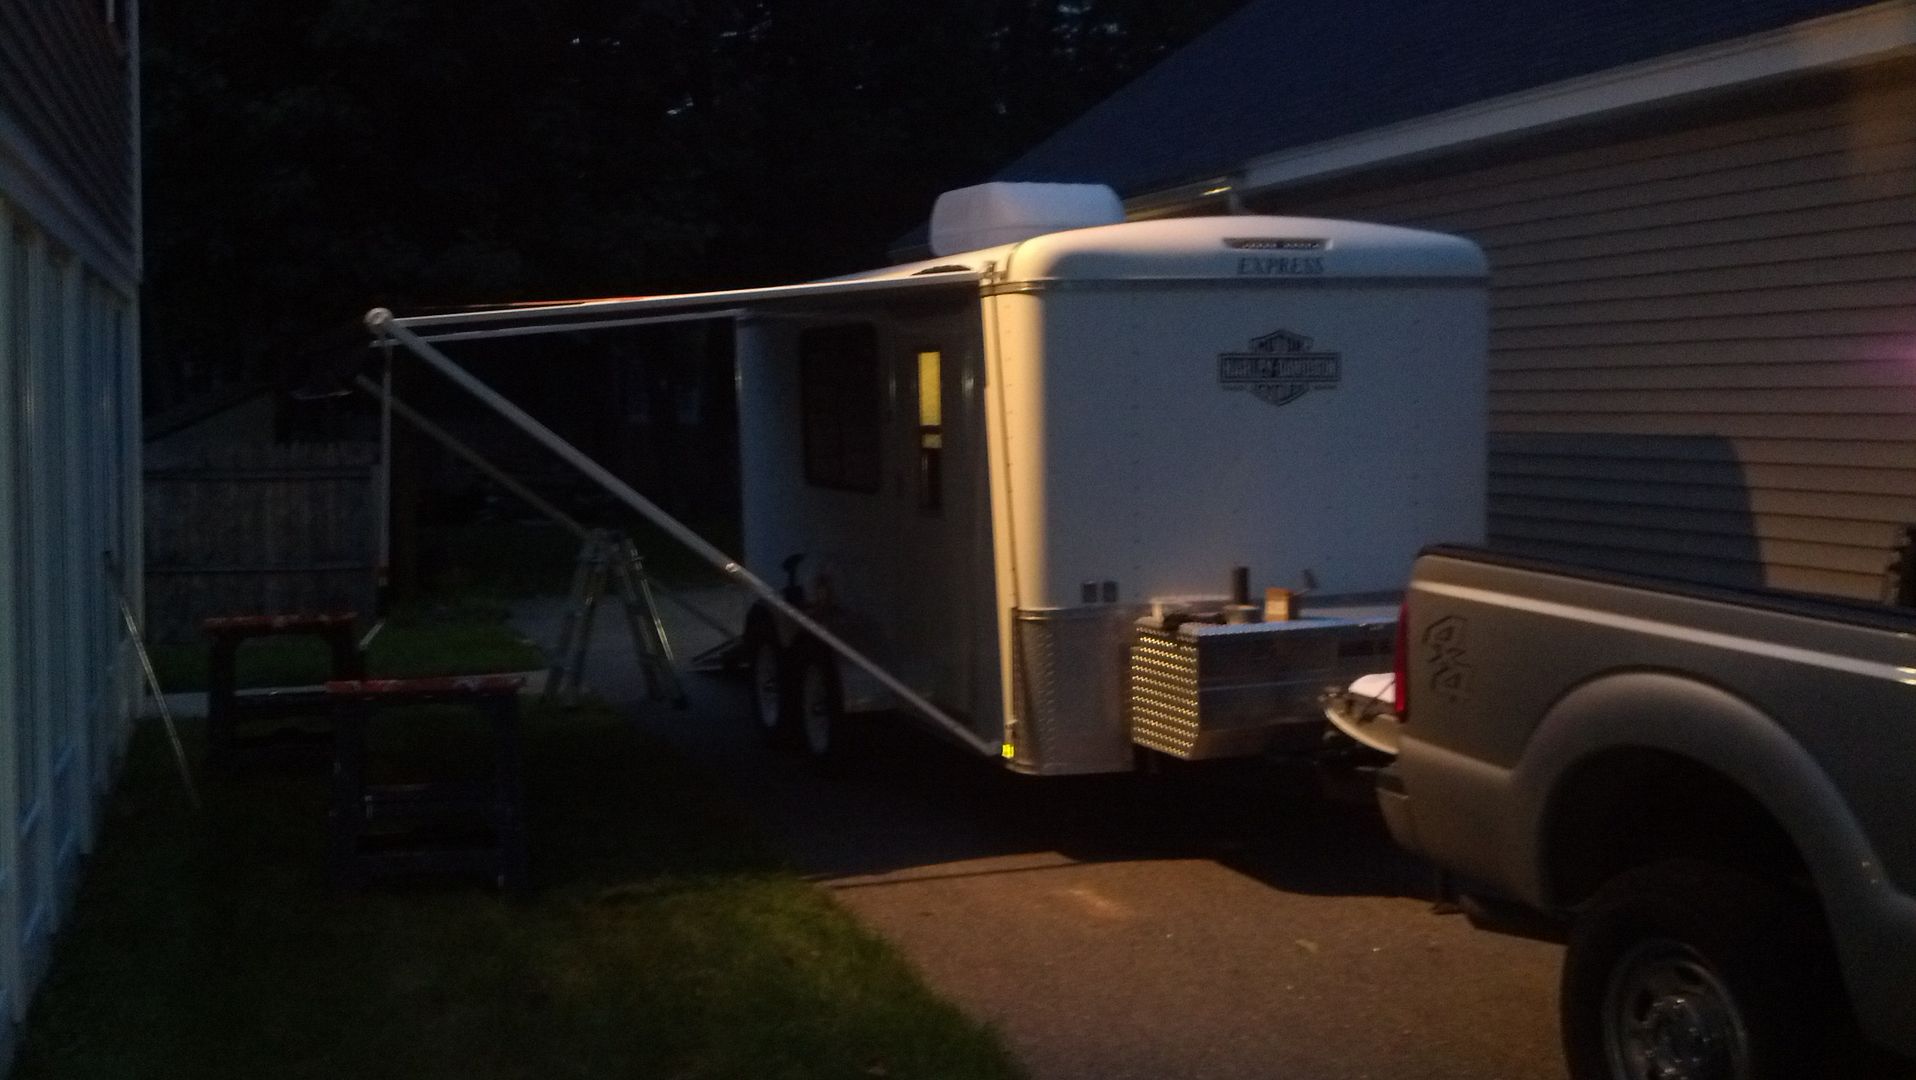
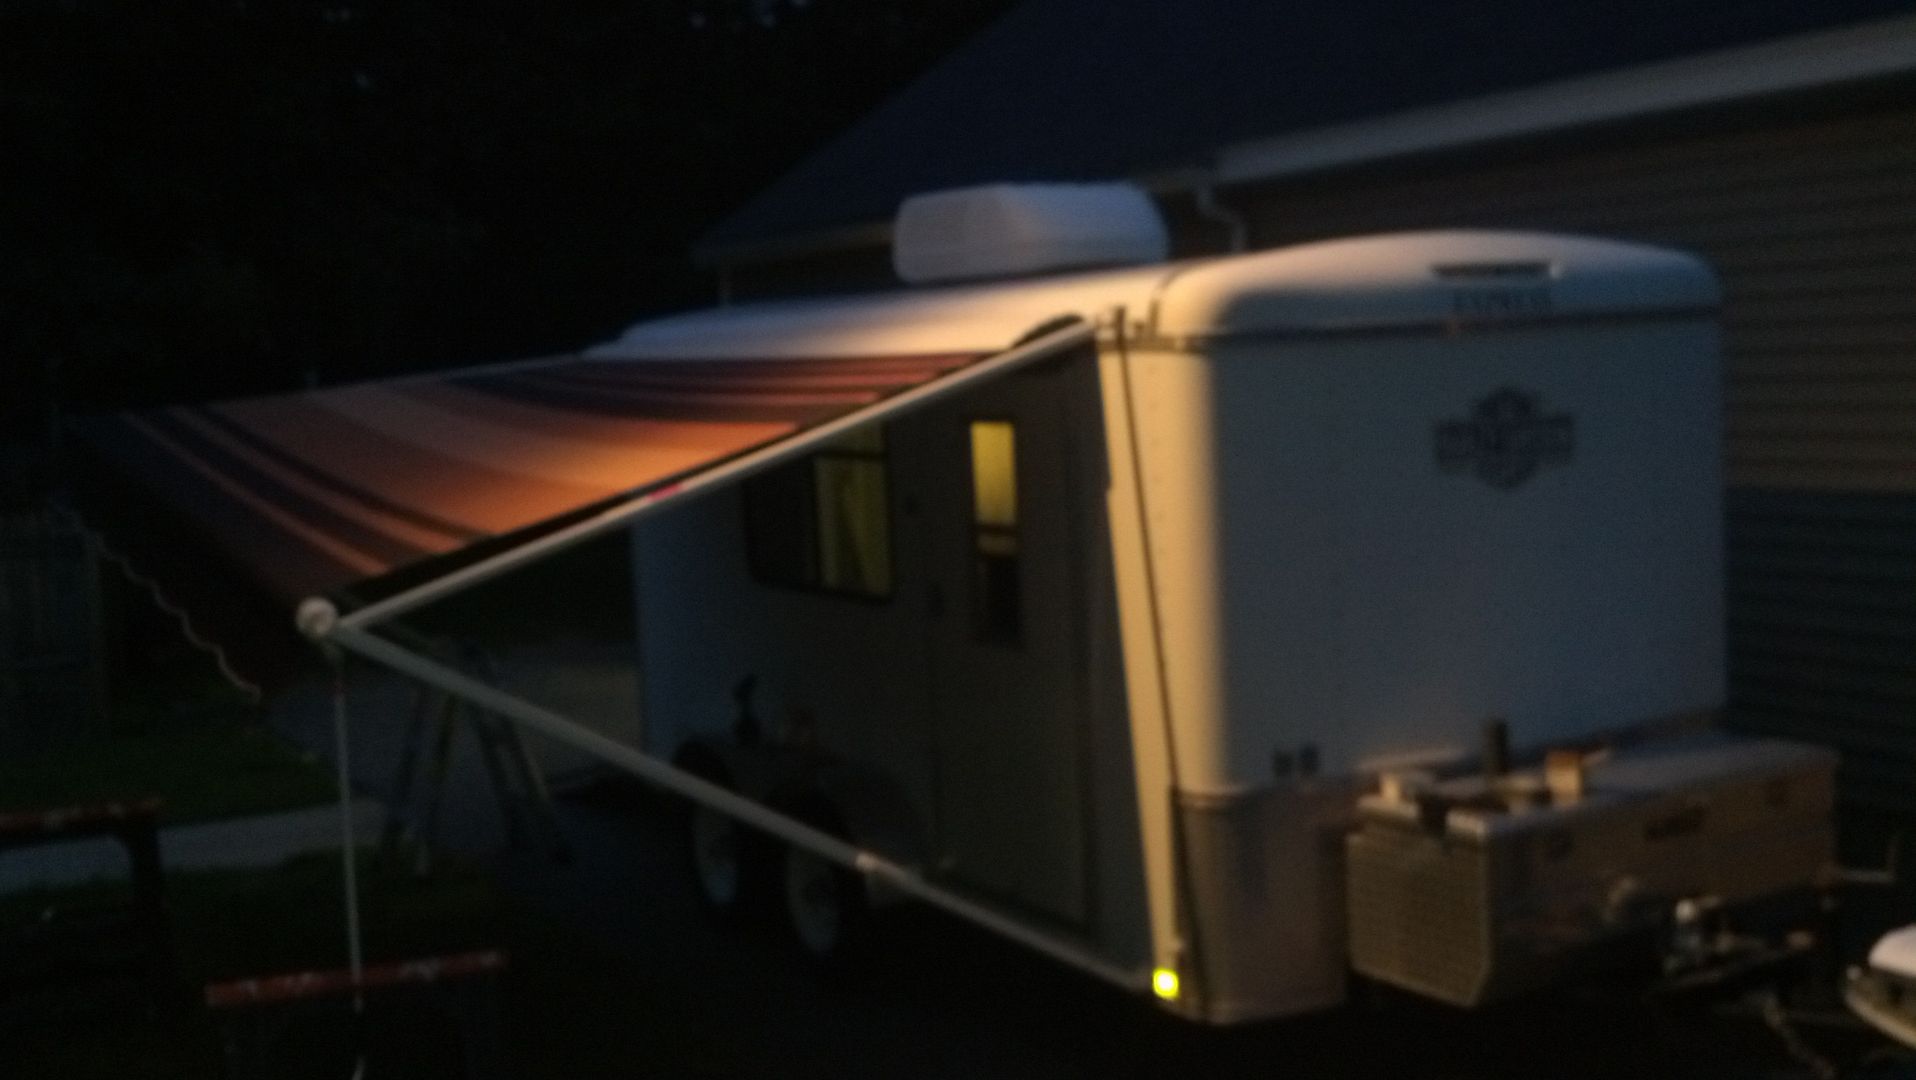
It wasn't until it got dark that I finished with the rest of the instructions. About three hours by myself. Fruits of my labor that put a smile on my face!!
Image
Image
Image

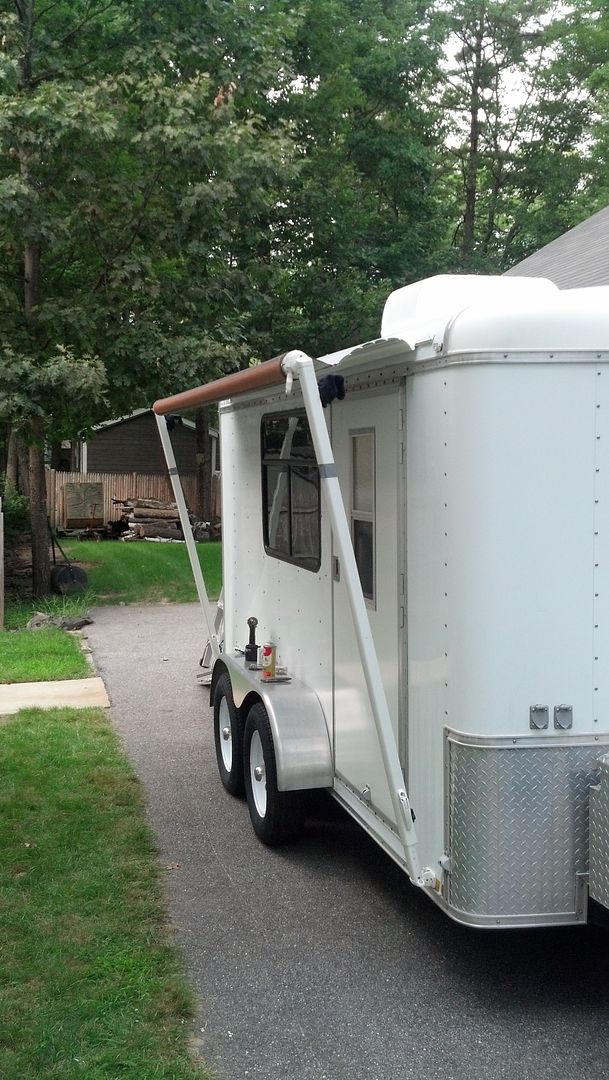
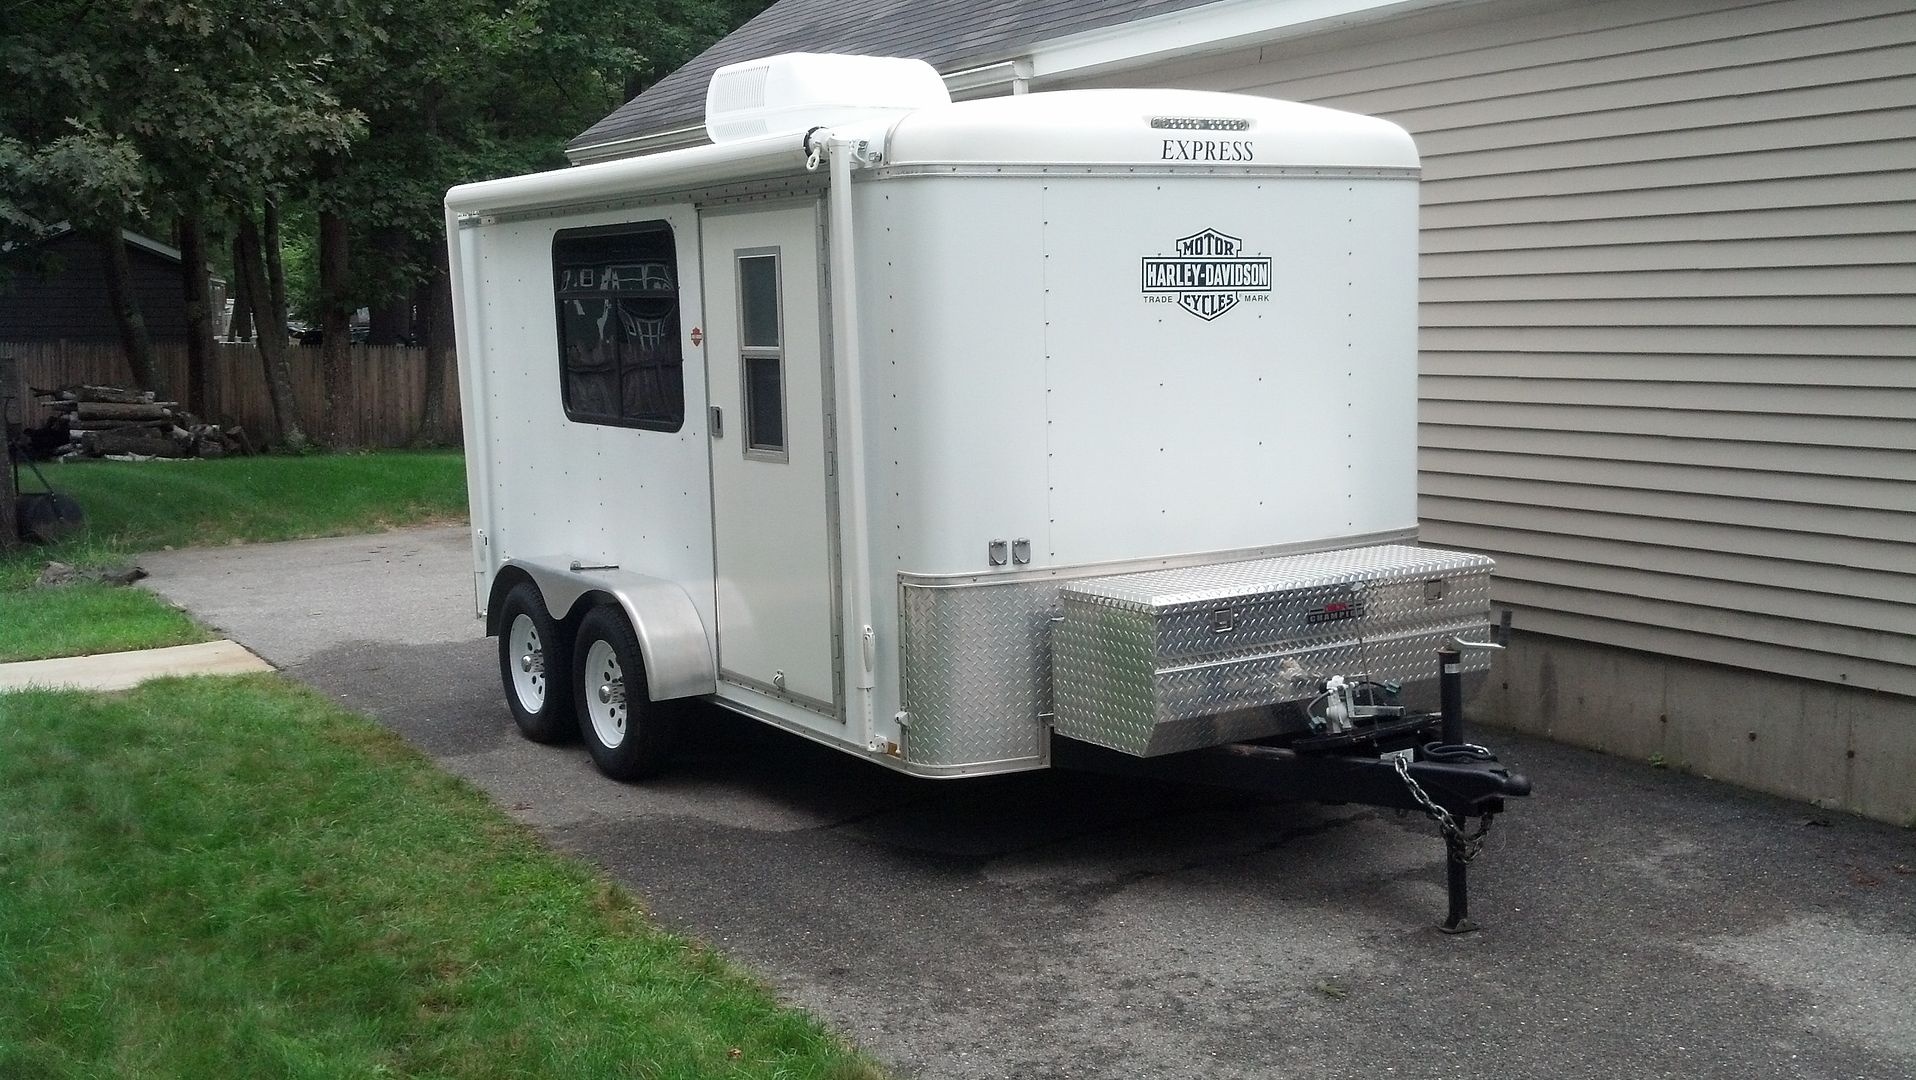
A couple shots in the light. The white Aluma-guard looks great with the white cargo trailer!
Image
Image
User avatar
Jiffypop207
Teardrop Master
 
Posts: 205
Joined: Wed Sep 09, 2009 8:39 pm
Location: Old Orchard Beach, ME
Top

PreviousNext

Return to Cargo Trailer Conversions

Who is online

Users browsing this forum: No registered users and 4 guests