'SNO ESCAPE, New to me 7x14 CT conversion
Re: 'SNO ESCAPE, New to me 7x14 CT conversion
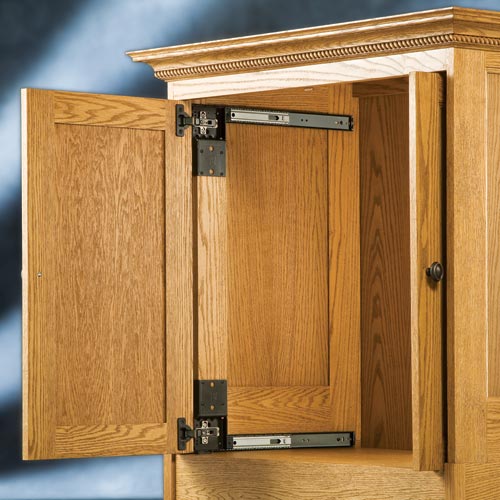
![]() by msnglinc » Mon Jun 08, 2015 8:38 pm
by msnglinc » Mon Jun 08, 2015 8:38 pm
Very Nice! Like the bed mechanism and the kitchen layout.
7 x 26 Cargo Craft V Nose
viewtopic.php?f=42&t=63350
viewtopic.php?f=42&t=63350
- msnglinc
- Teardrop Advisor
- Posts: 65
- Images: 0
- Joined: Wed Sep 07, 2011 5:32 pm
- Location: Barnesville GA
Re: 'SNO ESCAPE, New to me 7x14 CT conversion
![]() by Jiffypop207 » Wed Jun 10, 2015 2:00 pm
by Jiffypop207 » Wed Jun 10, 2015 2:00 pm
Running out of time on my deadline so things ARE getting done!!
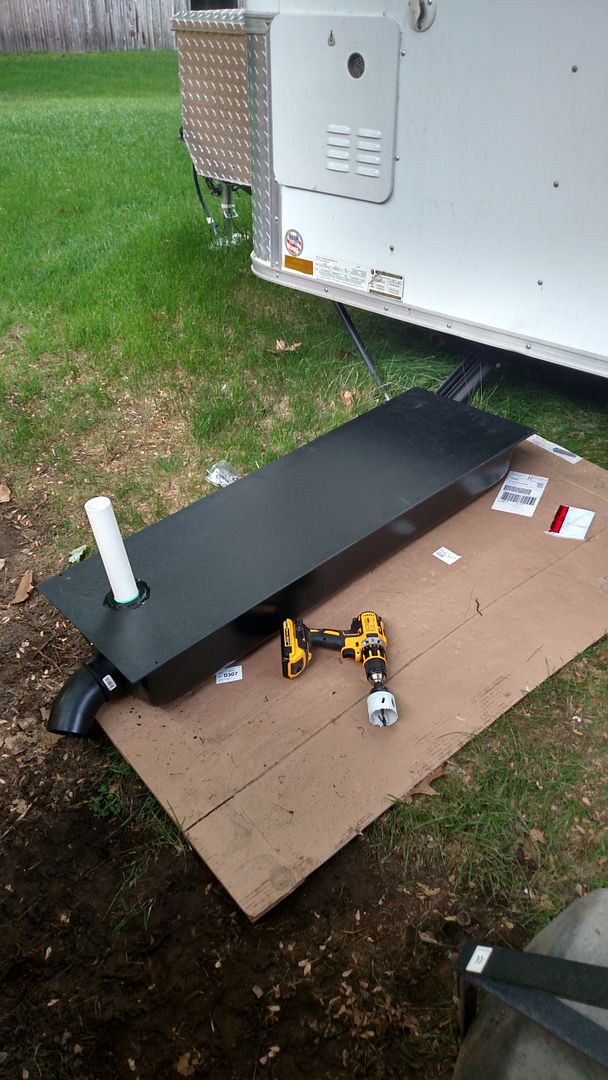
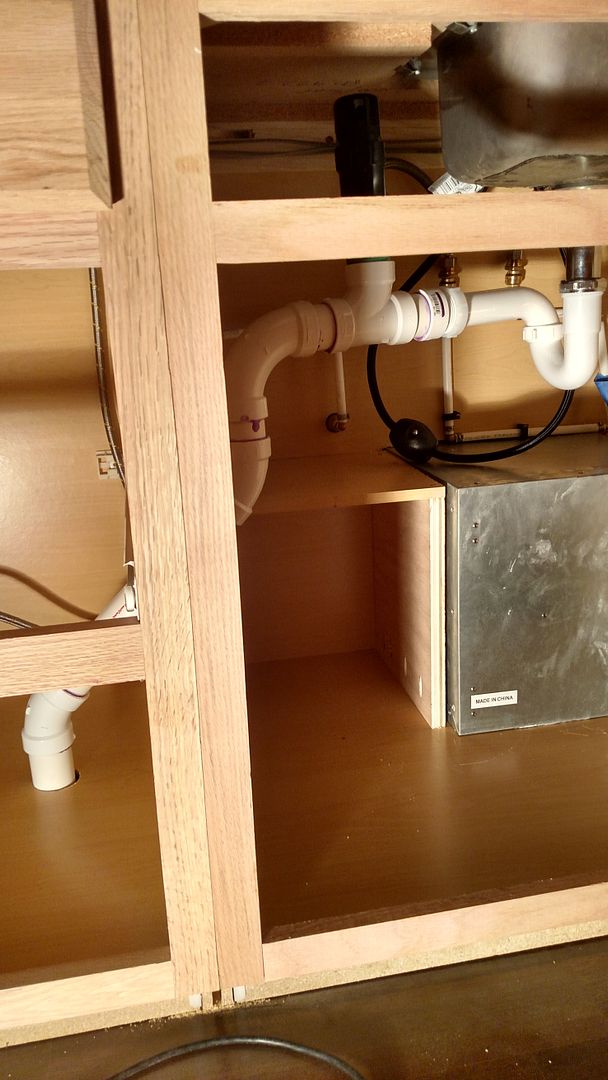
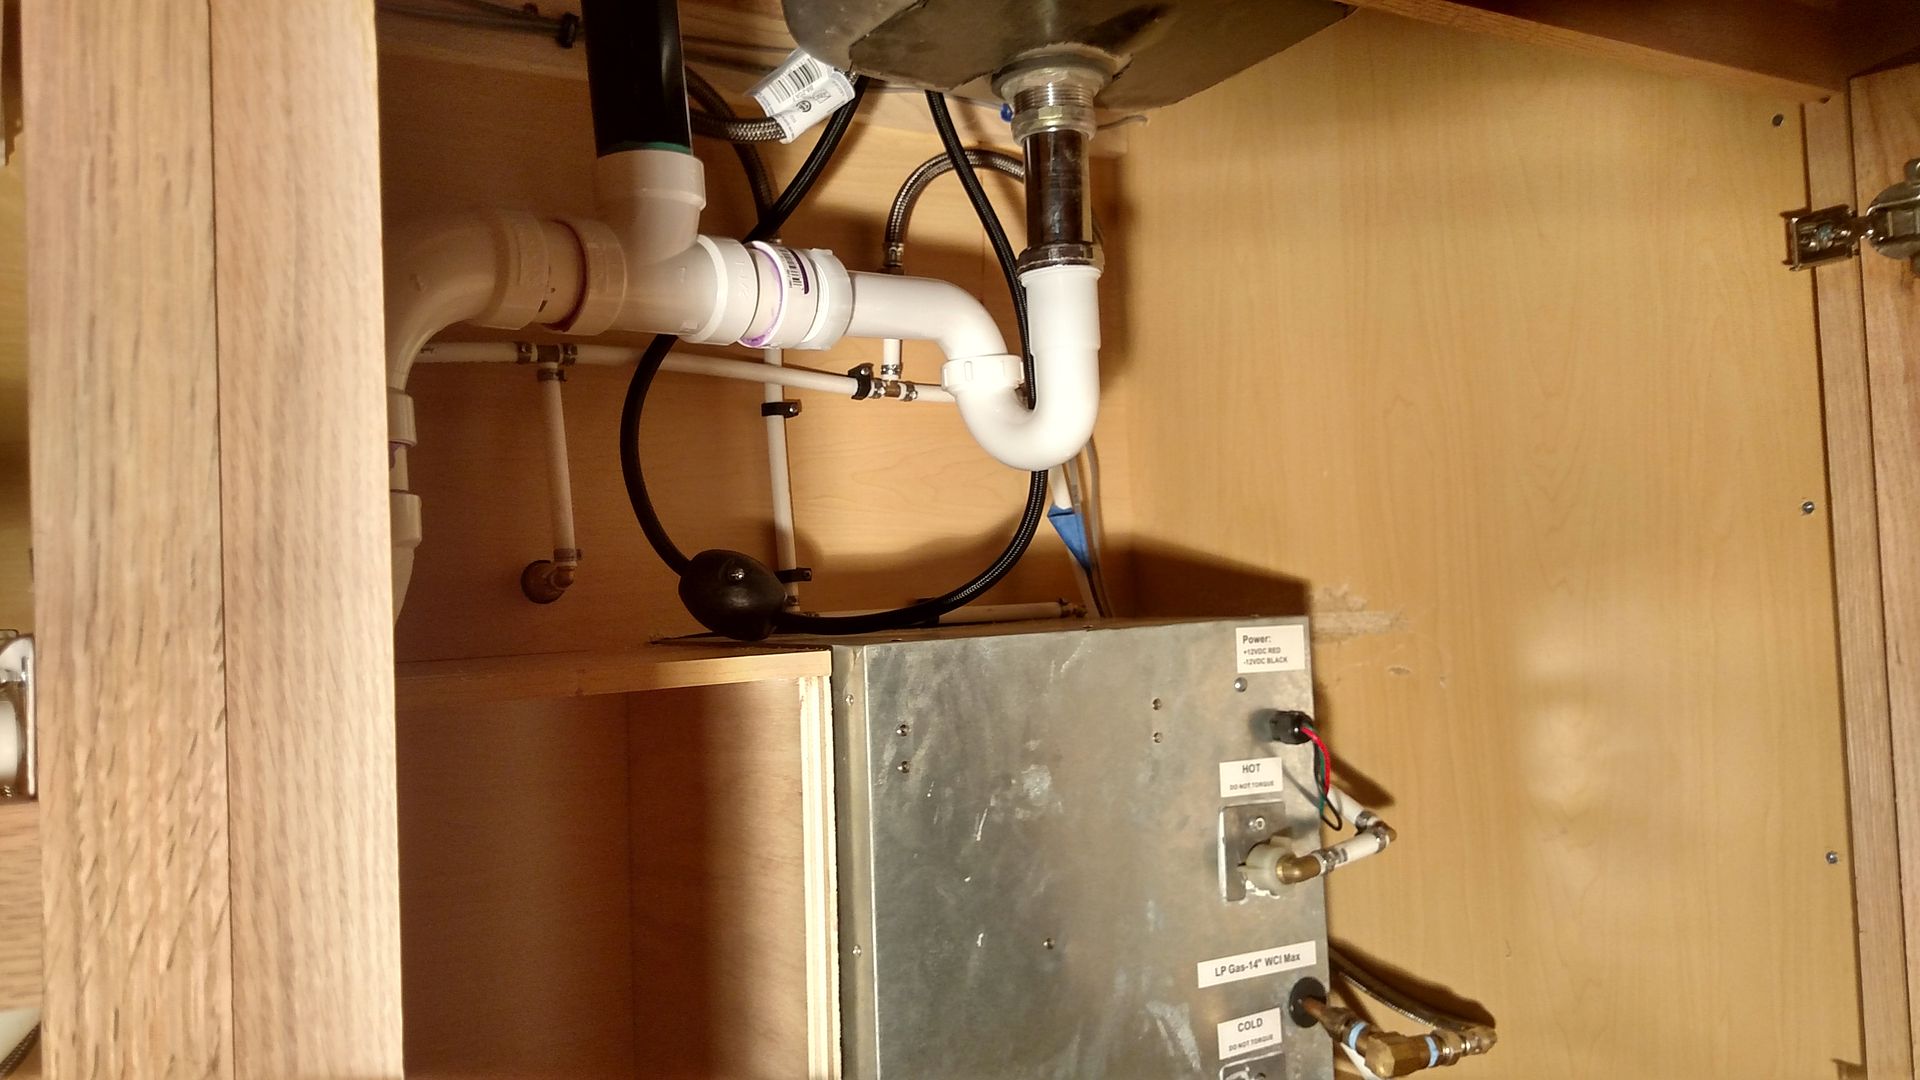
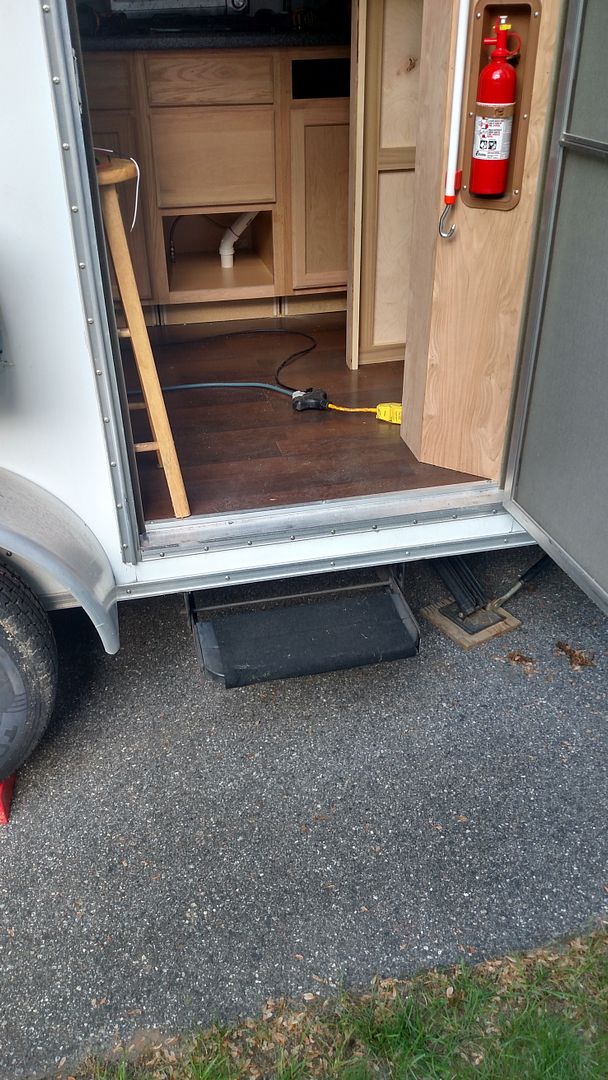
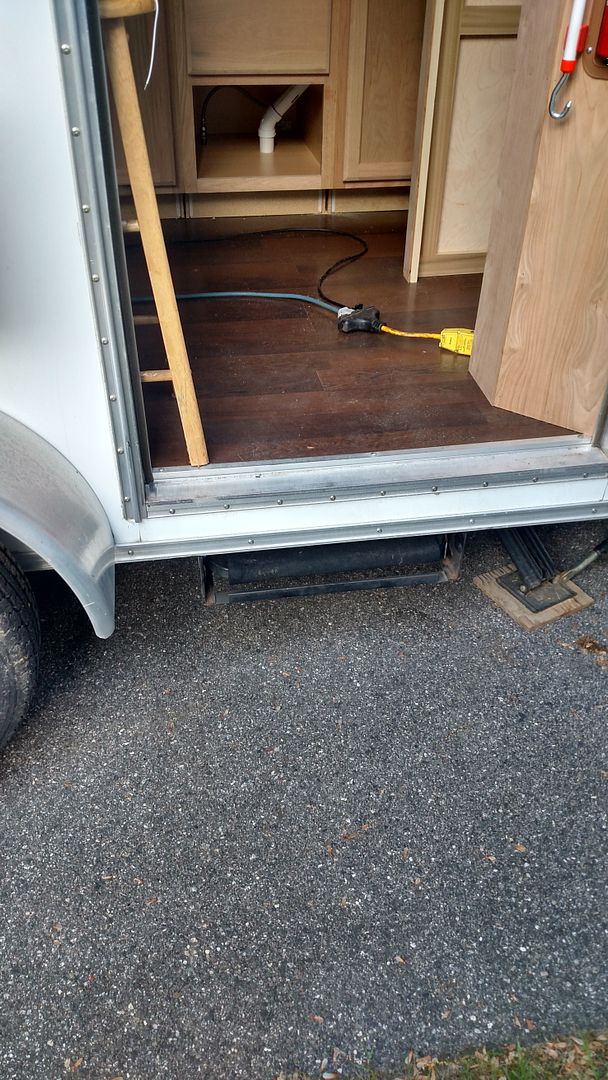
Plumbing is completed with exception of tossing some straps under the tank. Gray water only as the toilet is a self contained unit. Here is the tank after mock-up and hole drilling. Pipe adapter in place, stub-up glued in, and time to mount.
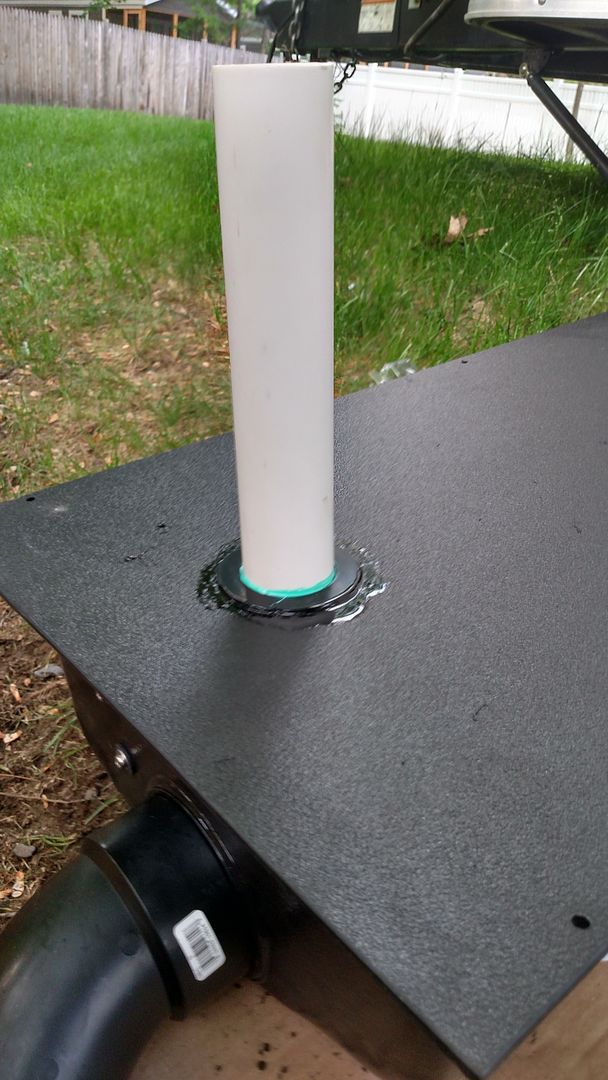
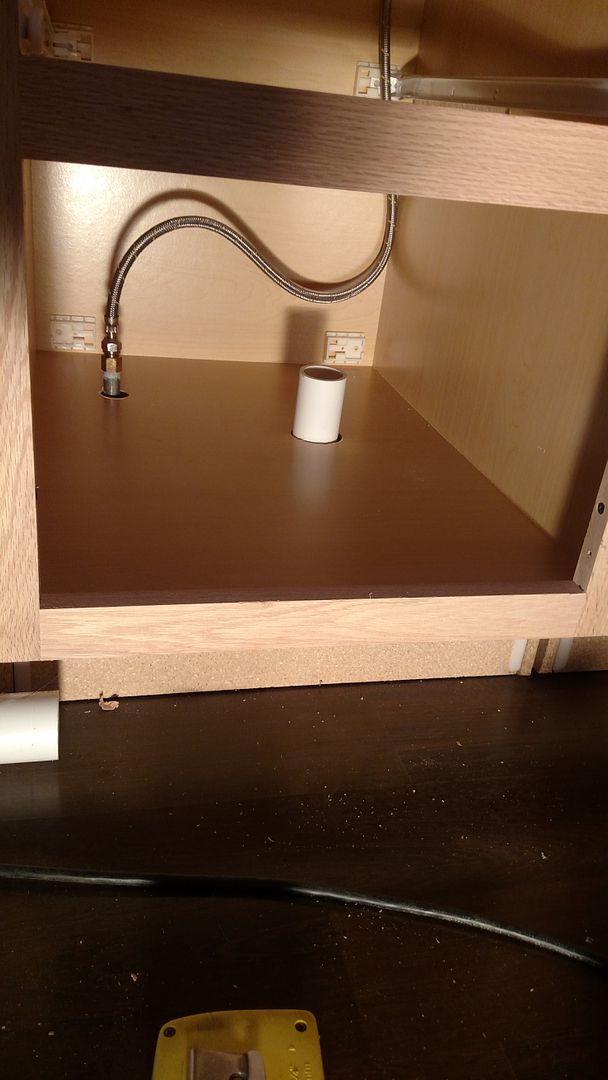
Stub coming into the cabinet
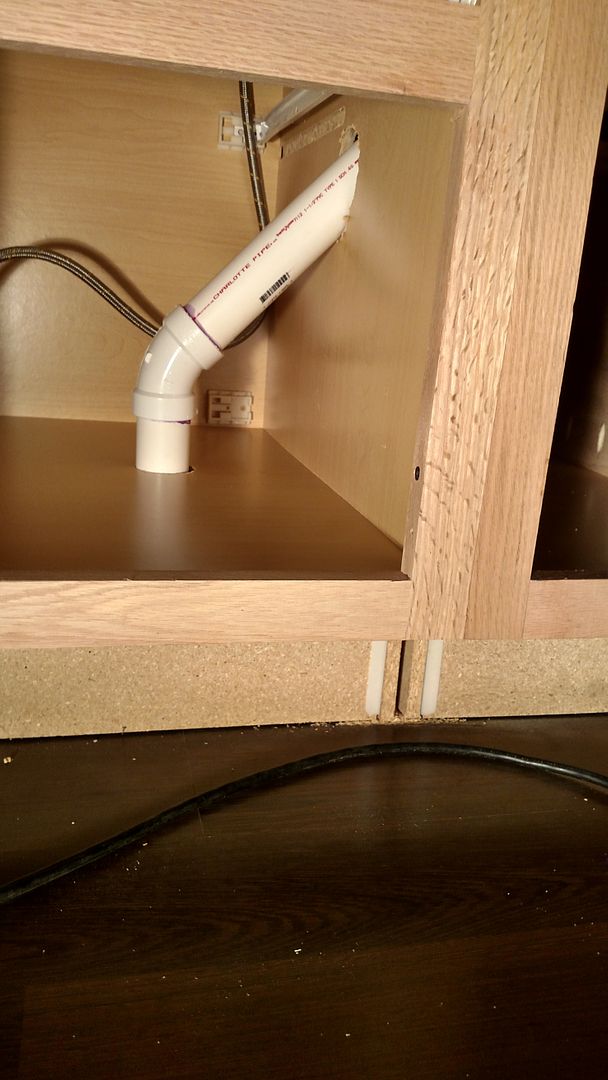
Diagonal run through the cabinet walls and drain completed
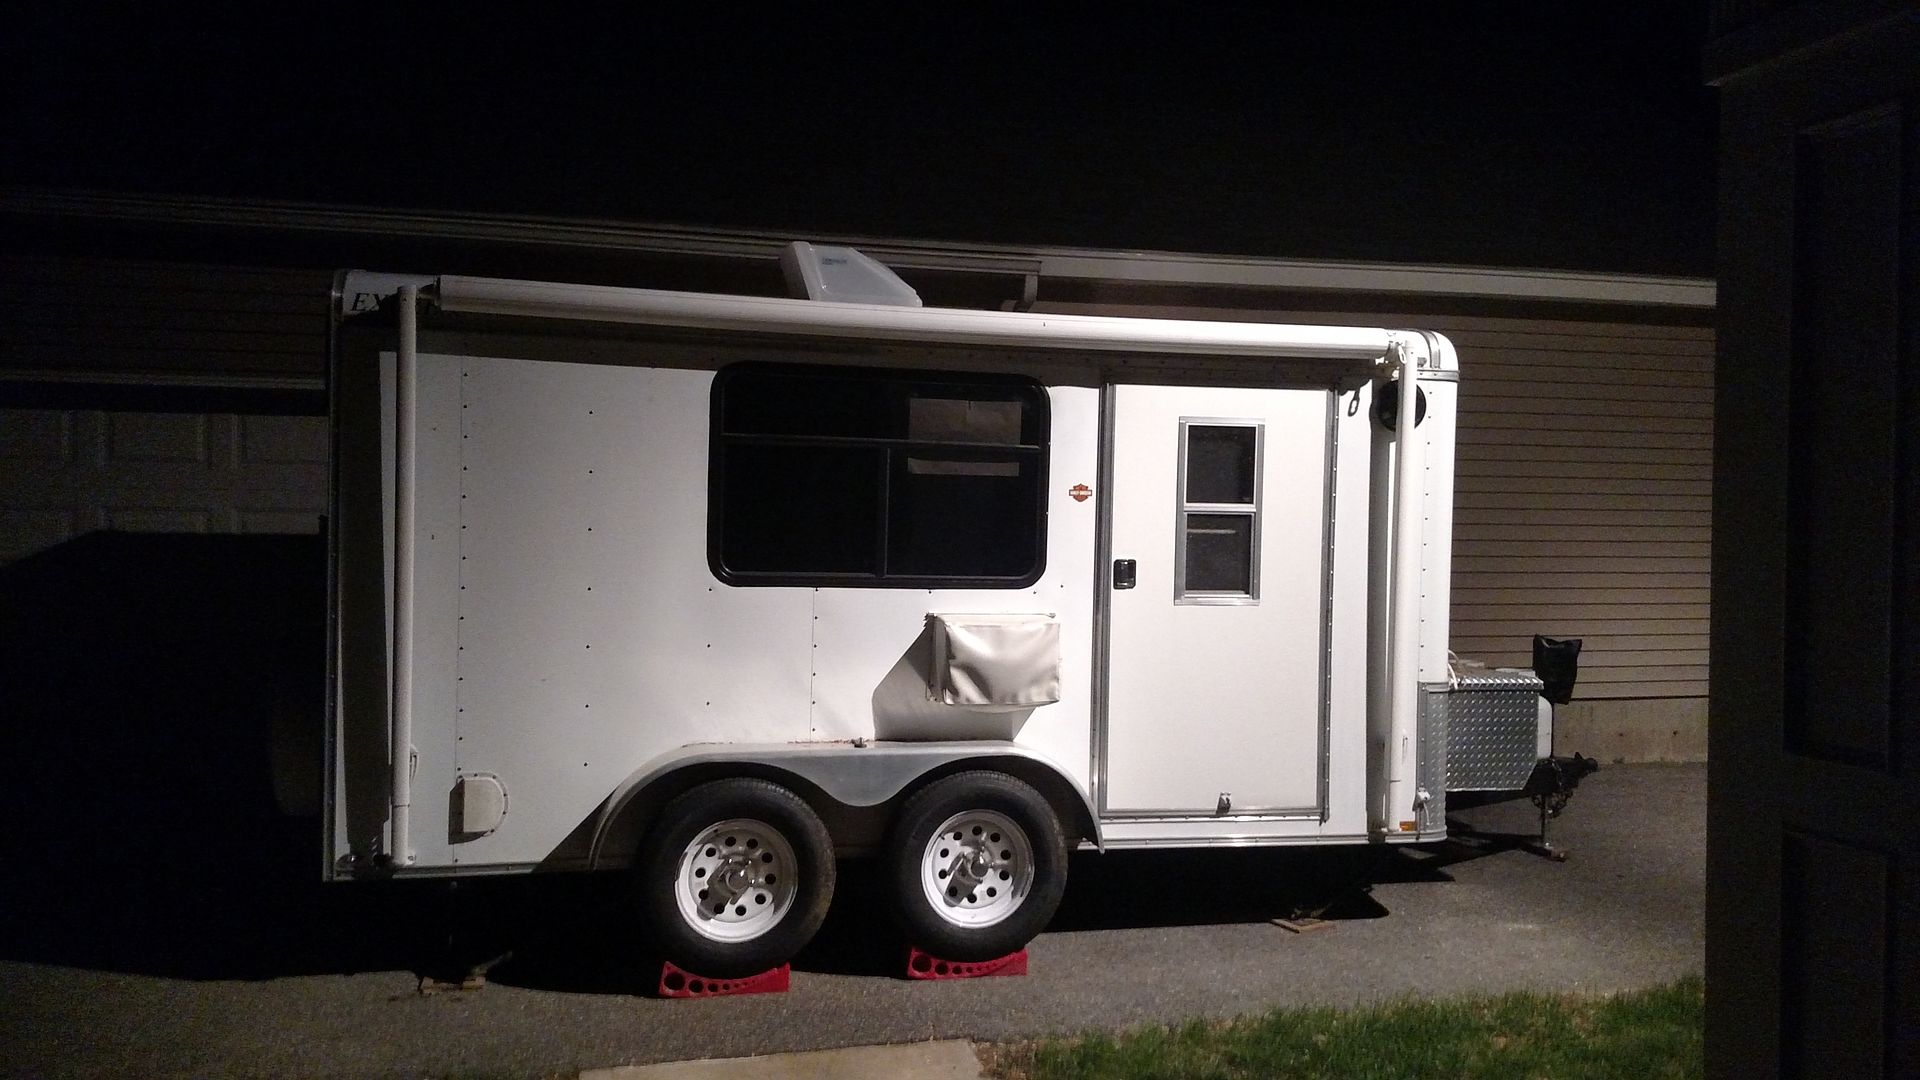
Tank install was my cue that I could turn the trailer and bring it back on the tar. It provided more access parked on the lawn the way my yard slopes to work on the wires, tank, and anything else on that side under the trailer.
Made brackets to finally mount the modified step from last fall
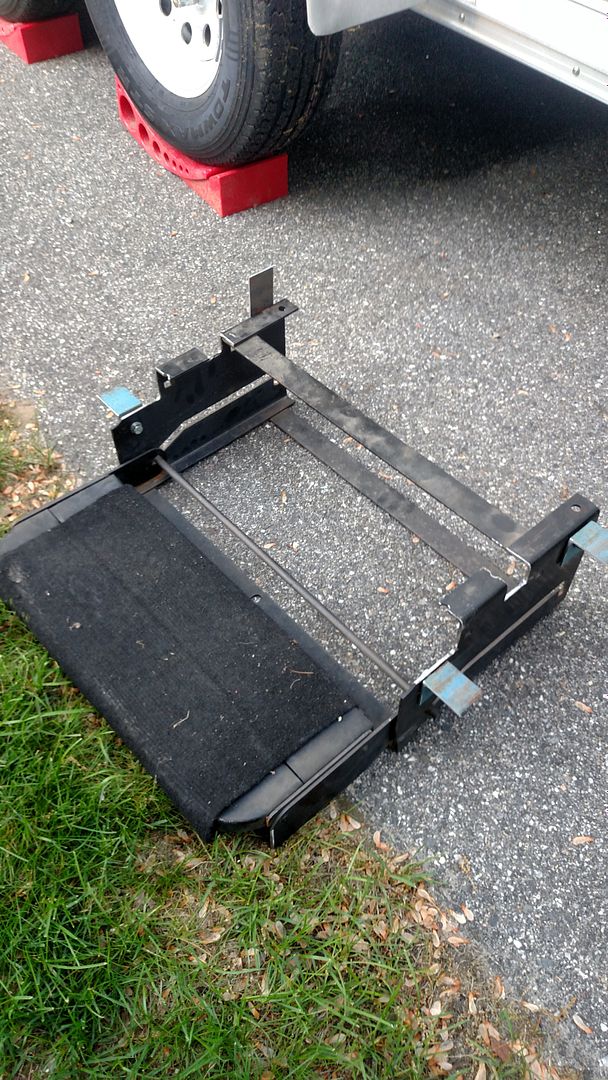
Temporary held in place to burn it to the frame
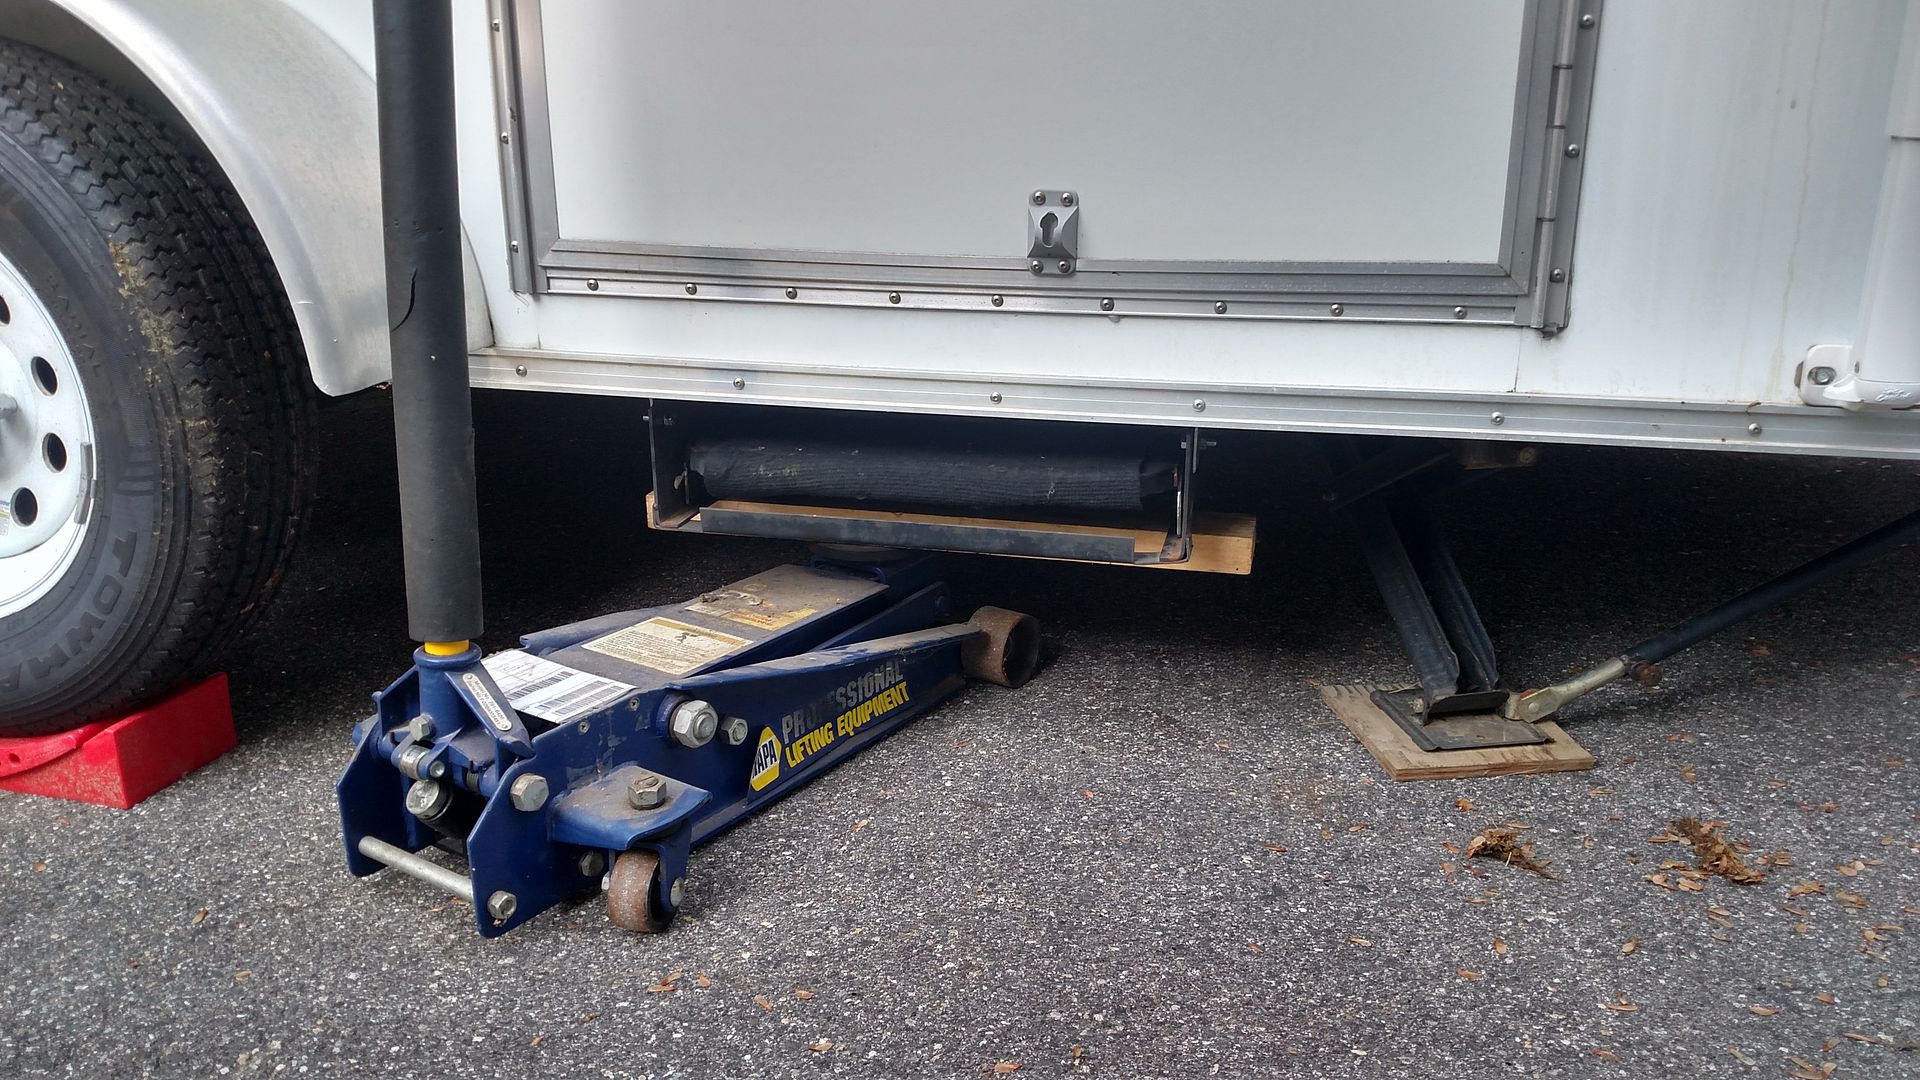
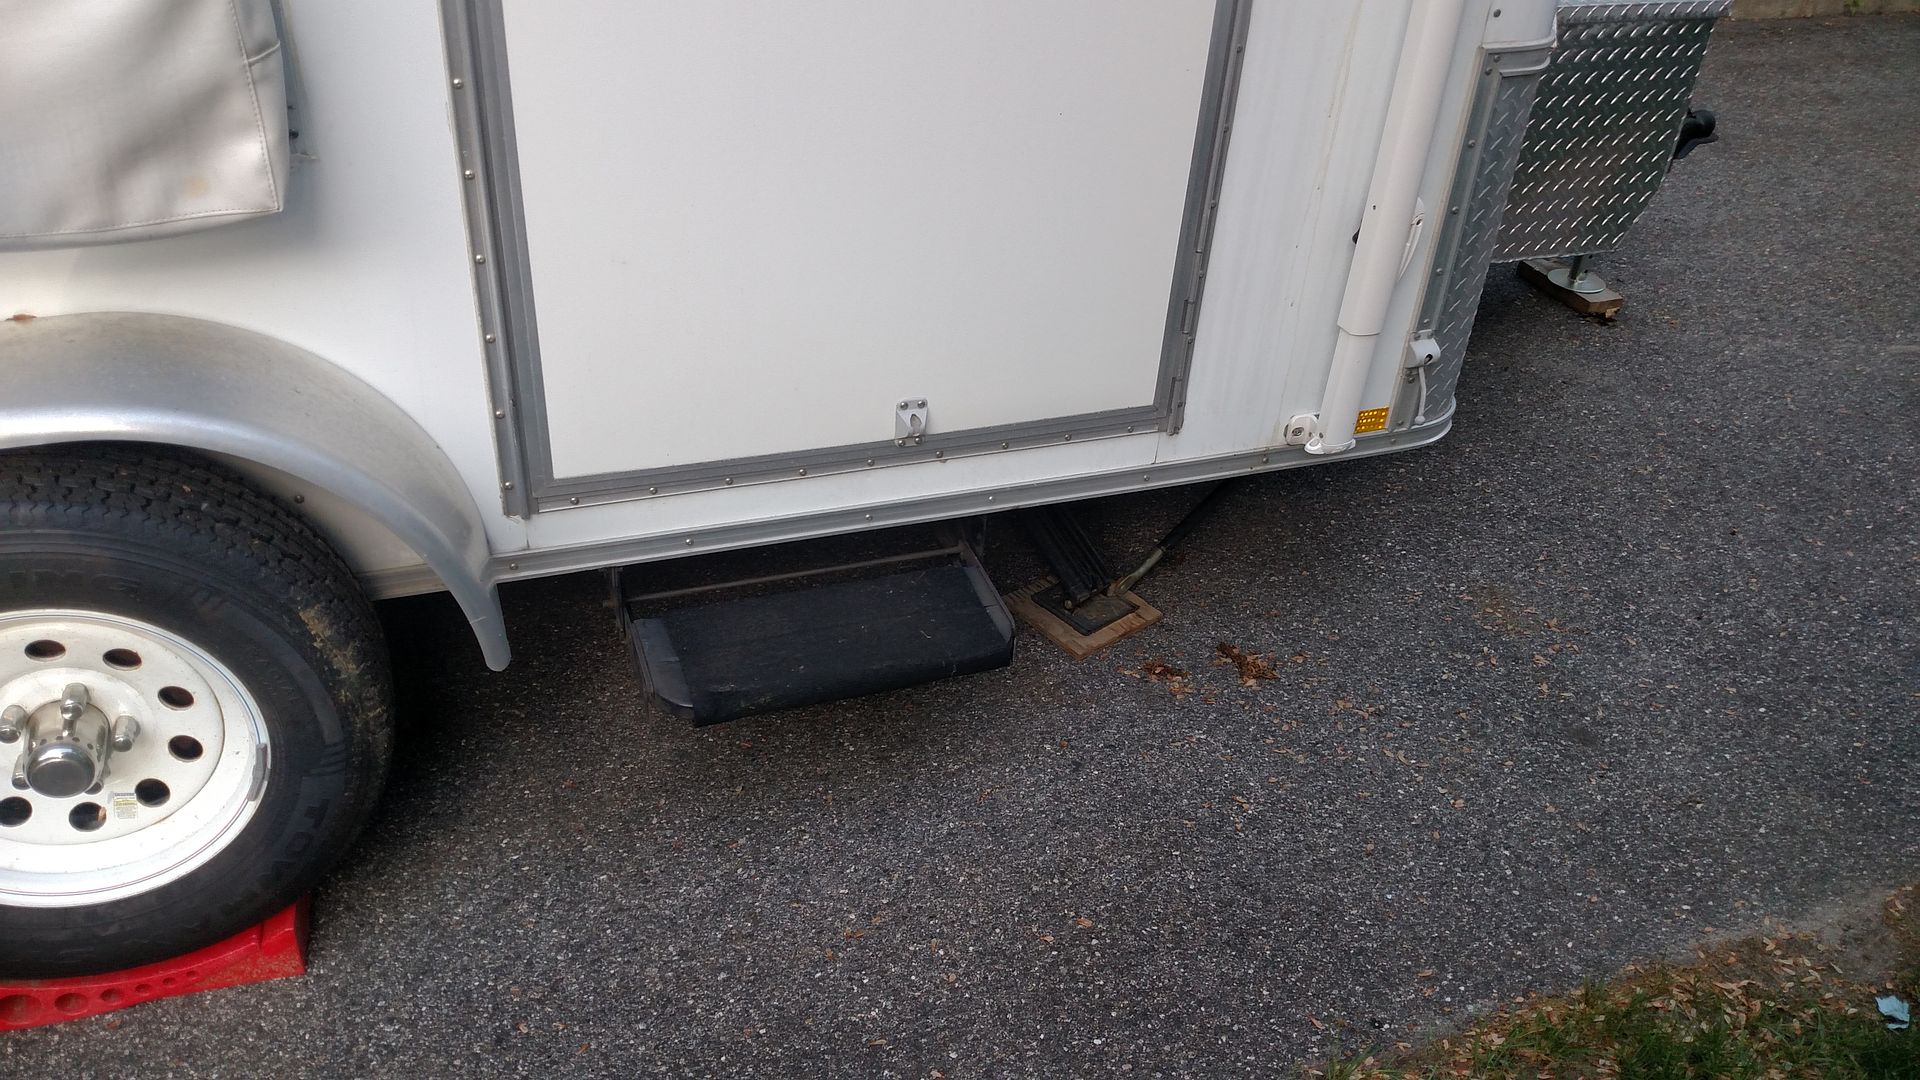
Step in place. Since pulled it off to prime and paint the brackets and welds
Also welded the anti-drag roller brackets in place while the welder was out. Primed and painted those as well
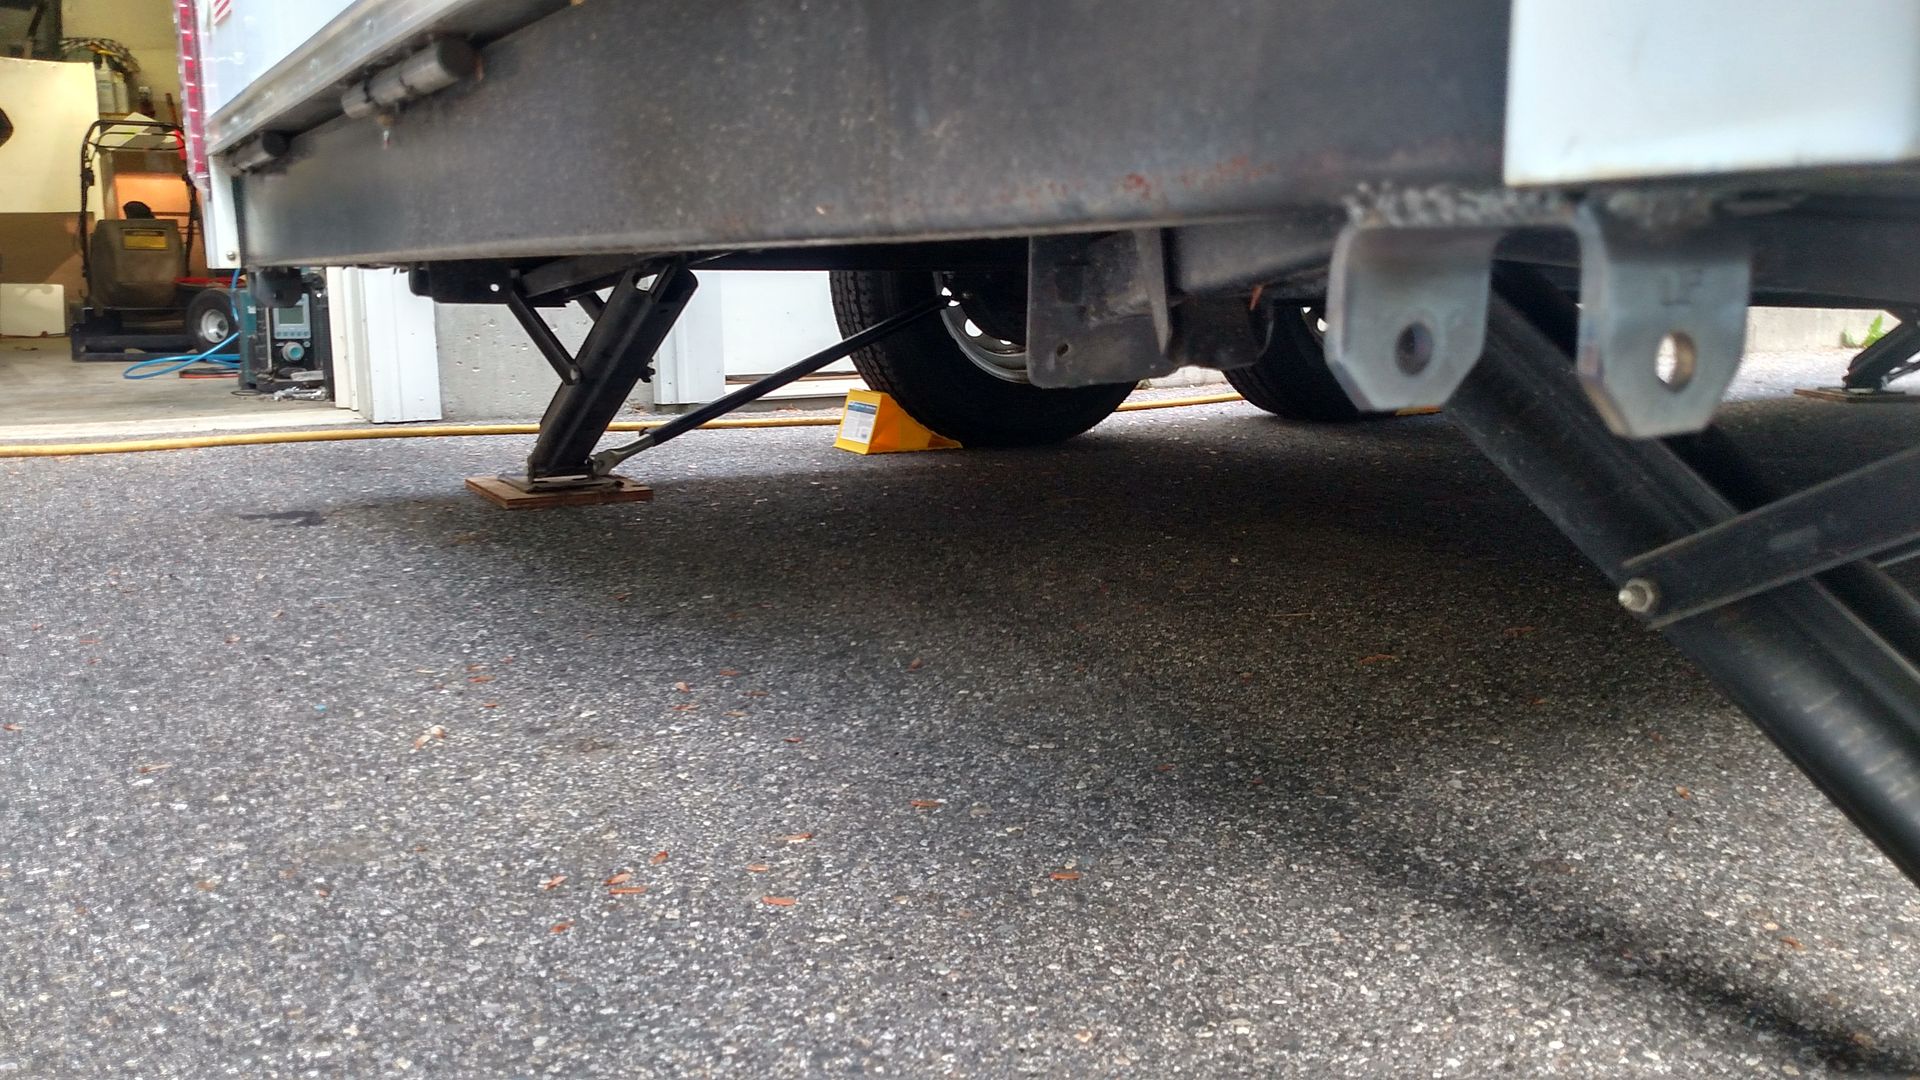
I will get those all bolted back in place tonight. Ended the night cutting my access panel and fastened it in place
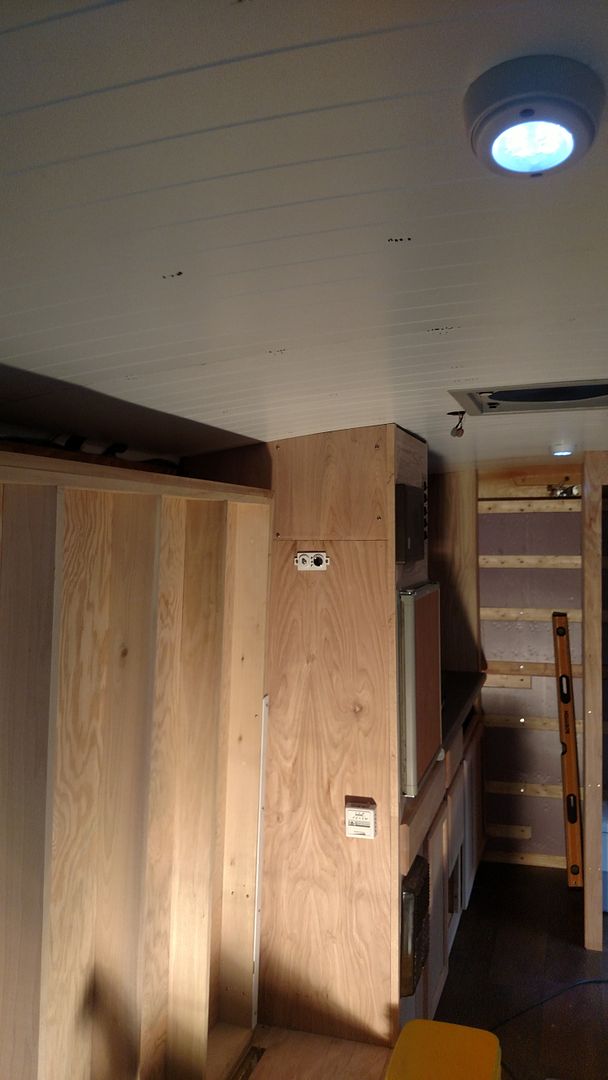
Plan for the evening is to put on the rest of the bead board and plywood on in the completed insulated areas, build the oven shelf, install the finished toe kick and light, and figure out my top molding situation. Bringing home some large cove molding as I think it will work best.
Adam
Plumbing is completed with exception of tossing some straps under the tank. Gray water only as the toilet is a self contained unit. Here is the tank after mock-up and hole drilling. Pipe adapter in place, stub-up glued in, and time to mount.


Stub coming into the cabinet

Diagonal run through the cabinet walls and drain completed


Tank install was my cue that I could turn the trailer and bring it back on the tar. It provided more access parked on the lawn the way my yard slopes to work on the wires, tank, and anything else on that side under the trailer.

Made brackets to finally mount the modified step from last fall

Temporary held in place to burn it to the frame

Step in place. Since pulled it off to prime and paint the brackets and welds


Also welded the anti-drag roller brackets in place while the welder was out. Primed and painted those as well

I will get those all bolted back in place tonight. Ended the night cutting my access panel and fastened it in place

Plan for the evening is to put on the rest of the bead board and plywood on in the completed insulated areas, build the oven shelf, install the finished toe kick and light, and figure out my top molding situation. Bringing home some large cove molding as I think it will work best.
Adam
-
Jiffypop207 - Teardrop Master
- Posts: 205
- Joined: Wed Sep 09, 2009 8:39 pm
- Location: Old Orchard Beach, ME


 [/URL]
 [/URL]


 painful.