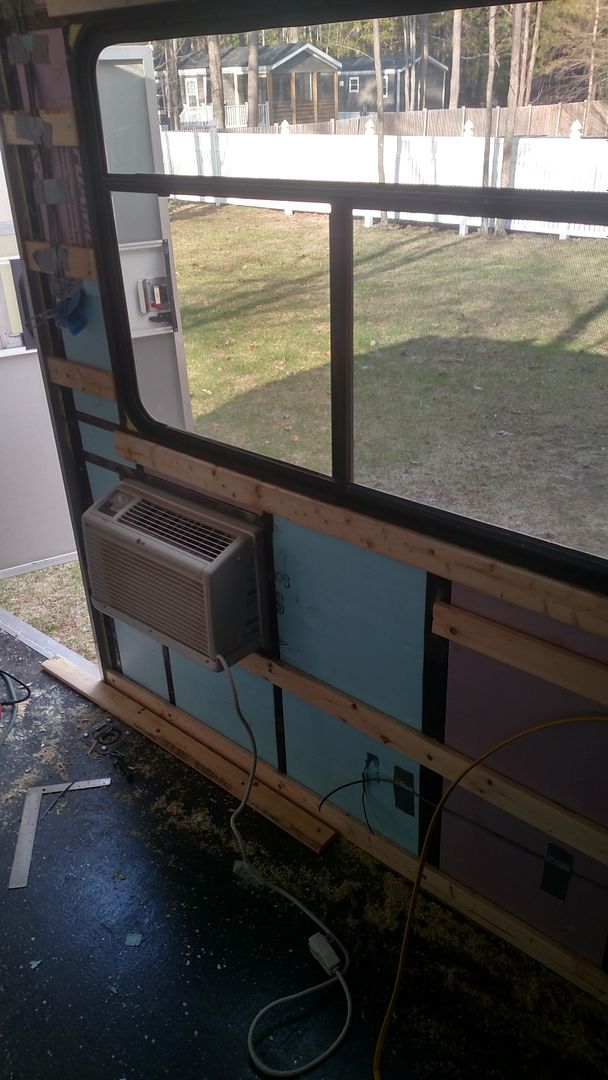
Finally got a near full weekend to work on the trailer. Stole the wall mounted AC from my donor Aliner, found the best spot for it, framed the hole in steel tubing and got it mounted. I put it near the side entry door, which is close to mid length of the wall, but thankfully not directly across from the bed.
Here it is mounted looking from the inside.
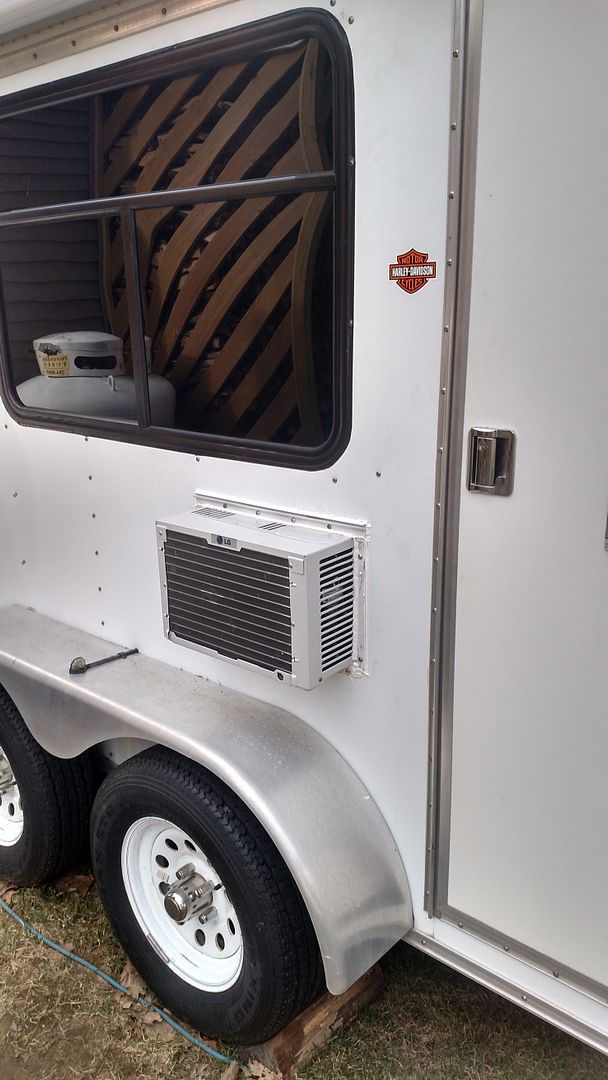
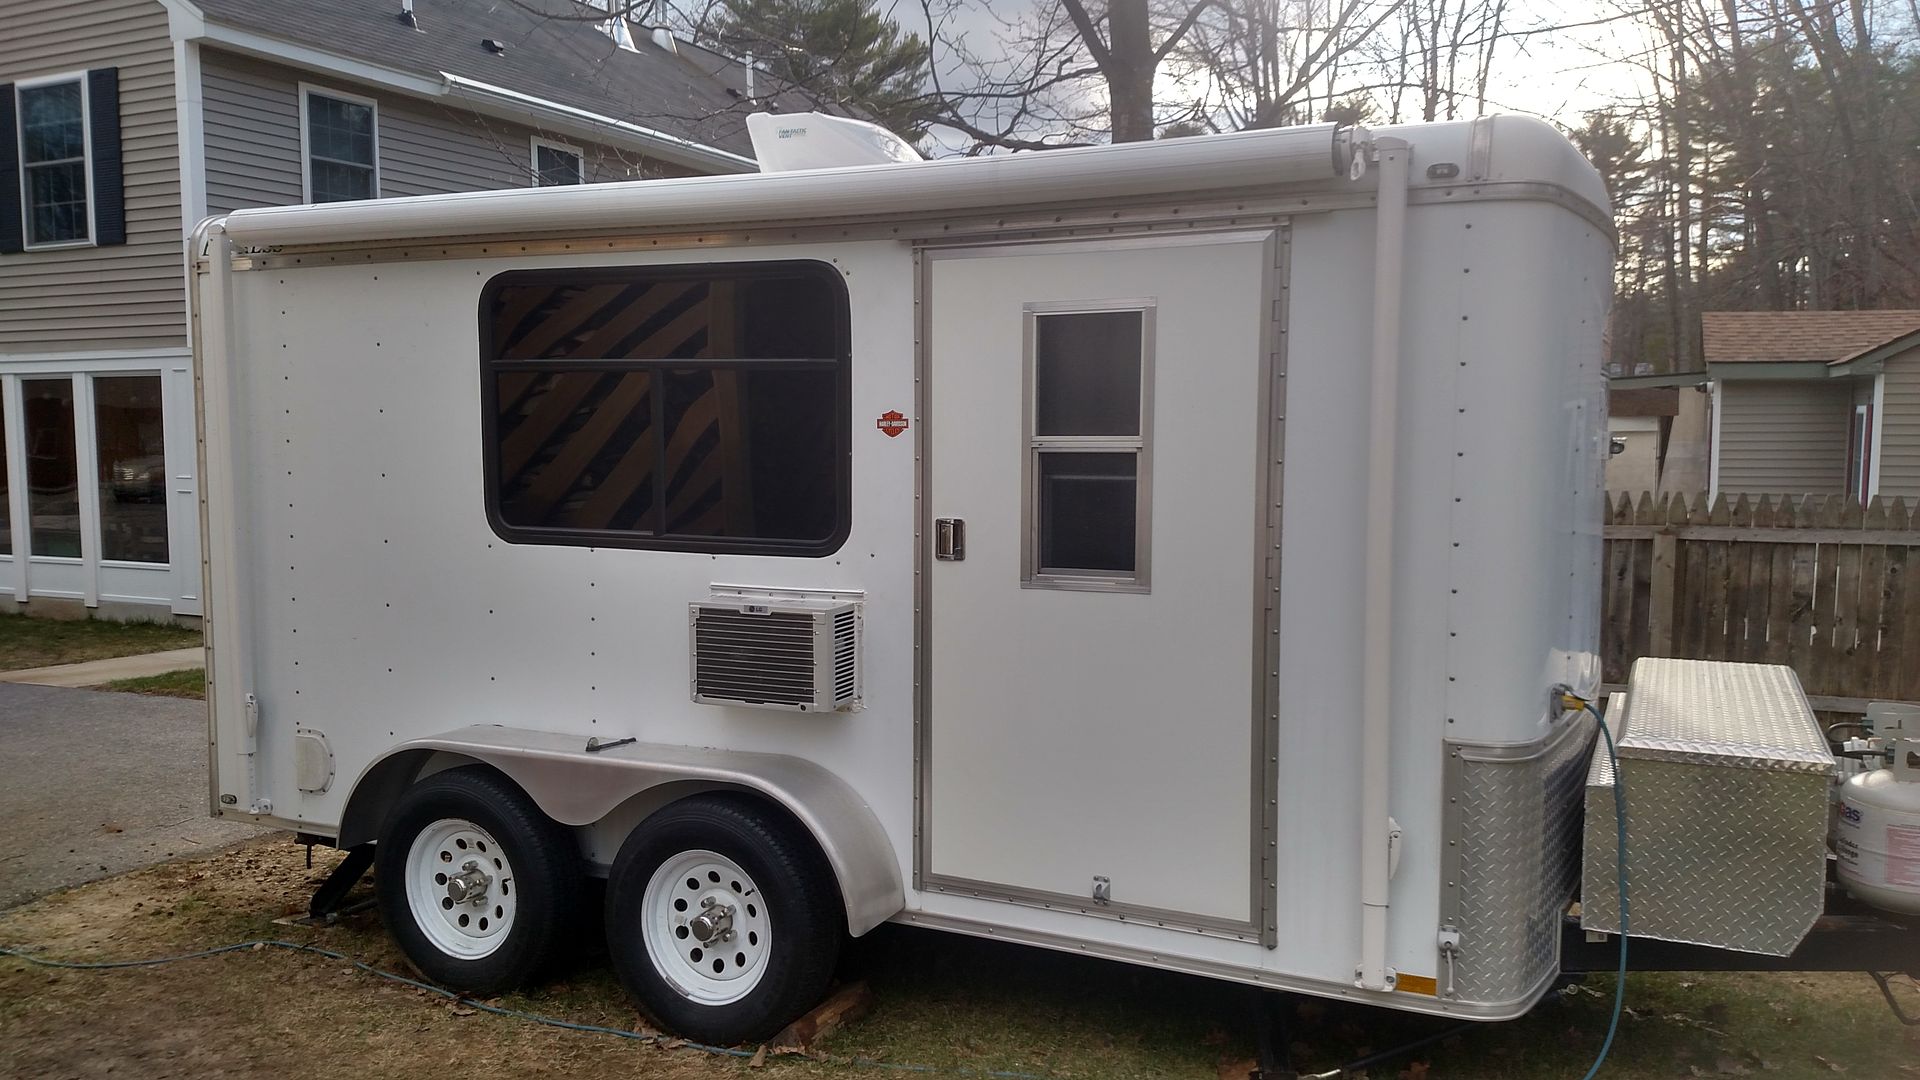
And a couple shots from the outside without the storage cover on it.
Next day we started to insulate the ceiling with the second layer (3/4") of rigid insulation over the first layer, over the metal framing, and in between the strappings.
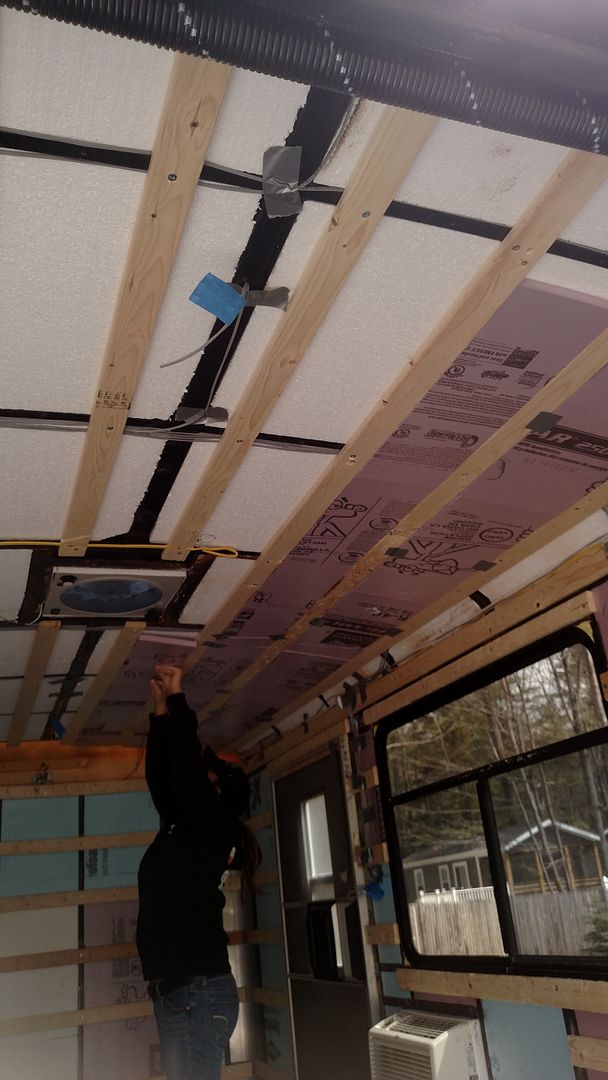
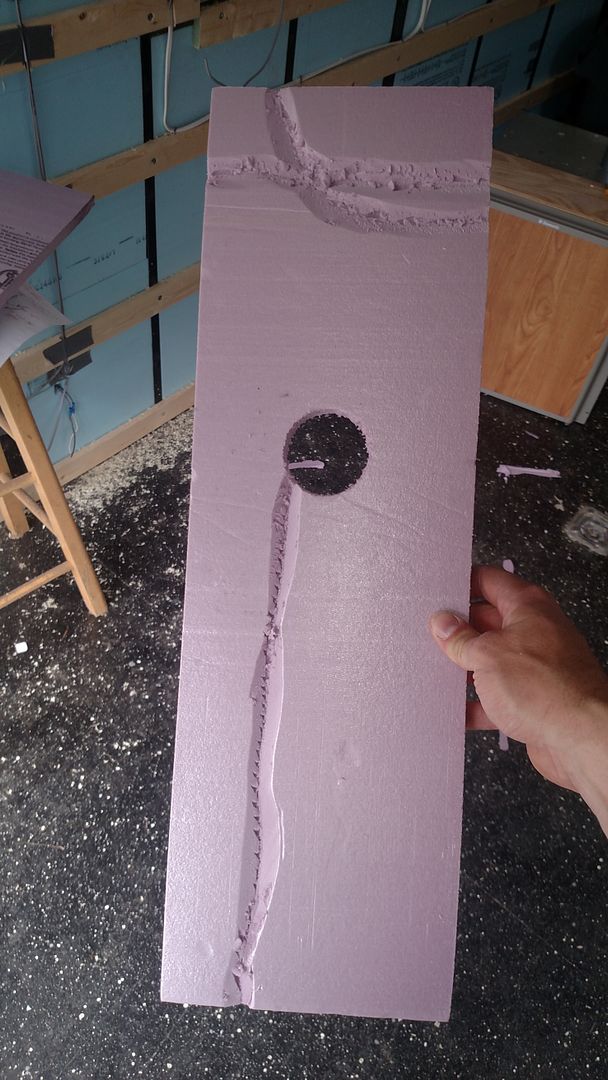
Had to do some carving for some wires to reduce potential imperfections in how the ceiling laid down. Used a hole saw to make room for wire and connections at light and junction locations.
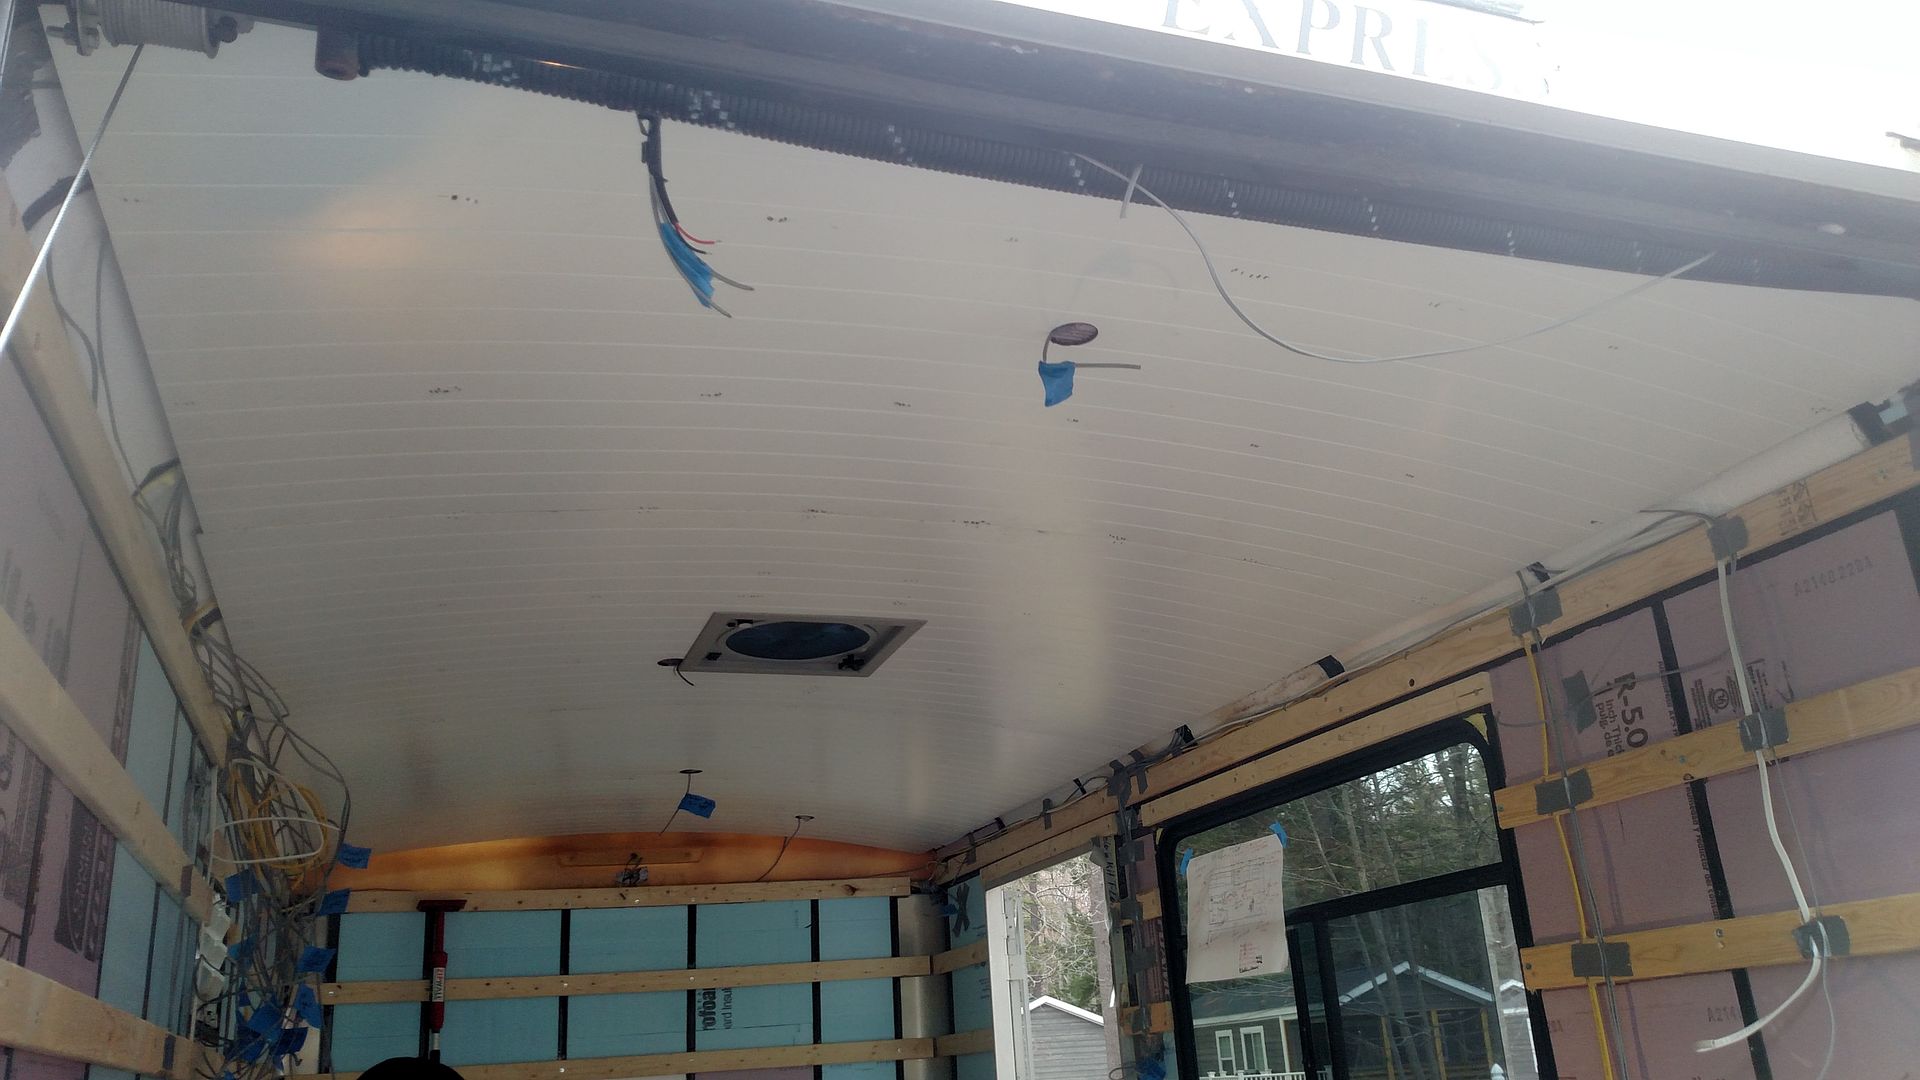
Installed the ceiling. It is paneling that has a slight v-match effect to it. I will cover the stapling with battens after the wall finish is complete. Installed the fantastic vent inner trim ring. Pleasantly surprised to discover it was the perfect thickness and I did not need to trim it down or have to figure out a way to cover a gap.
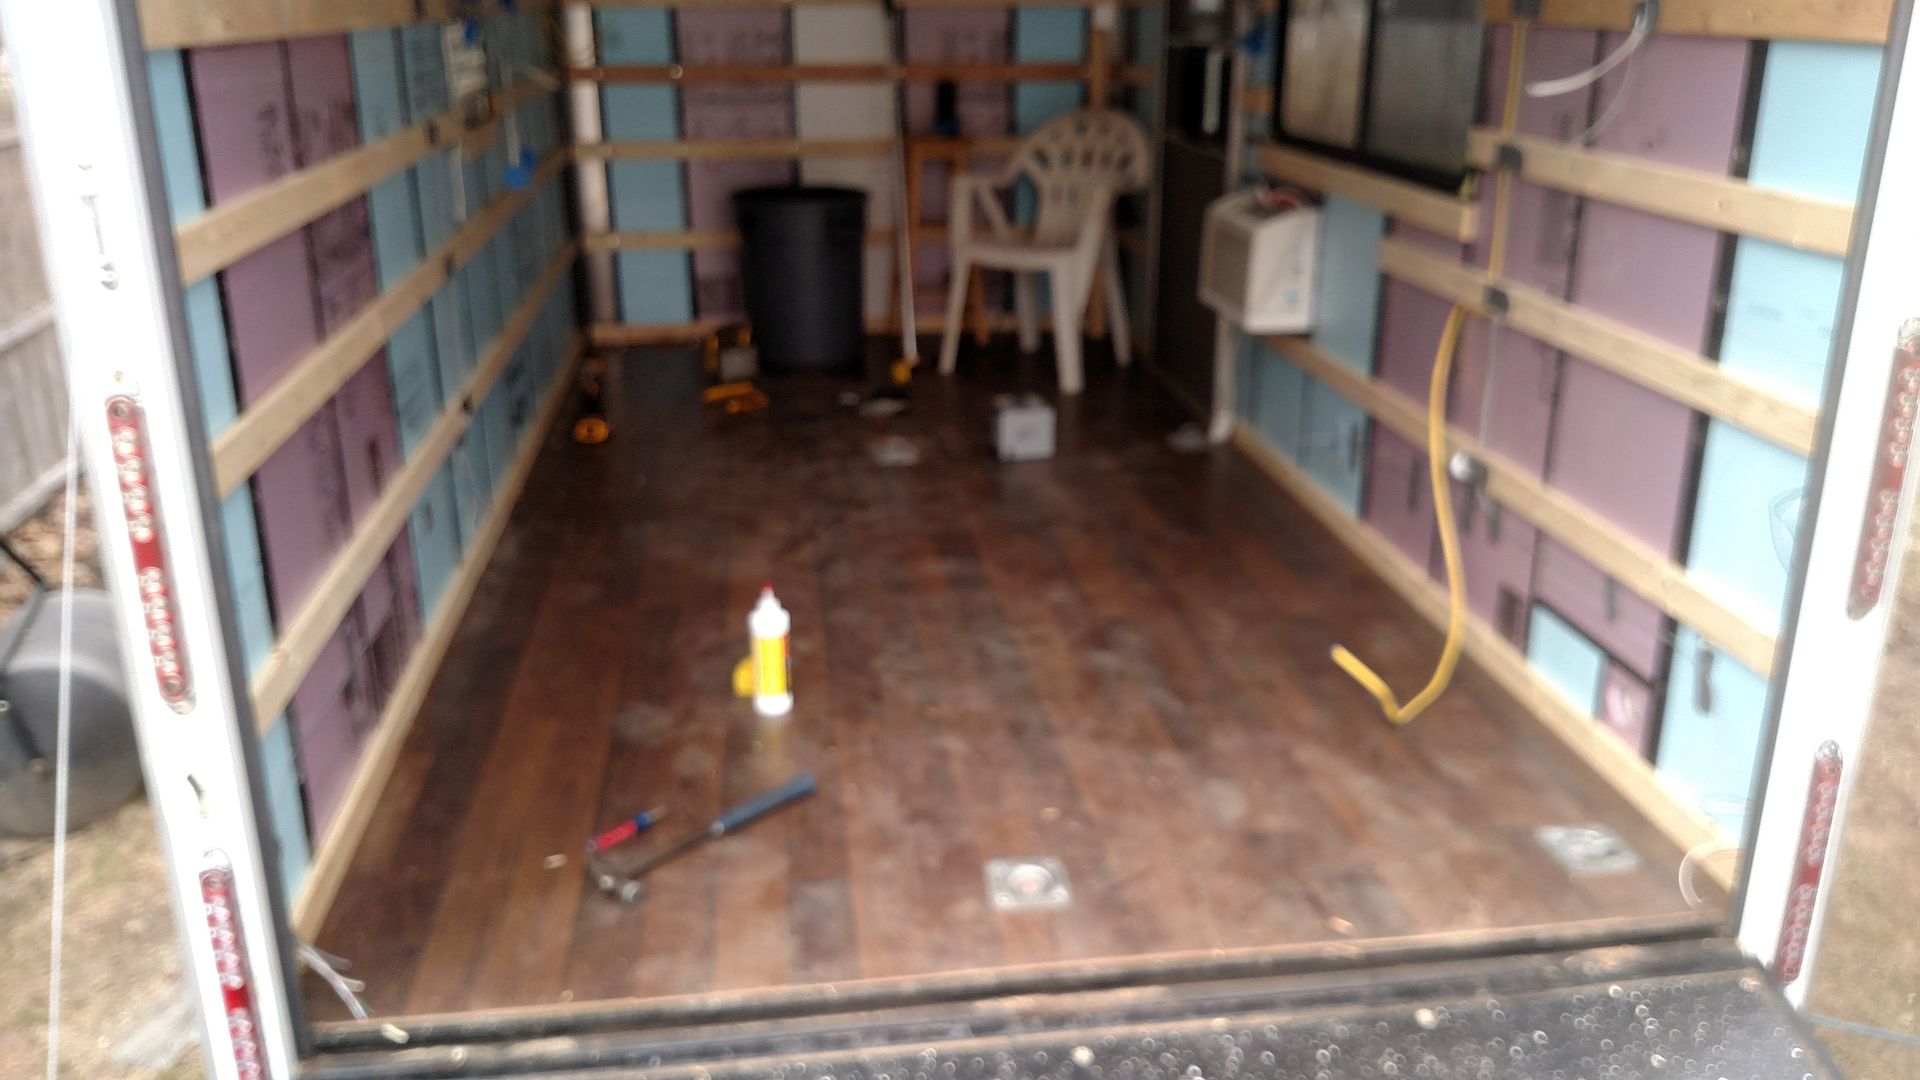
Seeing the motivation was flowing strong, we jumped into the flooring installation. After deciding which direction the grain looked better, side to side or front to back, I started on the side door wall as I did not want the finish rip on that side.
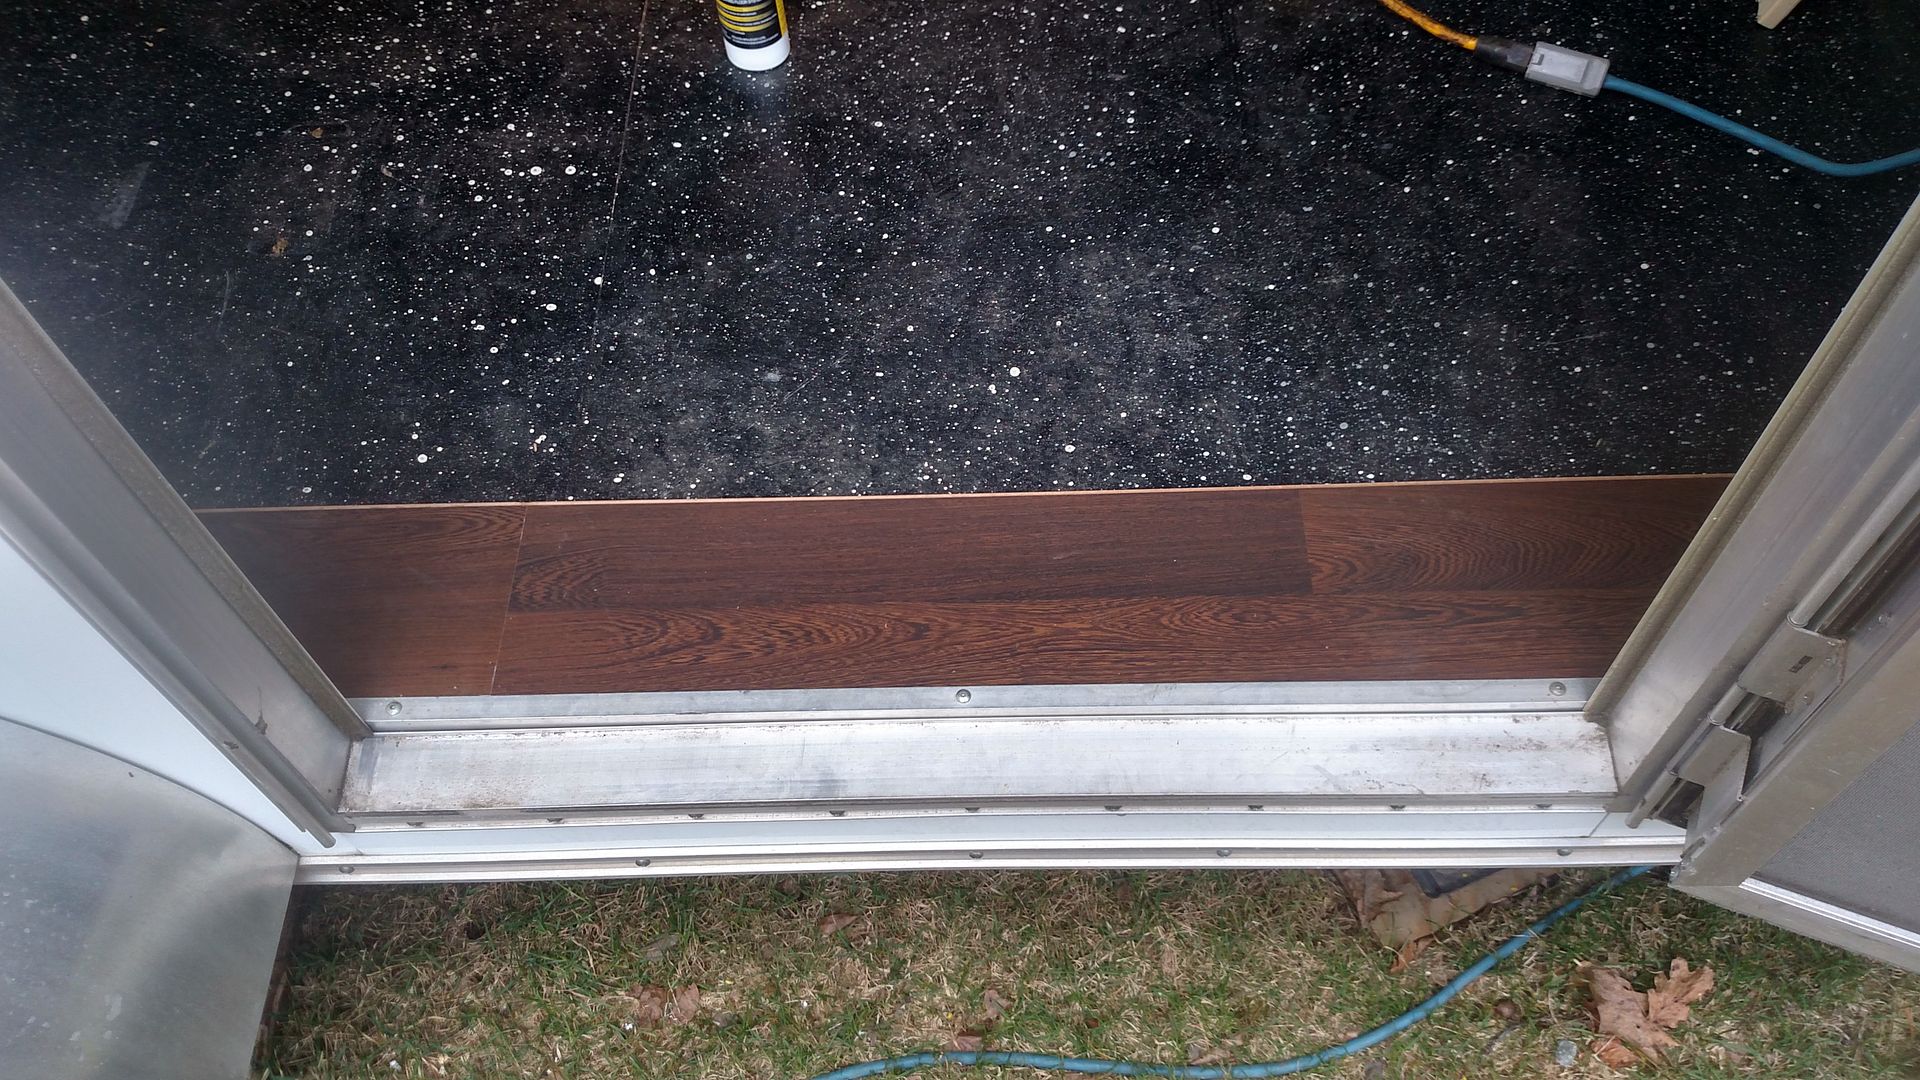
Despite much frustration because it turns out a few random boards were not square from the factory, 1/4" out of square over the 6" width of the board, we got the entire floor done with only one full board left over from what I purchased.
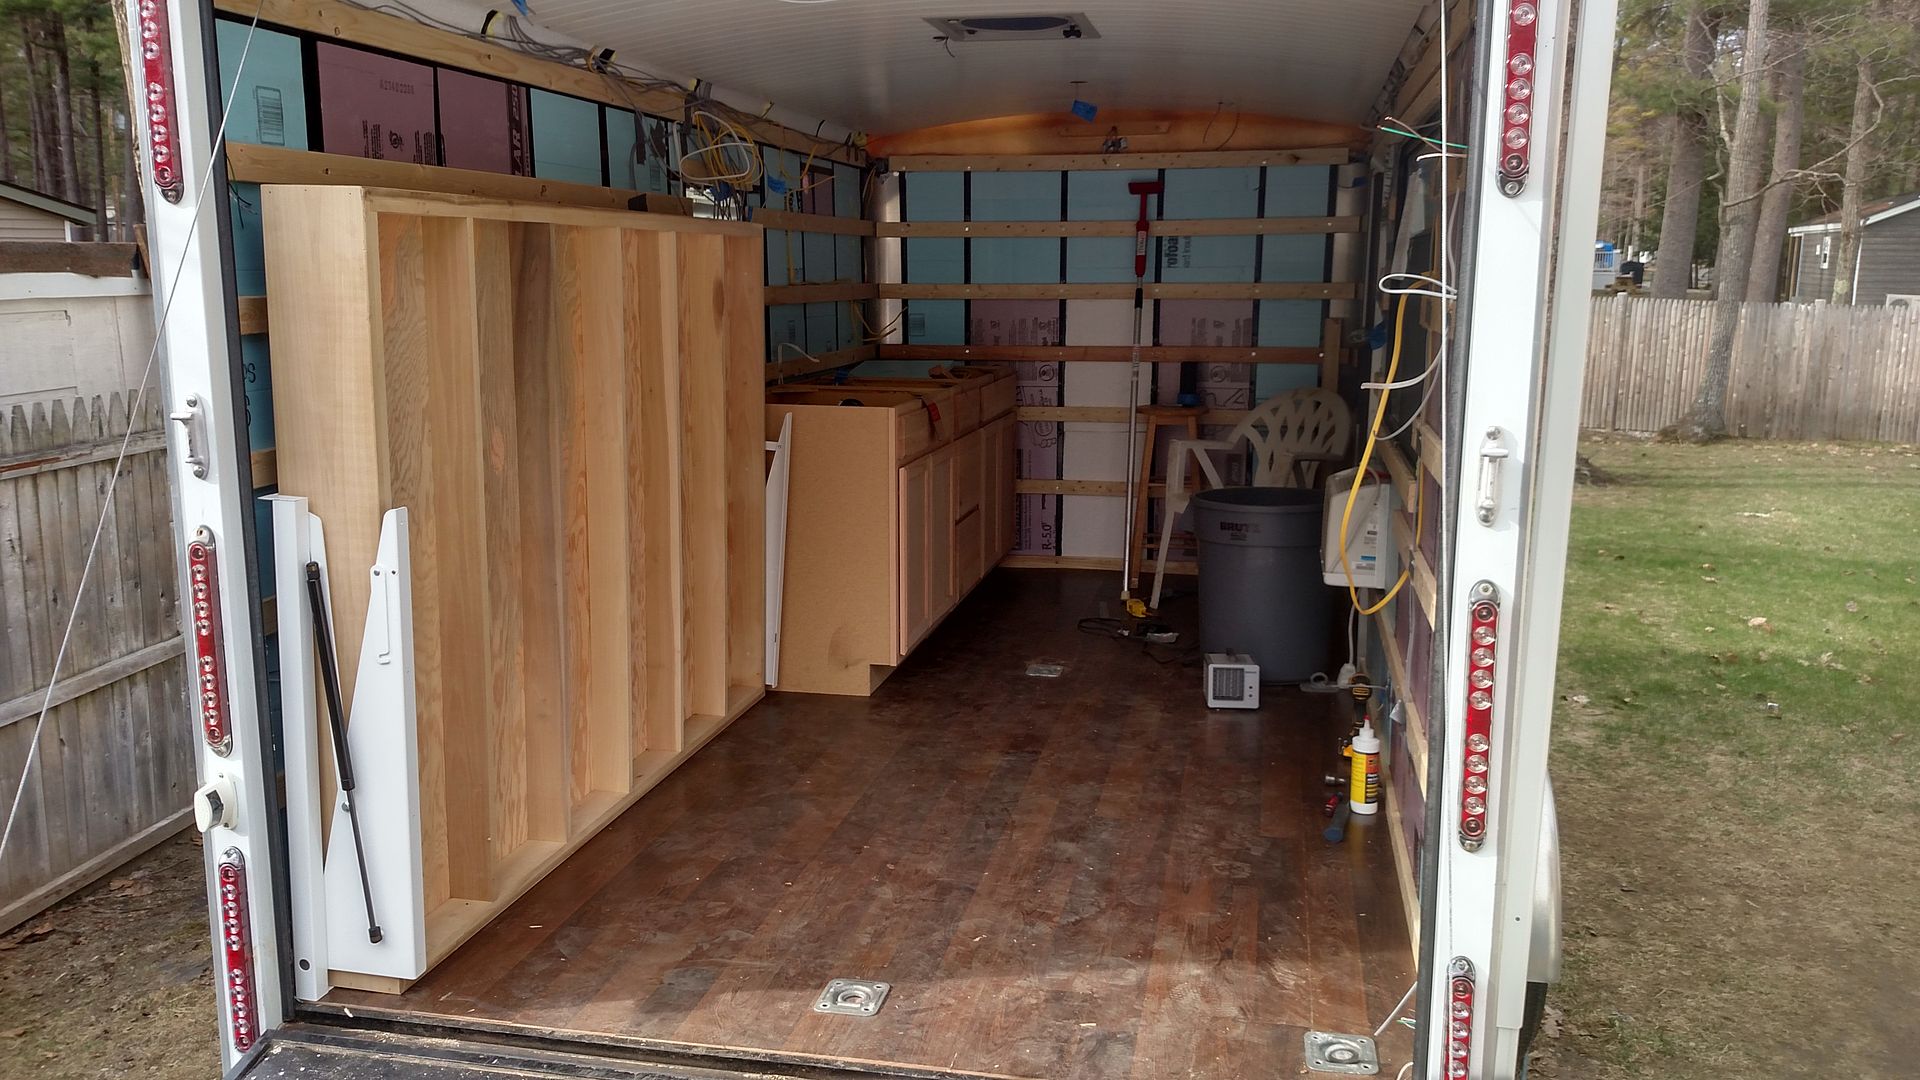
We got up the next day and moved the cabinets into their respectful spaces. I could have moved them forward and 1" or so more, but the vents in the wall for the fridge made the placement solid and we adjusted the cabinets accordingly. We then moved the bed frame in as well as the tilt brackets to be sure they were in fact going to fit inside the trailer. They are close to the back, but they are in. I will have to take the lift assist cable off on the bed side so it does not cause damage to the bed frame when it is in the upright position. Should be able to still lift the ramp fine. Starting to look like something with all that in there.
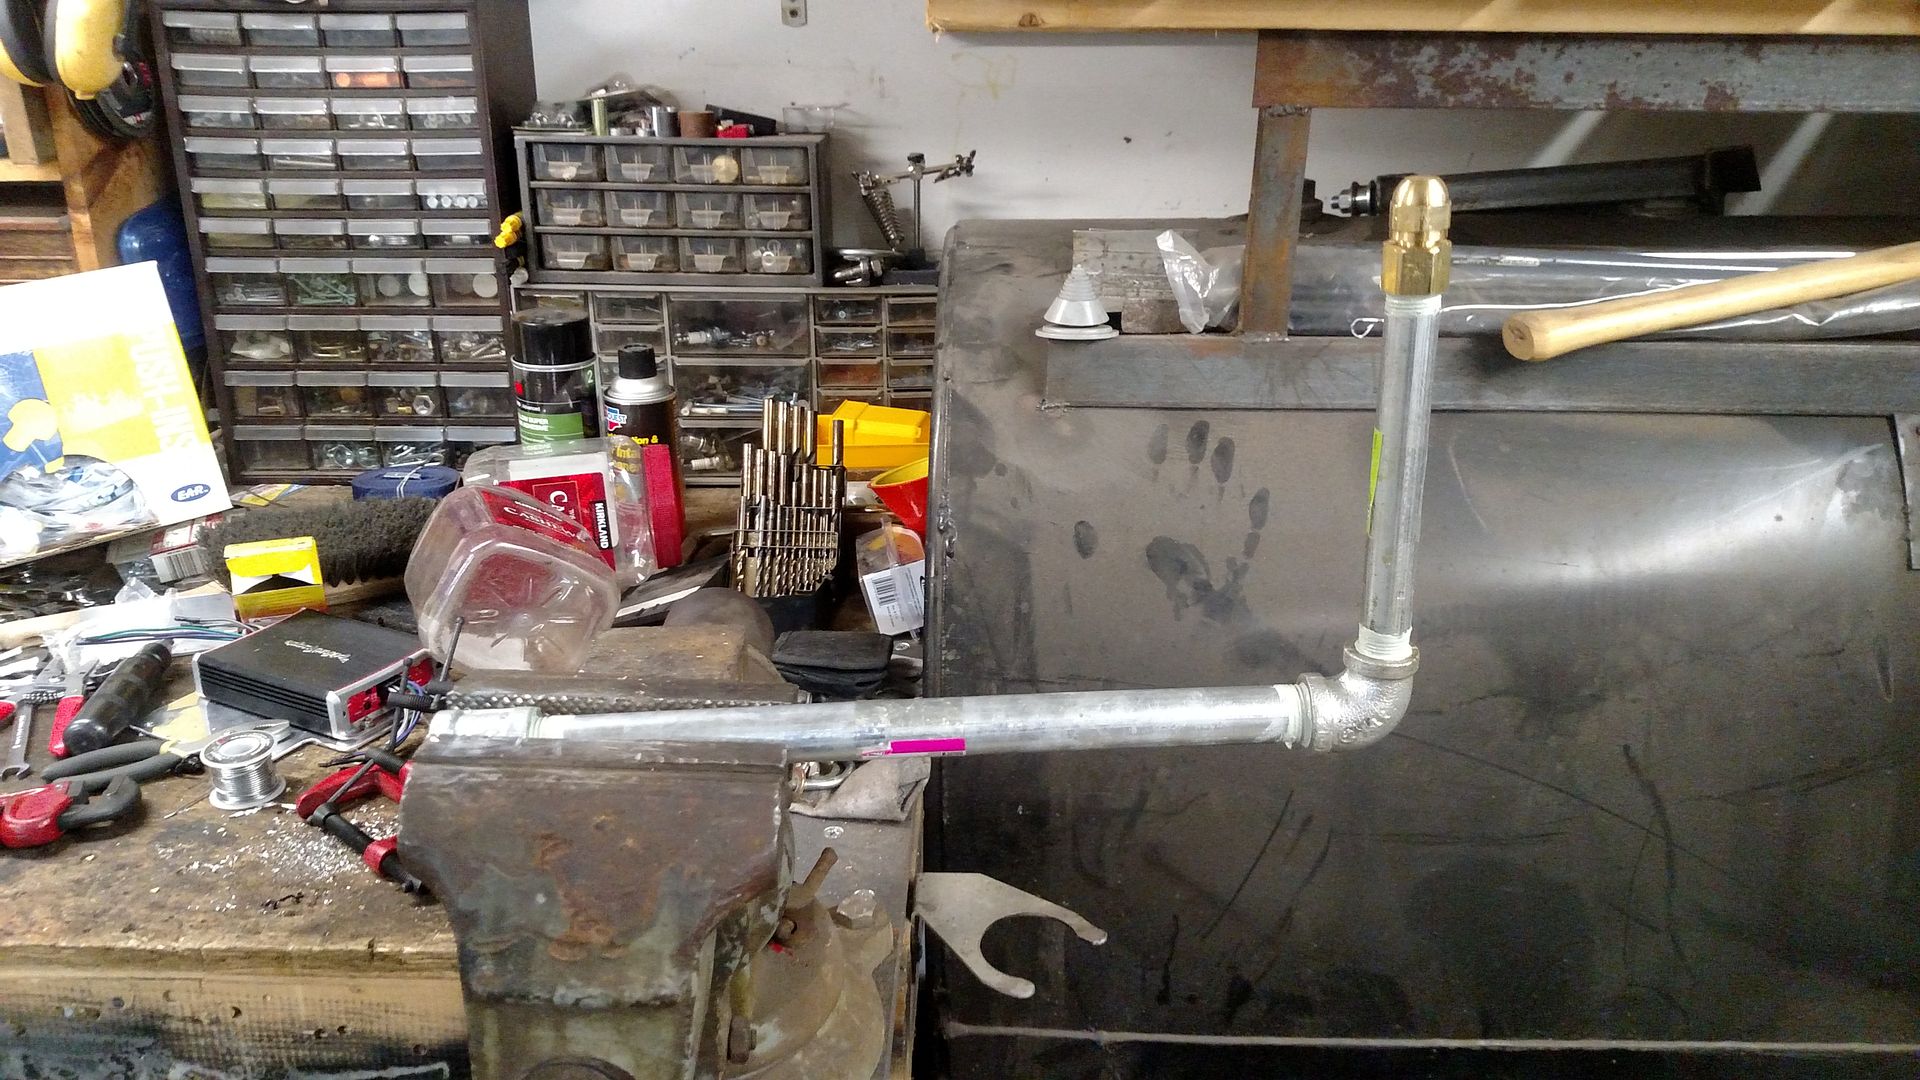
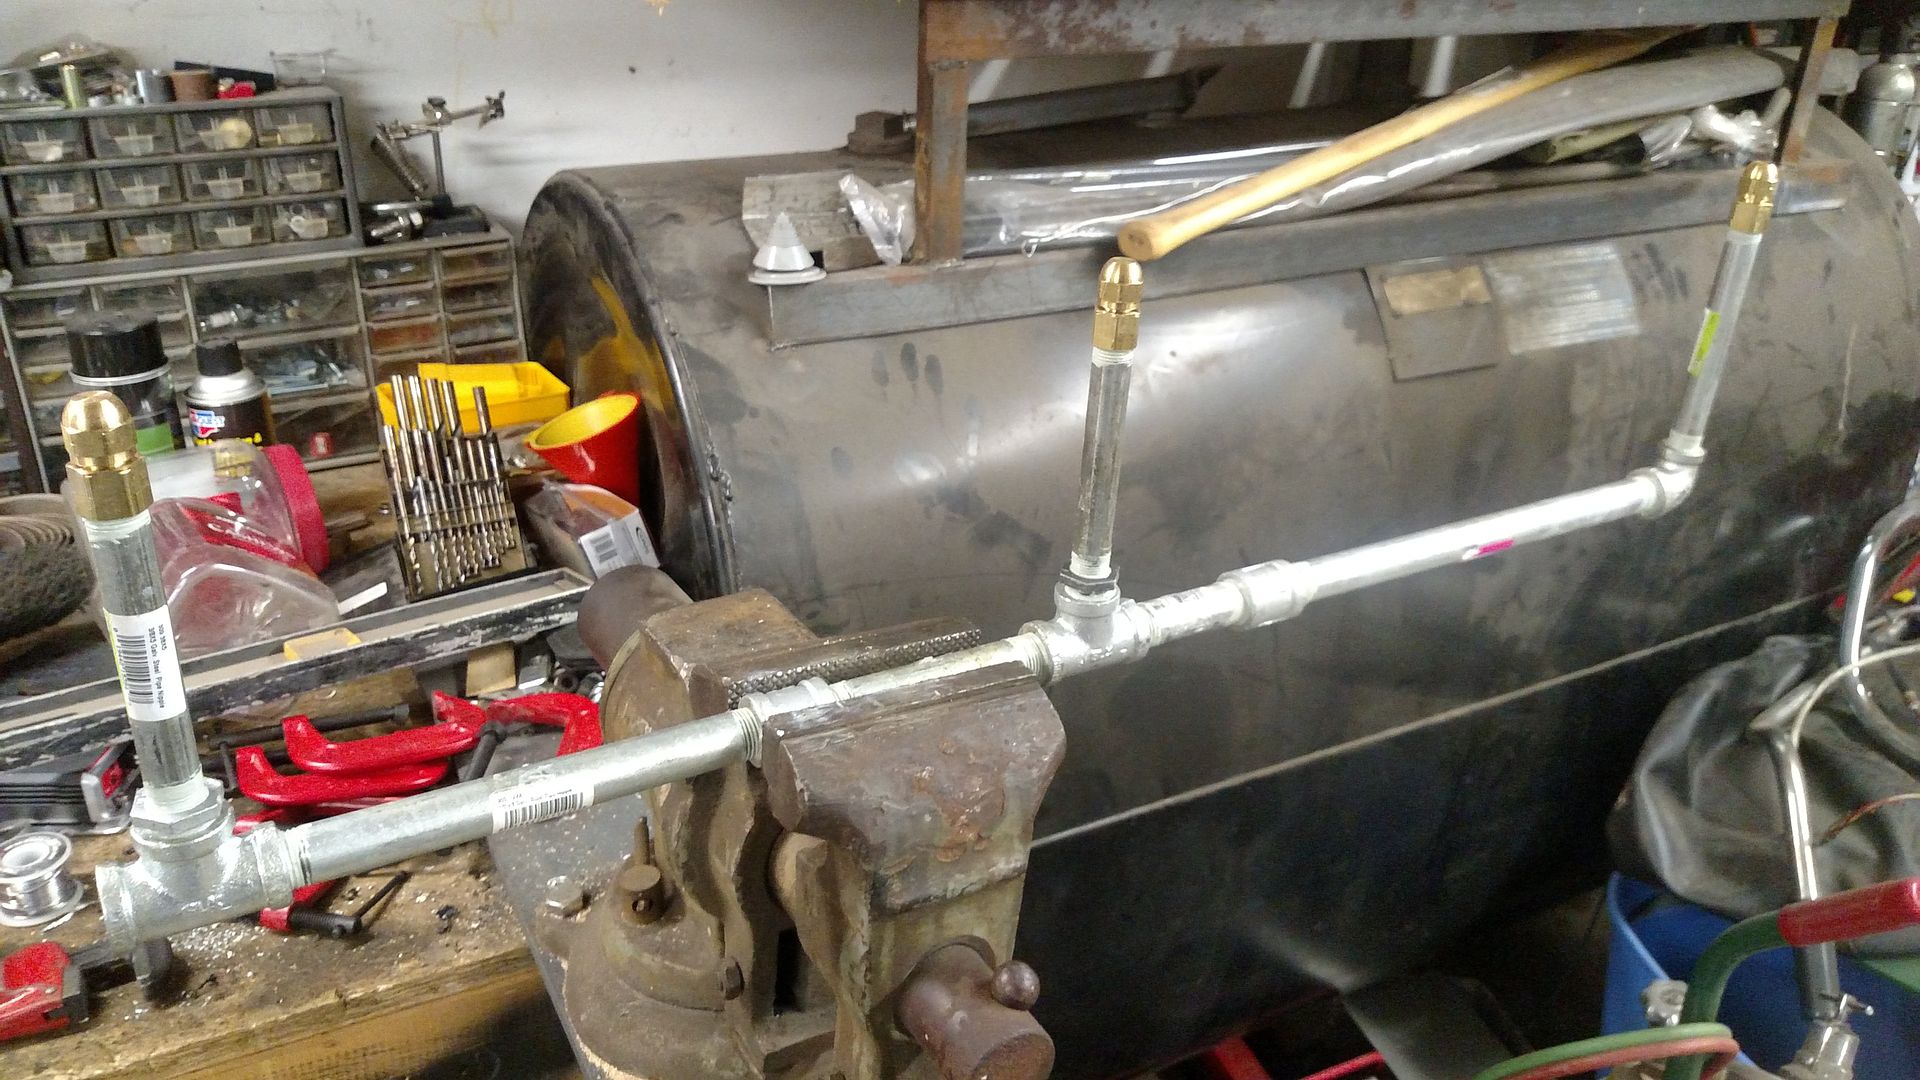
I also needed to set things roughly in place that required LP to function. I planned on running a gas trunk line under the cabinets with stub-ups roughly near the appliances that need it. I will make a copper line to connect each device to their stubs when I install them. We measured and made a diagram of what the trunk line needed to be and headed off to the Depot to get the parts as well as some wood and sheet goods that will be used to make the fridge/electrical center surround, the water closet walls, and the under bed storage and battery compartment. It took awhile to assemble the parts in the store I needed for the trunk line, so after we grabbed some dinner, came home and called it a night.
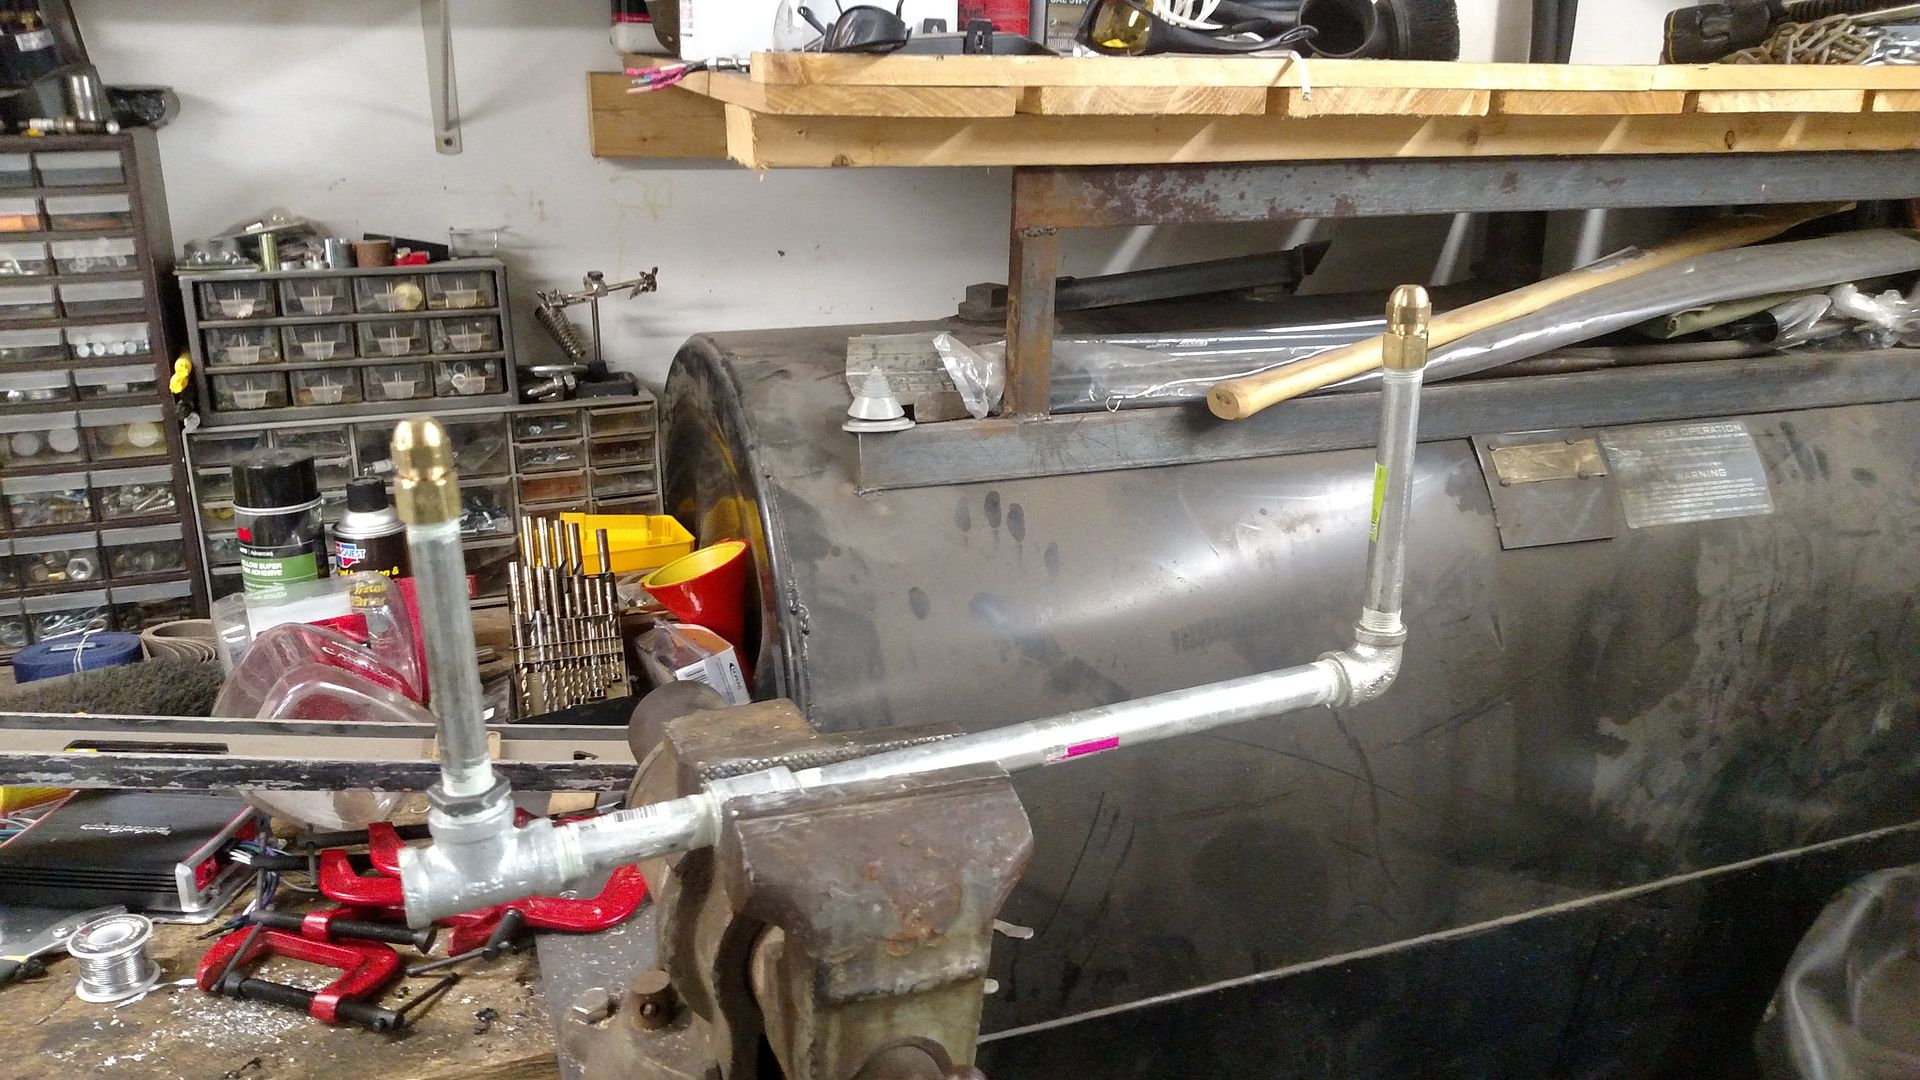
Tonight it fitted all the piping together, made the trunk line, and verified in the trailer it would work with the stubs located as I previously calculated.
One upright
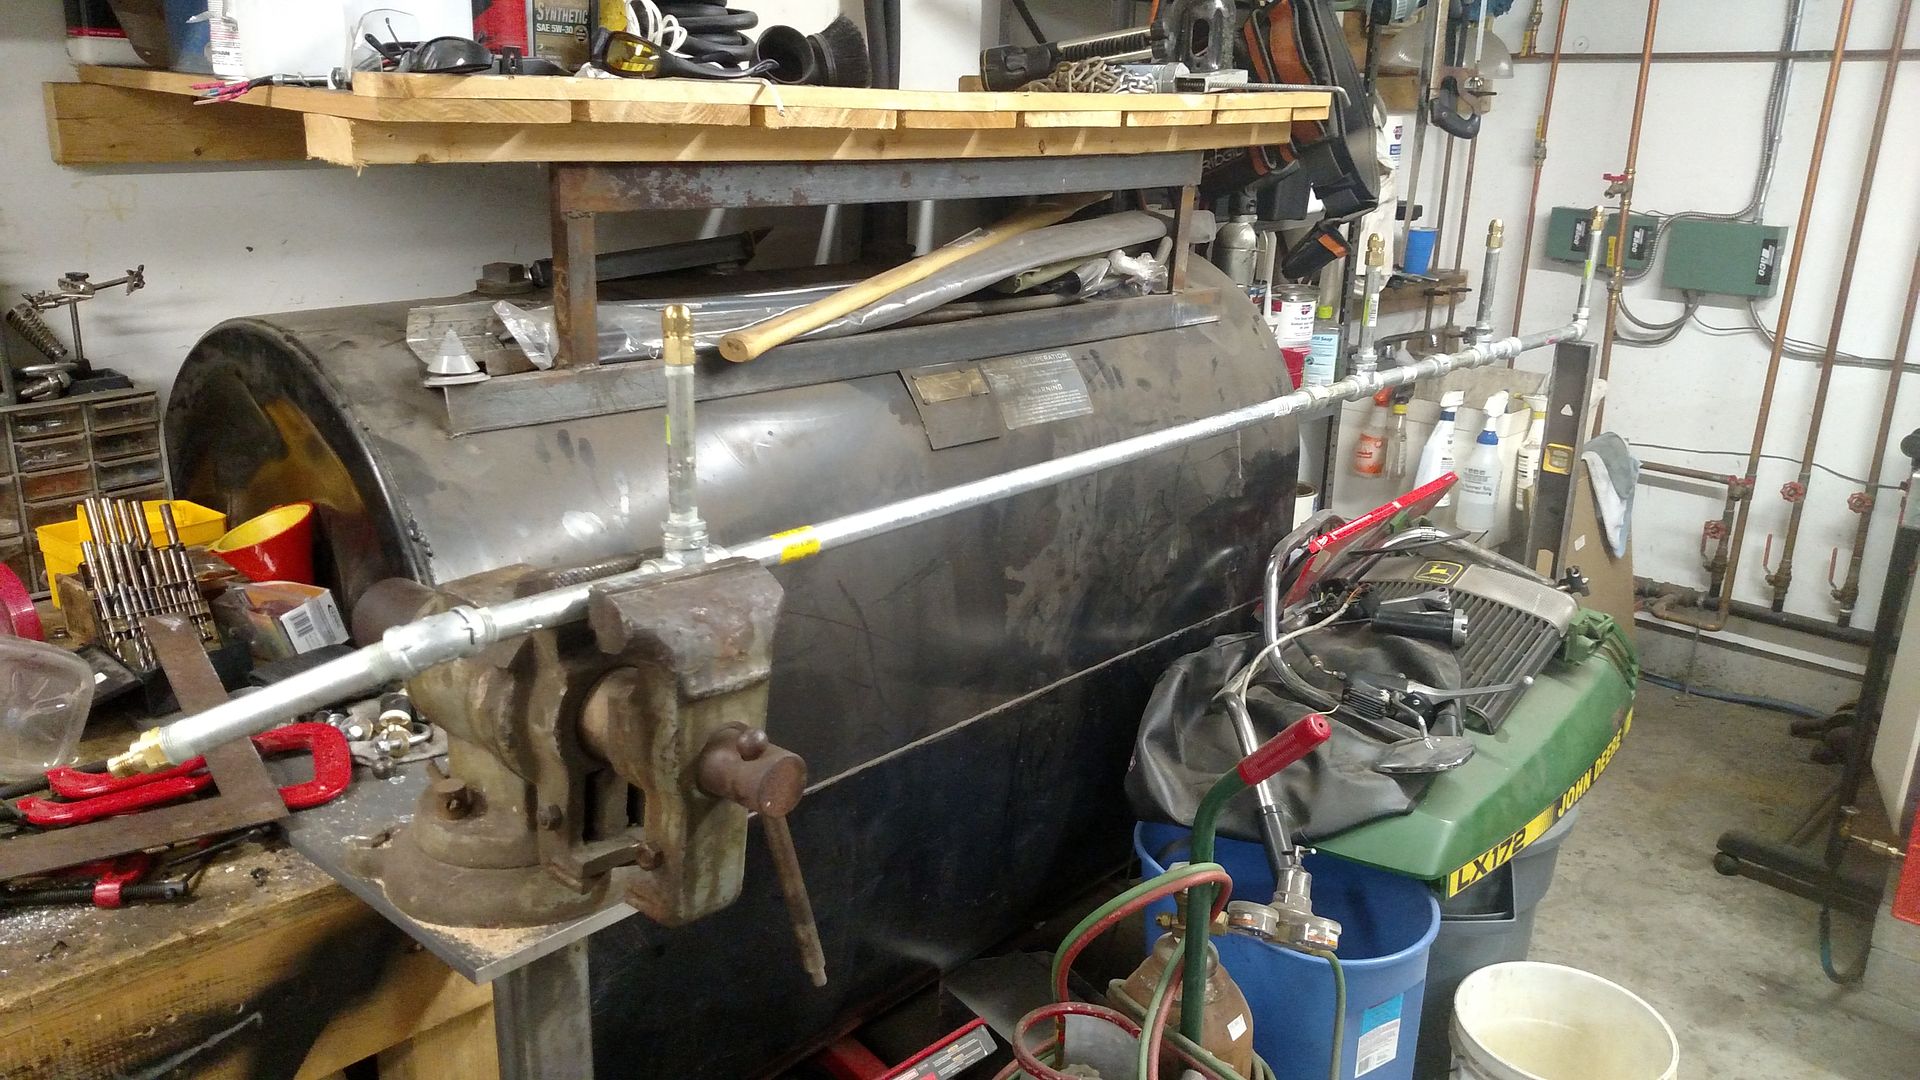
Second
Third
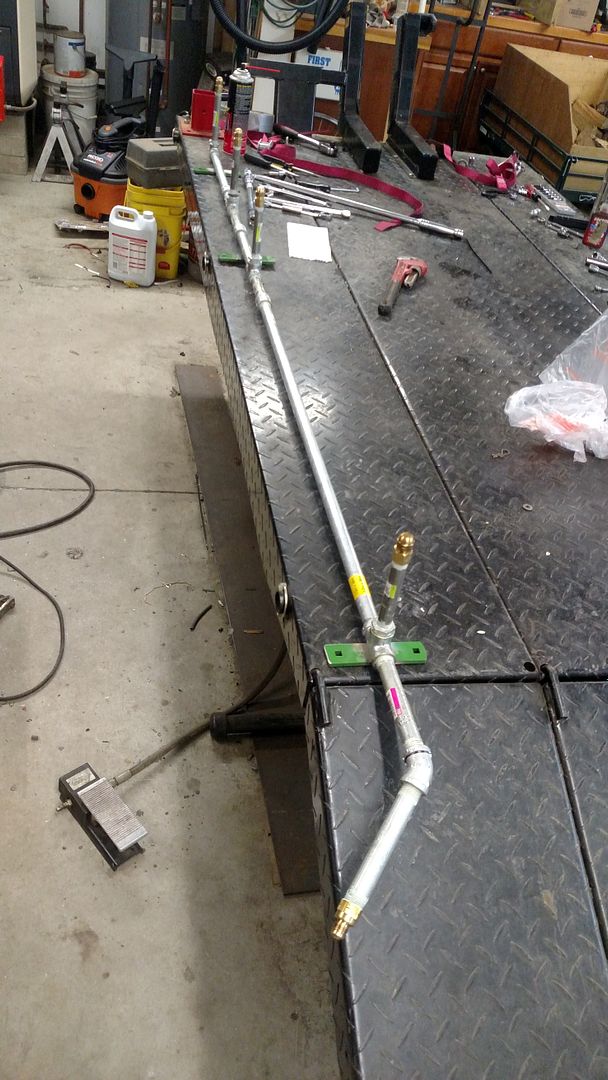
And the forth and final
Then I made some "feet" so I could fasten it to the floor as well as keep it upright.
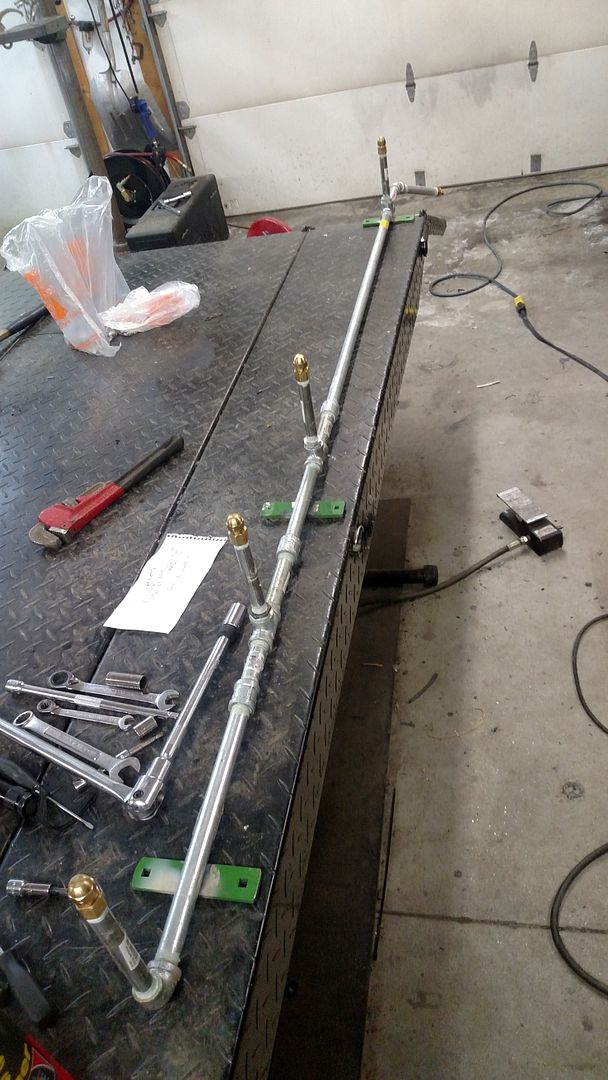
That is a stub-up for the tank less hot water heater, the cook top, the furnace, and the 3-way fridge. Time for bed. More to come.
Adam