grizz wrote:As mentioned Dave, Legendary.
Love the birthing idea.
I hope one of the girls or you will take a bunch of photos, or a video, and then set it up as a fast slide show to show the birthing in 30 seconds or somethng like that.
We'll make an occasion out of it for sure Rian

May have a couple of midwifes about

I've been chipping away at it. I got a little done last Sunday, and made up the cabinet doors today.
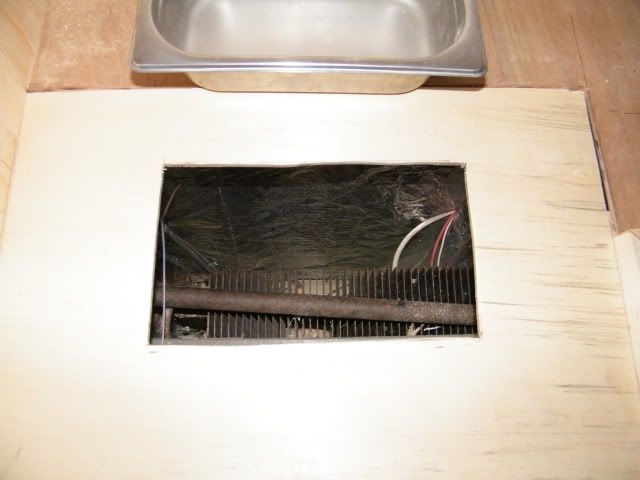
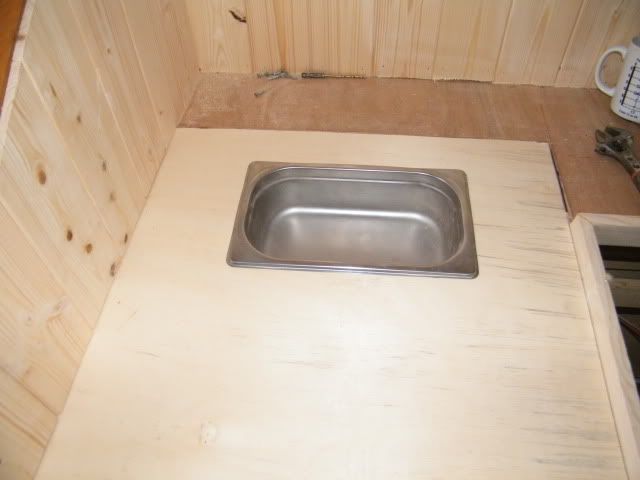
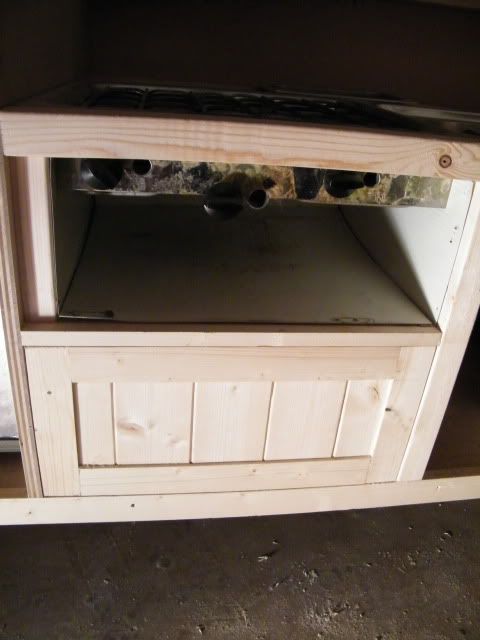
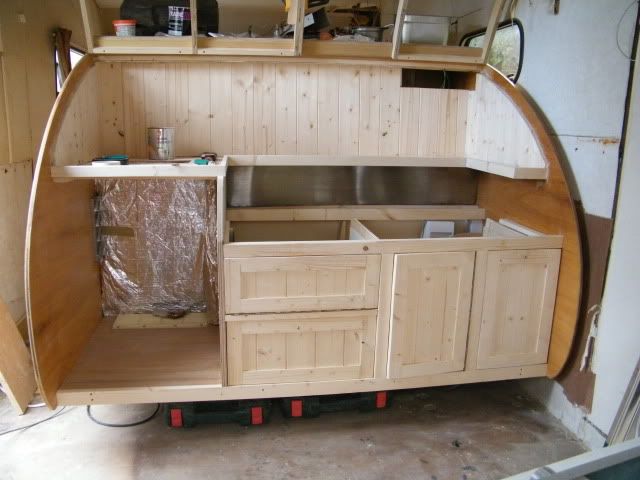
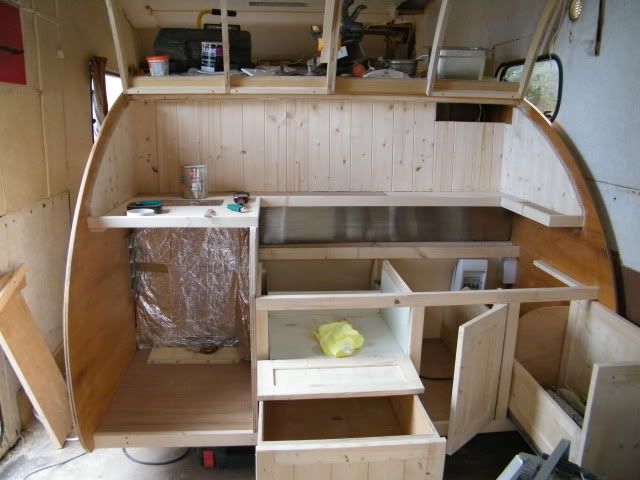
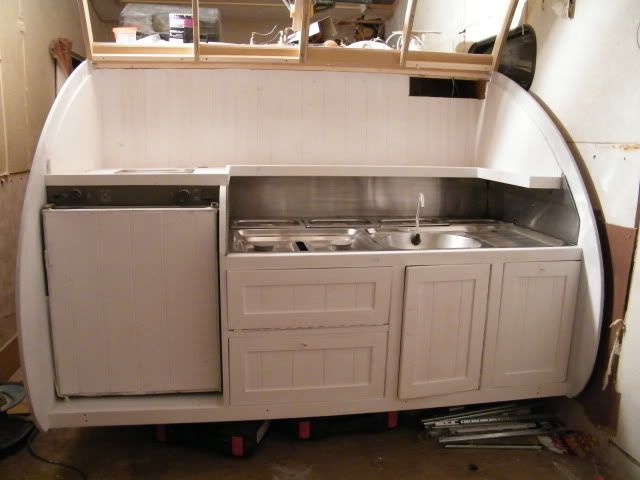
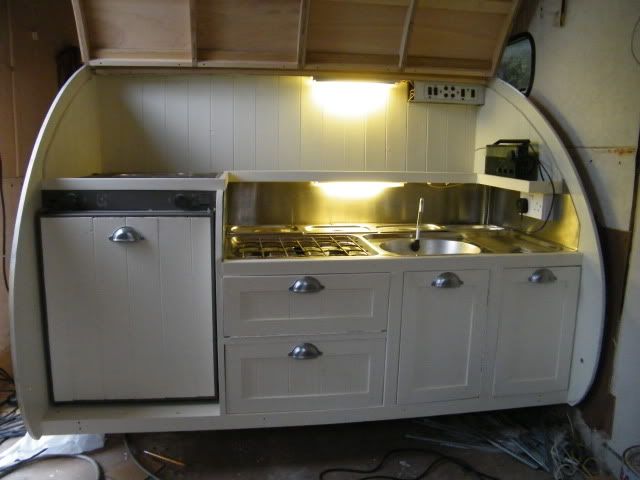
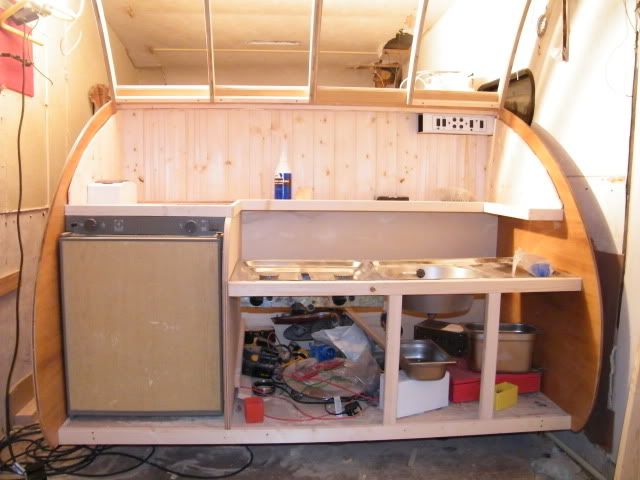
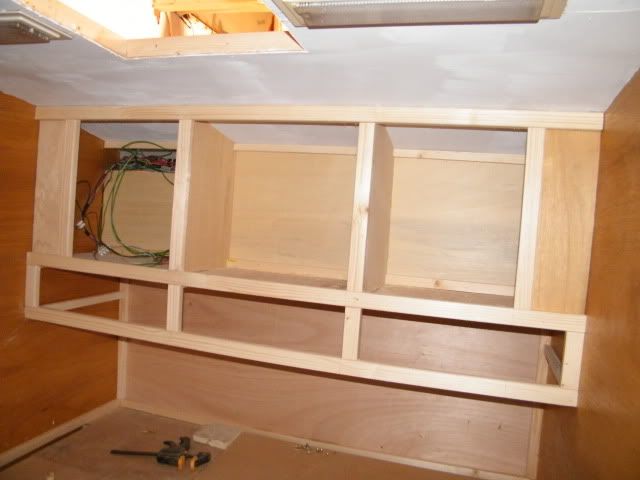
On Suday I fitted the divider in the lower galley to separate the grill from the sink. I'm going to have a full depth drawer under the grill, as it worked out great in the first trailer. I've made a cut out in the top so the stainless storage bin will sit behind the hob.
Here you go- I've used biscuits in the join between the divider and the frame.
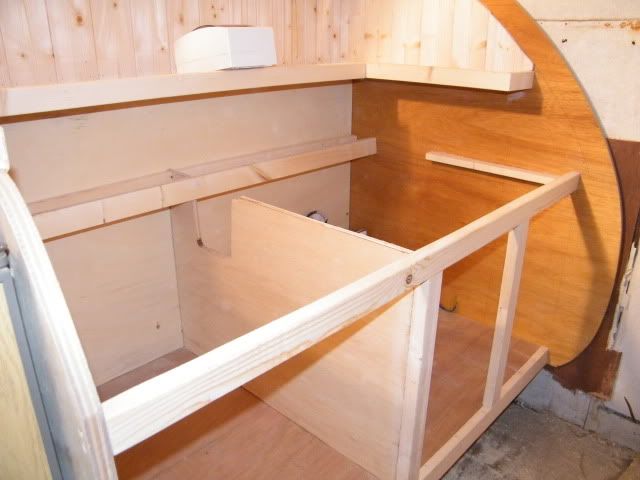
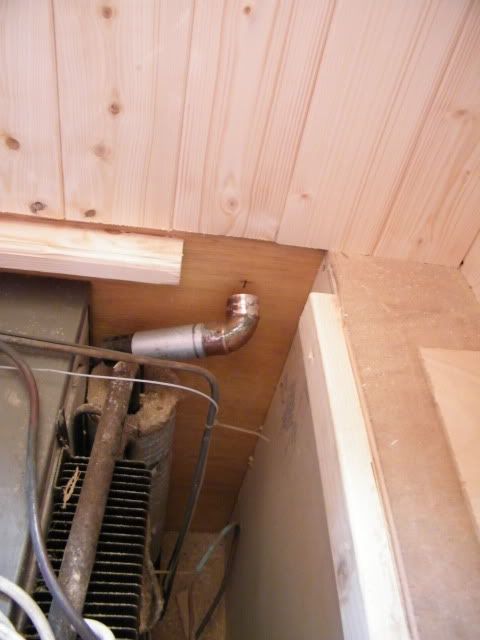
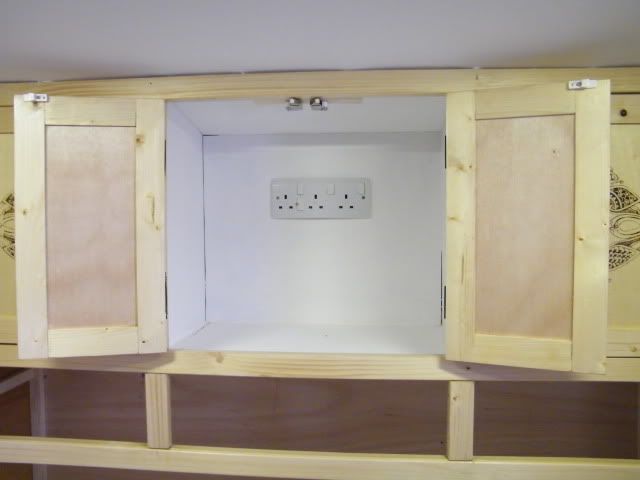
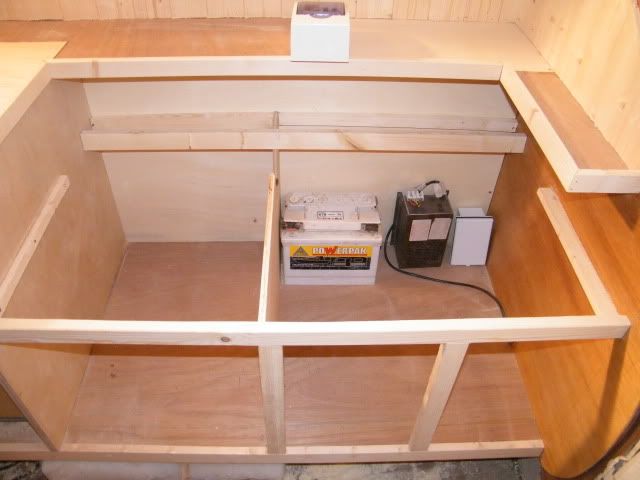
The battery and charger will live behind the sink, the mains hookup will come in the right hand side as you look at it.
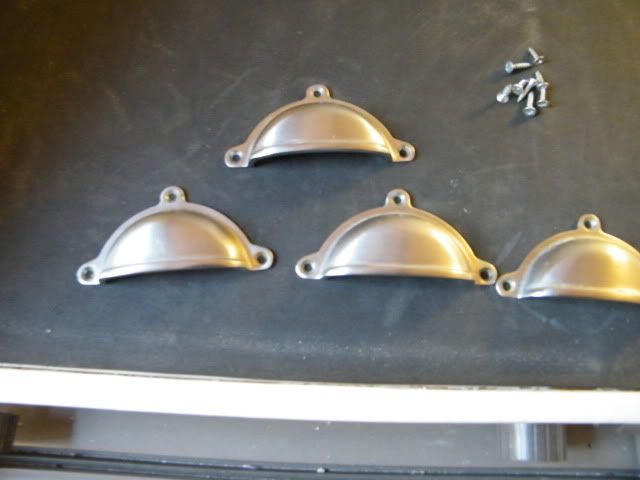
I had a couple of storage bins left over from the first build. Four should fit in nicely.
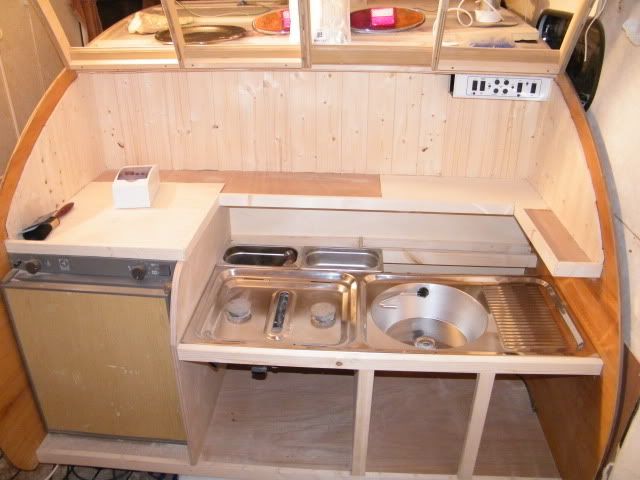
I'm planning on useing stainless steel on the sides, back and to to cover the gap at the back of the storage bins.
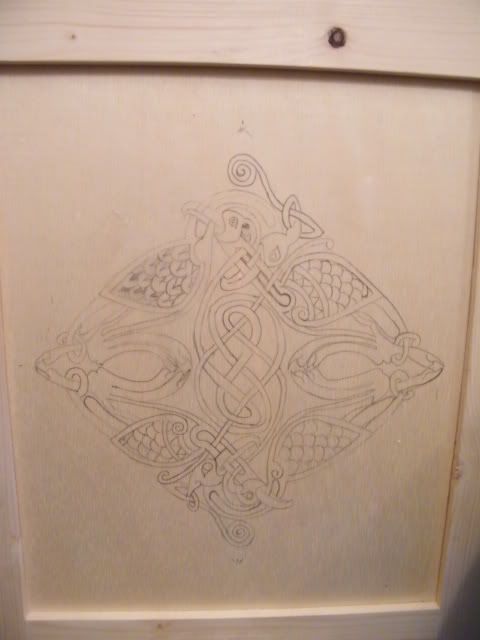
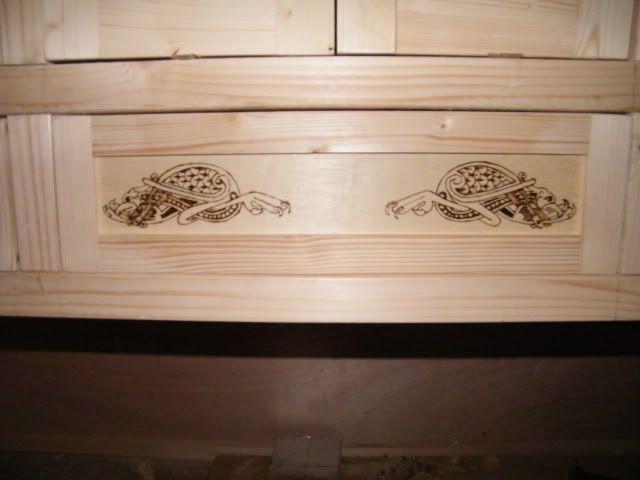
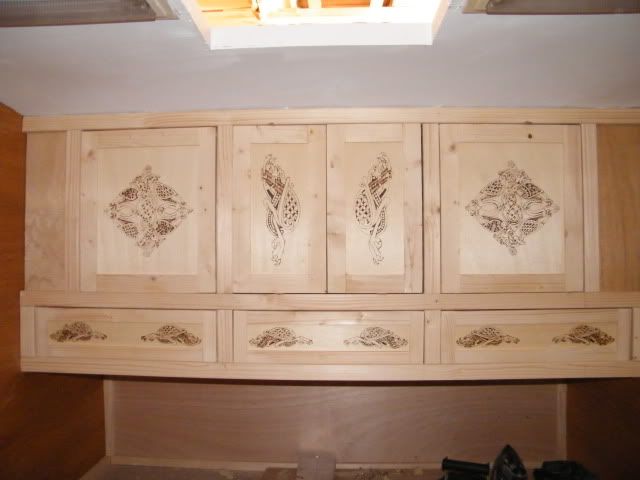
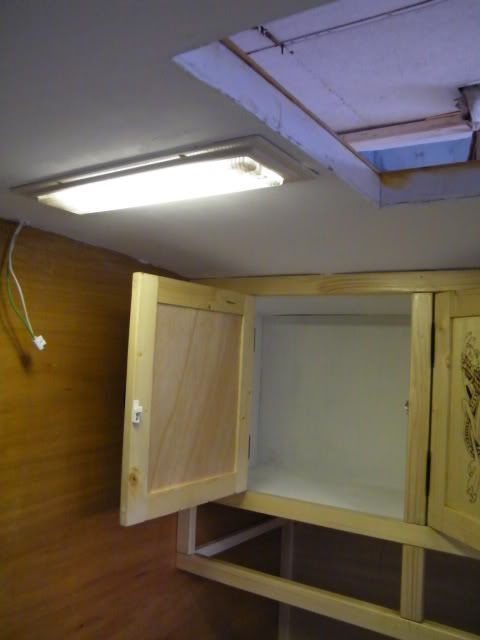
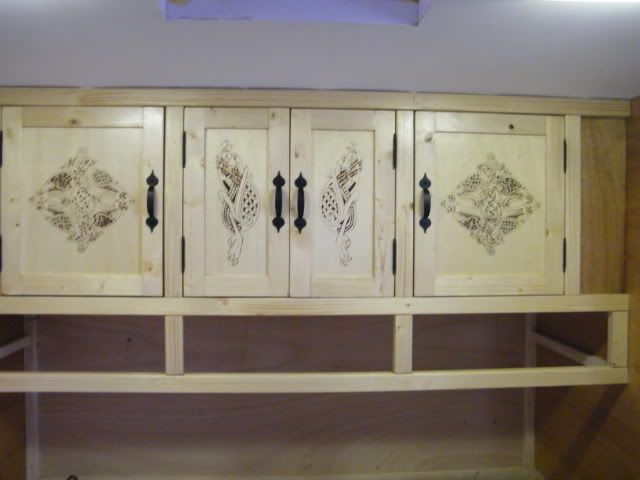
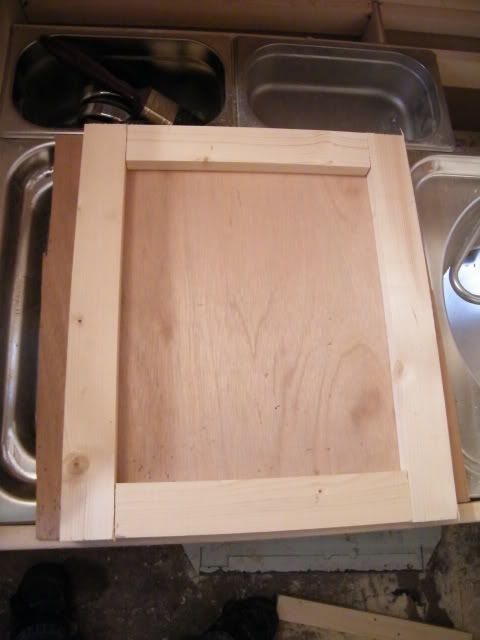
Today was time to make up the cupboard doors . The plan is to have a pair in the middle and then a single door for each of the side cupboards.
I cut out all the frames first. I've allowed about 2mm clearance all around.
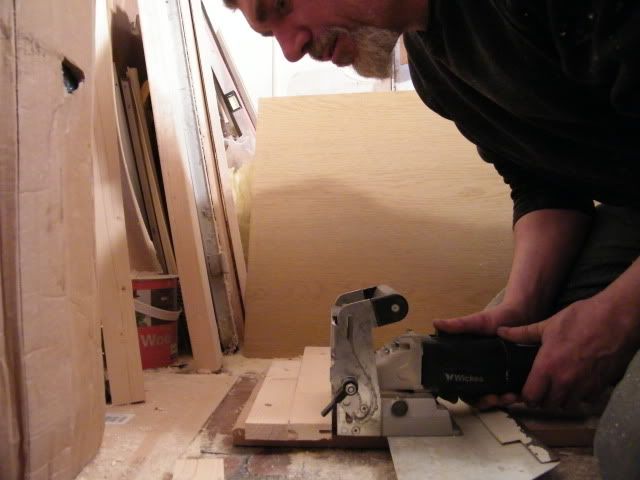
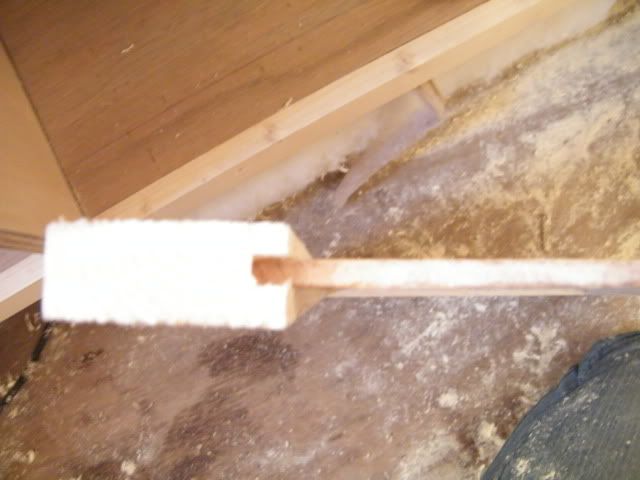
I screwed a bit of 2x1 to some mdf, so I could use my buscuit jointer to rebate the slot to accept the ply pannel. Here's an action shot;
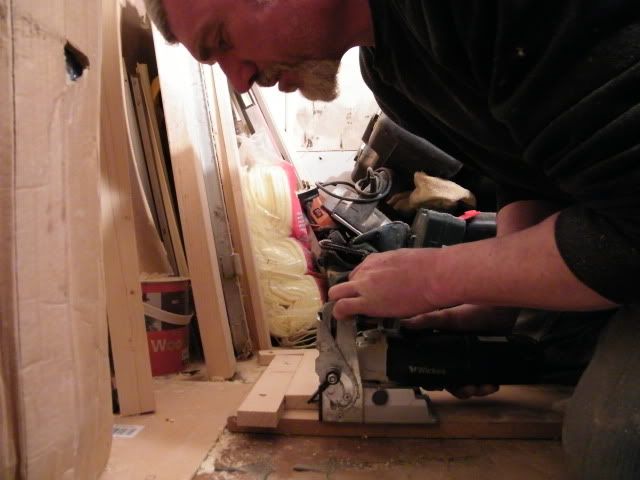
The ply I'm using for the pannel is slightly thicker than the blade on the jointer.
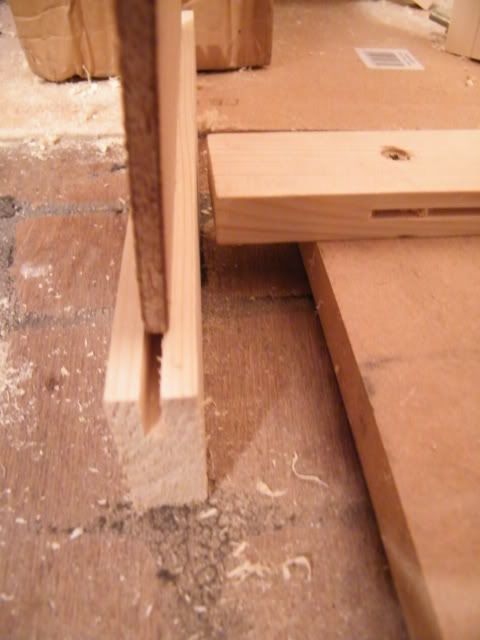
I made a second cut, but this time the jointer was sat on a piece of steel , just the right thickness . Of course I could have set the guide on the jointer to the right depth for the second cut , but I didn't.
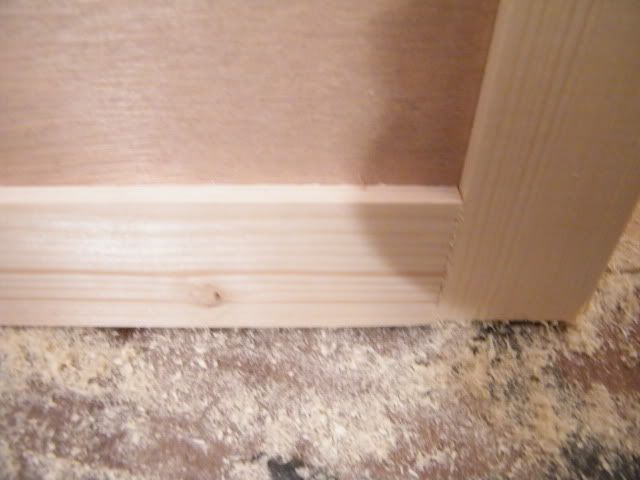
With the second pass done, the ply is a snug fit.
The frames are good and flush on the corners
I cut the ply for the panels allowing enough to sit in the frame, and then had a dry run to make sure they were the right size , before glueing them up.
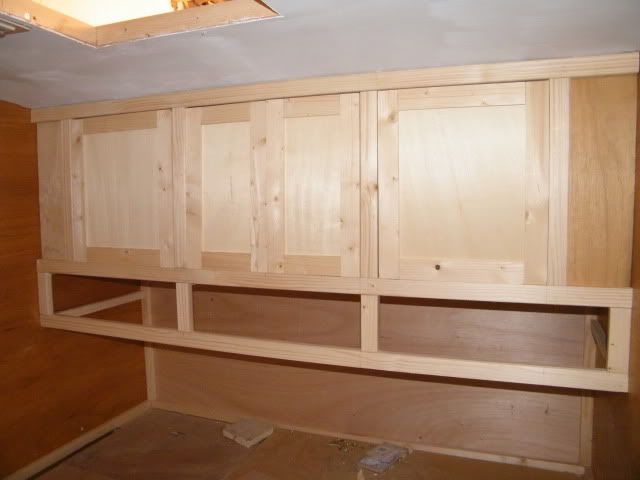
I've just got to sort out some artwork for them before fitting.
Cheers Dave


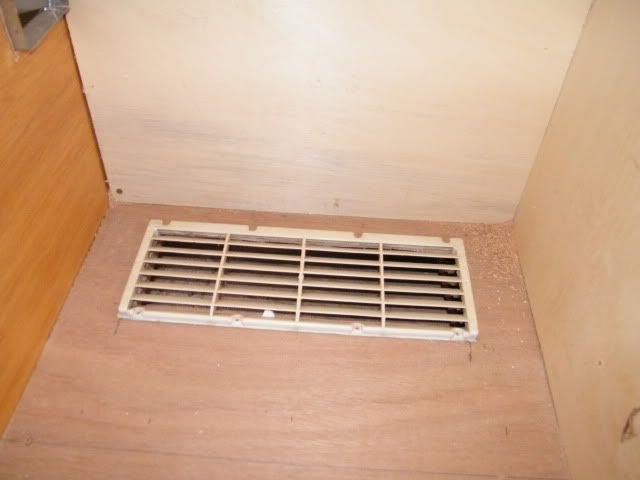
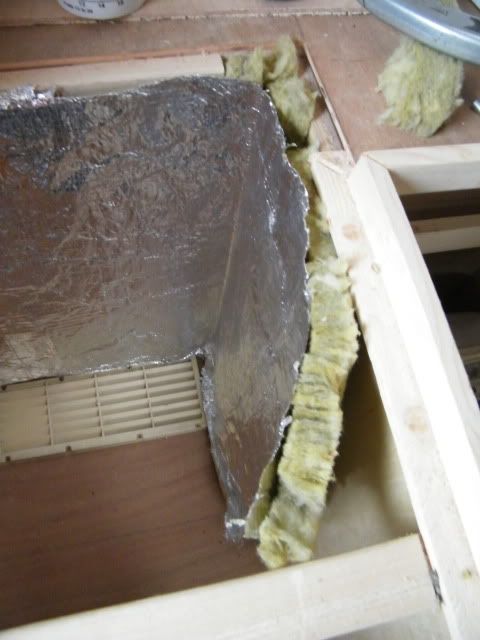
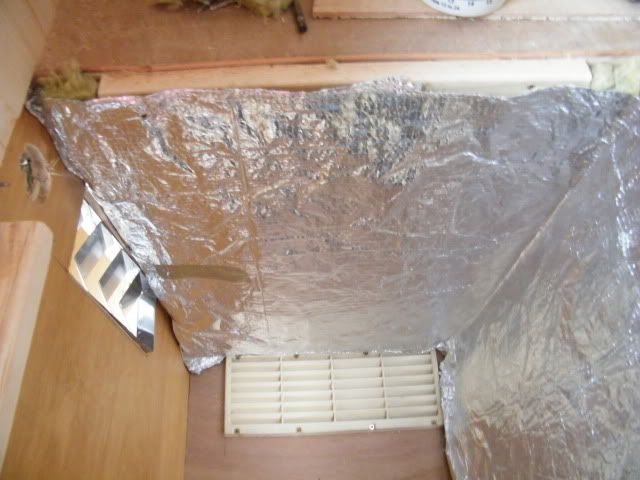
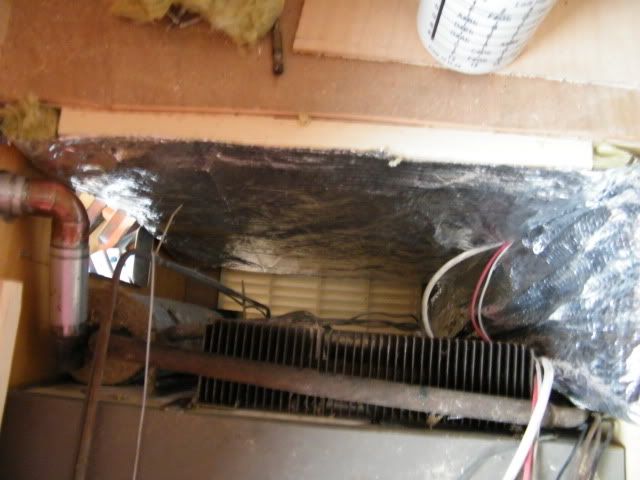
 I think it's going to be a rear exit


 I'm trying not to rush this one. Ive had another afternoon on the build......