A little more progress to report from the last week and a half.
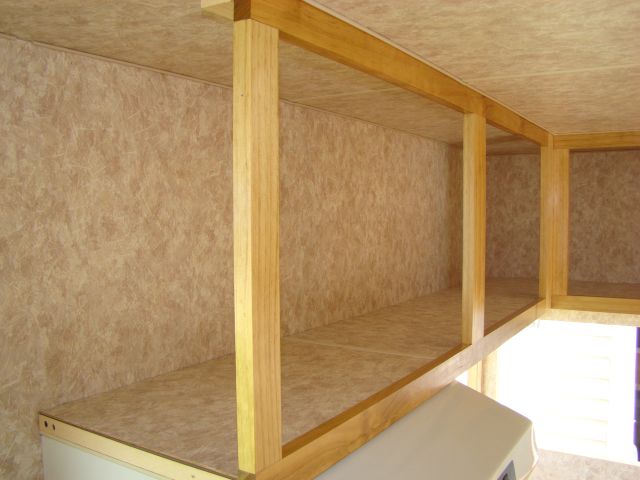
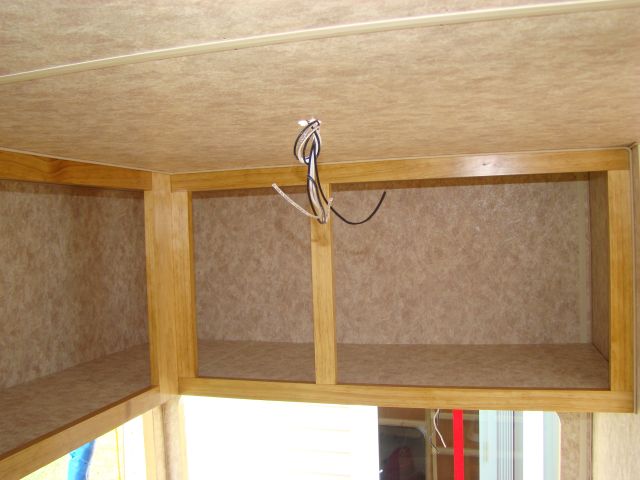
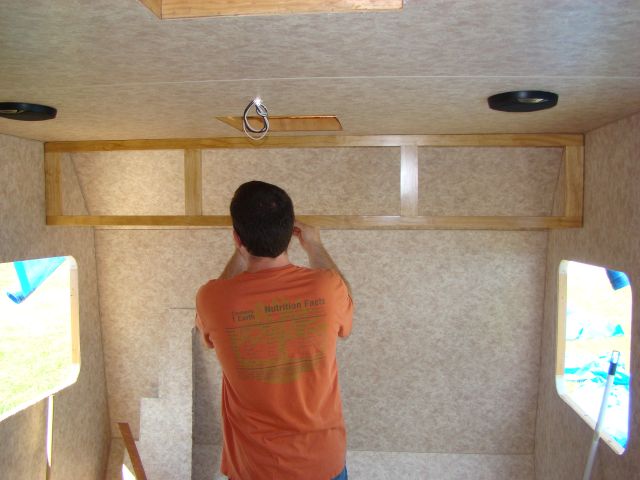
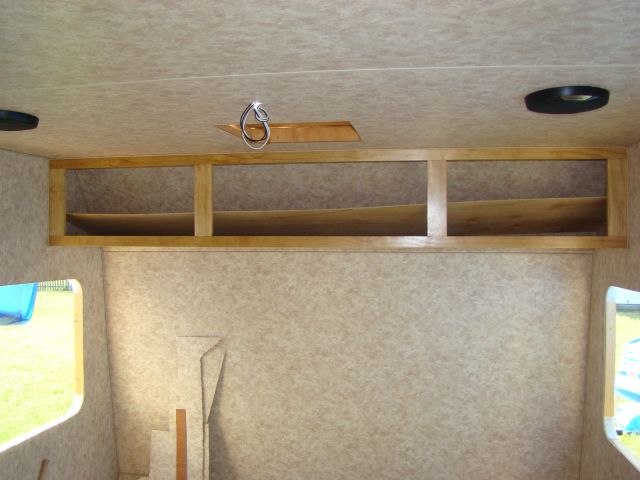
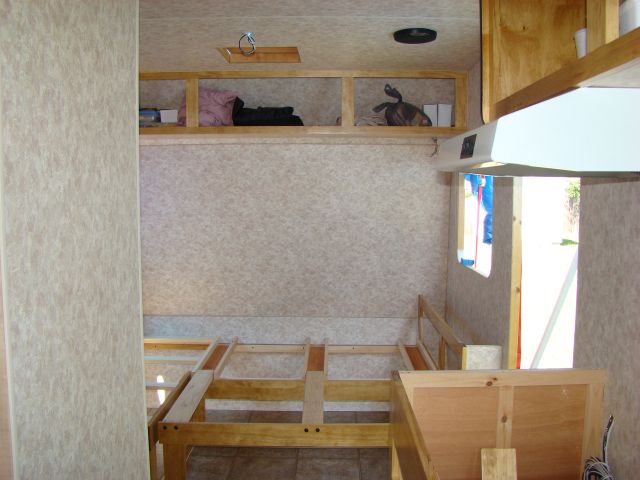
Picking up where I left off, we had ran some wiring in the front overhead cabinet for a pair of reading lights. They'll be mounted under the cabinet, one on each side back in the corner:
Thursday, July 22:
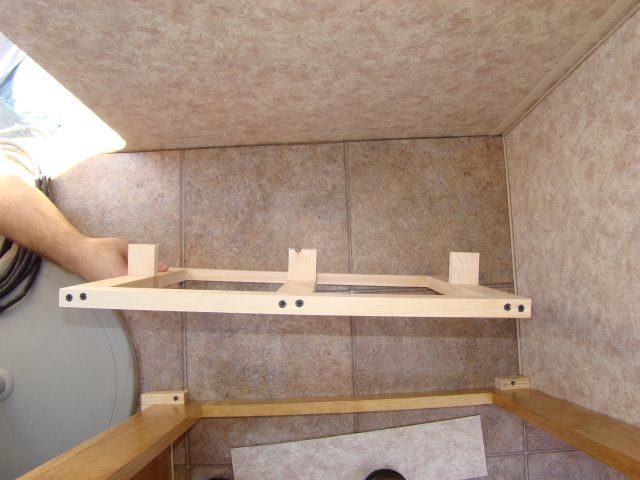
First my brother made up a floor to support the refrigerator. Simple frame from 1x2:

A couple of block "legs" offer mid span support:
Meanwhile I framed out the opening for the range vent:


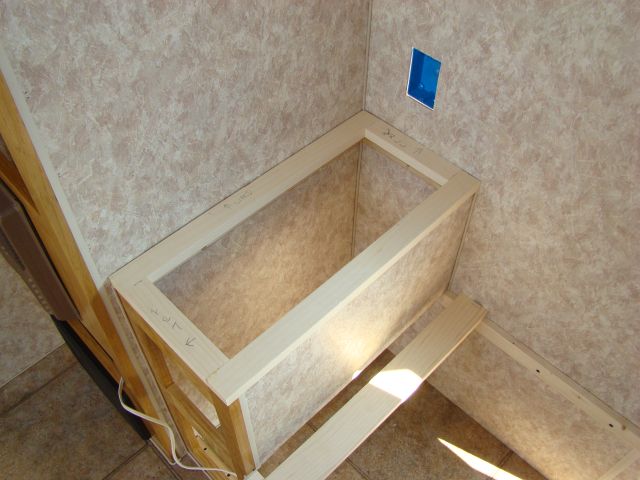
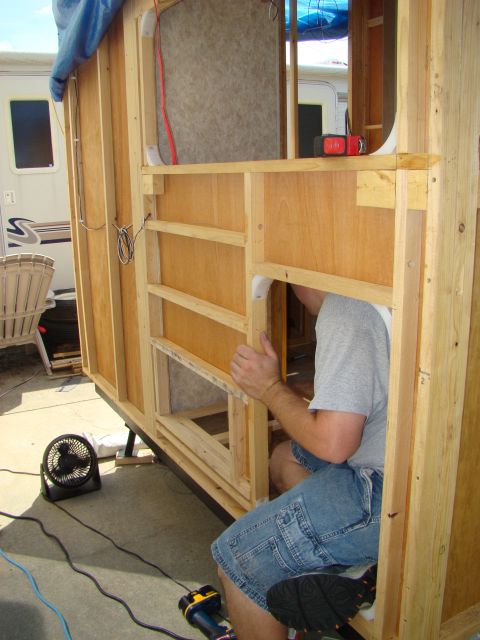
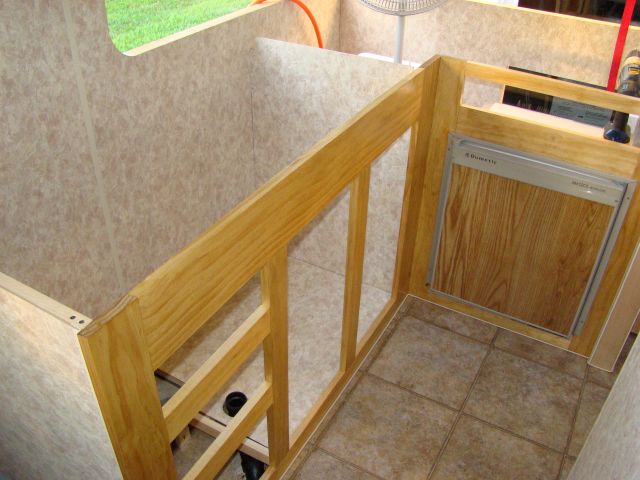
With the fridge floor in place we started working on the wall openings for the fridge:
Lower one framed up and cut out. This is the air "intake" which also opens for access to the controls. Tight squeeze in there, you can just squeeze in through the cargo door!:
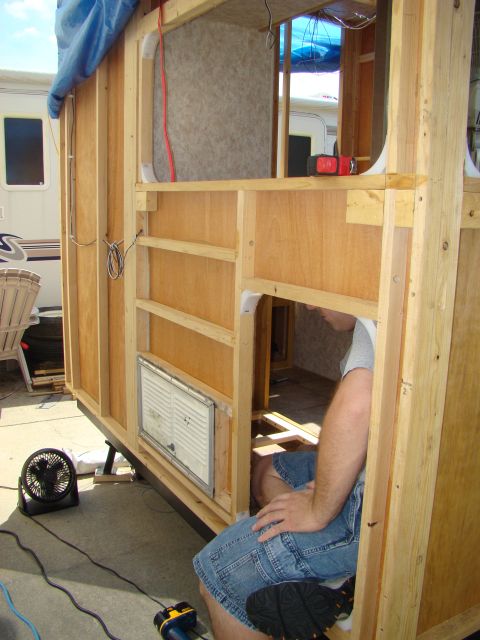
Then the upper opening, this is the "exhaust" - none of this is fan forced or anything, just natural convection:

Here's how it looks on the inside:

Slide the fridge into the opening for a test fit:
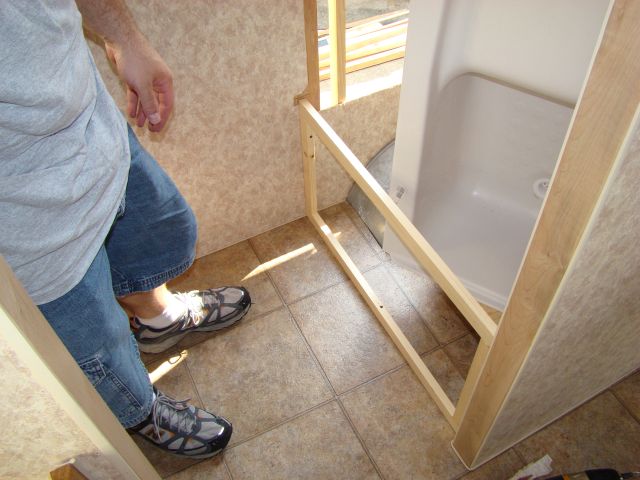
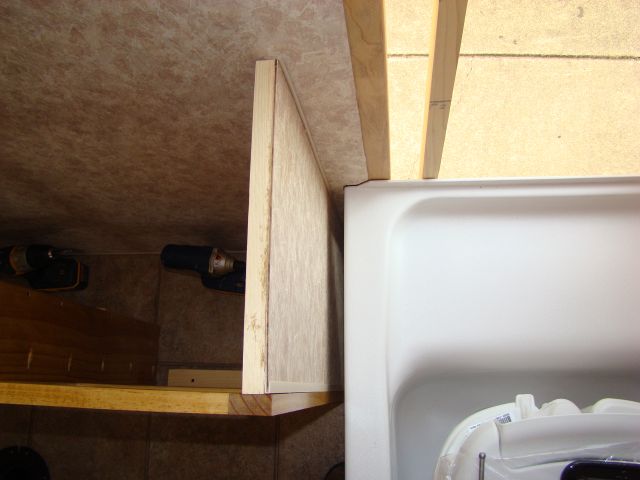
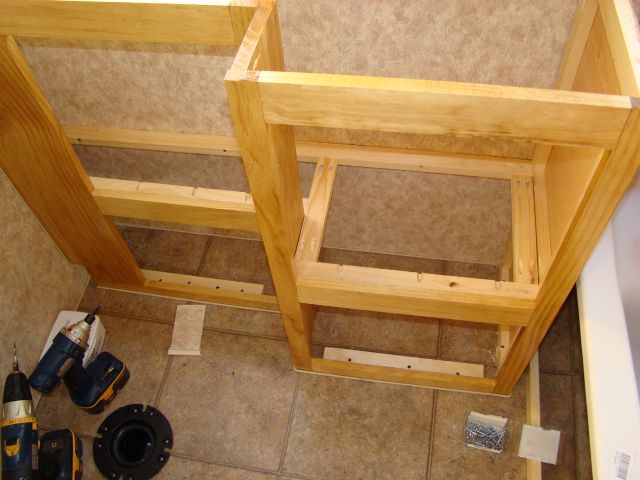
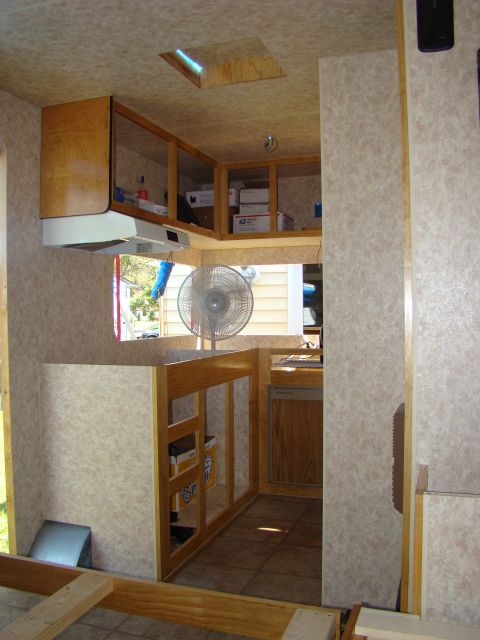
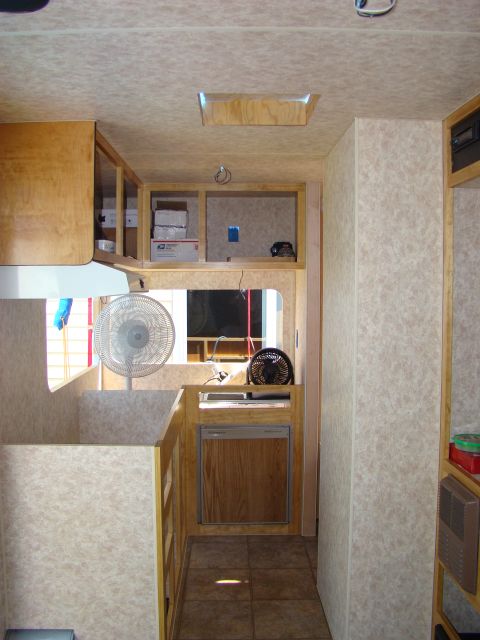
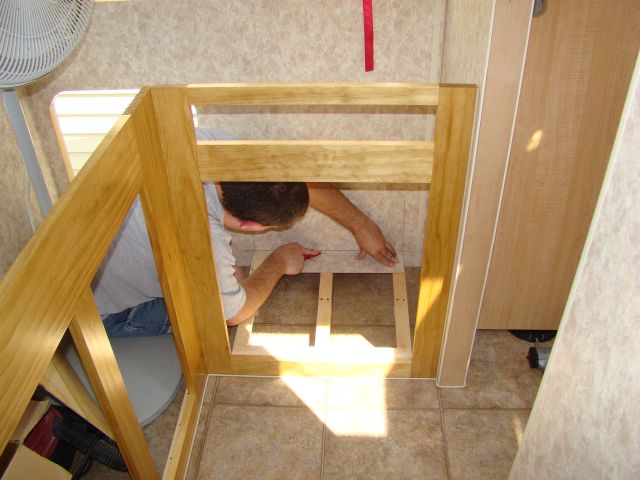
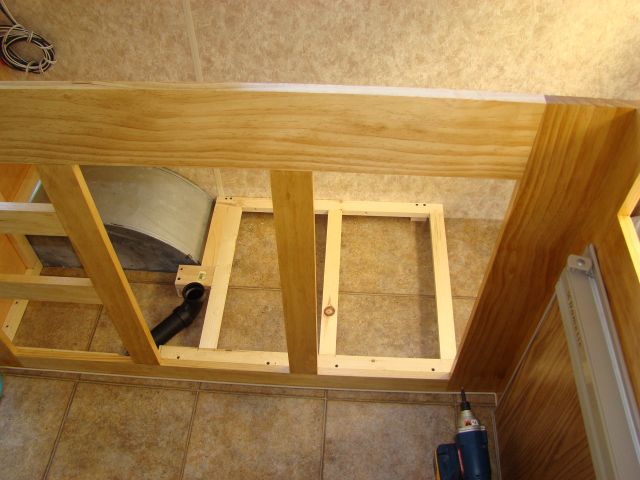
Then we moved onto the galley base cabinet. Needed a "floor" in there as well. Also had to get the galley sink drain plumbing in place which required some clearancing of the floor ply and the back of the cabinet face frame with the dremel and a grinding bit:

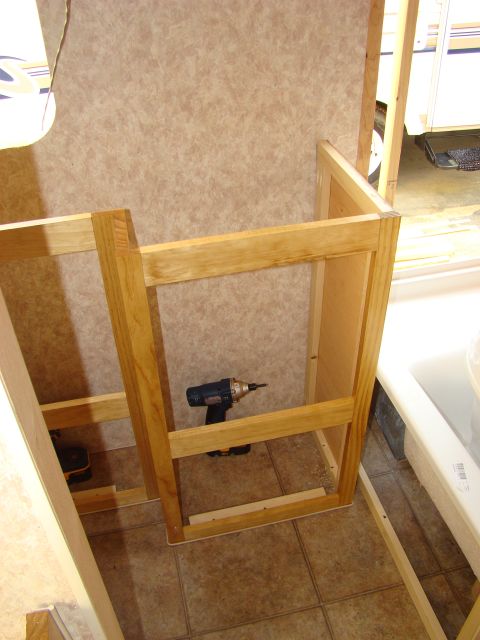
A simple partition wall divides in inside and outside storage areas:
We will partition off the other side as well so things aren't falling into the drawers, but that will wait until the drawers themselves are in place.
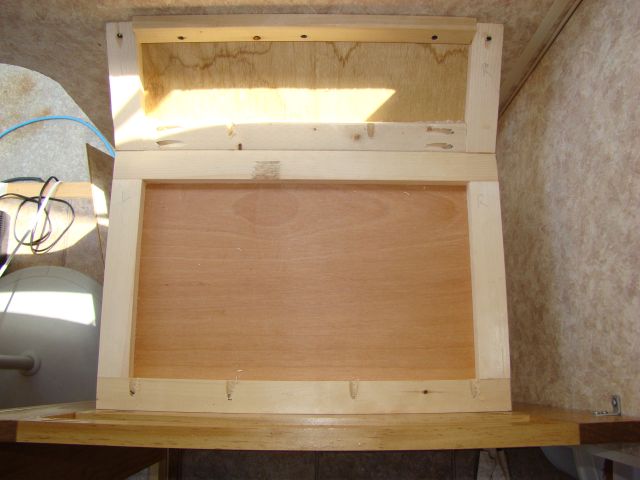
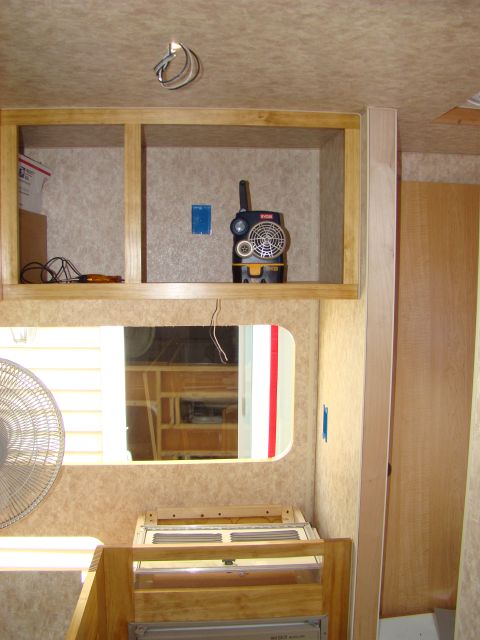
That was about it for that Thursday. The following Saturday found the weather un-cooperative, so no work that day. During the week I snuck out for a few hours and did a few little jobs - cleaned up and organized some tools, added some support for the microwave, and built the upper portion of the refrigerator enclosure:
That brings us to Friday, July 30:
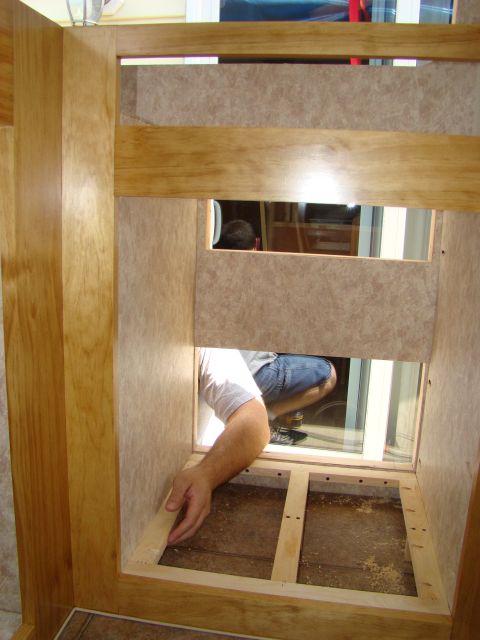
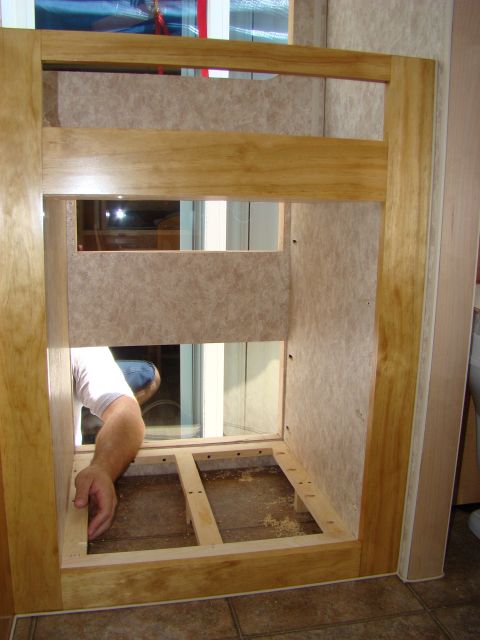
Since I had built the top of the enclosure, my brother started building the sides. It's a little hard to make out in the pictures, but here they are being screwed into place:
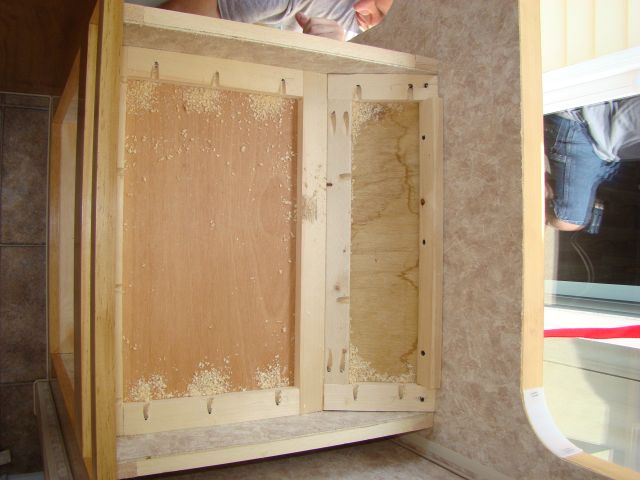
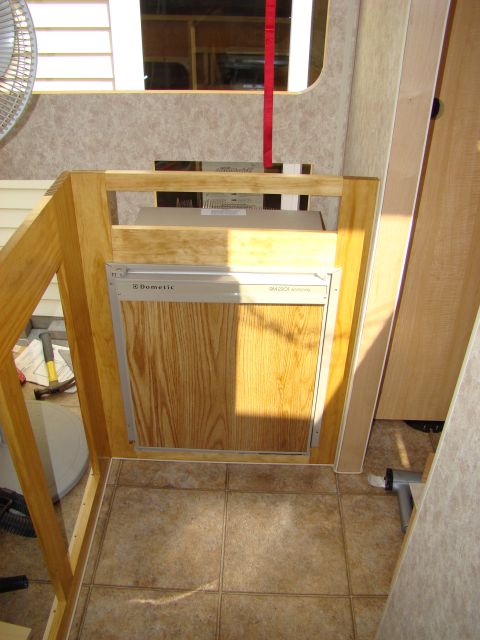
With it all enclosed, we slid the fridge back into place and powered it up for a draft test. We built the enclosure as per Dometic's specs, but I figured it wouldn't hurt to run it for 24 hours and see how it performed.
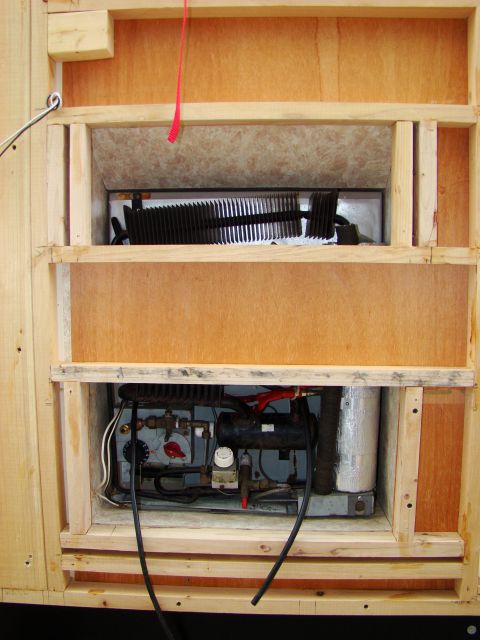
Here's the rear view showing the controls:
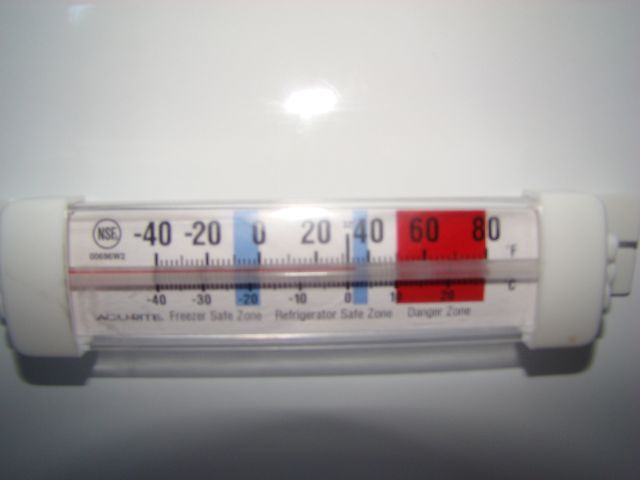
And here's the thermometer readings about 10 hours later. It was ~85F out that day.
Fridge:
Freezer Compartment:
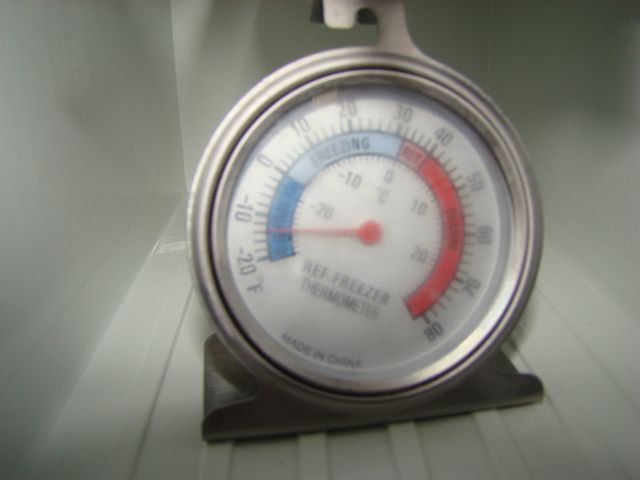
I guess it works

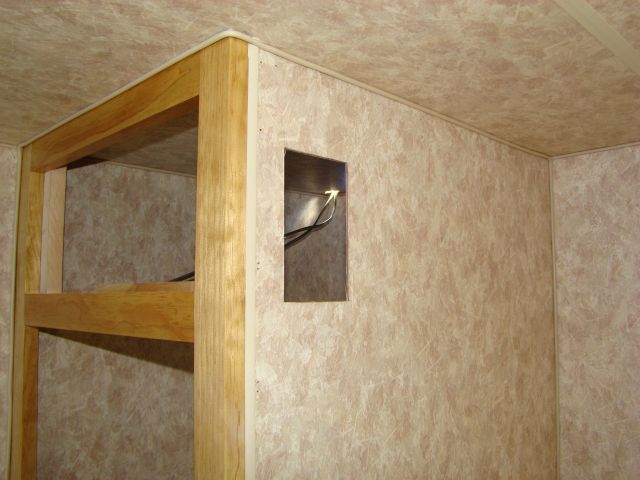
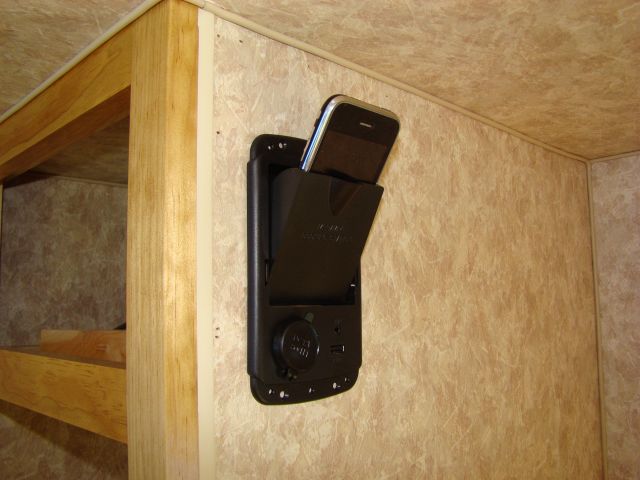
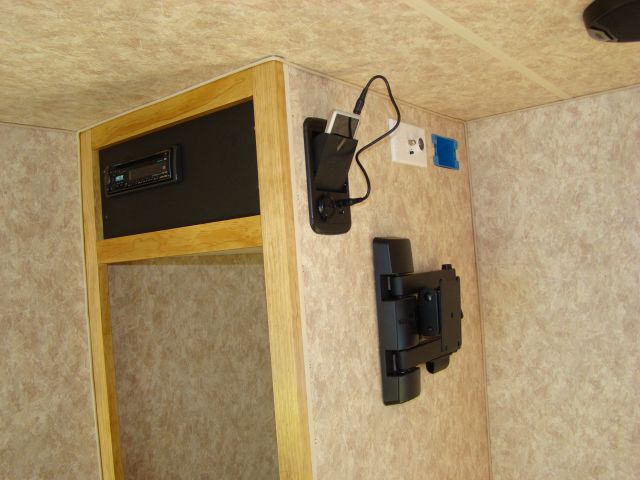
Then we moved inside to knock out some of stuff that needed to be mounted to the wardrobe. I wanted to get this stuff done before the bed was built and installed so we didn't have to be standing on the bed to do this stuff. First we cut a hole in the side for this little MP3 docking station we found in a catalog:


The little door opens up and holds your MP3 Player. Also has a 12V lighter socket and a USB connector on the face for charging:
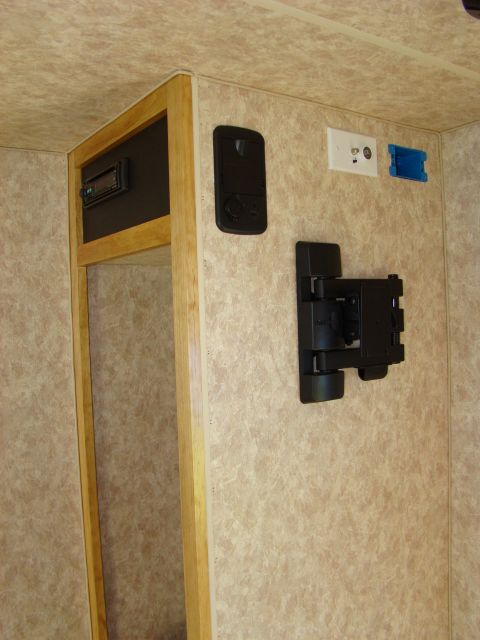
Then we made up a mounting panel for the radio (and who knows what else in the future). It's made from 1/16" textured ABS plastic sheet with a backing made from scrap paneling for extra stiffness. Ignore the pencil lines, I washed those off later


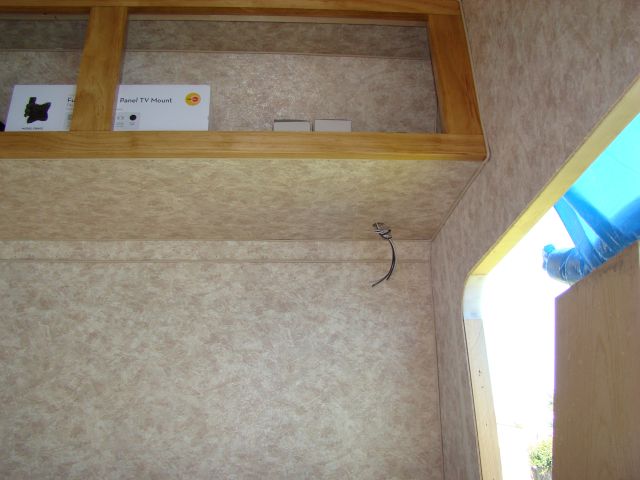
Next we mounted up his swing arm TV mount. I had put bracing in the wardobe side wall to accomodate this when it was built:

And finally mounted boxes for a AC outlet and the antenna connection:
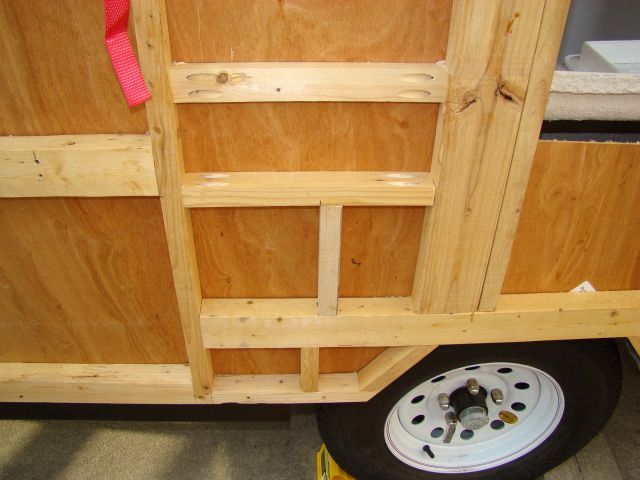
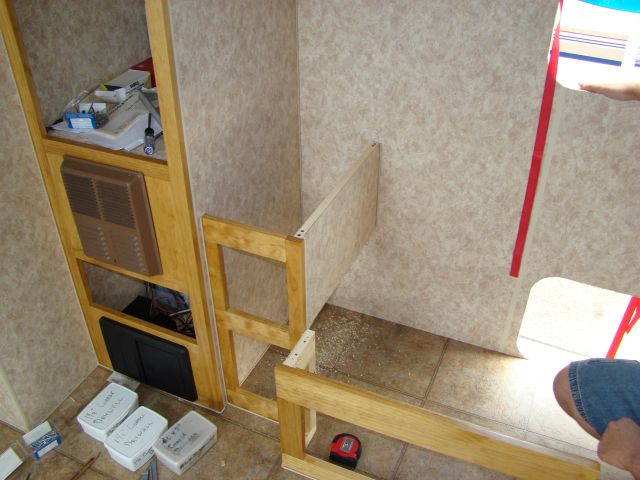
Had a few minutes of daylight left so we installed a couple of electrical boxes. Here you can see the one for the microwave outlet and on the side wall the galley outlet:
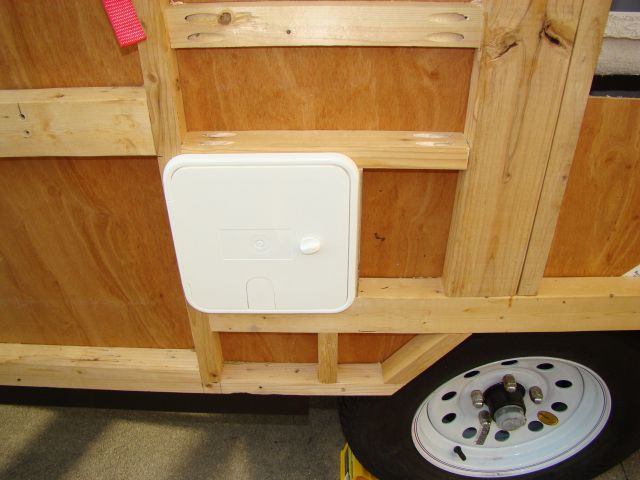
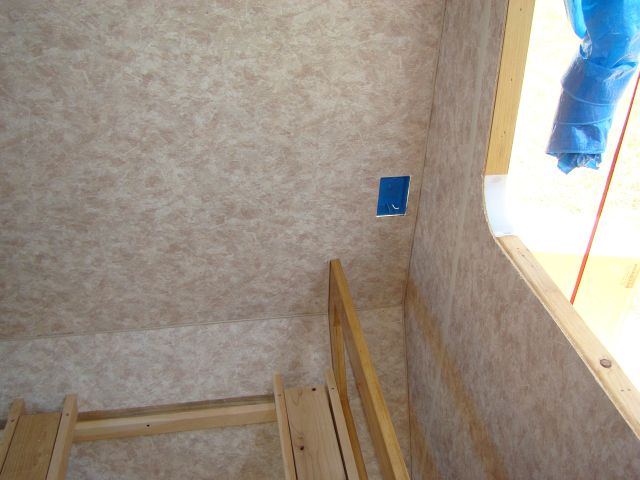
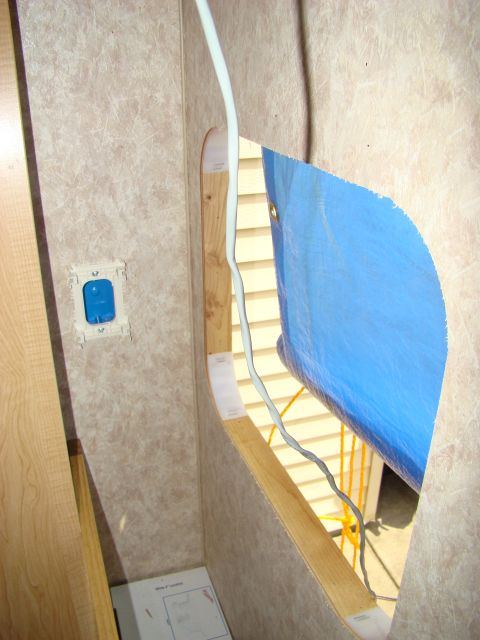
This is the bathroom outlet. Since the boxes are shallow (due to wall depth) I'm going to use a surface mount box from Wiremold on top of it to make enough room for a GFCI outlet:
Saturday, July 31:
First I pulled the 12V wiring that's been run so far through the wall and organized it a bit with some insulated clamps. Then I temporarily wired up the power converter and the radio circuit so we could test the converter. Hard to get a picture in there:

We plugged in his iPod and listened to the trailer's radio all day, that was a nice change:
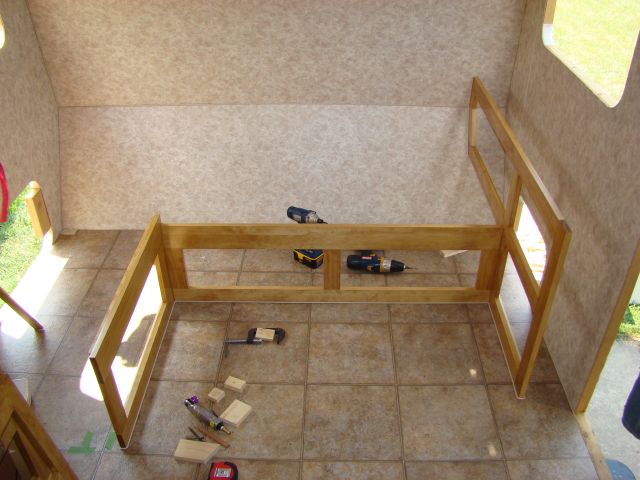
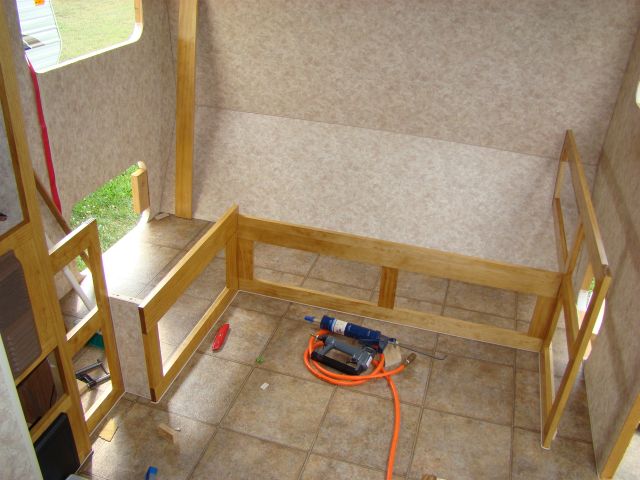
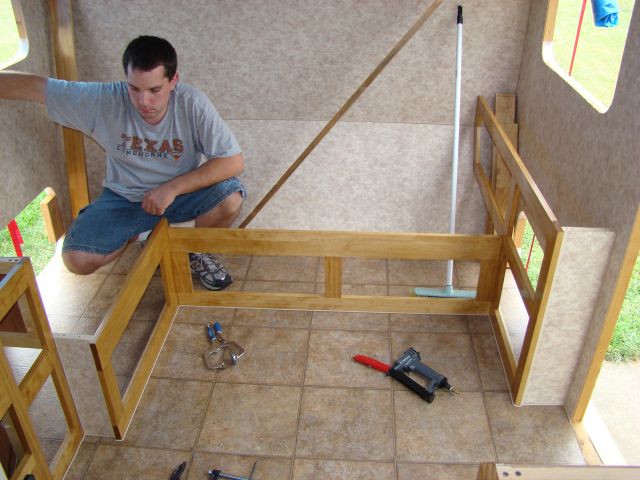
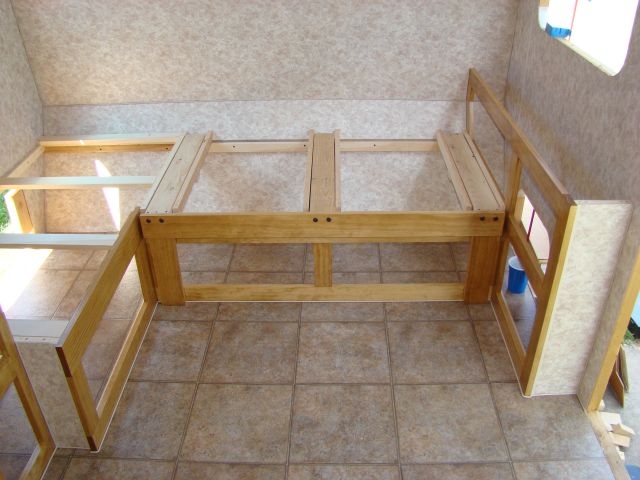
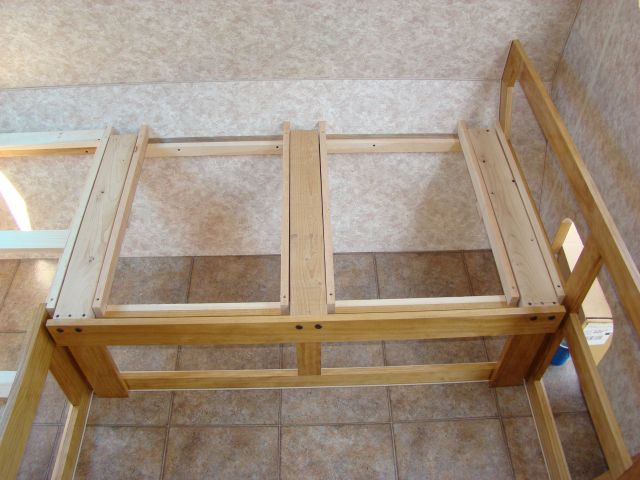
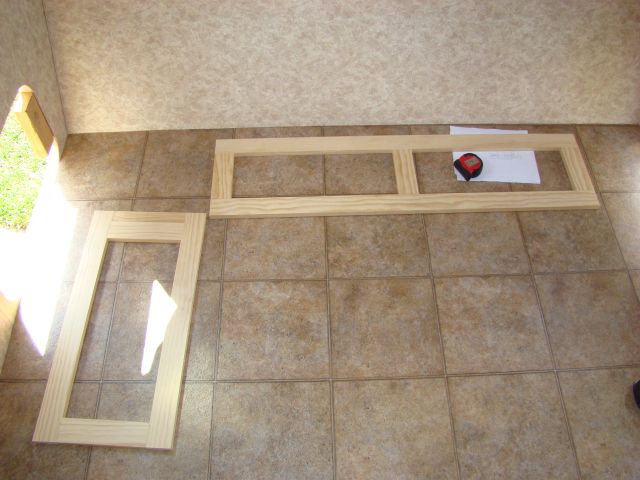
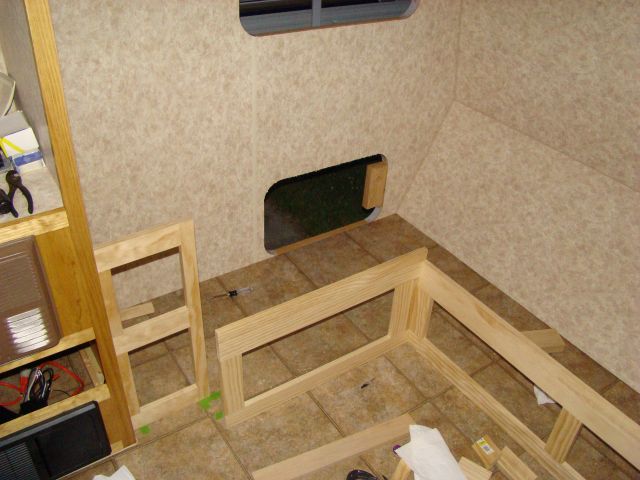
Meanwhile my brother was outside making up the face frames for the bed:
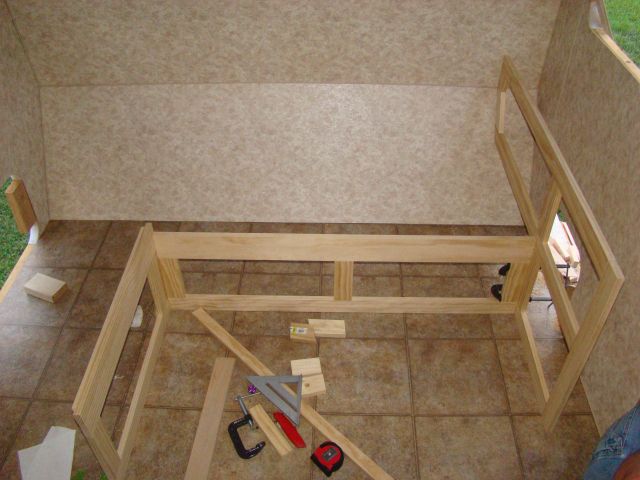
Got those pinned in place:

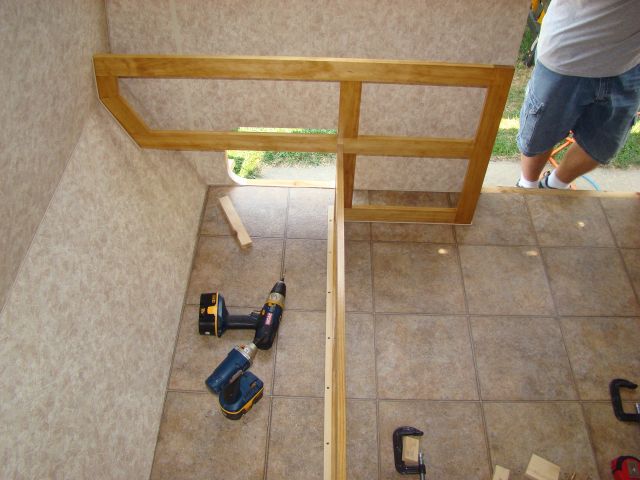
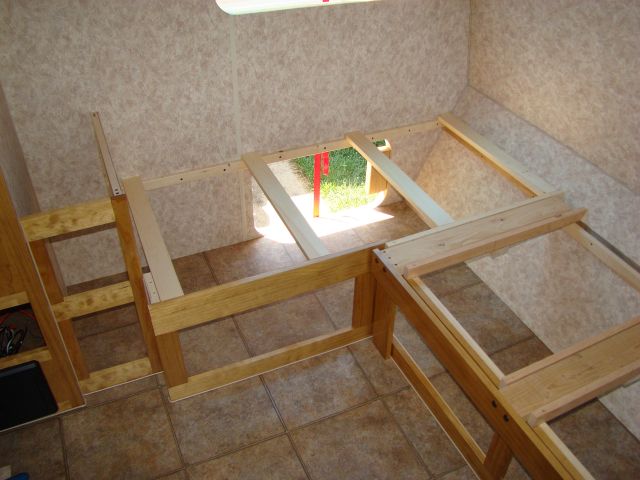
Then started on the face frame for the side cabinet. This was a royal pain with the angles to meet the front wall:

Once that was finished we moved onto the other bedside cabinet. This one will make a nice end table/night stand plus hide the water heater:
And that was it for daylight, so we disassembled the bed pieces and loaded them into his truck. He should have them finished and back here on Thursday for final installation. Really wanted to get the sliding tray for the bed done, but that will have to wait until next week.
Hoping to get some spare time between now and then to get more wiring done. Should have another update soon.
- Frank

 Mark (& Cindi)


 http://www.teartime.com