Grizz-Pod Teardrop Trailer - New tow truck - 66 Chevy

...ask your questions in the appropriate forums BUT document your build here...preferably in a single thread...dates for updates, are appreciated....

Postby grizz » Sun Oct 18, 2009 12:59 pm

Woke at 2am, after Nicola had a mean nightmare, made us a cuppa tea by 3am, she fell asleep, I ended up on the web by 3.30am, then back to bed at 5.30am, up into the garage by 8am, and started doing the varnishing of the frame and under side box, also did the first coat on the floor.
At around 8.50am, I heard the front door open, and bang shut, thinking, aaaahhh, nice one, she is bringing me a cuppa tea...... ermmm, WRONG !!!! She was off to the shop to get a paper to read. So I finished painting the floor, cleaned the brushes, as I realised something was wrong, and sneaked into the house..... At this point, I asked her why she was holding her breath ??
Turns out I had been a bit off a pratt...... zoning in on the Teardrop project to the exclusion of her. OOOPPPSS !!

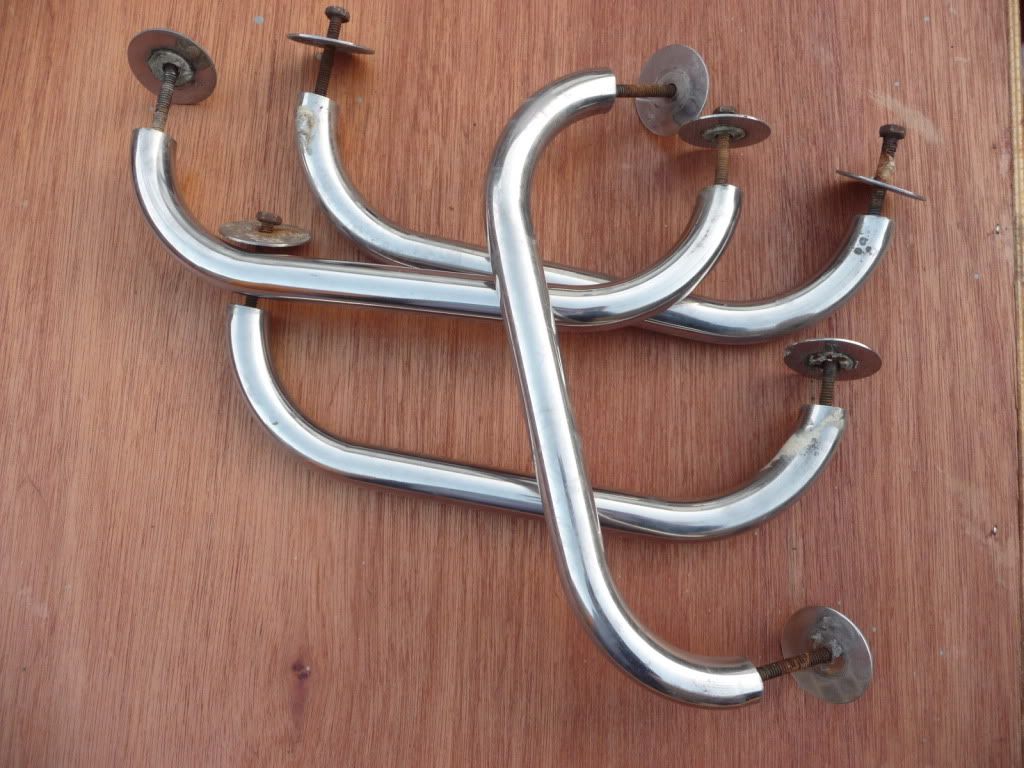
Anyway, having been seriously reprimanded, we then set off to a bootfair, where I picked up 4 stainless steel caravan moving handles for the grand total of 50 pence each. Result.
I also bought 15 cooked prepacked smokey barbeque racks of pork ribs for £5.00 from the mobile meat seller.

We then set off to go look at the house we plan on buying together next year when we get married. This is the 3rd time we have been there, only 5 hours visit this time. Nicola and the sellers wife have been best friends since age 11, and are now 45, so go figure.

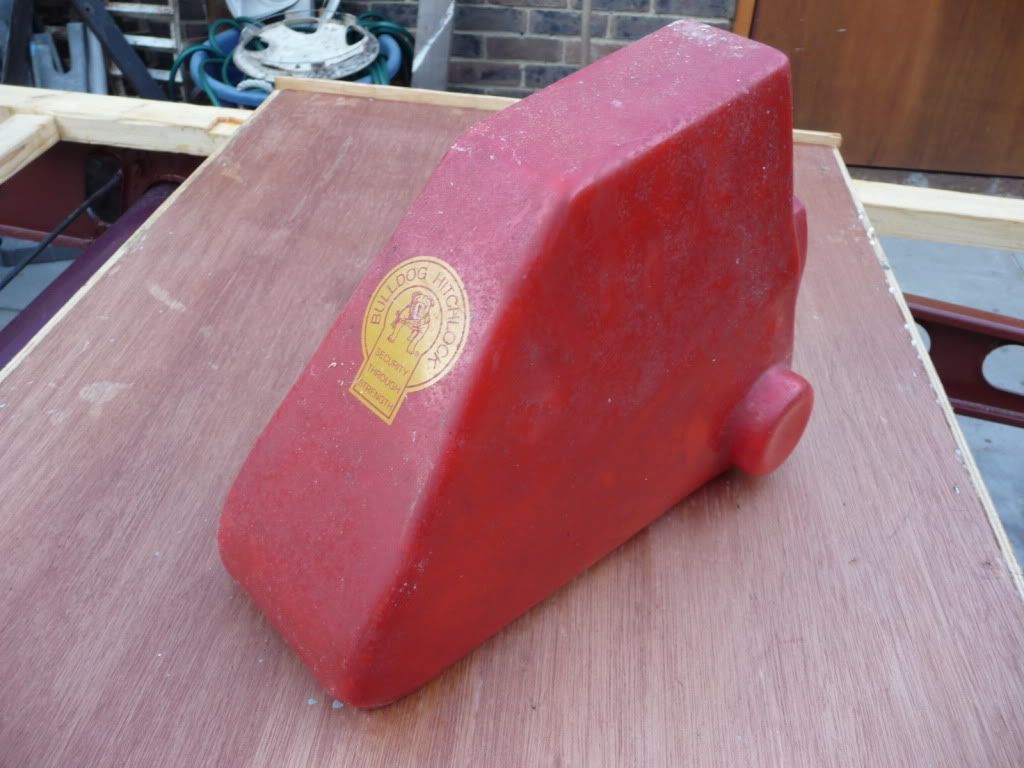
Gary used to have a large boat, and sold it later, but he still had the Bulldog Hitch lock from when he had the boat. I traded him for half of my spare ribs for the lock..... £2.50 bargain .

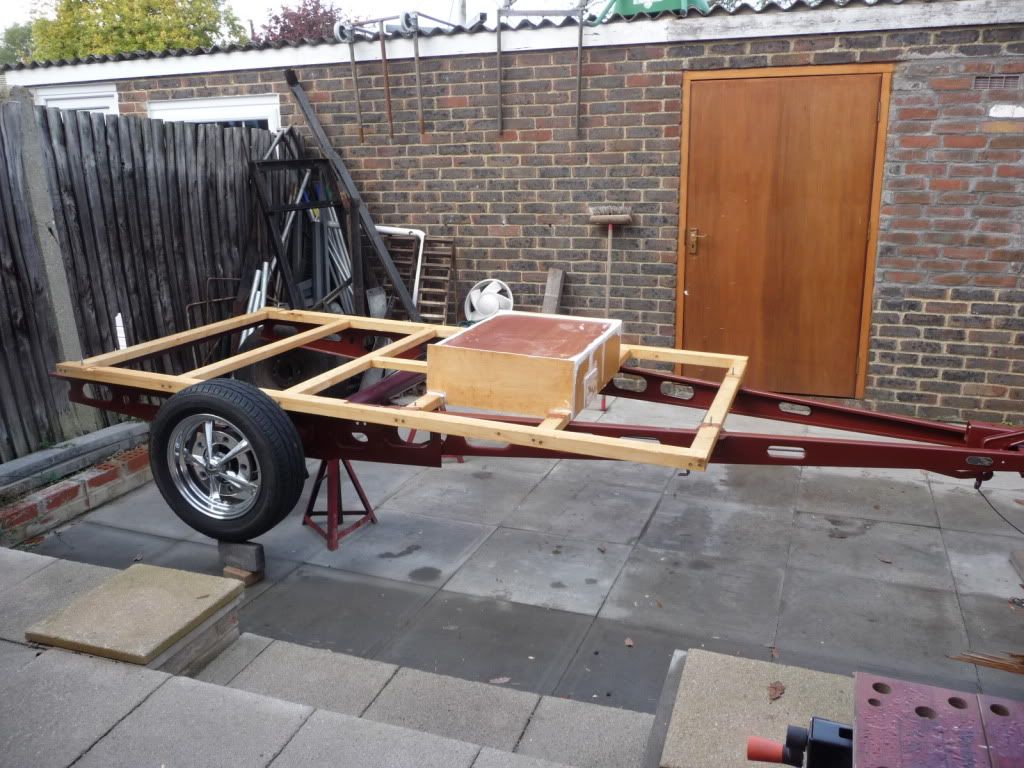
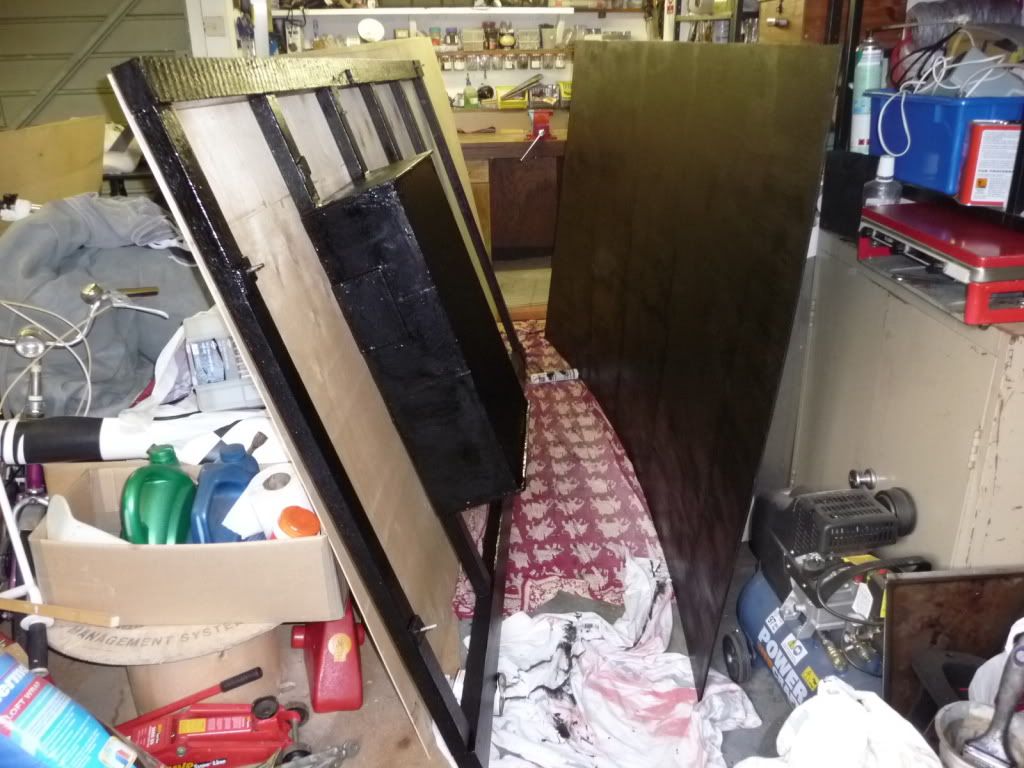
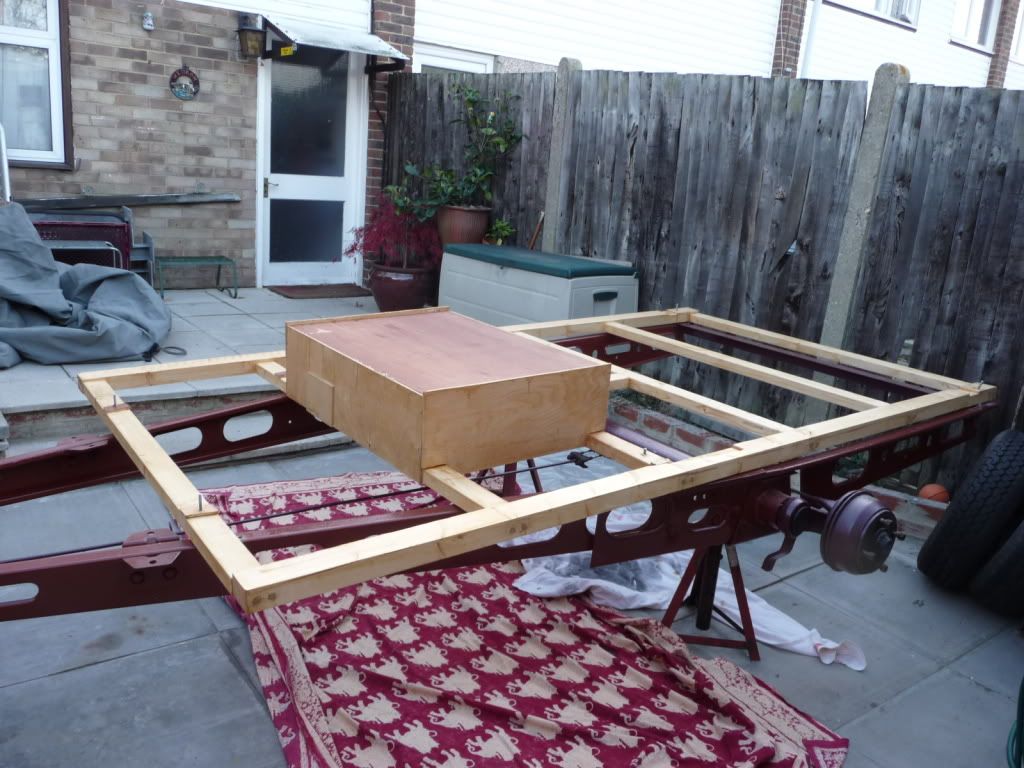
Back home by 4.30pm, Nicola went home to her kids, I scarpered for the garage, to get a 2nd coat of varnish onto the wood before dark.

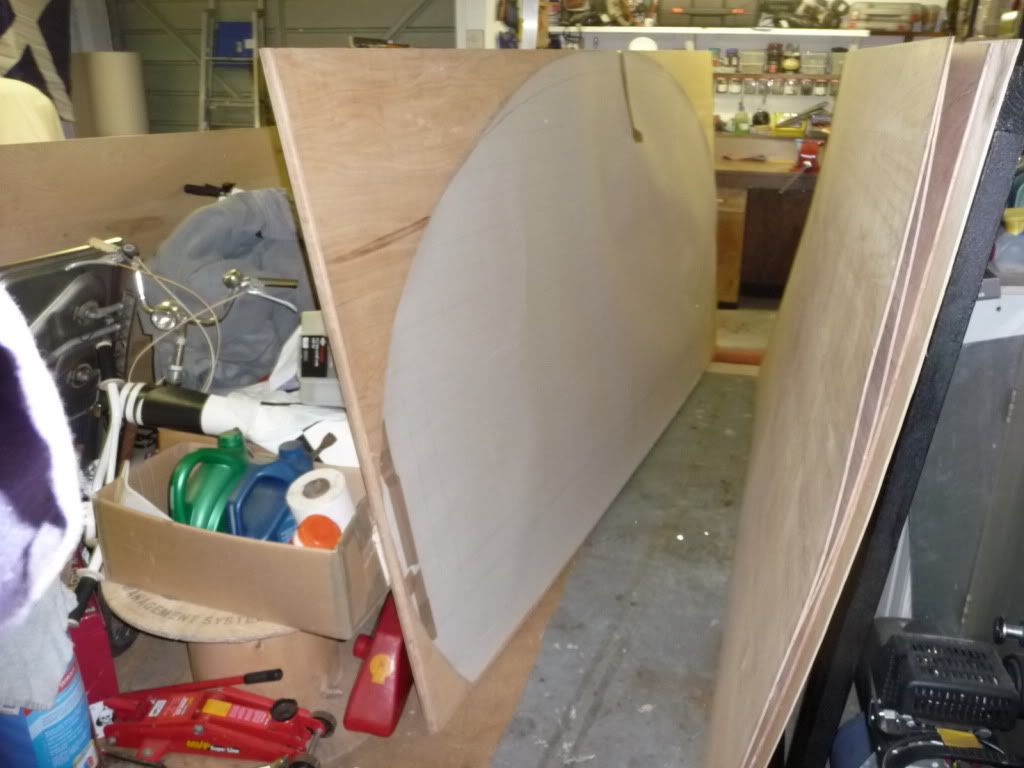
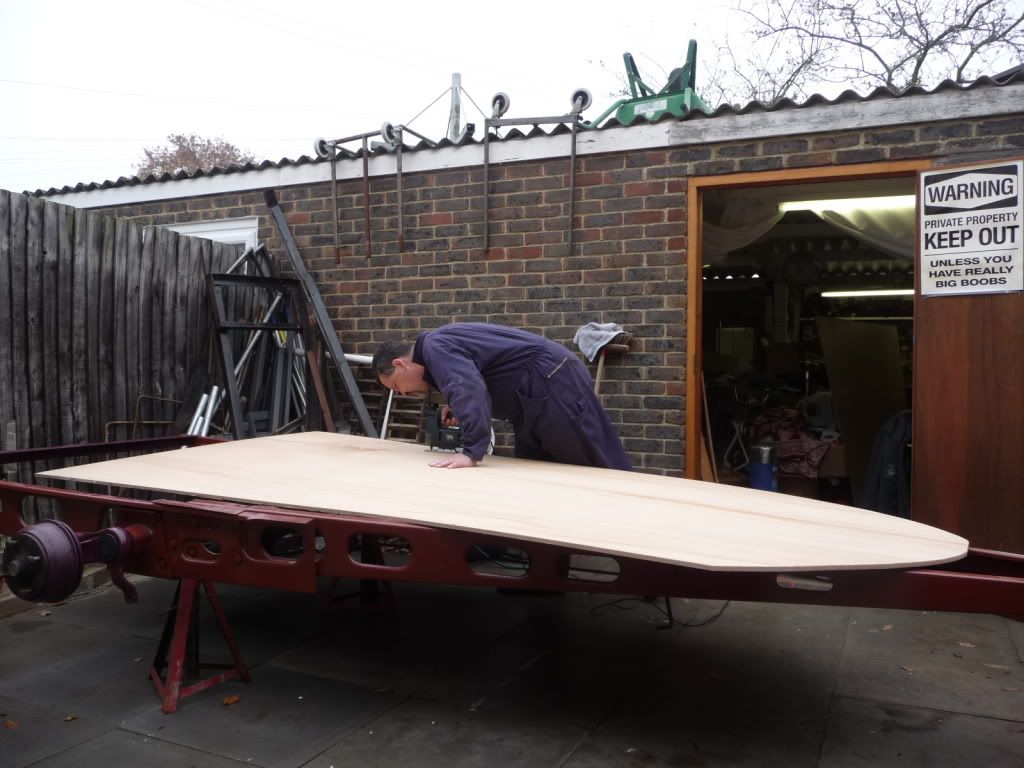
Next up, I will screw the plywood floor to the frame , and also cut the hatch for the storage, and seal everything with silicone, or mastic.

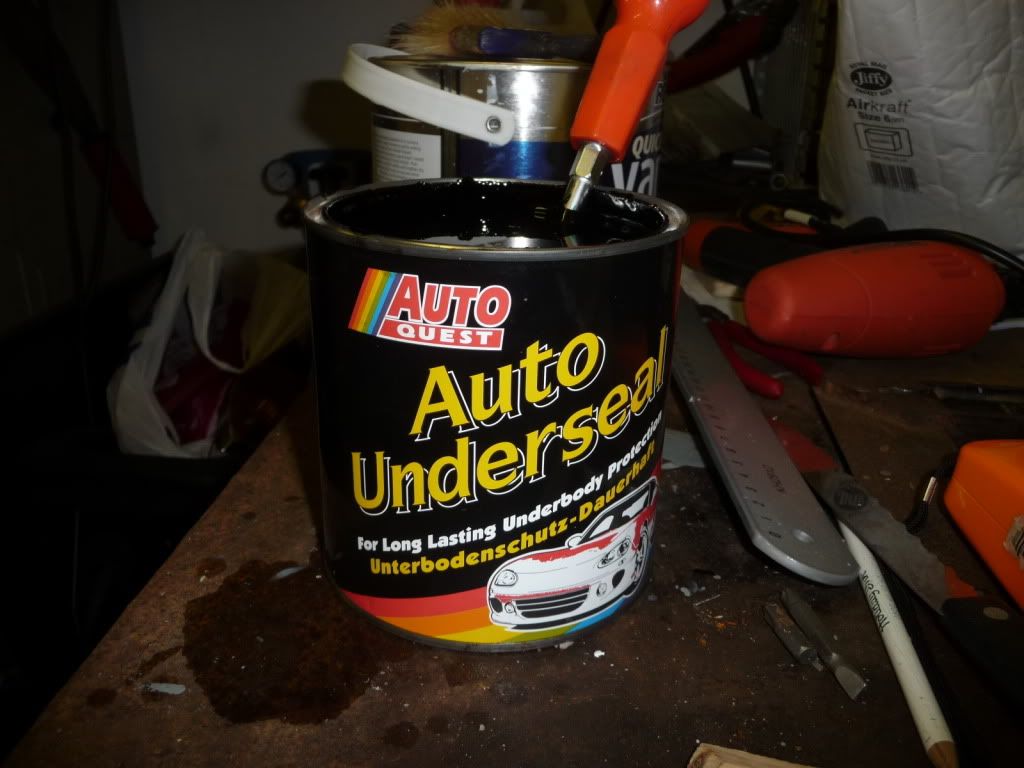
OPINIONS PLEASE; Silicone vs Mastic for sealing the joins on the box. After which I get to paint the underside with one or two coats of stone guard ??

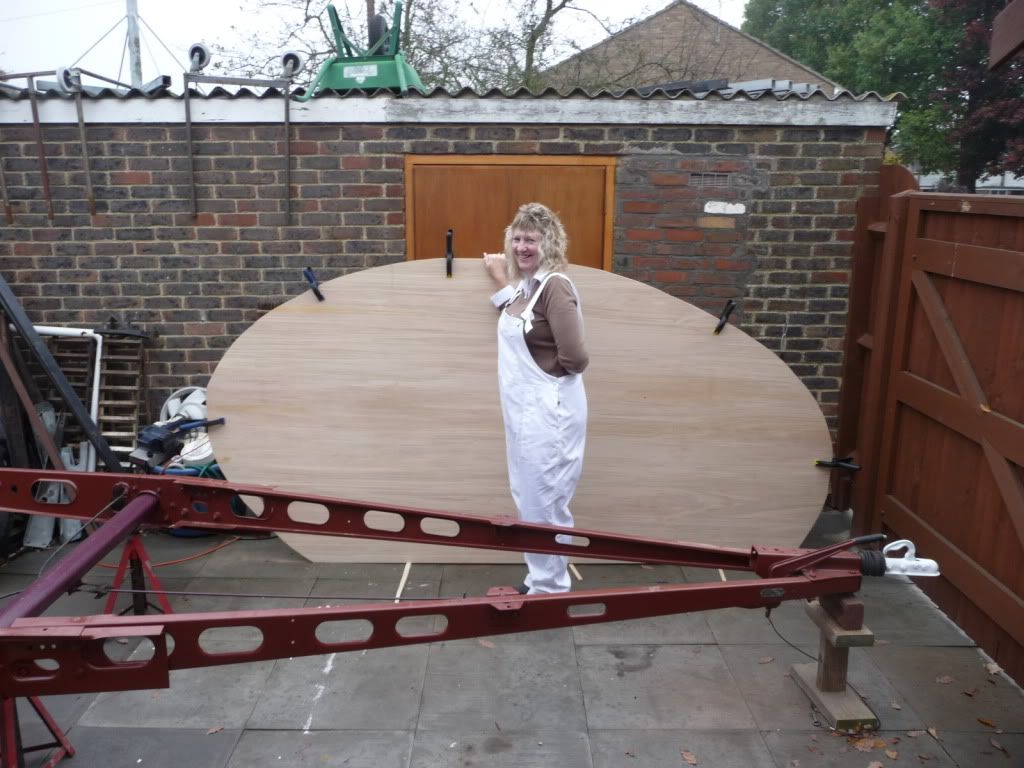
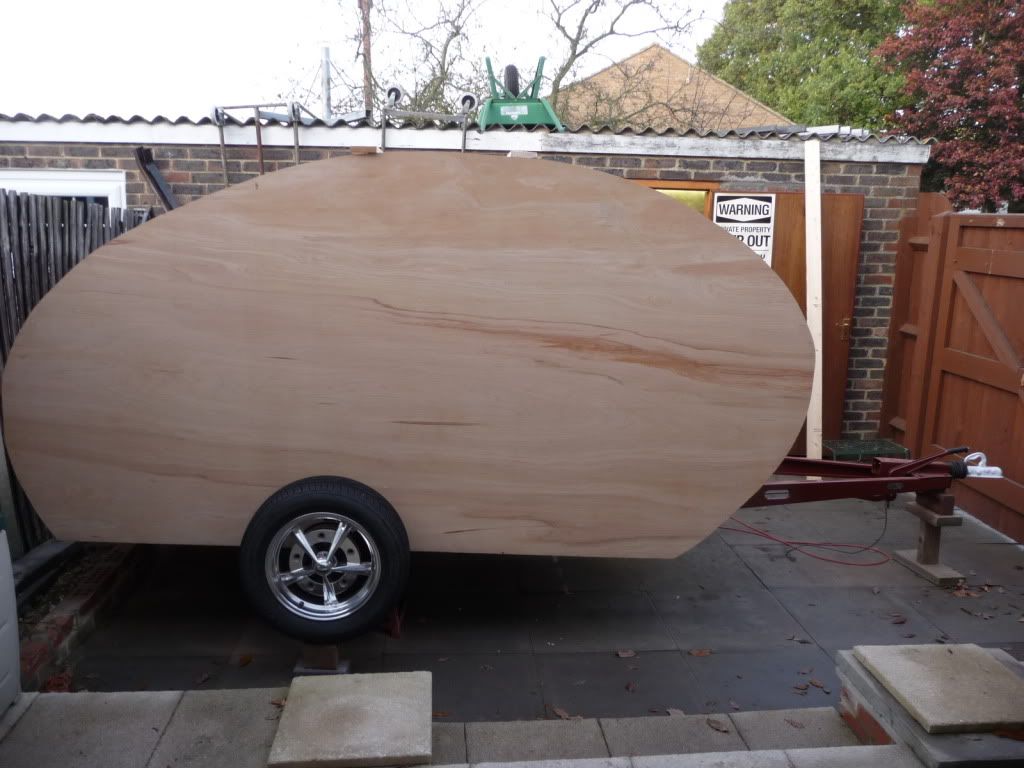
1st coat of varnish earlier today.

Image

4 handles at 50 pence each.

Image

Massive lock, what a bargain, traded for some spare ribs.

Image
Greetings from England.

Rian.


Hoping to get it all done in time.
User avatar
grizz
1000 Club
1000 Club
 
Posts: 1210
Images: 29
Joined: Mon Sep 21, 2009 2:37 pm
Location: Rochester, Kent, UK

Postby Ageless » Sun Oct 18, 2009 1:37 pm

Stone guard? If you mean a product like truck bed lining; that would be a good choice
Strangers on this road we are on; we are not two, we are one - Raymond Douglas Davies
User avatar
Ageless
Platinum Donating Member
 
Posts: 1603
Images: 8
Joined: Tue Aug 04, 2009 8:34 am
Location: Pt. Orchard, WA

Postby grizz » Sun Oct 18, 2009 1:52 pm

Ageless wrote:Stone guard? If you mean a product like truck bed lining; that would be a good choice


Indeed.
Greetings from England.

Rian.


Hoping to get it all done in time.
User avatar
grizz
1000 Club
1000 Club
 
Posts: 1210
Images: 29
Joined: Mon Sep 21, 2009 2:37 pm
Location: Rochester, Kent, UK
Top

Postby bve » Sun Oct 18, 2009 6:21 pm

Grizz I am enjoying reading your build and seeing the bargains you are getting on parts for it.

I have to ask (after snooping in your photobucket) is this very cool set-up your's also?

Image
Burke

KISS > COMPLEX
Image
Image

Build threads converted to PDFs.
As of 2008-08-08 I have added more build threads to the pdf collection
User avatar
bve
500 Club
 
Posts: 694
Images: 98
Joined: Sat Aug 25, 2007 1:44 am
Location: Edmonton, Alberta, Canada
Top

Postby grizz » Mon Oct 19, 2009 1:25 am

bve wrote:Grizz I am enjoying reading your build and seeing the bargains you are getting on parts for it.

I have to ask (after snooping in your photobucket) is this very cool set-up your's also?

Image


Morning bve, no it is not mine, mine is at a very different place in its lifecycle.
Currently getting an engine transplant. I will post the thread link here for you.

This is what has happened to the "Gulf " bus to date.


http://www.retrorides.proboards.com/ind ... read=65044


Image


HERE IS MY BUS THREAD:

As it stands of last night.

8) 8) 8)


http://www.retrorides.proboards.com/ind ... 92&page=37


No plans for such a radical makeover.
Greetings from England.

Rian.


Hoping to get it all done in time.
User avatar
grizz
1000 Club
1000 Club
 
Posts: 1210
Images: 29
Joined: Mon Sep 21, 2009 2:37 pm
Location: Rochester, Kent, UK
Top

Postby grizz » Mon Oct 19, 2009 12:50 pm

Bought these today.

Polished Radar wheels. Same as on the bus.

Trust me, at £425 for the set, including almost new tyres, 20 wheelnuts, and the centre caps, plus 2 adaptor plates for VW application, (Selling them) I would never get the price repeated.

Now the question is, do I put the polished ones on the bus, and put 2 of my white ones from the bus, onto the trailer, or do I go polished on the trailer ??

It also means whichever way I go, that I have 2 full spares, one for each vehicle. Or I can sell two on, and just stick to the regular VW steel I have as a spare at the moment.

Image

Image


Oh, and the purchase of these wheels is only possible because I save elsewhere with skip finds and recycling bits.
Last edited by grizz on Mon Oct 26, 2009 2:53 am, edited 1 time in total.
Greetings from England.

Rian.


Hoping to get it all done in time.
User avatar
grizz
1000 Club
1000 Club
 
Posts: 1210
Images: 29
Joined: Mon Sep 21, 2009 2:37 pm
Location: Rochester, Kent, UK
Top

Postby grizz » Thu Oct 22, 2009 3:47 pm

I will be going polished wheels on the trailer ,as the plan is to polish the ally too, so the two should blend together nicely.

If someone offers me sensible money for the 2 spare wheels and tyres, they will be sold, or else, they will become spares for the trailer and bus.

Tonight I used a tube of caulking to seal up the joins on the underfloor box, then I varnished all the interior ply their first coat, and also gave the floor another coat of varnish.

Now have to just wait for it all to dry. Drying was slow tonight, due to the rain we have had here, which has left the air full of moisture.

I hope it is all dry by Friday night, or even Saturday, so that I can start the under floor stone chip paint, and then assembly of the floor, and a final coat of stone chip paint.

Garage looked like this at the end of play tonight.

Image
Greetings from England.

Rian.


Hoping to get it all done in time.
User avatar
grizz
1000 Club
1000 Club
 
Posts: 1210
Images: 29
Joined: Mon Sep 21, 2009 2:37 pm
Location: Rochester, Kent, UK
Top

Postby grizz » Fri Oct 23, 2009 1:44 pm

Wheels are home.

Wheel bolts are minging, but hey, I did not ask about their condition.

Image

Dummy mounted, next to the chassis.

Hope they ultimately look good enough.

Image
Greetings from England.

Rian.


Hoping to get it all done in time.
User avatar
grizz
1000 Club
1000 Club
 
Posts: 1210
Images: 29
Joined: Mon Sep 21, 2009 2:37 pm
Location: Rochester, Kent, UK
Top

Postby grizz » Sat Oct 24, 2009 12:37 pm

I got given a pair of mini - rams from a Ford Fiesta Ghia tailgate my neighbour was breaking up, as well as the front grille from the same car.

Rams are for the galley roof to stop it whacking the unsuspecting.

Image

The grille may be incorporated in the rear of the fridge compartment, with a closing, sealing shutter, so that one can direct the scavenged heat into the cabin of the Pod while outside before going to bed when it is a bit chilly.

Nothing like a hot bed to crawl into late at night.

Image

Been busy all day with whatever I could do inside, with the rain and wet being a bit of an irritation.

I varnished all the interior ply another coat on both sides.
Then I followed up with a first coat of stonechip/underbody seal as waterproofing over the 2 coats of varnish already on the floor and framework wood.

Stonechip was another £1.50 bargain at a bootfair.

Image


Very dark black bits.

Image

Next job here will be assembly of the floor and frame, and cutting out of the trapdoor to the underfloor storage space. As well as mounting the lot to the chassis.

If the weather holds out, then trace the profile onto the sides, and make some sawdust.
Greetings from England.

Rian.


Hoping to get it all done in time.
User avatar
grizz
1000 Club
1000 Club
 
Posts: 1210
Images: 29
Joined: Mon Sep 21, 2009 2:37 pm
Location: Rochester, Kent, UK
Top

Postby bve » Sat Oct 24, 2009 4:22 pm

grizz wrote:Hope they ultimately look good enough.

Image

They look mighty fine indeed.
Burke

KISS > COMPLEX
Image
Image

Build threads converted to PDFs.
As of 2008-08-08 I have added more build threads to the pdf collection
User avatar
bve
500 Club
 
Posts: 694
Images: 98
Joined: Sat Aug 25, 2007 1:44 am
Location: Edmonton, Alberta, Canada
Top

Postby grizz » Sun Oct 25, 2009 3:15 pm

Got to finish the prep on the frame and floor, marked out the hatch for the underfloor storage as well.

Then stapled the profile to the first side, and drew it or traced it off.

Will do the cutting when the weather is better, and I have assistance for the horizontal management of these huge sheets of ply.

Image
Greetings from England.

Rian.


Hoping to get it all done in time.
User avatar
grizz
1000 Club
1000 Club
 
Posts: 1210
Images: 29
Joined: Mon Sep 21, 2009 2:37 pm
Location: Rochester, Kent, UK
Top

Postby grizz » Sat Oct 31, 2009 2:31 pm

Well, in spite of the weather forecast, I got the profiles cut today .

Also sorted some other bits, including the mounts for the rear stabiliser jacks as far as I could go.... then had my local ASBO Boys come around wanting me to help them sort out a Mini-Moto, remove suspension, and make it a rigid.

OK, back to today.

Got the first sheet of 5x10 out onto the chassis and cut it.
Not clever working on your own, as the wood got marked and gouged by dragging it about. Sent a desperate text to Nicola, who was at home pottering about, and 15 minutes later she was here, helping me move the bits about.

Cutting first profile, camera on "self timer"

Image

Second profile cut, much easier, then clamped them together, and got onto sanding.
Nicola threatened me with a trip to the Emergency department if I took a pic of her in the Dungaree style overall and safety boots.
Took my chances anyway while she was holding the profiles, waiting fo rme to get there with the belt sander.
I have decided to leave part of the front and rear profile flat, rather than complete the curve as it will help me with the interior later.

Image

Image

As you may recall, I am letting about 8 inches/200mm of the sides overhang as a skirt below the floor, and also to cover over the chassis.
In order to make life easier, I nailed some strips of Birch from a local hospital to the bottom of the profile, in order to use them as a step on which to rest the profile on the sides of the floor.
At this point, Joshua, one of my very mouthy ASBO boys (18 years old and often loads of trouble) shouted over the fence to see if I was OK, and promptly came in, this was the perfect time for Nicola to chat to him a bit, and coerce him into helping me. An extra set of hands is what one needs at this point. She then left back to her home, and Josh and I continued to play with the structure, after which the Mini-Moto made its appearance.

Image


Clearly, with Joshua there, the opportunity to mock up the sides and a wheel presented itself, so we did that as well.

View from the study.....

Image


Ground floor view....

Image

After sorting out the little motorbike suspension, I was able to also make up the sliding brackets for the rear end jacks.

They will be fitted in the next few days.

Thats all for tonight folks !!

Tomorrow is Bootfair, bargain hunting, new dishwasher fitting and the "In laws" which to me is always an absolute pleasure, as Nicola's mum thinks I am a hero, and her dad is "The last Boyscout" he still goes to work on an old tug for pleasure with his friends.
Greetings from England.

Rian.


Hoping to get it all done in time.
User avatar
grizz
1000 Club
1000 Club
 
Posts: 1210
Images: 29
Joined: Mon Sep 21, 2009 2:37 pm
Location: Rochester, Kent, UK
Top

Postby 2fry » Sat Oct 31, 2009 3:04 pm

I like your profile.good to see it in the flesh.
What are you doing for wings?
Will your bus pull the weight(not knowing what your bus is packing under the hood.)
User avatar
2fry
Teardrop Builder
 
Posts: 45
Joined: Sat Jun 13, 2009 9:14 am
Location: Sunny Scotland
Top

Postby grizz » Sat Oct 31, 2009 3:09 pm

2fry wrote:I like your profile.good to see it in the flesh.
What are you doing for wings?
Will your bus pull the weight(not knowing what your bus is packing under the hood.)


:lol: :lol: :lol:

Thanks, I guess it is a modified Grumman, and following the curve to the end helps it look nice.

The wings will be either purchased "Trike wings" or I may try be a hero and make my own set, or even modify some classic/vintage car fenders.

Good question.
The bus was originally a 1500cc , 55bhp motor, but is currently undergoing a Ford 1800cc Zetec conversion, which will see it deliver 105bhp.
Should be enough, and "EASY" is the name of the game.

We went to Somerset in August with thebus, loaded with gearboxes, wheels etc for other guys, and it was kinda strange resetting my mind from my daily V6 with 204bhp. But one has to take the pace the bus dictates.
Greetings from England.

Rian.


Hoping to get it all done in time.
User avatar
grizz
1000 Club
1000 Club
 
Posts: 1210
Images: 29
Joined: Mon Sep 21, 2009 2:37 pm
Location: Rochester, Kent, UK
Top

Postby 2fry » Sat Oct 31, 2009 3:17 pm

What's the deal with converting the z tec to rear wheel drive.
i have the type 9 box in both my traveller and my ragtop.
I still have the A series engine,and the traveller is supercharged but it goes through fuel like theirs a hole in the tank. :cry:
Ulimately i'd like to fit a Ford diesel but don't know what fits what.
User avatar
2fry
Teardrop Builder
 
Posts: 45
Joined: Sat Jun 13, 2009 9:14 am
Location: Sunny Scotland
Top

PreviousNext

Return to Build Journals

Who is online

Users browsing this forum: Google [Bot] and 8 guests