lrrowe wrote:aggie79 wrote:Since the SB made her first outing on the last weekend of March not much work has been done.
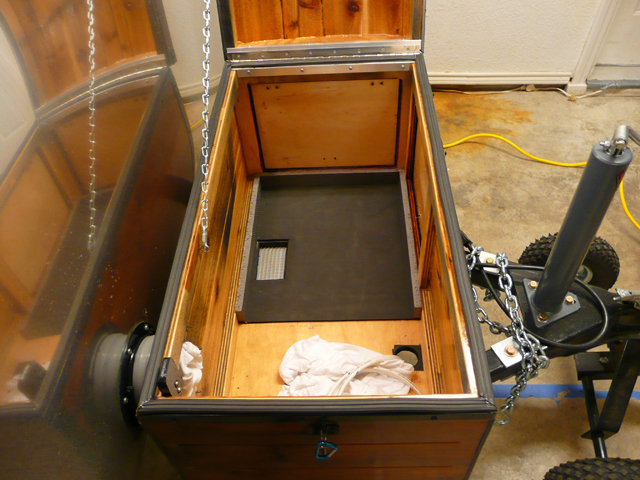
I did manage to install the Petcool in the tongue box and (almost) finish all of the supply and return air lines and electrical. Here is the before picture:

The Petcool sits on top of exercise mat (intended reduce vibration.) The cut out area is for the condensate drain.
This picture shows the Petcool in place with the return air line installed and insulated. (The return air comes from a grill in the galley wall at the foot of the bed and runs underneath the teardrop up to the tongue box.)
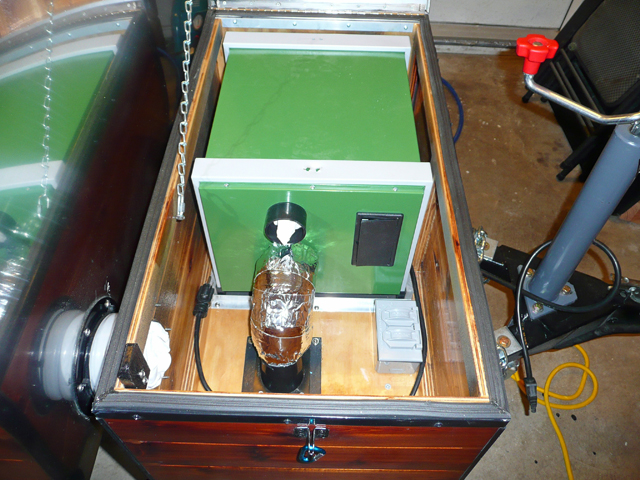
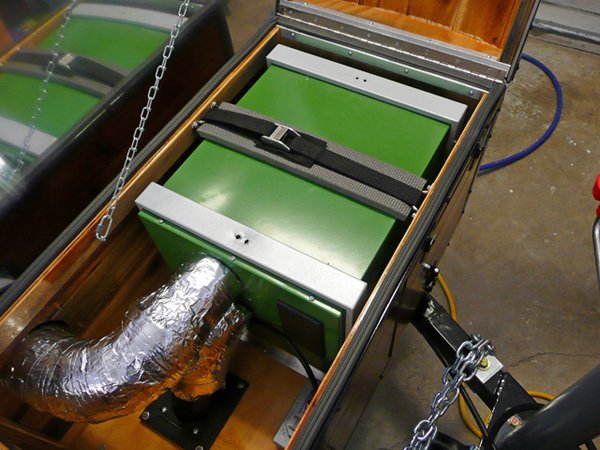
Next, I installed the supply air ducting. It runs through the back of the tongue box and through the front wall of the teardrop.
The supply air comes into the headboard cabinet where it is split into two ducts. This (poor) picture shows the splitter mounted in the headboard cabinet.
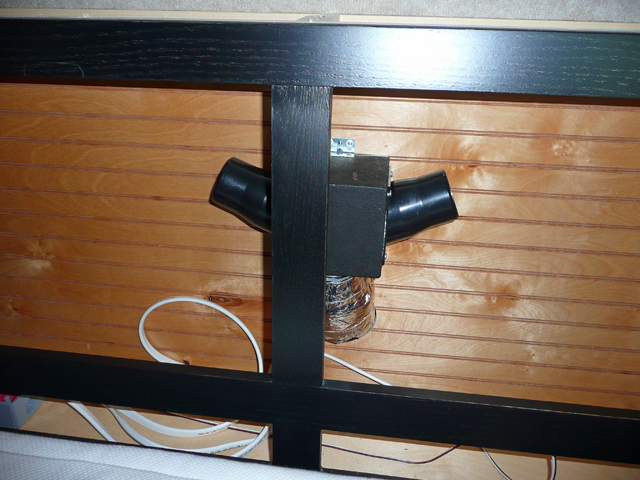
The only thing left to do is run the two supply lines. They will connect from the splitter to two automotive-type adjustable ar vents installed in the shelf of the headboard cabinet.
Next up - last bit of cabinet construction so they can be finished and installed.
Take care and thanks for looking,
Tom
Hi Tom, I just came across your posts today and really like your ideas and work. I am also very interested in how the Petcool is working for you. Are you satisfied with it?
What size did you put in, the 5000 or 8000 version?
Bob
Hi Bob!
The Petcool is working fine for us. At the time there was only one model. I believe ours is 2500 btuh which is about half of the cooling capacity of the Climate Right 5000. We usually don't camp in the heat, but we did camp one time with some friends when the temperature reached 97 degrees and it was a very humid day. Our teardrop was exposed to the western sun. The Petcool was struggling, but it did pull the temperature down to 80 degrees inside when it was 97 degrees outside. We keep a container to catch the condensate and during that time it was producing about a quart of water every two hours or so.
I did do some minor modifications to the Petcool. The return air plenum inside the unit was sealed very well. I did add some high temperature foam rubber seals to make it air tight. Also, I added substantial resistance/friction to both the supply air side and return air side of the unit with the elbows and length of ducting from the front of the teardrop to the rear. I also added a filter element at the rear intake air grill. Combined these have reduced air flow. I did add an additional blower behind the intake grill and connected to the return duct. When the temperature gets over 90 degrees I do turn on this additional blower, but most of the time it just "free-wheels". I have not experienced any icing of the coils with the reduced air flow.
The Petcool has electric resistance heating but I haven't used it.
I have been very happy with the system. The only item on my wishlist would be to have a remote electronic thermostat. (I did purchase a high voltage "cooling" thermostat and pre-wired the outlet for it, but haven't installed it.) I believe the newer units have a built-in electronic thermostat.
Hopefully in a year or two, I will begin a second build. It will either be a cargo trailer conversion or a replica bread loaf trailer. I will be seriously considering the use of the Climate Right air conditioner for that build.
Take care,
Tom


 especially the "ebonized" cabinets. wonder how that technique would look as accents on the outside? you have also decided for me how to install ac. your treasure box on the trailer tongue is amazing
  since i probably won't get to build my td for another year or so