Grant,
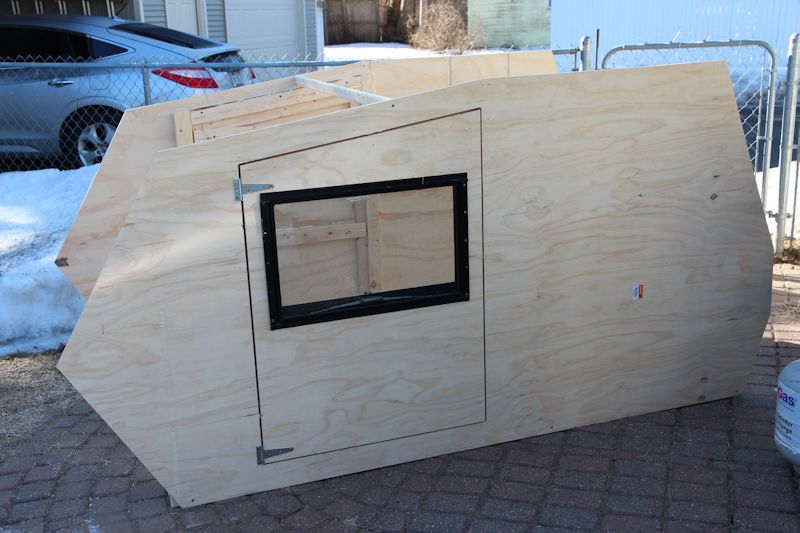
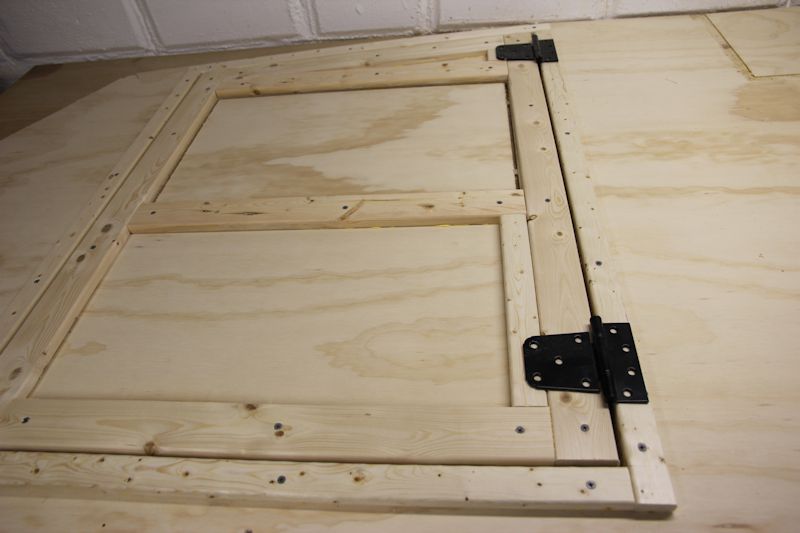
If I was going shopping for plywood, it would probably be 3/8". But since I had a couple sheets of 1/2" laying around, that's what I used!
Mike...
Teardrops n Tiny Travel Trailersor t n ttt for short (tnttt.com) |
Nano Weekender: becomes a mockup
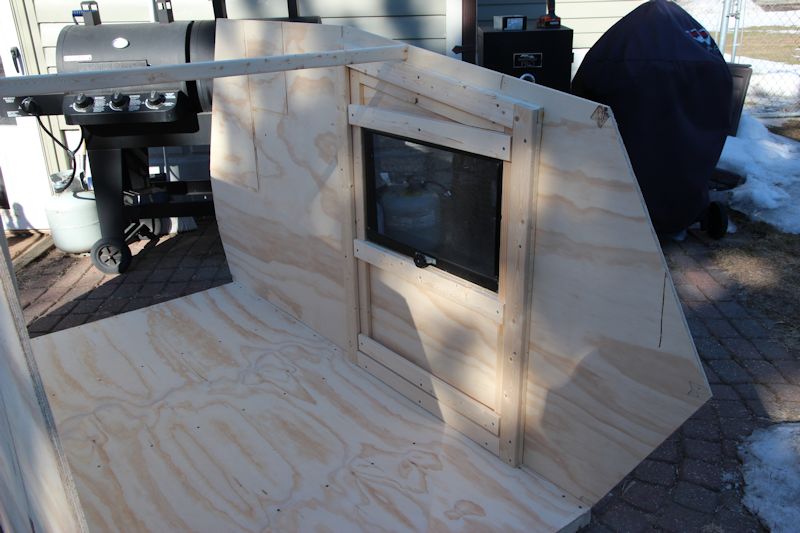
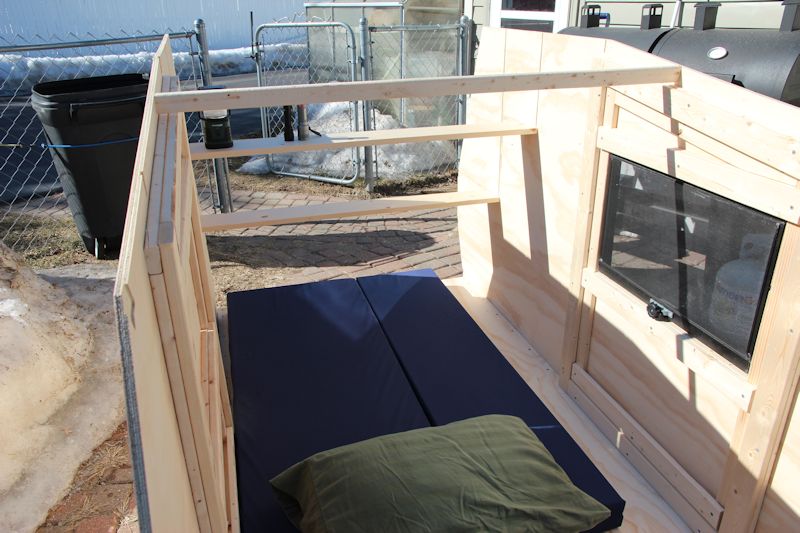
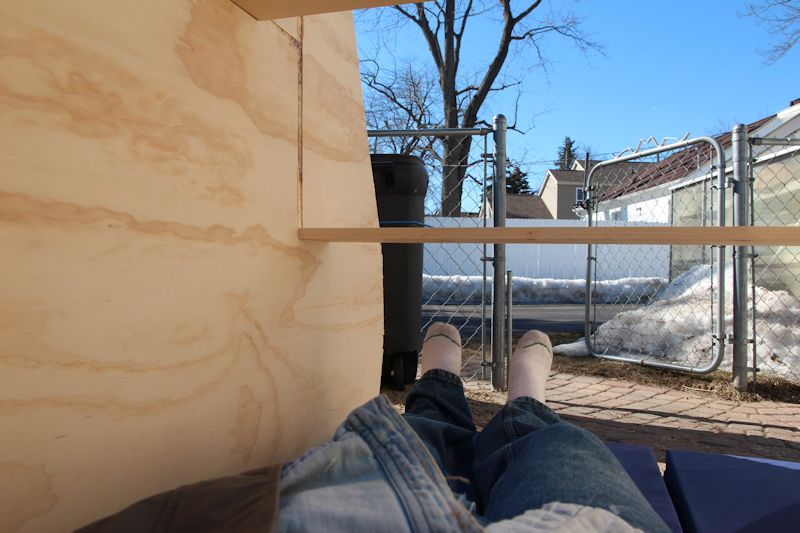
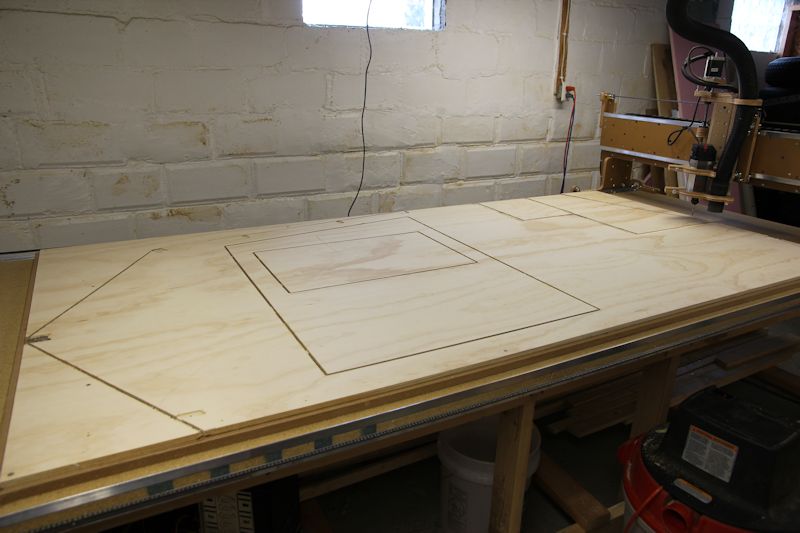
Re: Nano Weekender: Cut the first side! Pics!
![]() by mikeschn » Sun Mar 16, 2014 5:26 pm
by mikeschn » Sun Mar 16, 2014 5:26 pm
The quality is remembered long after the price is forgotten, so build your teardrop with the best materials...
-

mikeschn - Site Admin
- Posts: 19202
- Images: 479
- Joined: Tue Apr 13, 2004 11:01 am
- Location: MI
Re: Nano Weekender: Cut the first side! Pics!
![]() by grant whipp » Sun Mar 16, 2014 8:32 pm
by grant whipp » Sun Mar 16, 2014 8:32 pm
Yeah ... FWIW, I'd have to opine that 3/8" would be the max for this application and 1/2" would be overkill, but since you had it, why not ...  ...! With the 1x framing, all you'd really NEED would be 1/4" outer and 1/8" inner (maybe 1/4") and insulation board inside ... would be extremely light, easy to build, and more than strong enough. I'm watching this build with much interest ...
CHEERS!
...! With the 1x framing, all you'd really NEED would be 1/4" outer and 1/8" inner (maybe 1/4") and insulation board inside ... would be extremely light, easy to build, and more than strong enough. I'm watching this build with much interest ...CHEERS!
Celebrating Retirement after over 32 Years of Building, Promoting, Supporting, Supplying, Living the Lifestyle, and Loving Teardrop Trailers!
"Life Moves a Little Slower When You're On Teardrop Time"
The nature of Life, itself, is change ... "Those who matter, don't mind, and those who mind, don't matter."

"Life Moves a Little Slower When You're On Teardrop Time"
The nature of Life, itself, is change ... "Those who matter, don't mind, and those who mind, don't matter."
-

grant whipp - Teardrop Manufacturer
- Posts: 1815
- Images: 117
- Joined: Sun Jan 16, 2005 2:00 pm
- Location: Jefferson State ('tween CA & OR!)
 about.
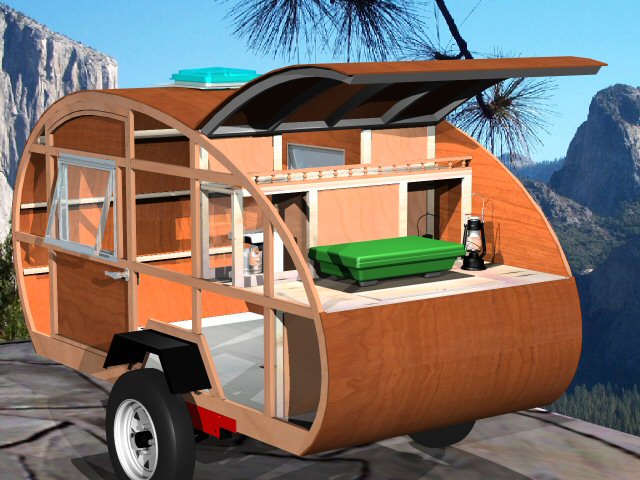


 Wright