planovet wrote:Nice job!
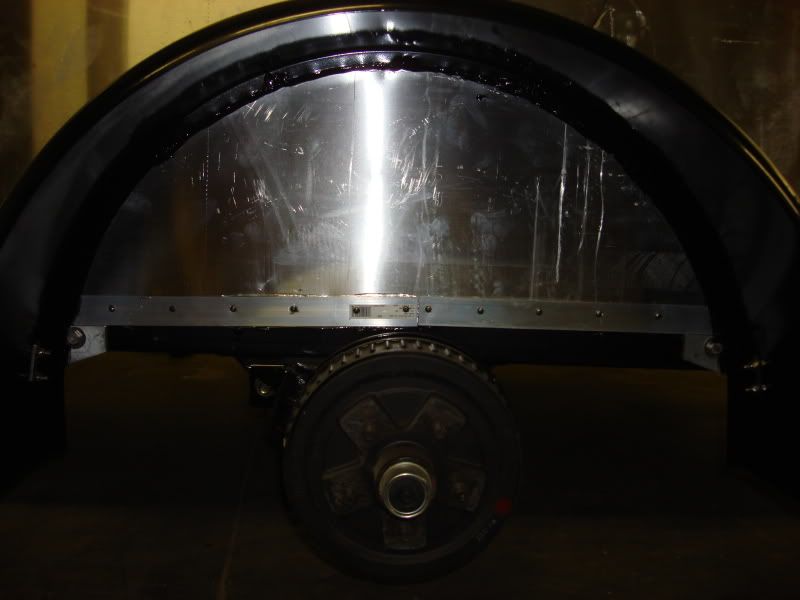
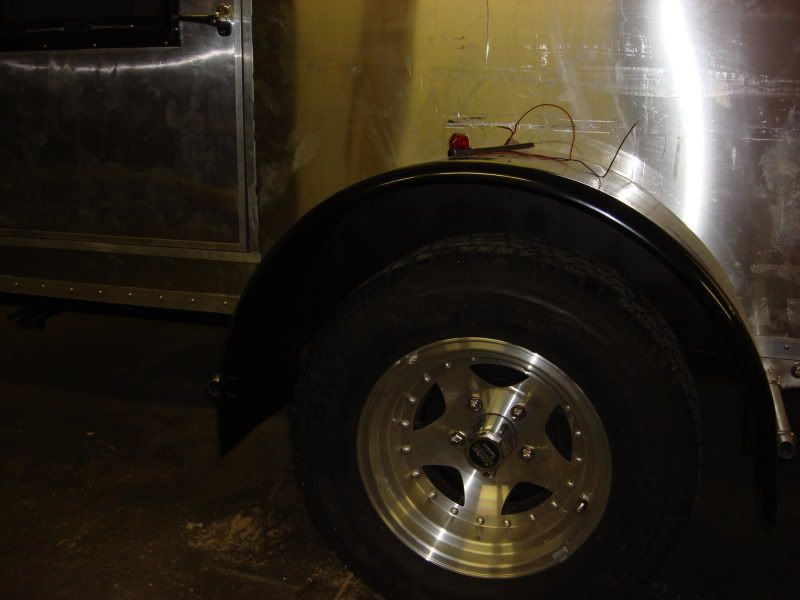
Not to be picky but are you going to powder coat the fender mounts to match the fenders?
No. I like that fact that they stick out. A good reminder to myself of the personal time put into the unit.
Adam
Teardrops n Tiny Travel Trailersor t n ttt for short (tnttt.com) |
![]() by Jiffypop207 » Thu Jul 22, 2010 3:19 pm
by Jiffypop207 » Thu Jul 22, 2010 3:19 pm
planovet wrote:Nice job!
Not to be picky but are you going to powder coat the fender mounts to match the fenders?

![]() by Jiffypop207 » Thu Jul 22, 2010 3:26 pm
by Jiffypop207 » Thu Jul 22, 2010 3:26 pm
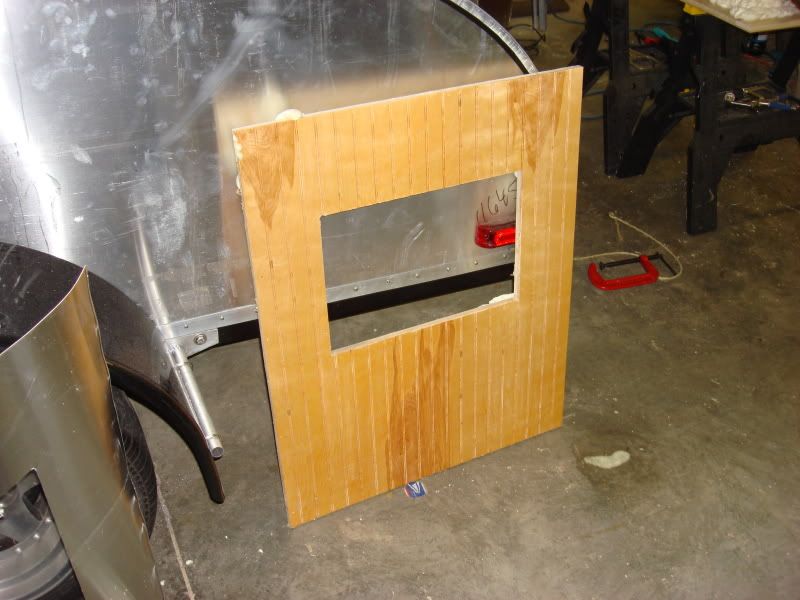
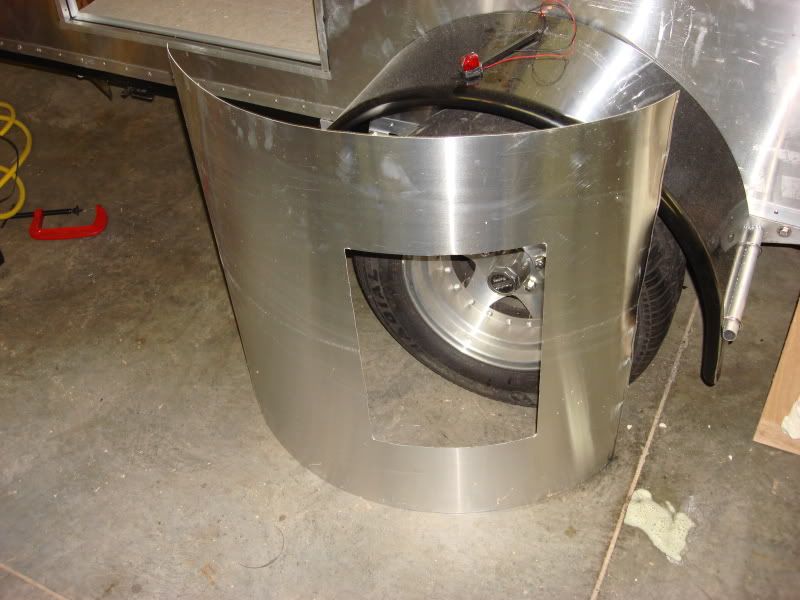
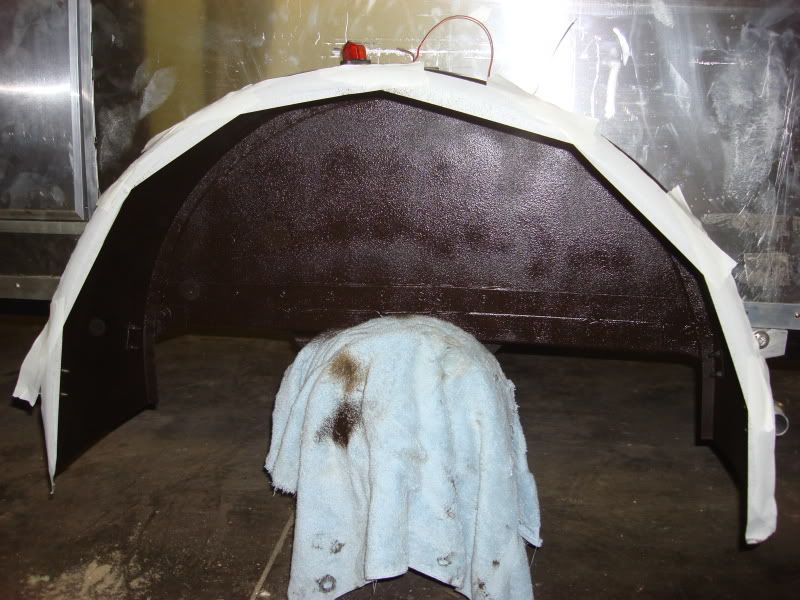
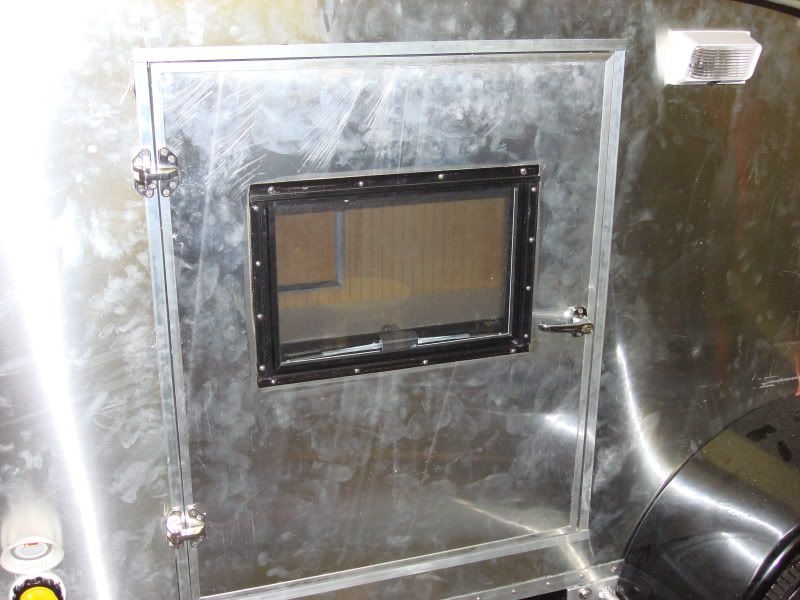
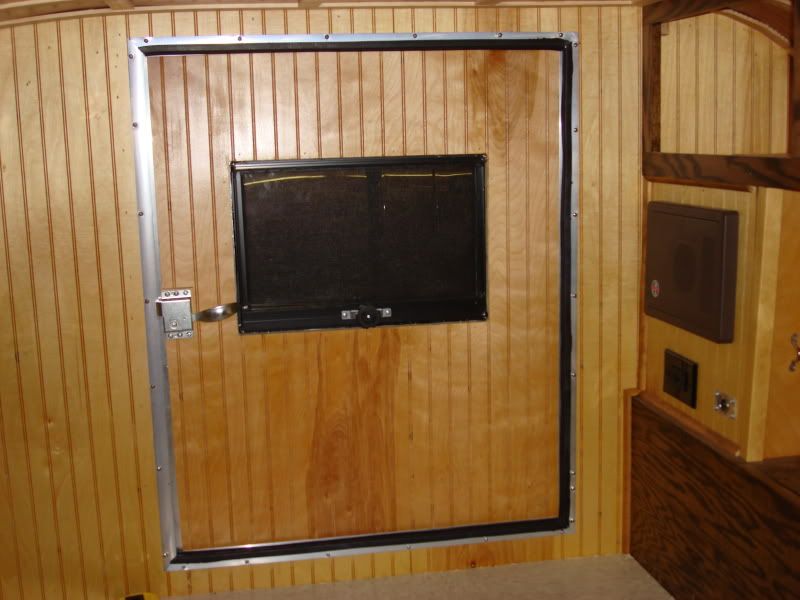
KenC wrote:Great build thanks for sharing, especially the details of the hatch and fender mount. Can you tell me the dimensions of the fenders , where you bought them and the tire/ wheel size
![]() by Jiffypop207 » Tue Aug 10, 2010 9:51 am
by Jiffypop207 » Tue Aug 10, 2010 9:51 am

![]() by Woodbutcher » Tue Aug 10, 2010 8:48 pm
by Woodbutcher » Tue Aug 10, 2010 8:48 pm


![]() by Jiffypop207 » Thu Aug 12, 2010 6:36 am
by Jiffypop207 » Thu Aug 12, 2010 6:36 am

![]() by aggie79 » Thu Aug 12, 2010 7:57 am
by aggie79 » Thu Aug 12, 2010 7:57 am

![]() by Jiffypop207 » Tue Aug 17, 2010 6:46 am
by Jiffypop207 » Tue Aug 17, 2010 6:46 am

![]() by mrsjiffypop207 » Tue Aug 17, 2010 6:55 am
by mrsjiffypop207 » Tue Aug 17, 2010 6:55 am
![]() by Cliffmeister2000 » Tue Aug 17, 2010 7:26 am
by Cliffmeister2000 » Tue Aug 17, 2010 7:26 am

![]() by Jiffypop207 » Tue Aug 17, 2010 9:08 am
by Jiffypop207 » Tue Aug 17, 2010 9:08 am
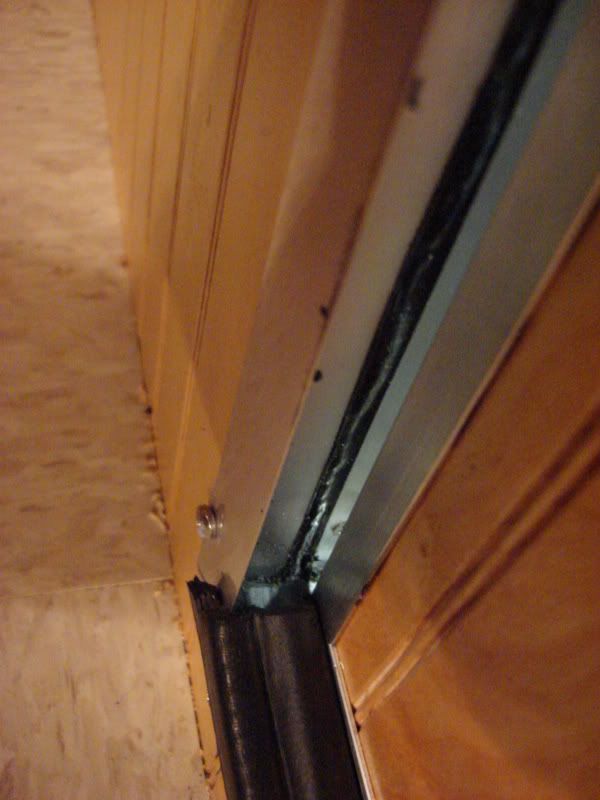
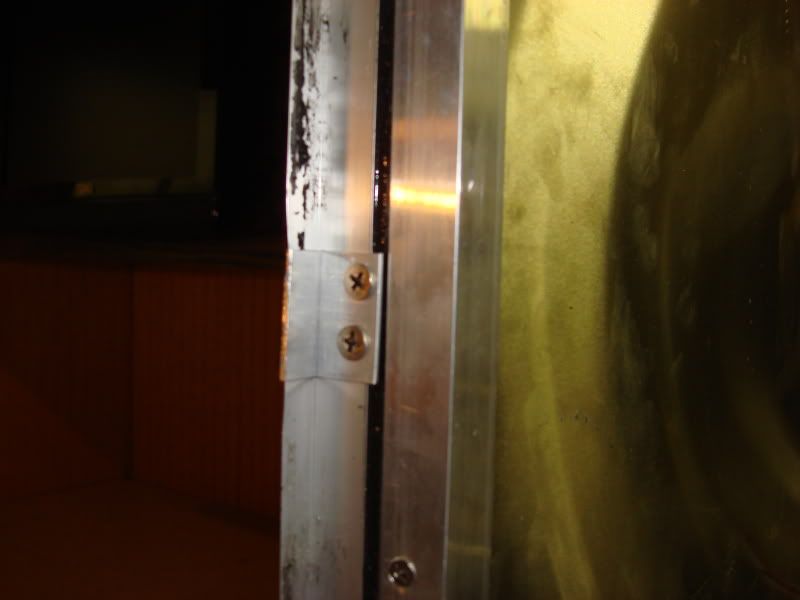
Cliffmeister2000 wrote:An awesome build, for sure!
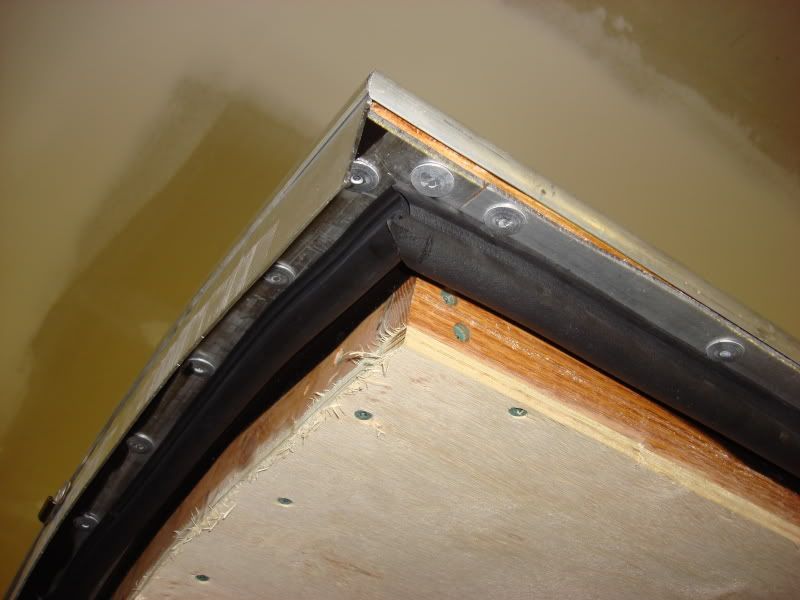
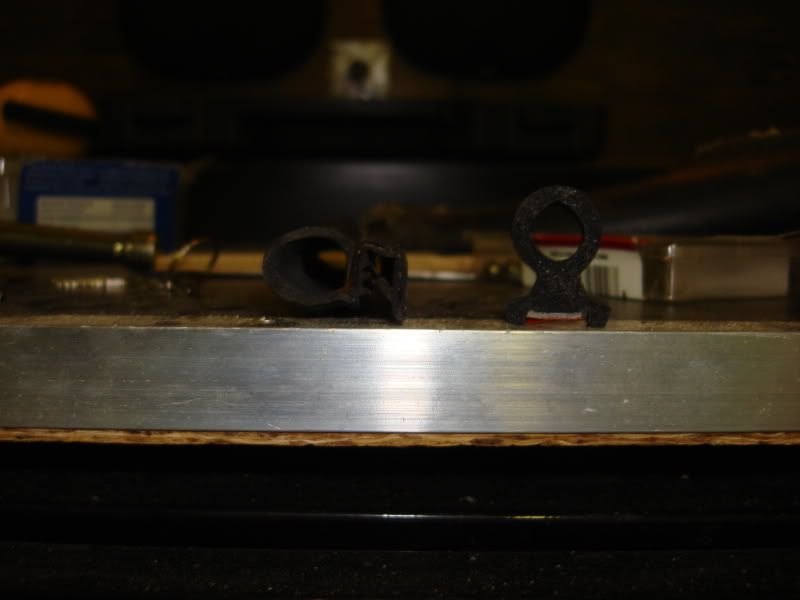
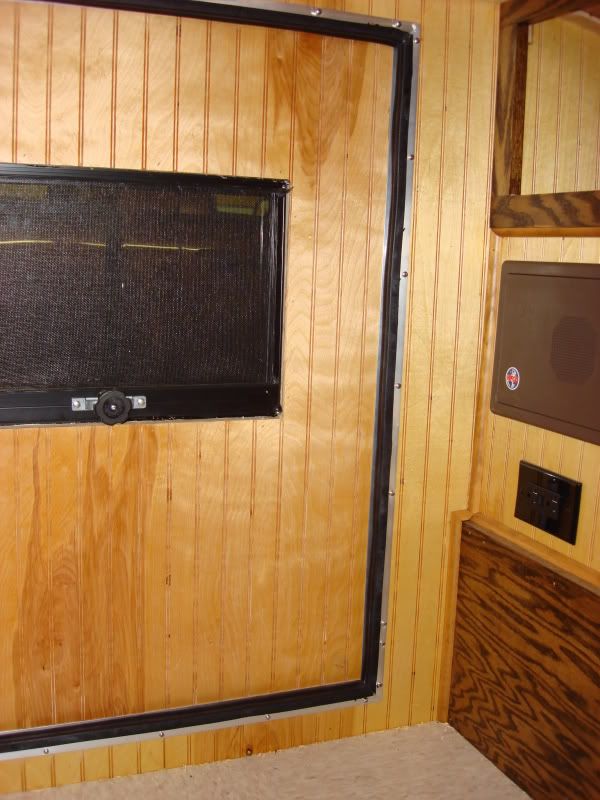
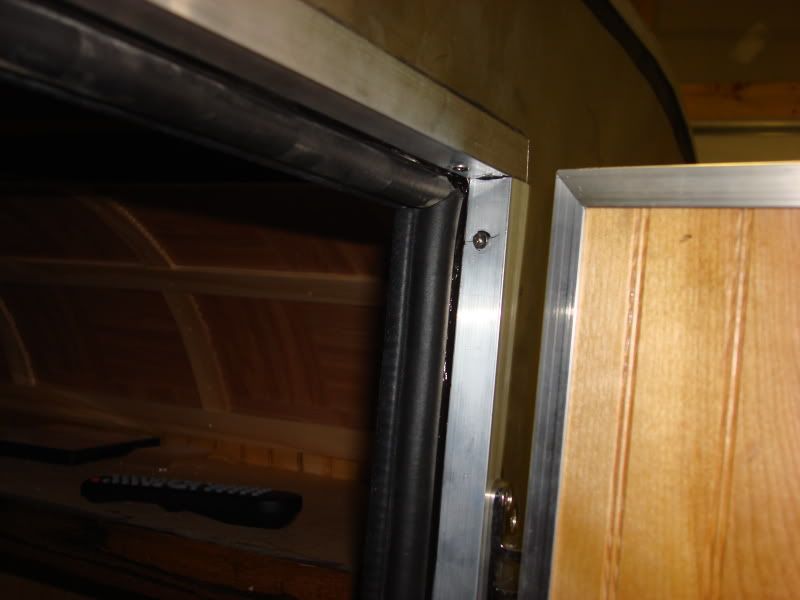
Where did you source the weatherstripping?
![]() by Jiffypop207 » Tue Aug 17, 2010 9:10 am
by Jiffypop207 » Tue Aug 17, 2010 9:10 am
mrsjiffypop207 wrote:Mrs. Jiffy Pop 207 can't wait to camp in here either. I am trying to convince him to get a disco globe to hang on the underside of the hatch in the up position (in the kitchen) so i can rock out in the evenings. We''ll be all the rage in the camp ground. hehe
I love you honey, I am really proud of you!!!
![]() by Carter » Tue Aug 17, 2010 6:54 pm
by Carter » Tue Aug 17, 2010 6:54 pm

![]() by Jiffypop207 » Wed Aug 18, 2010 5:30 am
by Jiffypop207 » Wed Aug 18, 2010 5:30 am
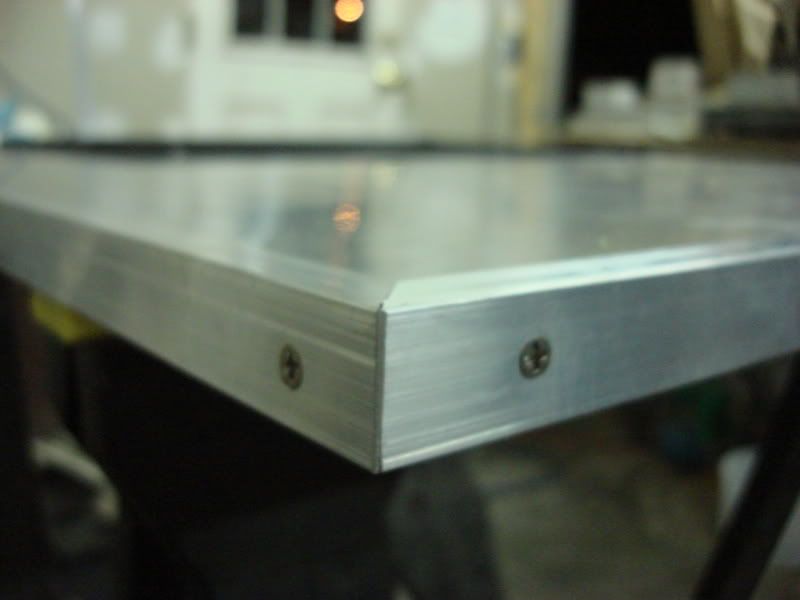
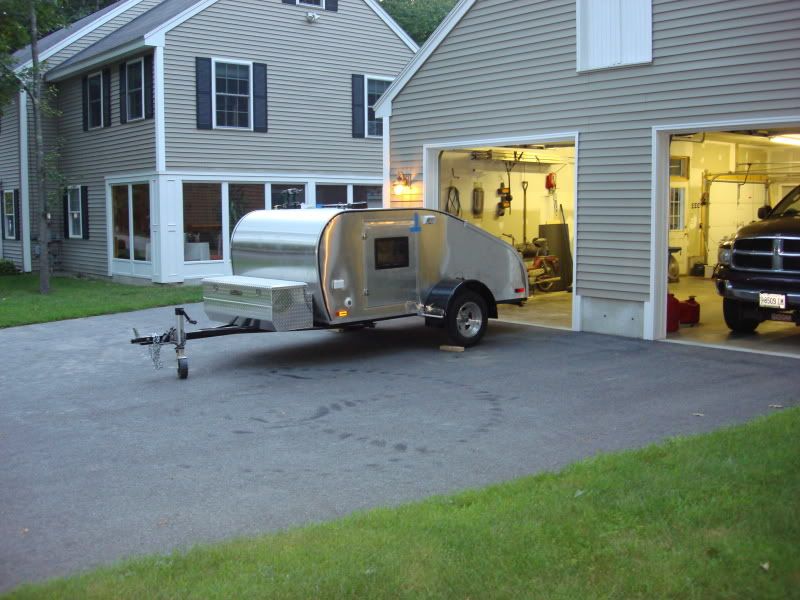
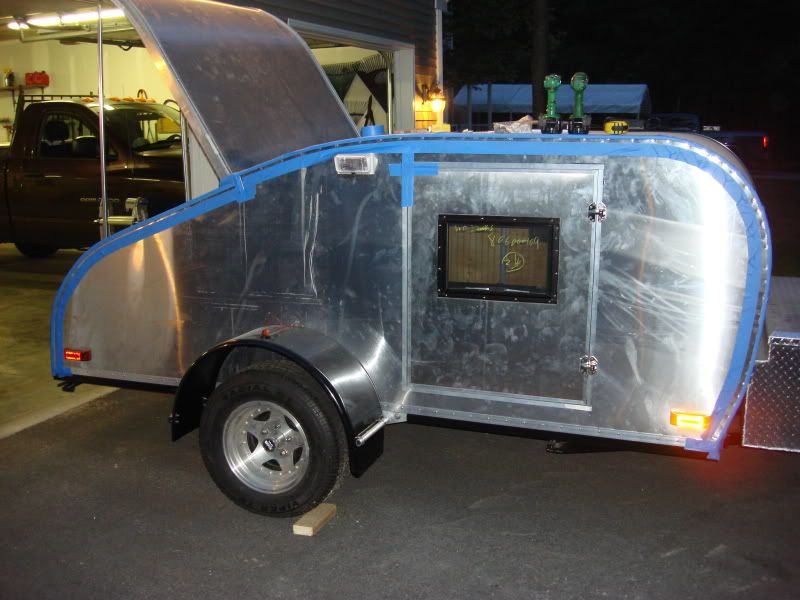
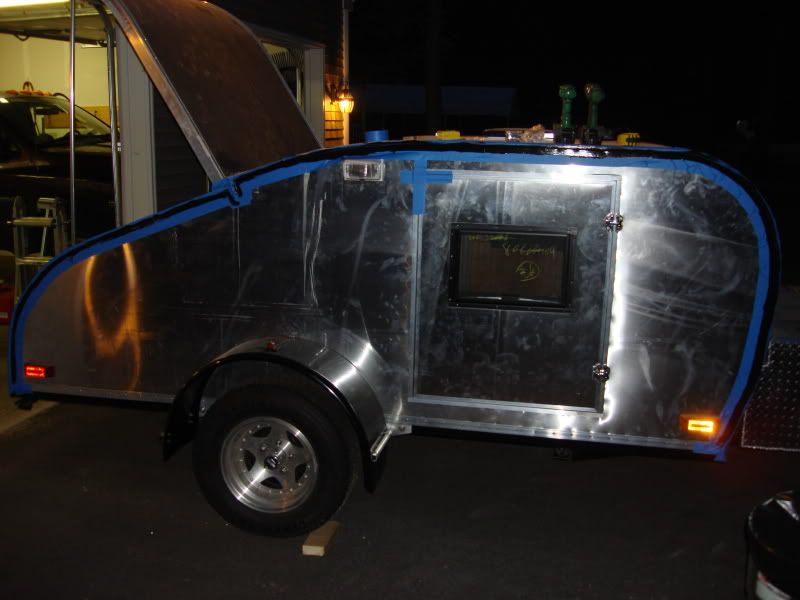
Carter wrote:Nice job Adam, the aluminum gets looking fingerprinted while building, after awhile it all evens out. Check my album. The ones pulling it out of the garage look real splotchy, the ones I take now look like a vintage trailer. I tried to polish it, didn't work with my 3003 H-14 aluminum. Now I just use a little soft scrub on it every year. It looks old and I'm good with that. Came through Customs from Canada a couple of weeks ago. The border agent didn't care where we were born, raised, how much acholol or tobacco we had, just wanted to know what year the trailer was. I told him I built it in 2004 and he said "Really" and let us pass
Jim
Users browsing this forum: No registered users and 43 guests