cool stuff...lots of BIG pics....i have satelite internet and it loads like its dial up....lol
those vans are cool as hell....ive always fantasized about having a vw bus, or an old-oldschool ford econoline...i love that look...
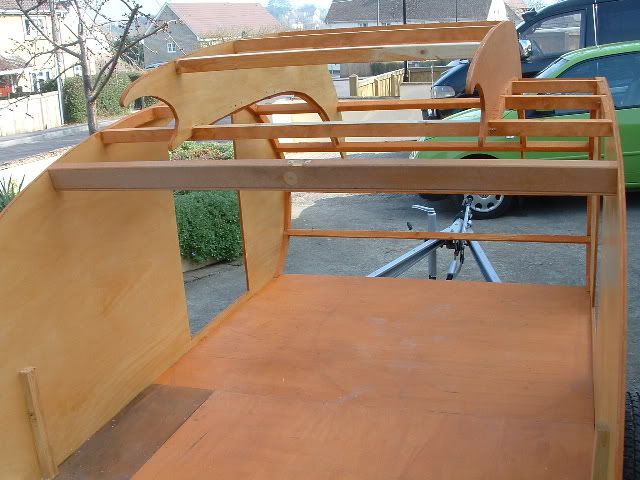
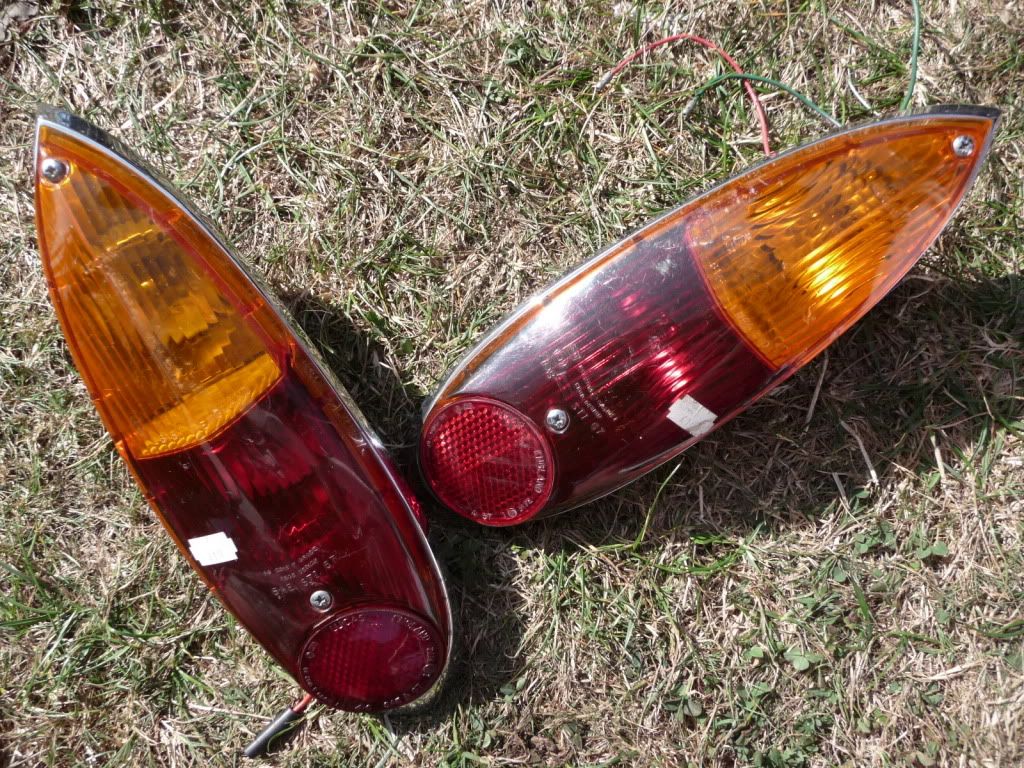
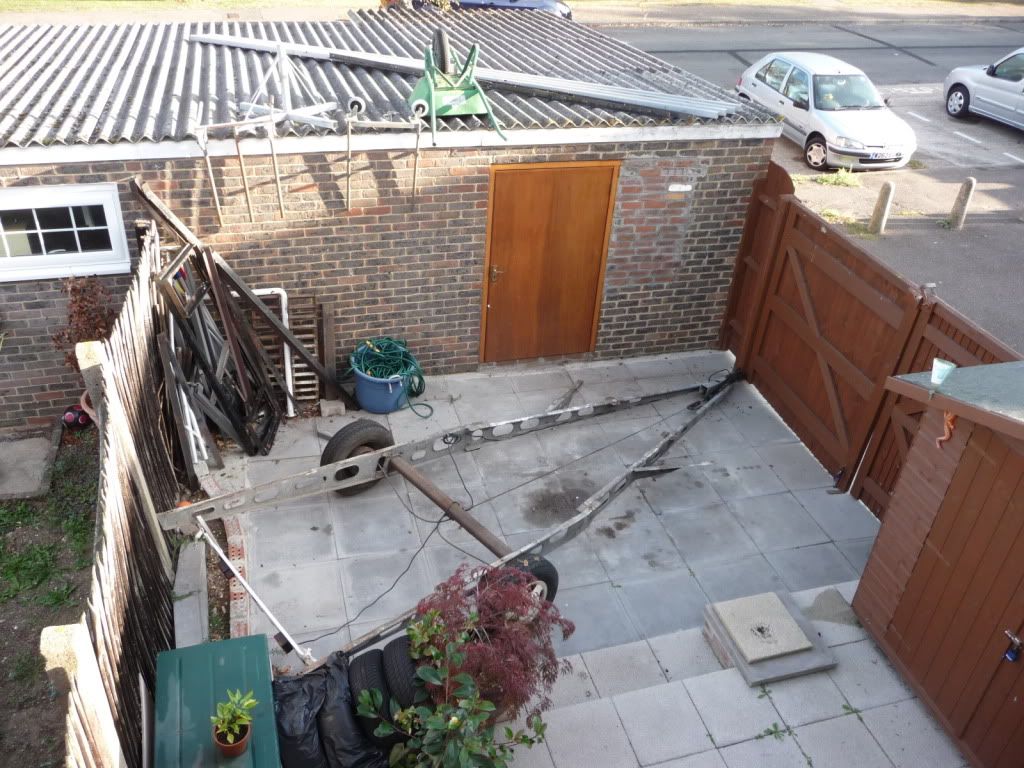
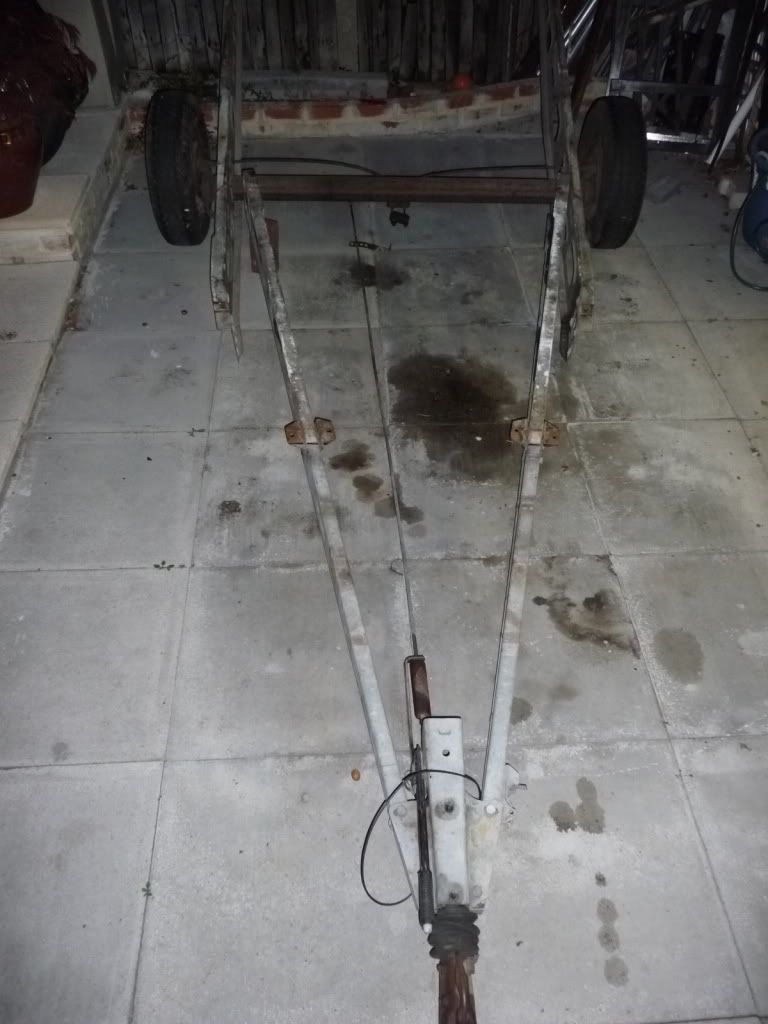
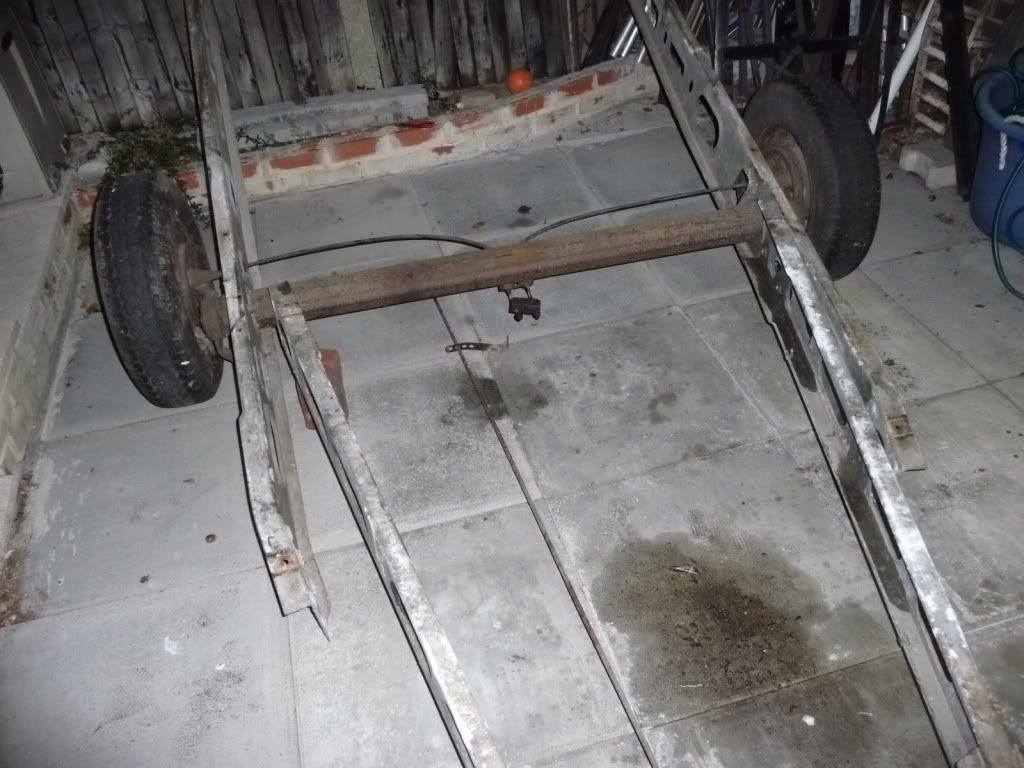
what did those perforated channels (trailer beams)come off of??...i wish i had some metal like that available over here....
good luck...you sure are off to a good start with the salvaged pieces and parts...
Teardrops n Tiny Travel Trailersor t n ttt for short (tnttt.com) |
Grizz-Pod Teardrop Trailer - New tow truck - 66 Chevy
hello there
![]() by laoutdoorsman » Sat Sep 26, 2009 9:18 pm
by laoutdoorsman » Sat Sep 26, 2009 9:18 pm
mike breaux...its pronounced "bro".....
i think i should have taken notes along the way, because ive forgotten waaaay more than i remember...
i think i should have taken notes along the way, because ive forgotten waaaay more than i remember...
-

laoutdoorsman - Teardrop Master
- Posts: 263
- Images: 44
- Joined: Thu Sep 03, 2009 6:25 pm
- Location: amite, la
Re: hello there
![]() by grizz » Sat Sep 26, 2009 11:36 pm
by grizz » Sat Sep 26, 2009 11:36 pm
laoutdoorsman wrote:cool stuff...lots of BIG pics....i have satelite internet and it loads like its dial up....lol
those vans are cool as hell....ive always fantasized about having a vw bus, or an old-oldschool ford econoline...i love that look...
what did those perforated channels (trailer beams)come off of??...i wish i had some metal like that available over here....
good luck...you sure are off to a good start with the salvaged pieces and parts...
Thanks for the welcome Guys and Gals.
he chassis beamsare a compllete caravan chasis. Made by AL-KO in Germany.
Gavanised is the standard here, as they add salt to the roads for snow in winter. (Keeping in mind that a 3inch snow brings the country to its knees.
I have been awake since 4.30am and its now 5.30am..... Today we are off in the bus to the last show of our year "Battlesbridge"
Tonight on the way home I am dropping the bus off with a friend,Edd and over winter he is doing a Ford 1800cc Zetec conversion. at is a Front drive engine into a Rear drive van.
That will give me the space the bus parked in, to build the Teardrop.
OK, now to wake Nicola

Greetings from England.
Rian.
Hoping to get it all done in time.
Rian.
Hoping to get it all done in time.
-

grizz - 1000 Club

- Posts: 1210
- Images: 29
- Joined: Mon Sep 21, 2009 2:37 pm
- Location: Rochester, Kent, UK


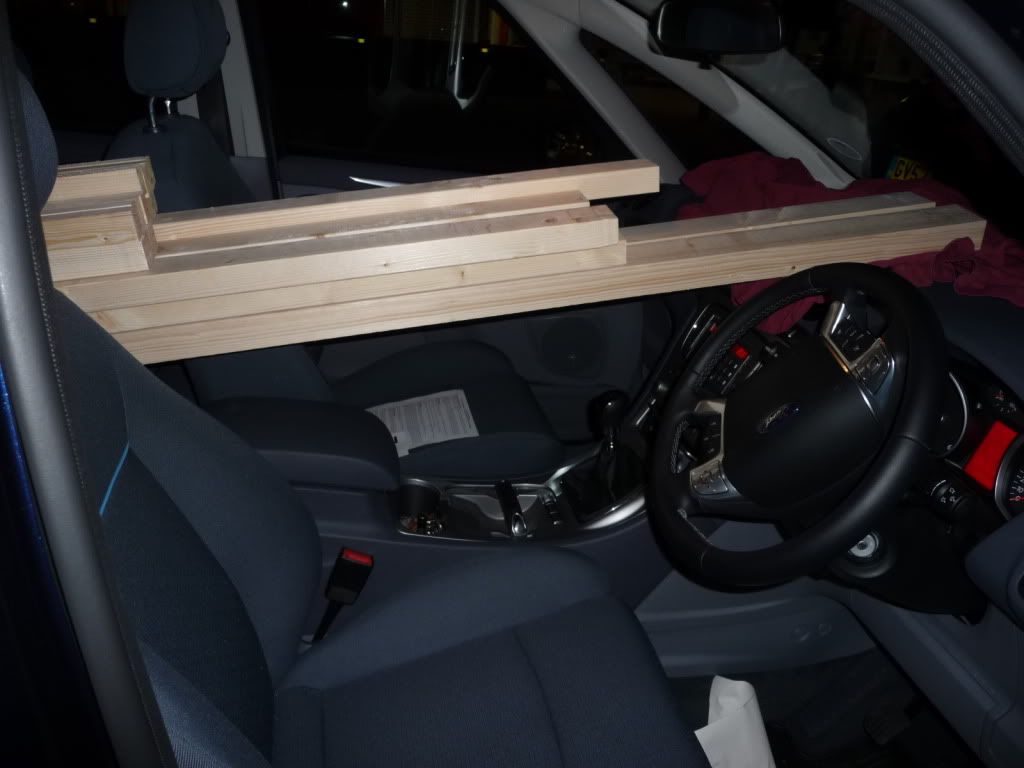
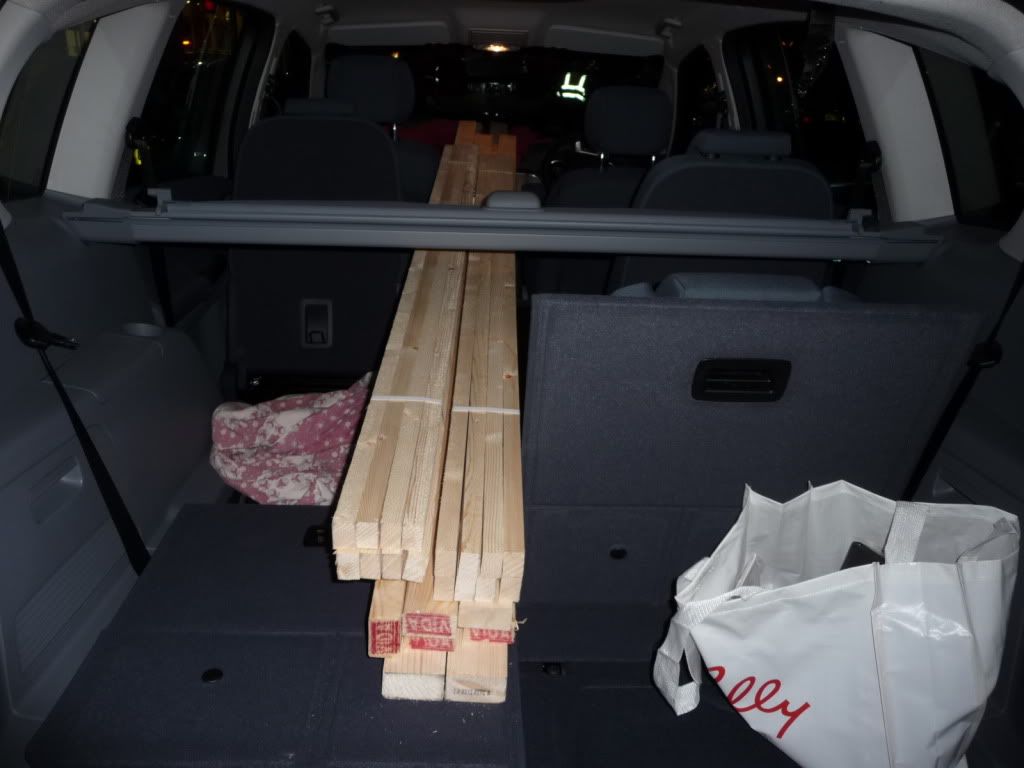
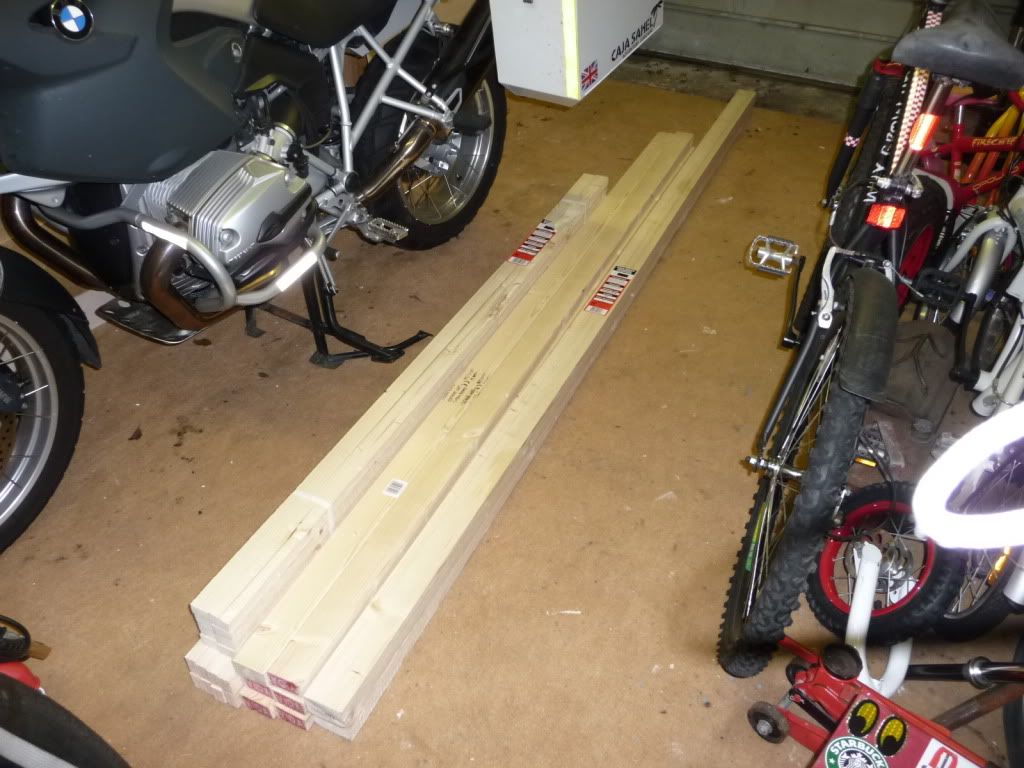
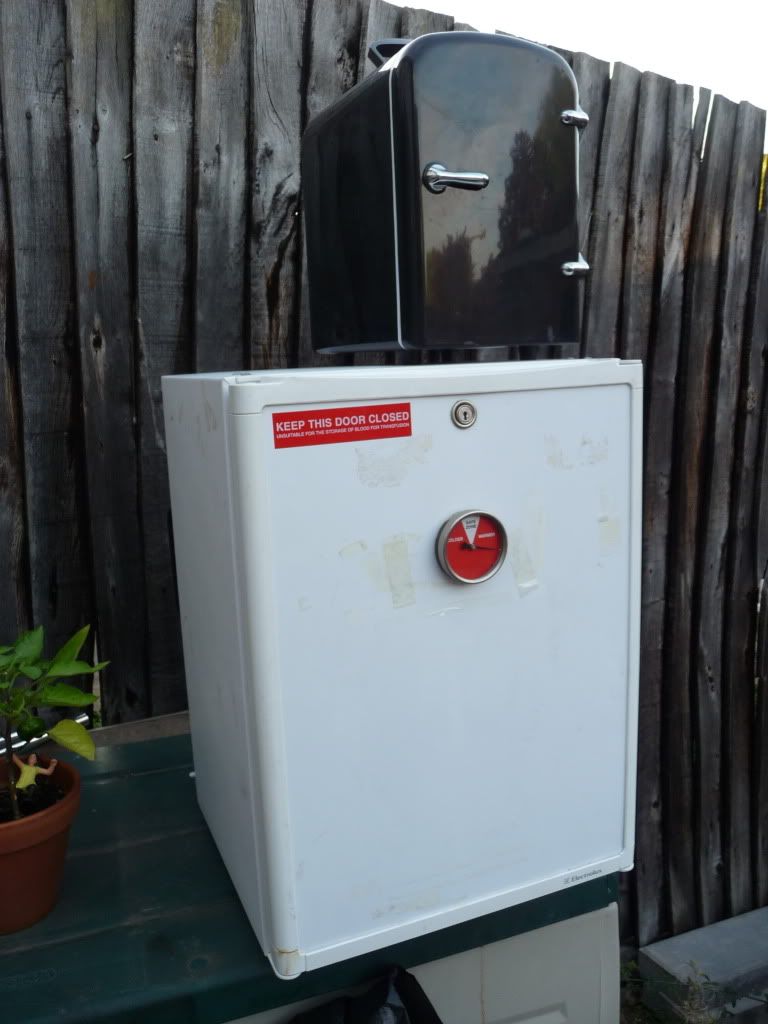


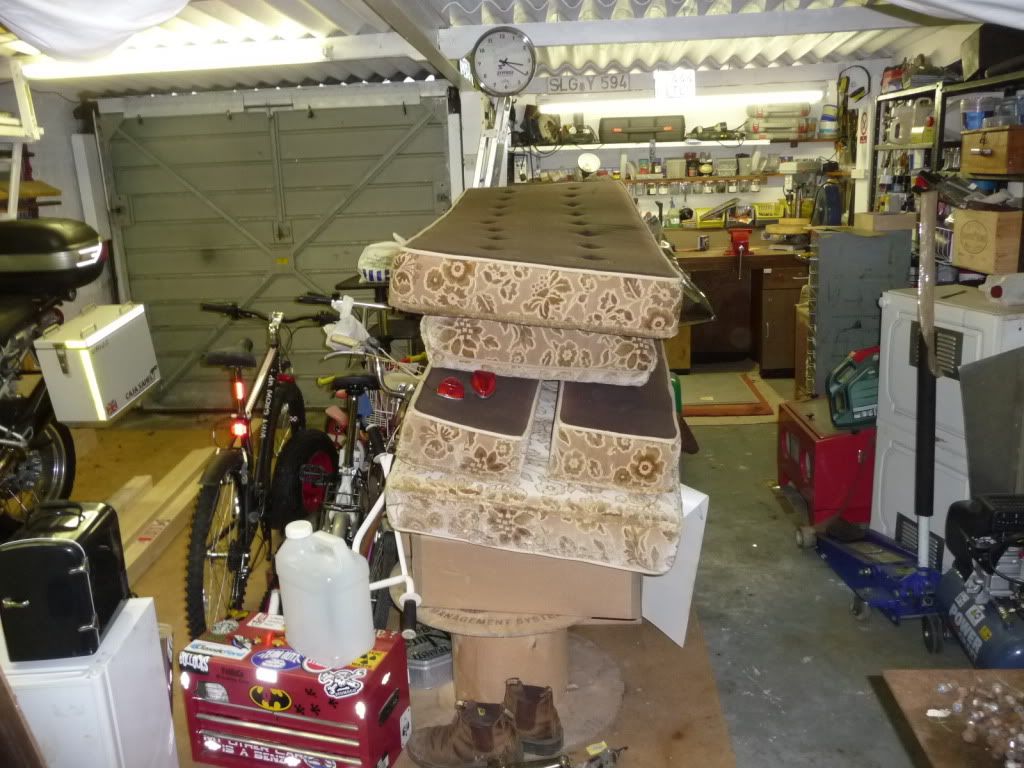


 Nice load of stuff you are getting for almost nothing.