
Juneaudave wrote:I have to agree....those wheels will work nicely!!!!
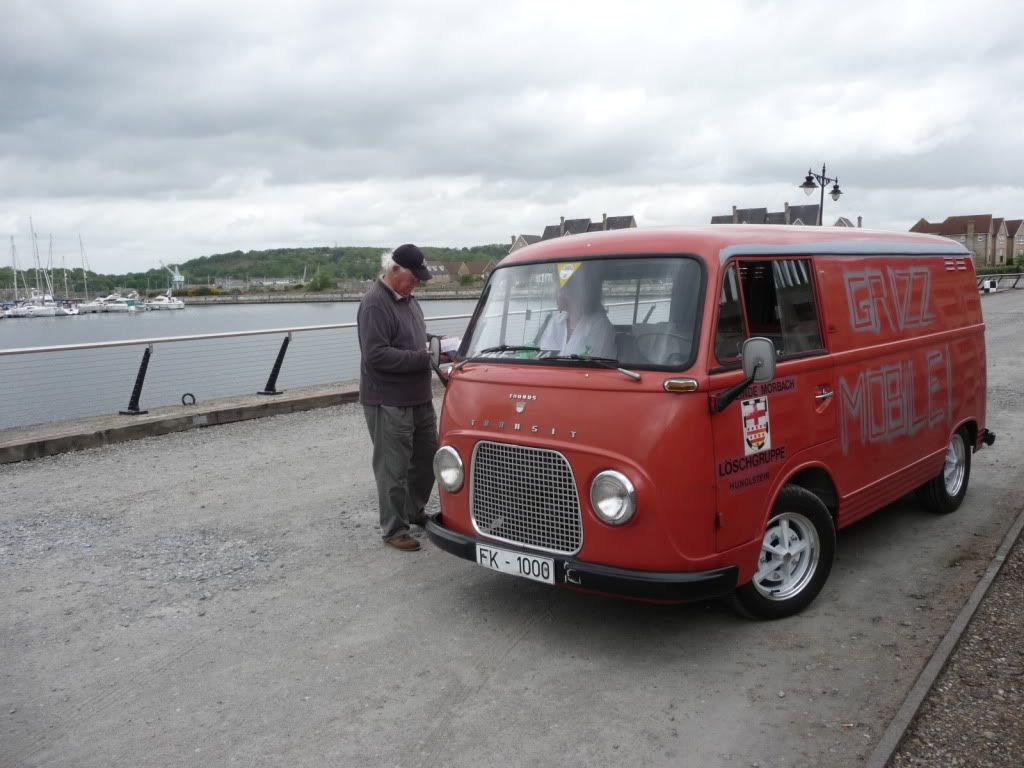
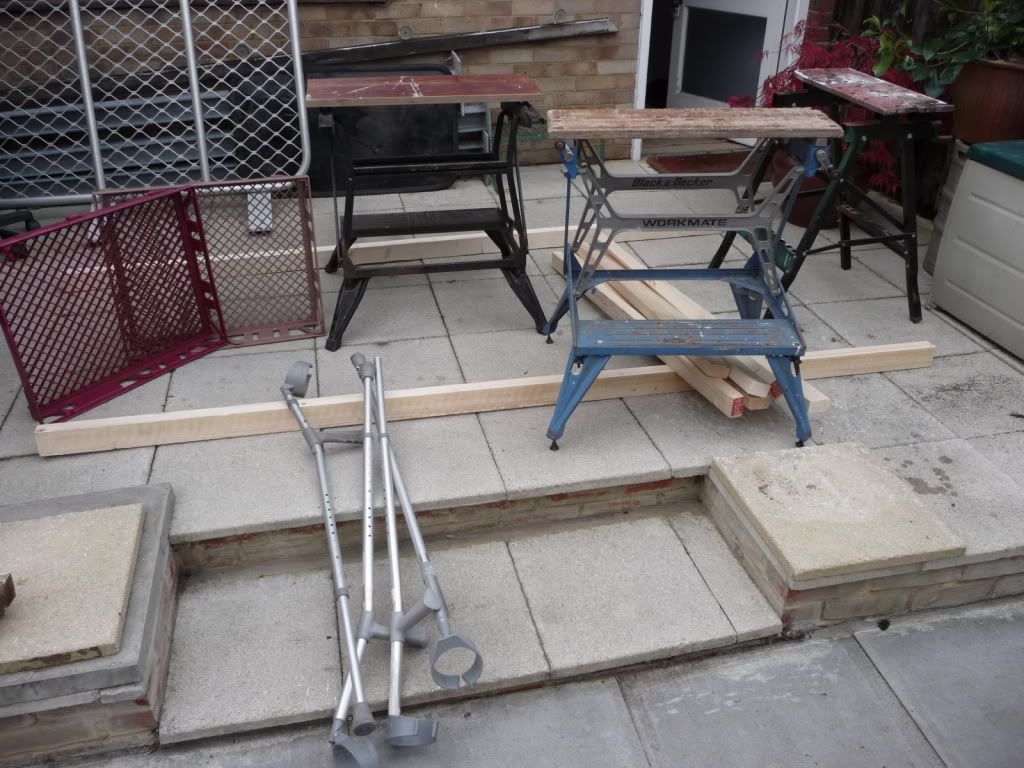
Just for perspective.
Teardrops n Tiny Travel Trailersor t n ttt for short (tnttt.com) |
![]() by grizz » Sat Oct 10, 2009 5:56 am
by grizz » Sat Oct 10, 2009 5:56 am


![]() by grizz » Sat Oct 10, 2009 1:04 pm
by grizz » Sat Oct 10, 2009 1:04 pm
![]() by jackdaw » Sat Oct 10, 2009 7:39 pm
by jackdaw » Sat Oct 10, 2009 7:39 pm


![]() by grizz » Sun Oct 11, 2009 4:06 am
by grizz » Sun Oct 11, 2009 4:06 am
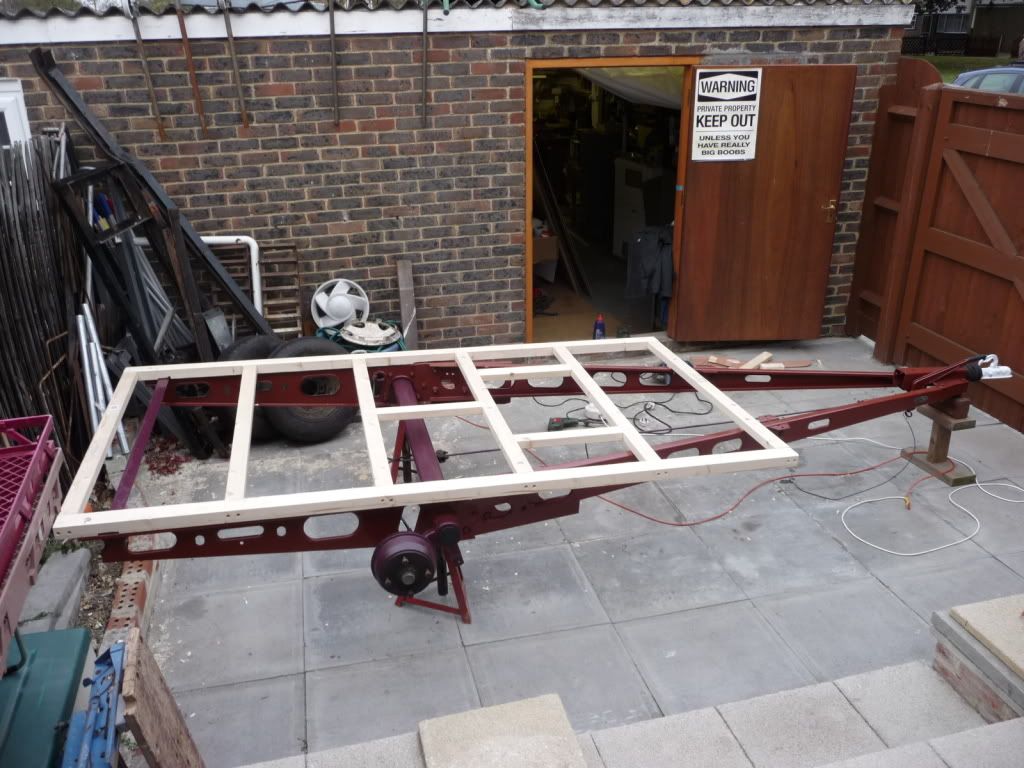
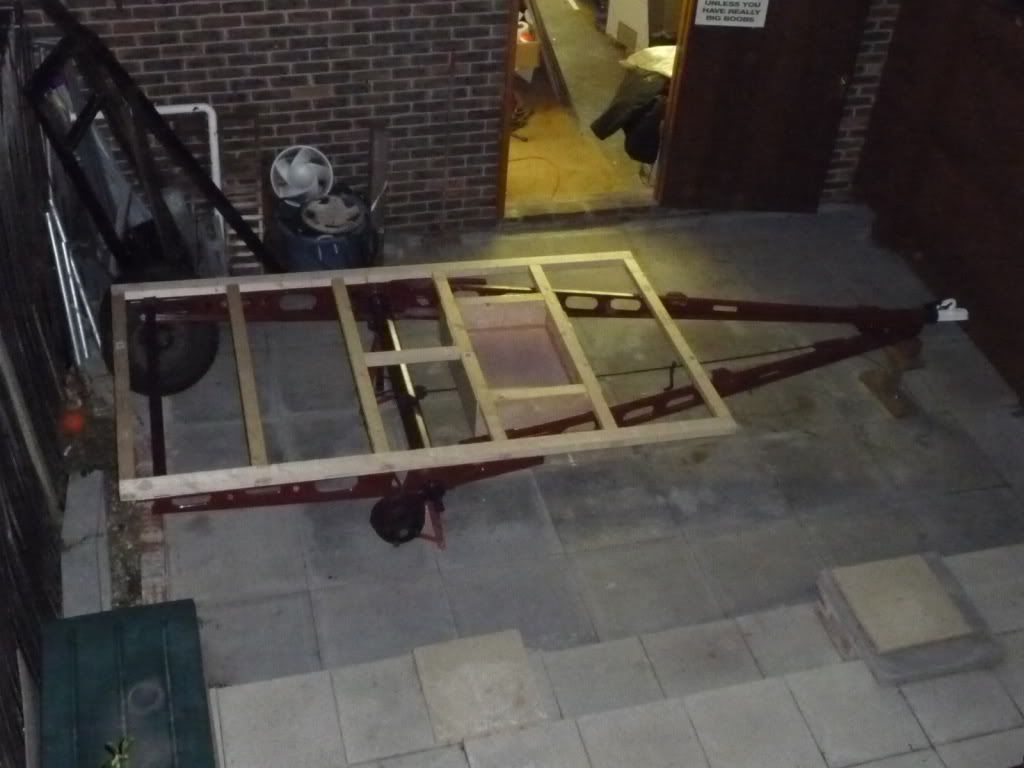
jackdaw wrote:Well done Rian,
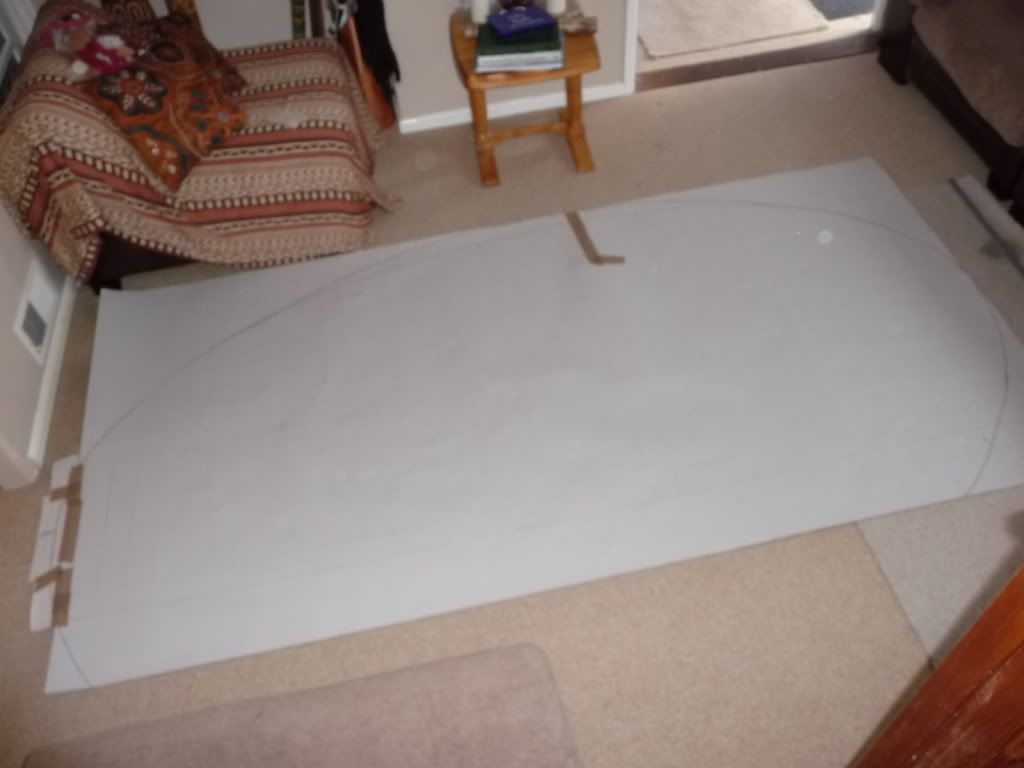
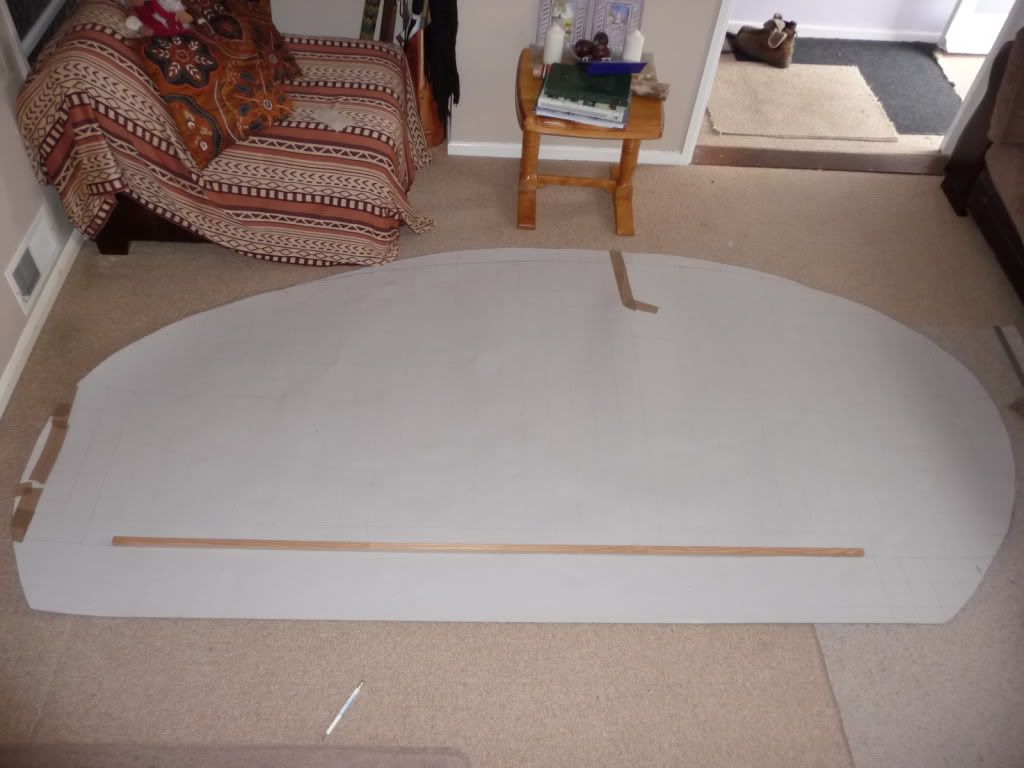
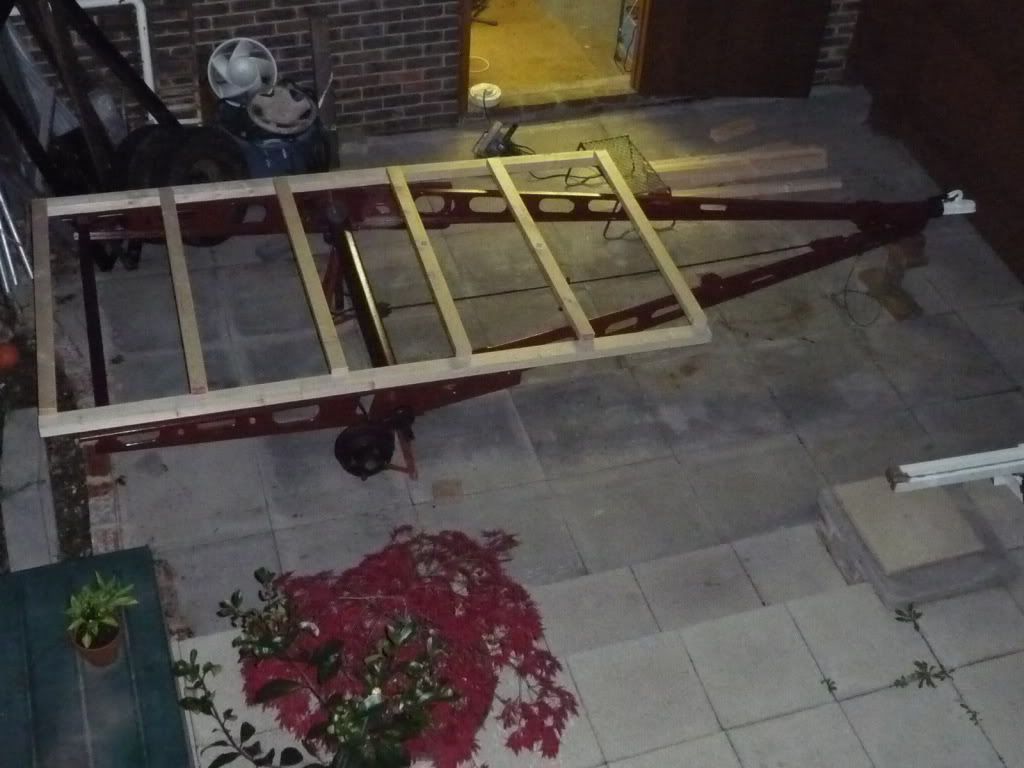
Its great to see your profile drawn / cut out. It's probably the most important part of your build, as your shape is a masive part of what the finished thing will be.
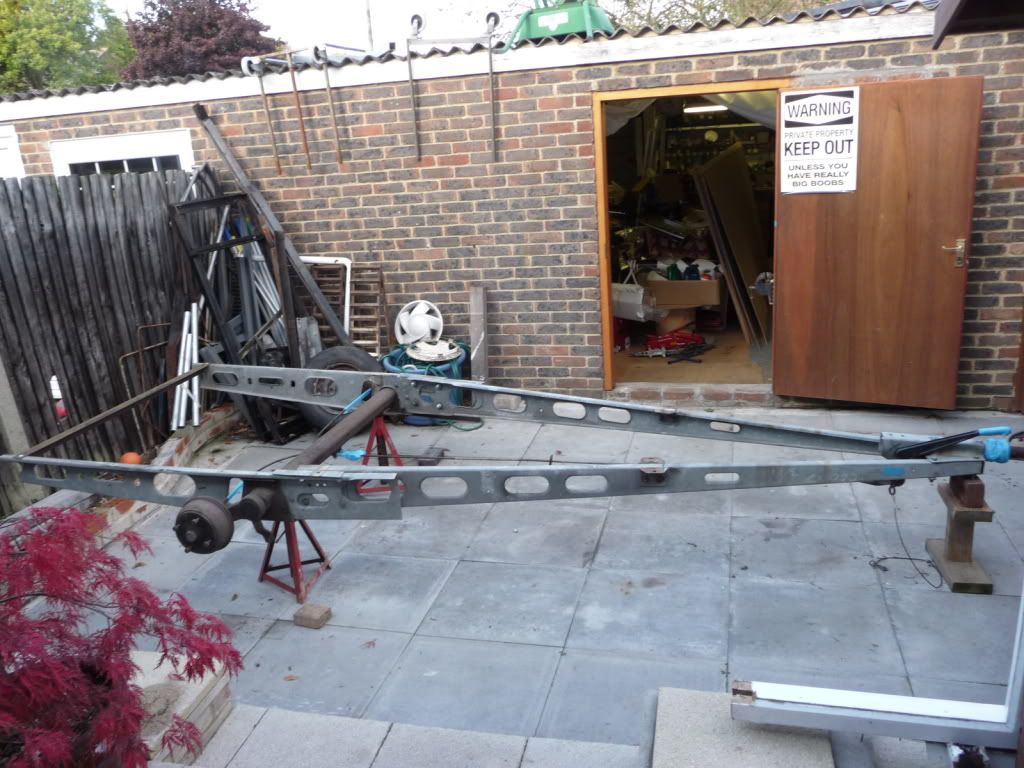
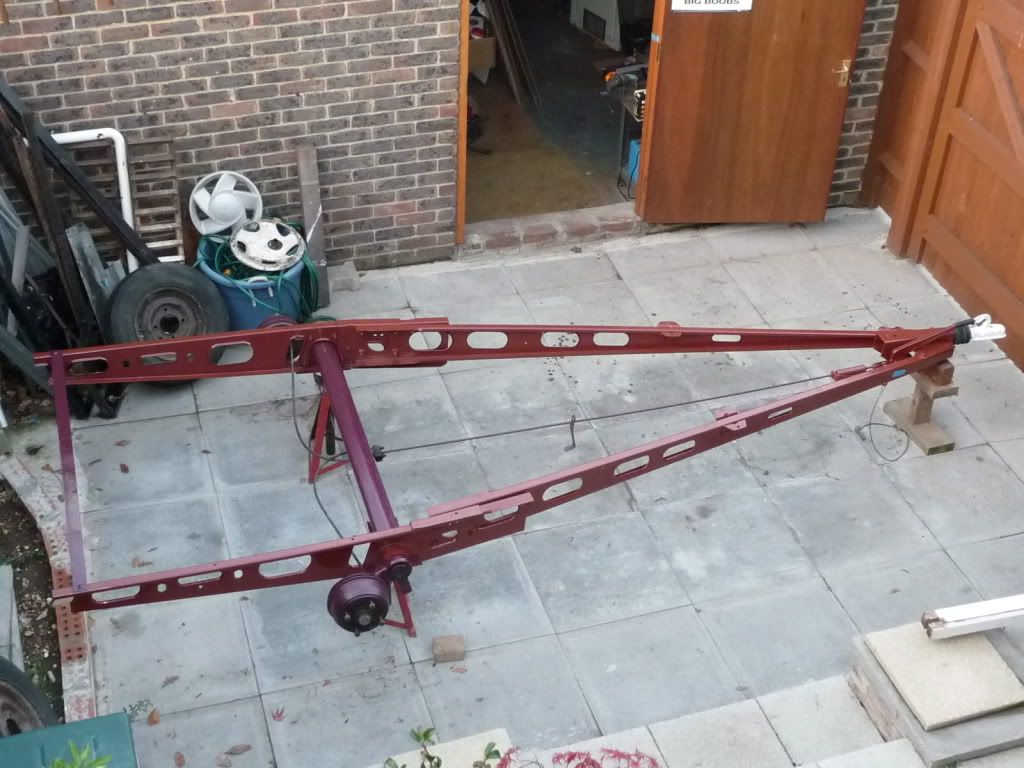
Am I right in thinking the chassis is a close match to the transit now?
Grear progress mate
Keep up the good work
Dave
 No Dave, Ideally I wanted the chassis black, may still do it in black once the build is complete. However, beng galvanised, there is no need for paint, it just looks better IMO. The brown and purple colours were just really cheap on sale, £1.50 and £2.50 for the tins, as opposed to the usual £10/tin. I am not averse to bargain purchases, and Hammerite cheap is a bargain in my book.

![]() by grizz » Tue Oct 13, 2009 1:52 pm
by grizz » Tue Oct 13, 2009 1:52 pm
![]() by grizz » Thu Oct 15, 2009 11:39 am
by grizz » Thu Oct 15, 2009 11:39 am
![]() by toypusher » Thu Oct 15, 2009 12:57 pm
by toypusher » Thu Oct 15, 2009 12:57 pm
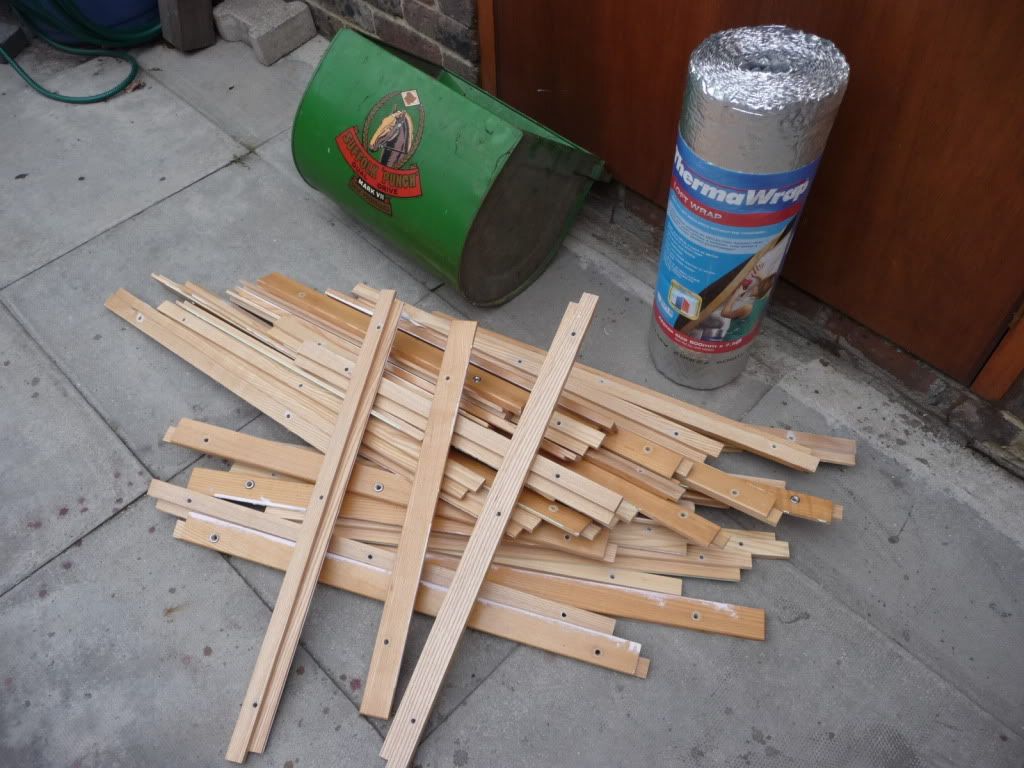
grizz wrote:Next up my mate who I found the trailer tent for at the weekend, gave me a roll of loft insulation, oppinions on the quality of this versus Polystyrene sheeting invited. Silver bubble wrap.

![]() by Ageless » Thu Oct 15, 2009 1:02 pm
by Ageless » Thu Oct 15, 2009 1:02 pm

![]() by angib » Thu Oct 15, 2009 6:04 pm
by angib » Thu Oct 15, 2009 6:04 pm


![]() by Juneaudave » Thu Oct 15, 2009 6:35 pm
by Juneaudave » Thu Oct 15, 2009 6:35 pm

![]() by grizz » Thu Oct 15, 2009 10:58 pm
by grizz » Thu Oct 15, 2009 10:58 pm
Juneaudave wrote:Ya gotta hand it to Griz...that grass catcher bin screams tongue box...I can hardly wait fo see what walks through the door next!!!
![]() by grizz » Sat Oct 17, 2009 3:29 pm
by grizz » Sat Oct 17, 2009 3:29 pm
![]() by 2fry » Sun Oct 18, 2009 3:56 am
by 2fry » Sun Oct 18, 2009 3:56 am


![]() by grizz » Sun Oct 18, 2009 10:43 am
by grizz » Sun Oct 18, 2009 10:43 am
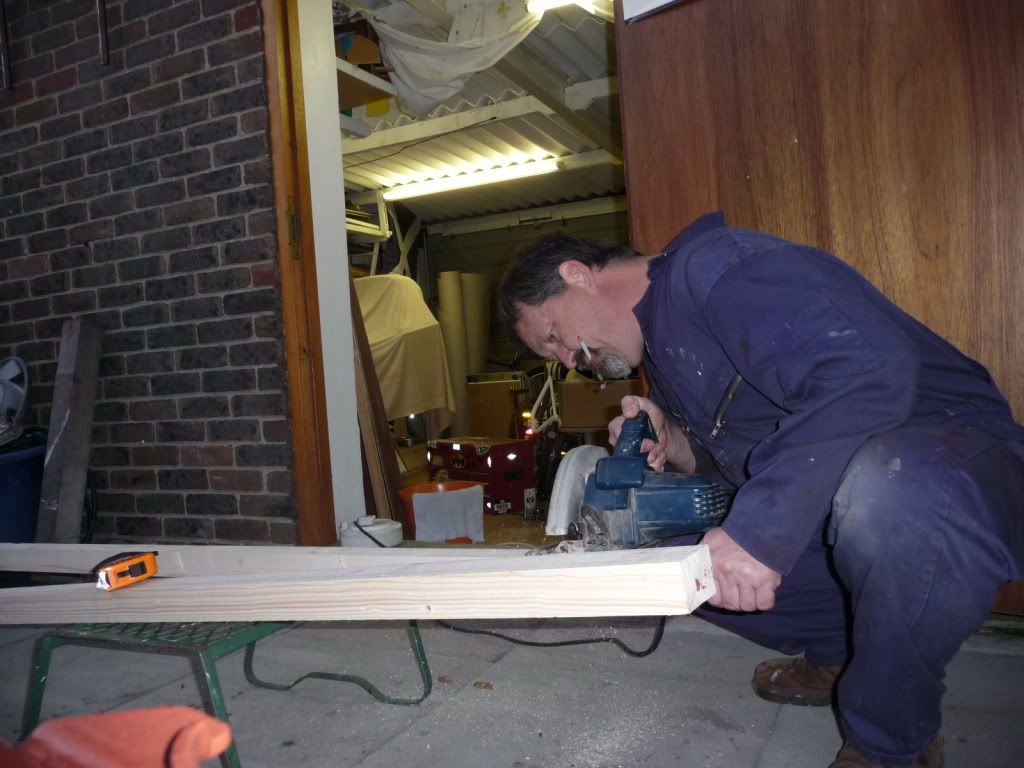
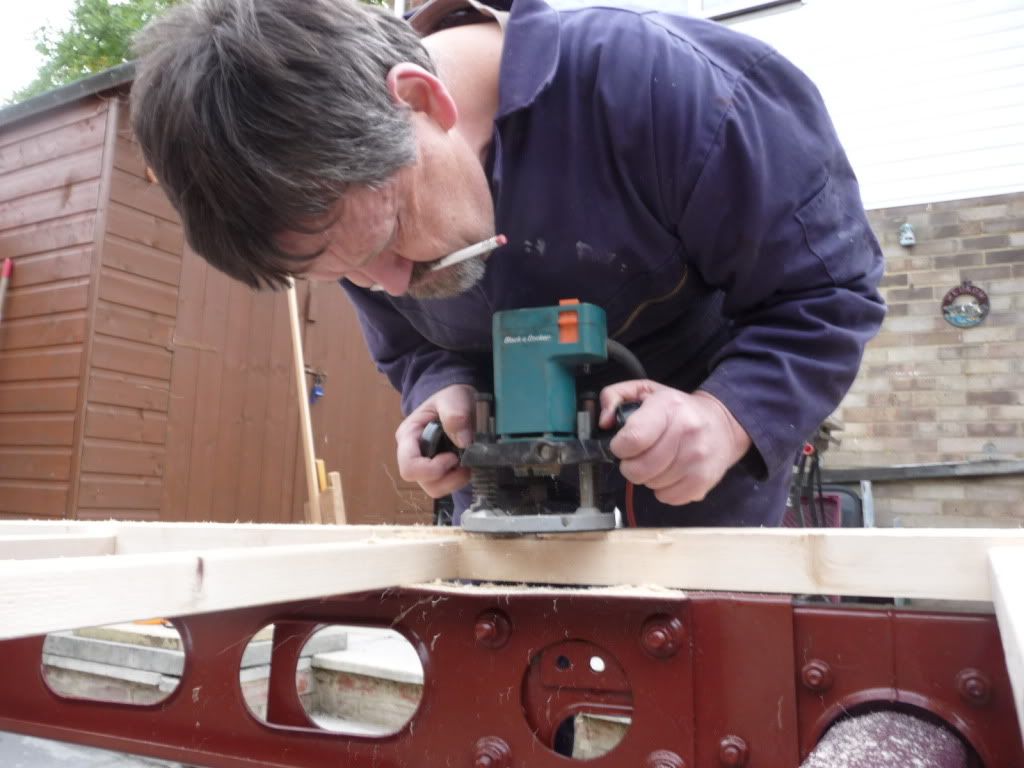
2fry wrote:Just out of interest,have you lost your right ear,as it is the most common place to hold your pencil.
I can't wait to see your profile cut and in place.
What width are you going to make it.
Graeme(aka 2fry)
Users browsing this forum: No registered users and 44 guests
