Grizz-Pod Teardrop Trailer - New tow truck - 66 Chevy

...ask your questions in the appropriate forums BUT document your build here...preferably in a single thread...dates for updates, are appreciated....

Postby grizz » Thu Oct 01, 2009 2:25 pm

Miriam C. wrote::thumbsup: :applause: Nice load of stuff you are getting for almost nothing. :thumbsup: A suggestion/request, it would help with the reading if you could make pictures about 650 instead of 800+. The pictures force the edges of the page out and those of us with small screens are scrolling to read...... :oops:

Enjoy the build. We used roofing tar on the bottom and epoxy on the edges of the ply. Even a few coats of varnish will help. As for the part that goes to the frame I glued mine and screwed it so the glue acts to keep the water out.


:oops: :oops: :oops: :oops: :oops: :oops:


Hallo Miriam, I am sorry, but you would have to explain all of that. 600 and 800 stuff.

I tend to write the daily/weekly post updates on Retro Rides in my thread there, and then copy and paste here and onto Tearjerkers . What I get with the pics is what Photobucket gives me once I have uploaded.

I will ask my mate Dirk who did the photoshoot of the bus last weekend how to make the pics smaller, as I know how frustrated I get when some threads have wide text.
And I do have a habit of jabbering on a bit, writing too much. (basically to explain stuff for people who know as little as me)
Greetings from England.

Rian.


Hoping to get it all done in time.
User avatar
grizz
1000 Club
1000 Club
 
Posts: 1210
Images: 29
Joined: Mon Sep 21, 2009 2:37 pm
Location: Rochester, Kent, UK

Postby grizz » Thu Oct 01, 2009 2:26 pm

Messed about with mocking up the chassis now that it is in 2 parts.

Will measure 3 x and cut once, I hope.

The interesting thing is to calculate the whole thing with the Axle being a trailing axle.
Where does the pivotal force work, and also where is the weight going to end up when the galley is in with all its bits ??

Anyway, bits of brick and timber to hold it all in place, and a prayer or two while I started mocking up the floor timbers.

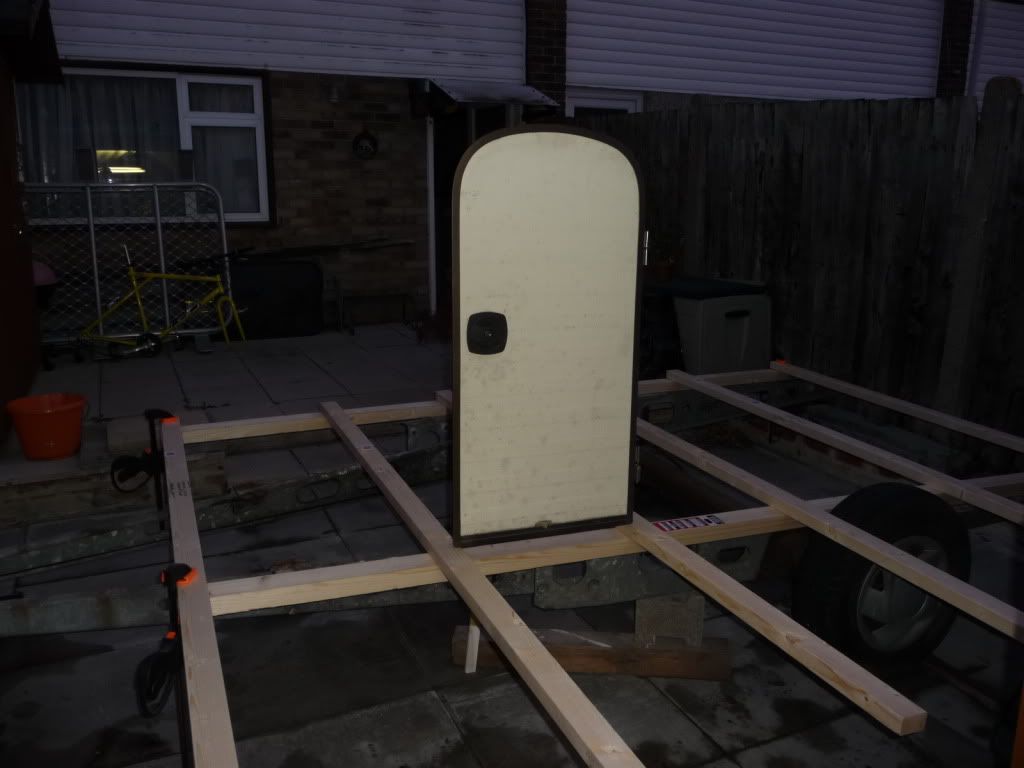
I also had to play with the door we bought last week, just to get an idea of where to locate it etc.

Nicola once told me she made a very good banana cake (Something I am particularly fond of) last night she went to visit a friend, and as part of their evening together, they were baking.....

Tonight she came here to pledge her solidarity with theTeardrop build .


Image


I will mount the door above the floor, with a threshold of around 4 inches, to offset the thickness of the mattress we got last week. Mockup gives an idea. I still need to plan in the portholes in front of the door on both sides as well.

Image


Who said I could not have my cake and eat it ?? (Al, the neighbour took pic)

Image
Greetings from England.

Rian.


Hoping to get it all done in time.
User avatar
grizz
1000 Club
1000 Club
 
Posts: 1210
Images: 29
Joined: Mon Sep 21, 2009 2:37 pm
Location: Rochester, Kent, UK

Postby grizz » Thu Oct 01, 2009 2:36 pm

jackdaw wrote:Hi Grizz, I just a thought , next time your at the recyling place , have a look for a louvre door. You would do well to use a hard wood rail to screw your hatch hinge to . A louvre door is just the thing for the job. You should be able to cut the door up , and use the styles either side of the hinge :thumbsup:
You can see the last rafter on the copper top has the same feature

Image

Dave


Hi Dave, thats a great idea, I definitely will do that, as it obviously adds integrity to the structure and also will help that the screws do not pull out at the 3rd weekend away. :cry:
Greetings from England.

Rian.


Hoping to get it all done in time.
User avatar
grizz
1000 Club
1000 Club
 
Posts: 1210
Images: 29
Joined: Mon Sep 21, 2009 2:37 pm
Location: Rochester, Kent, UK
Top

Postby grizz » Fri Oct 02, 2009 2:46 am

I GUESS THIS IS MORE OF A UK QUESTION:

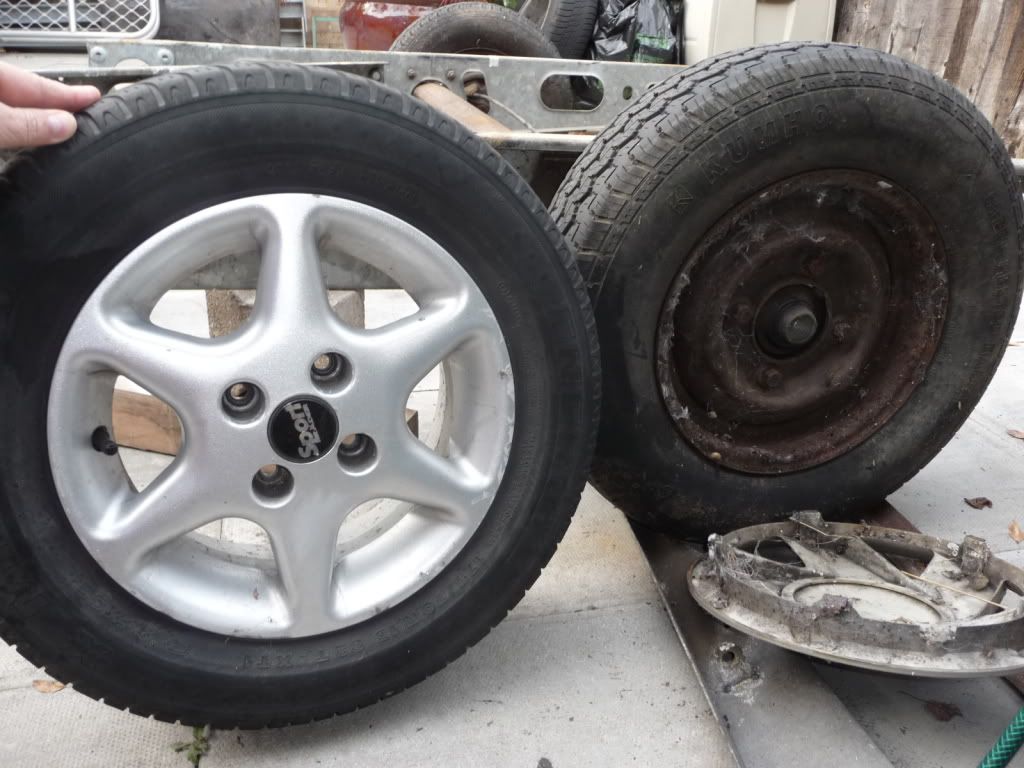
Got the trailer, and the wheels on there are manky, also 13 inch.
Measuring across the hub centre, between 2 nuts gives me 140mm or thereabouts.

It is an AL-KO chassis, and vintage is 1981 according to the chassis plate.

I have been offered by a member on here for a decent price , some adaptors made up to take it away from where it is now, to maybe something a bit more common.

I have a spare set of 4 4x100 5spoke alloys, 2 with very good tyres IIRC, which are 100% bland.


What is out there in 4x140 that may be nicer than what I have ?

I may even contemplate moon discs, nice plastic hubcaps etc in the mean time.

Or what can I do with the bland ones ? Matt/satin black or paint is the only option, the shape does not lend itself to detailed paint application.

Here is a pic of the offending items, and the Blandness. (really not much in the way of redeeming features there)

Image
Greetings from England.

Rian.


Hoping to get it all done in time.
User avatar
grizz
1000 Club
1000 Club
 
Posts: 1210
Images: 29
Joined: Mon Sep 21, 2009 2:37 pm
Location: Rochester, Kent, UK
Top

Postby grizz » Fri Oct 02, 2009 1:54 pm

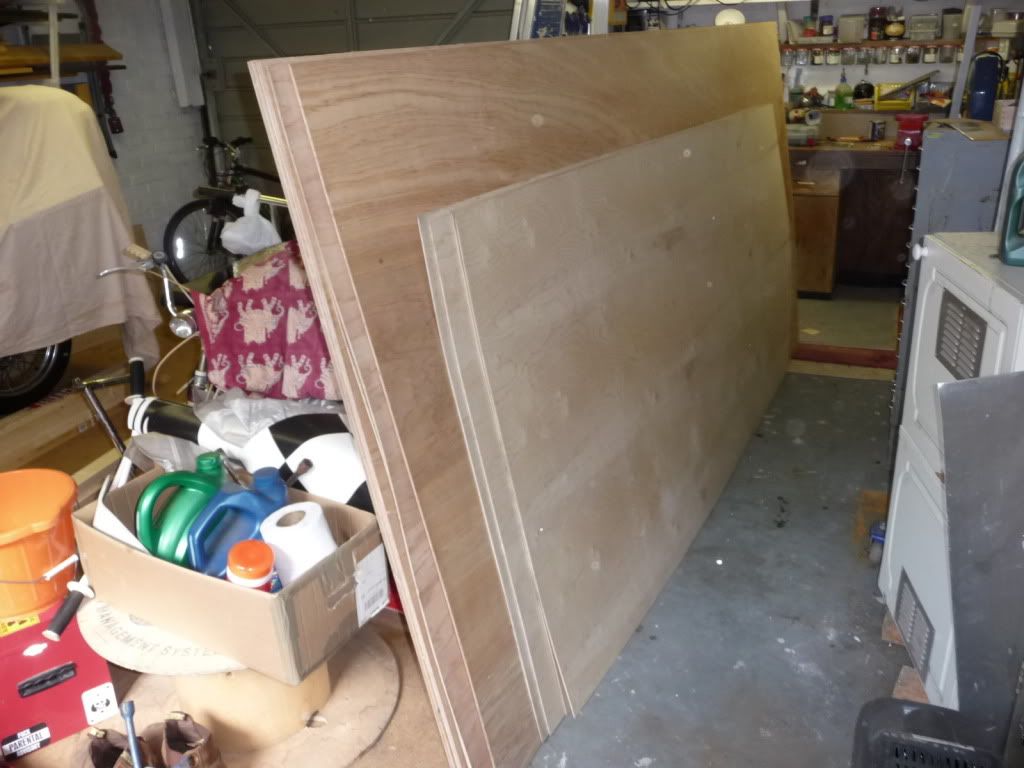
Today I took a day off work to wait for the ply and ally sheets to come.

Inbetween I did loads of other more homely stuff, like cleaning out the kitchen of all the Transit bus' camping gear that made it into the house, rather than into the garage and various boxes and baskets.

The Plywood got here at 11.40am and the ally sheets only got here at about 14.15pm..... so much for waiting about for deliveries.


NOW FOR THE CONFESSION.

I was a bit surprised at the sheer size and weight of the materials I have got in the garage, which will ultimately be the Grizz-Pod.

Thankfully, and amazingly for September, the weather held out and continues to be great.

Pics:

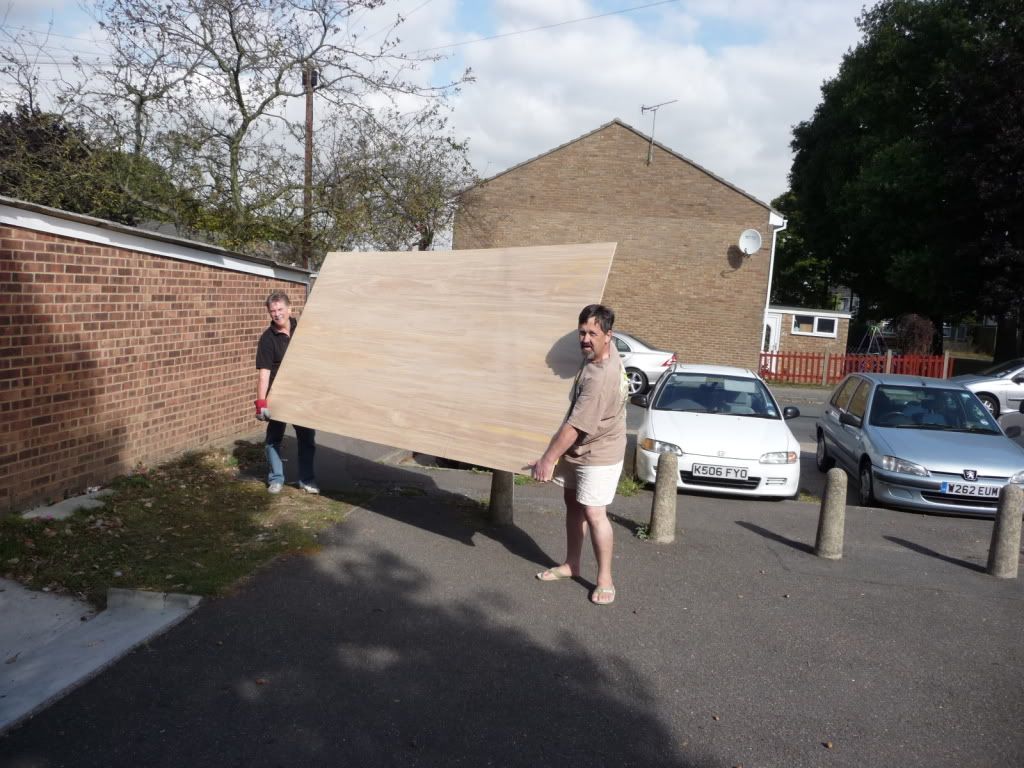
Neighbours son popped in to see his dad, so took the pic for me.

Image

Sheets of ply in the garage, pics with the ally added did not come out so well.
I am going to have to get a spare set of hands to work the 5 x10 sheets till they are up and stable. They are just too much for sensible manipulating, I can move them, but will surely damage them or myself if I try building them.
Birch ply has a lovely colour out in the sun too.

Image


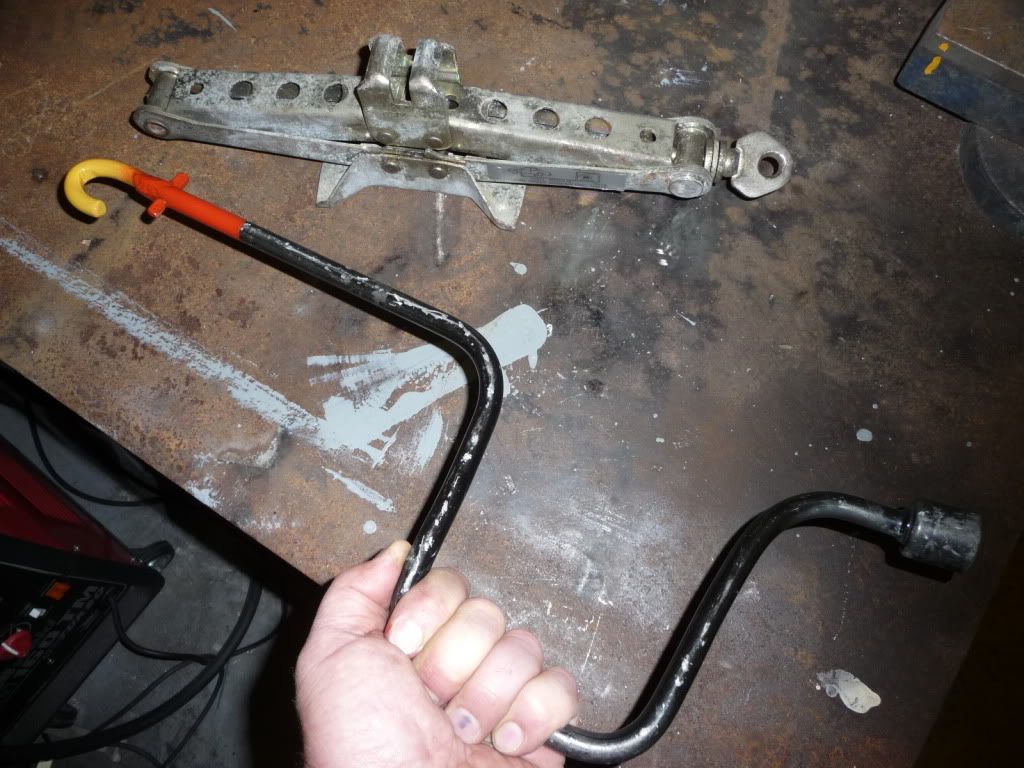
Lastly, just before closing up, I dug out a wheel spanner I found in the street once, and cleaned its tip, bent a piece of 8mm mild steel rod into a hook, cut it, Mig welded and ground back a bit, then gave it a quick once over with the rattle can.

Now I have a spanner for the wind down stabilizers for when the trailer is parked up.

Tomorrow is measure , cut and bolt the tongue together, then I can start building the floor and get the sides measured, drawn and cut.

Image
Greetings from England.

Rian.


Hoping to get it all done in time.
User avatar
grizz
1000 Club
1000 Club
 
Posts: 1210
Images: 29
Joined: Mon Sep 21, 2009 2:37 pm
Location: Rochester, Kent, UK
Top

Postby jackdaw » Sat Oct 03, 2009 2:32 pm

Hi Grizz, How did it go today ???? Did you make some sawdust ?


Dave
User avatar
jackdaw
500 Club
 
Posts: 598
Images: 124
Joined: Fri Feb 22, 2008 2:31 pm
Location: Wltshire, UK
Top

Postby grizz » Sat Oct 03, 2009 3:51 pm

jackdaw wrote:Hi Grizz, How did it go today ???? Did you make some sawdust ?


Dave


Hi Dave, No sawdust,
Not much progress, had Dave here till 9am from Germany, but I did cut the frame and lose about 12 inches in the front, need longer bolts, to add all the bits together, so stopped after I could not get anything decent sized locally.

Plan is to cross brace rear frame rails tomorrow with 45 x45mm angle iron strip in the morning, and then to cut the rear overhang back.
Also called play at 1.45 as we had a wedding to go to this afternoon, got home 8pm.

I see Tearjerkers have been off line the last 24hrs.
Greetings from England.

Rian.


Hoping to get it all done in time.
User avatar
grizz
1000 Club
1000 Club
 
Posts: 1210
Images: 29
Joined: Mon Sep 21, 2009 2:37 pm
Location: Rochester, Kent, UK
Top

Postby jackdaw » Sat Oct 03, 2009 5:28 pm

grizz wrote:
I see Tearjerkers have been off line the last 24hrs.


It's not just me then :roll:

I've stripped out my donor van, and created a workshop to build in :D :D Check it out

Cheers Dave
User avatar
jackdaw
500 Club
 
Posts: 598
Images: 124
Joined: Fri Feb 22, 2008 2:31 pm
Location: Wltshire, UK
Top

Postby grizz » Sun Oct 04, 2009 5:39 am

jackdaw wrote:
grizz wrote:
I see Tearjerkers have been off line the last 24hrs.


It's not just me then :roll:

I've stripped out my donor van, and created a workshop to build in :D :D Check it out

Cheers Dave


Clever move, the workshop.
Greetings from England.

Rian.


Hoping to get it all done in time.
User avatar
grizz
1000 Club
1000 Club
 
Posts: 1210
Images: 29
Joined: Mon Sep 21, 2009 2:37 pm
Location: Rochester, Kent, UK
Top

Postby grizz » Sun Oct 04, 2009 2:08 pm

Remember the lights I bought last weekend ??

Started out like this:

Image

Image

Image

Image

Image

Image

Flatted the surface down with some 800 grit wet and dry to remove any surface scratches and the lettering that cluttered them up then followed that up with some 1500 to smooth off . Once everything was nice and smooth gave then a generous coat of G6 and polished them with the polishing mop .


Well, after Mark's contribution to this build, my weekend pales into insignificance.

Anyway,

Here is what I got up to.

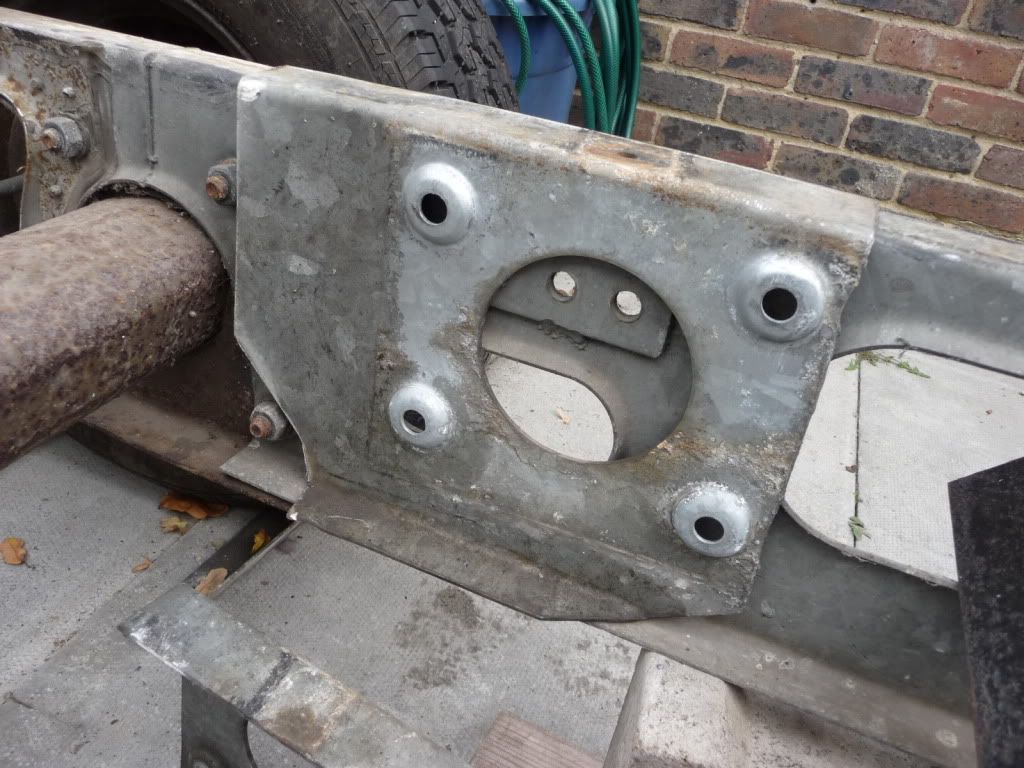
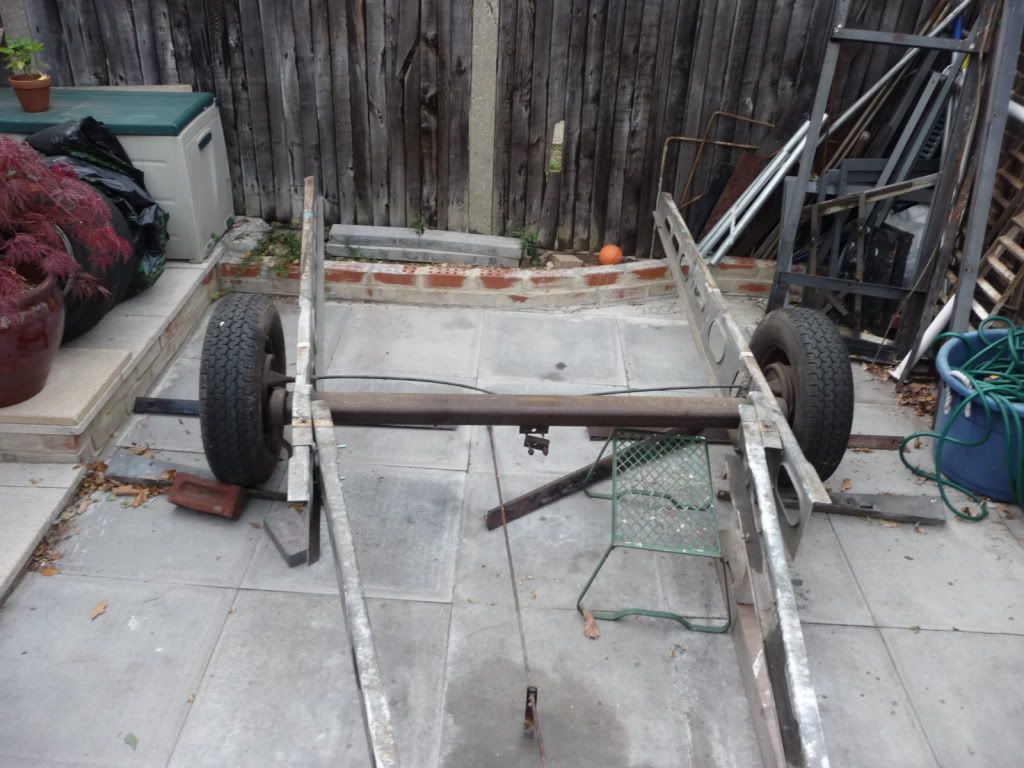
Cut the A-Frame/Tongue and redrilled the holes further back on the chassis and remounted, you will see in some of the pics, the width of the difference between the chassis and the A-Frame, probably 20' on each side.
I started by bracing the rear end of the chassis which was warped anyway, and pulled it in to make it 59 inches (under 1.5m) as the whole build is driven by the 1.5m ally sheets for the roof.

I then cut the excess off - Chuffed at this.

I then had to coax the two sides together, first using long bolts to just draw it all together, then undo one at a time and replace the bolts with shorter ones, while holding it all in place with a couple of G-Clamps.

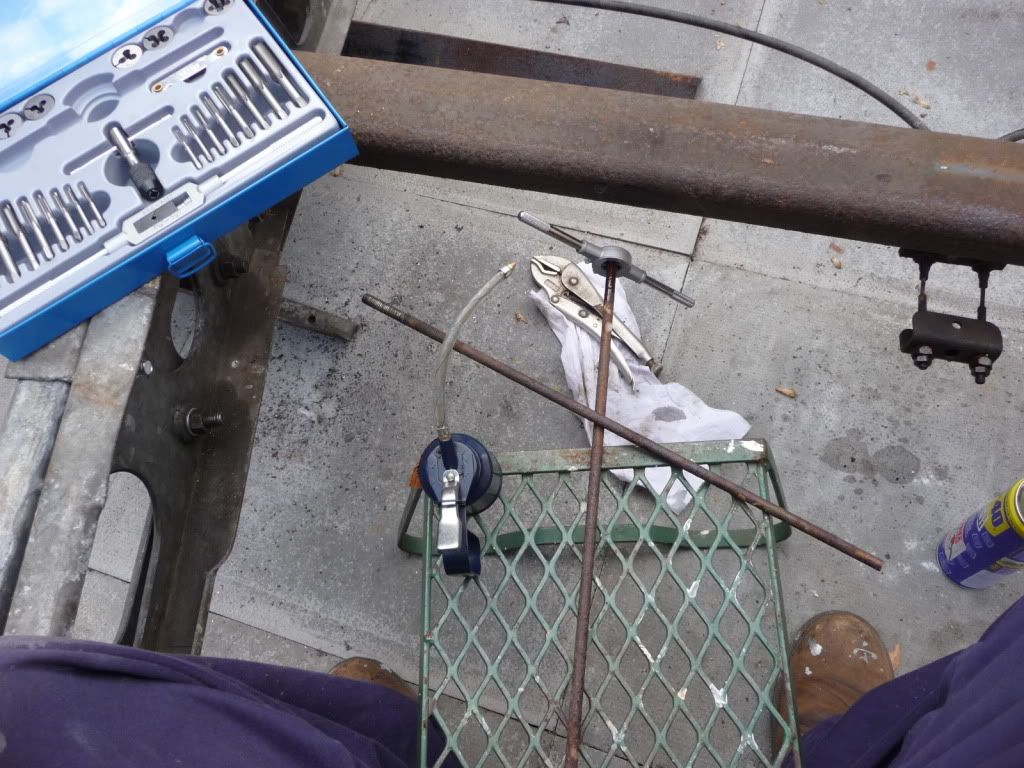
Once the lot was done, my next task was to shorten the brake rod, as it was now 18" too long. I also decided not to shorten the A-Frame, as it leaves space for gas bottles or even a "shopper bike" up front.

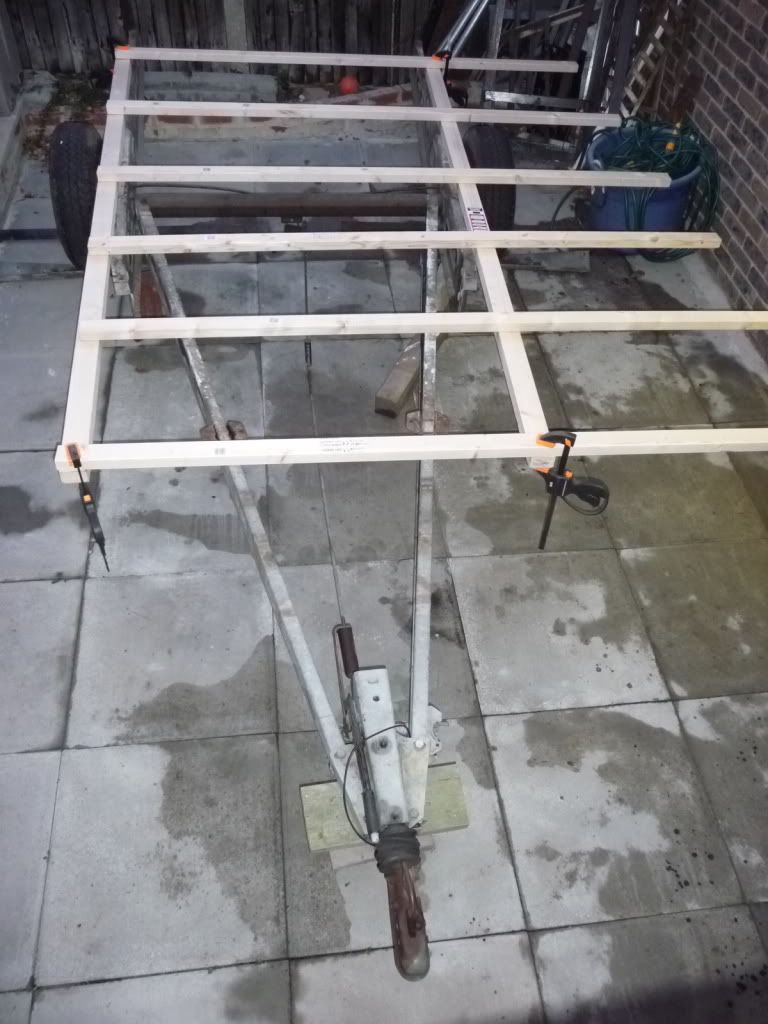
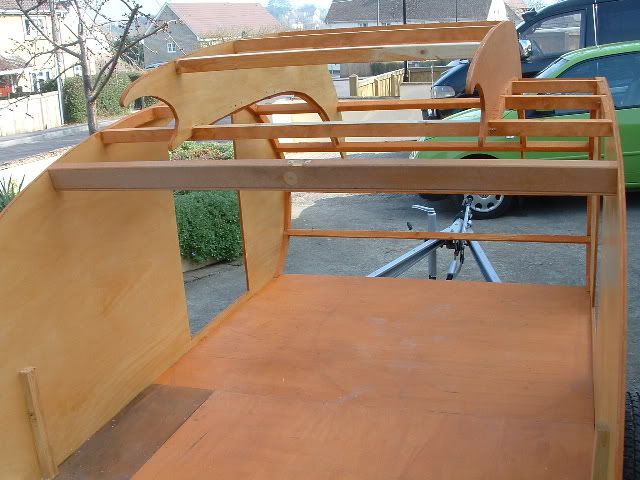
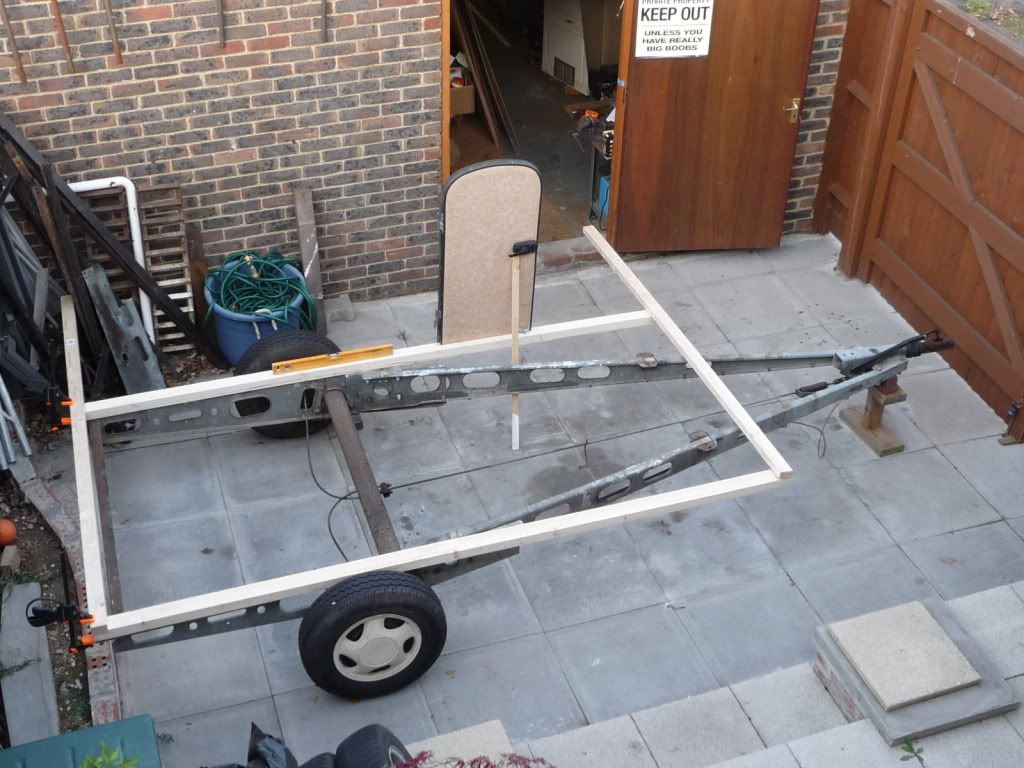
That all done, I brought out the timber and mocked up the cabin on the chassis. I will start building the floor soon. Bought some 120mm self drilling woodscrews today, £15.95 a box of either 50 or 100, mad I know, but suspect they will make life easier, which I do need.

CUT !!!
Image

Will go here to move A-Frame back.

Image

Note the mal-allignment, much tightening to do.
Image

Brake rod cut and new thread being cut, seems I lost about 18" in the shortening of the chassis.
Image

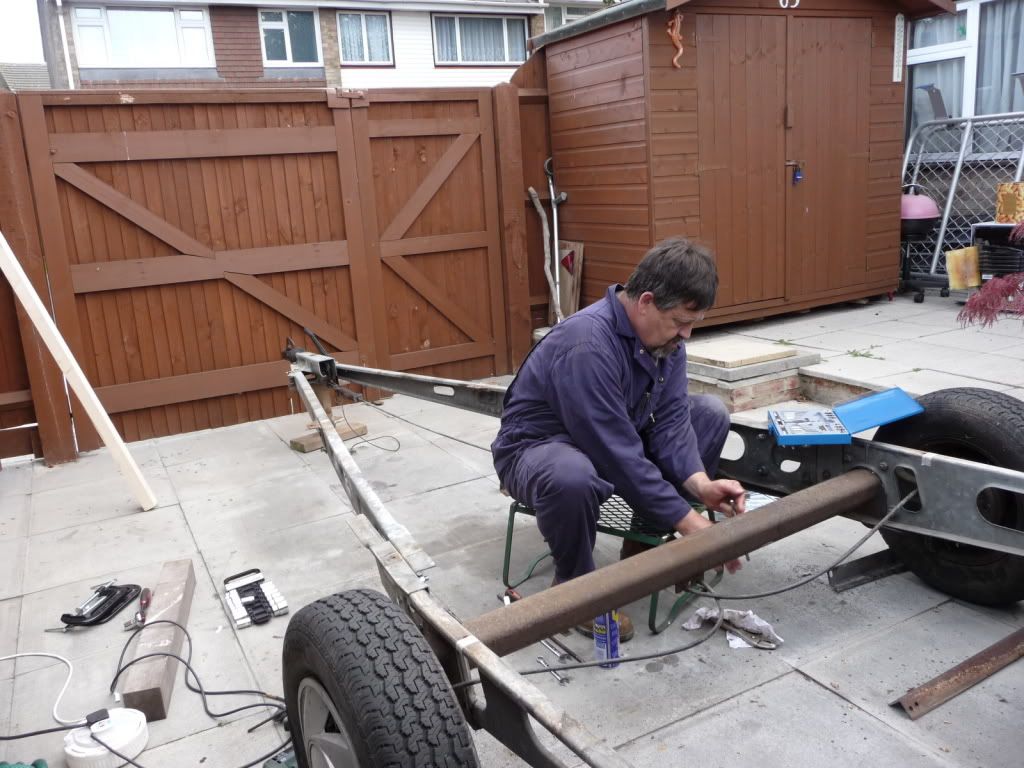
Self portrait, thank goodness for timers on cameras.
Image

Mock up for floor on shortened chassis.

May still regret position, as the chassis is a heavy jolly pain in the backside.
Image


LASTLY:

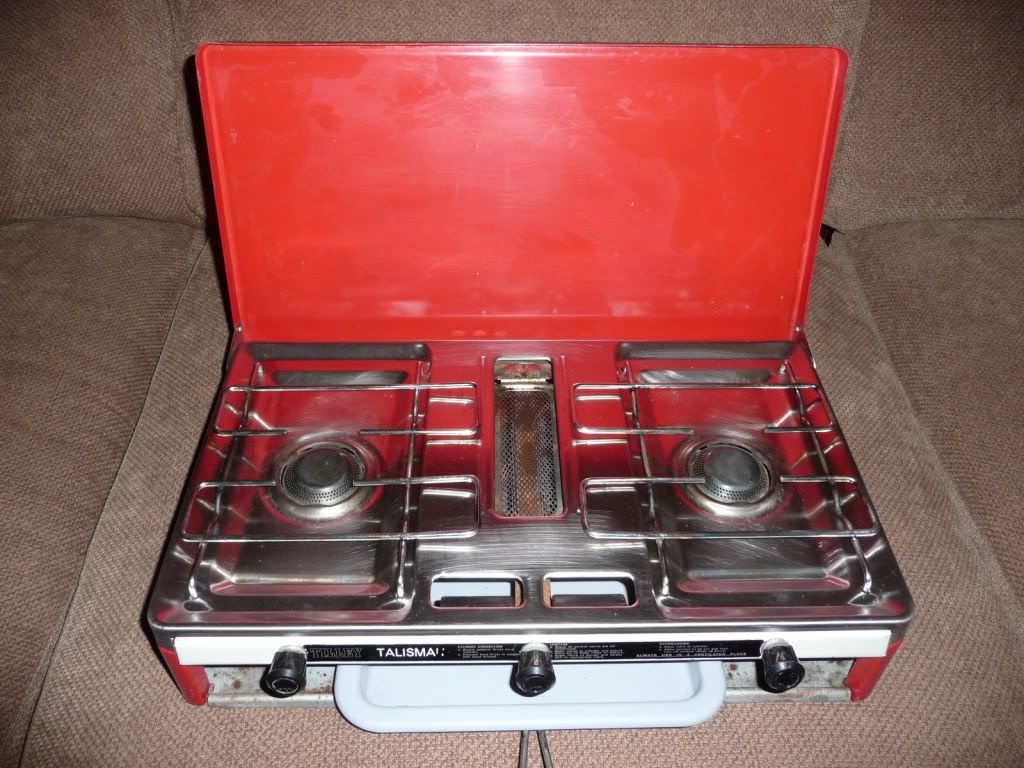
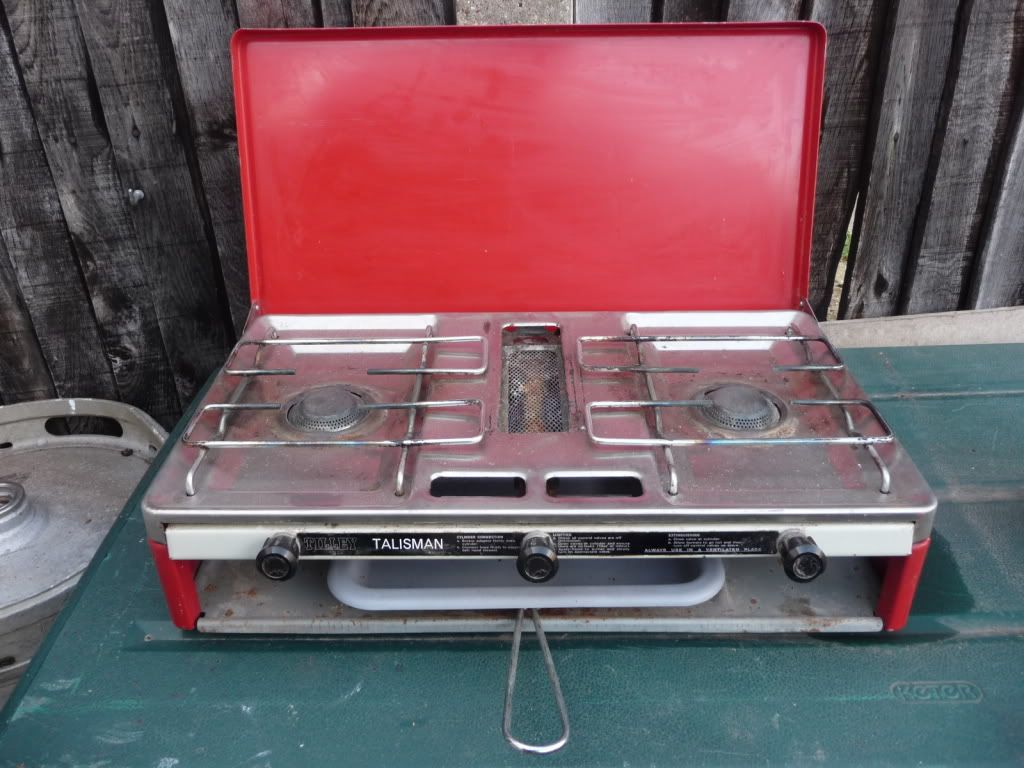
Nicola and I went to a "Bootfair" today, got loads of stuff, including this little stove for £1, that is not much more than $1 , Bargain I would say, if it works.

I have another lovely top quality cooker, and the cooker sink that Oldbus brought me, but this may be the one as it is slimline.
Image


AFTER an hours worth of cleaning.

Image

Thats all for today....

Next step is to draw the side profile up, then transfer to the ply, and cut and sand, then mount.
Last edited by grizz on Tue Oct 06, 2009 2:24 pm, edited 1 time in total.
Greetings from England.

Rian.


Hoping to get it all done in time.
User avatar
grizz
1000 Club
1000 Club
 
Posts: 1210
Images: 29
Joined: Mon Sep 21, 2009 2:37 pm
Location: Rochester, Kent, UK
Top

Postby grizz » Mon Oct 05, 2009 1:56 pm

RIGHT....

Mike did some photoshops on the Peugeot wheels I am watching, they fit straight onto the hubs, even though I ultimately want Radars on there to go with the bus wheels.

What do you think ??

White backgrounds.
Image

Image

Imagine the thin spokes polished or diamond cut.

Image

Both Mike's and my favourite.... green.

Image
Greetings from England.

Rian.


Hoping to get it all done in time.
User avatar
grizz
1000 Club
1000 Club
 
Posts: 1210
Images: 29
Joined: Mon Sep 21, 2009 2:37 pm
Location: Rochester, Kent, UK
Top

Postby grizz » Mon Oct 05, 2009 5:26 pm

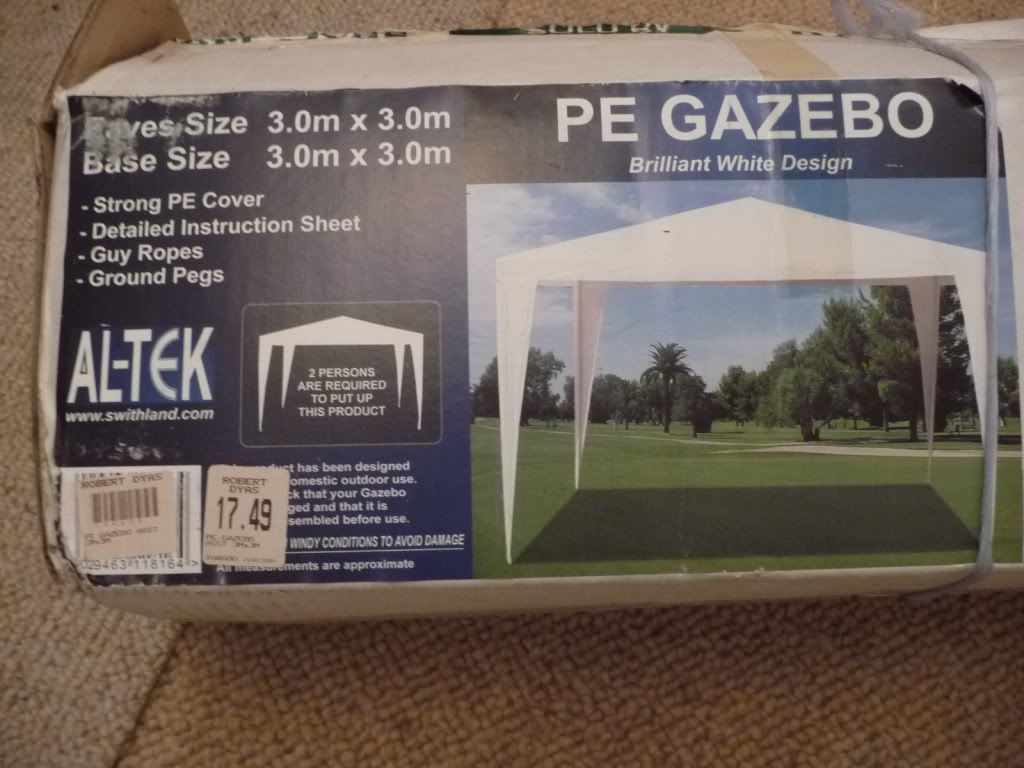
OK, so today I got given that Gazebo, 3x3m will make a huge difference, will put it up over the weekend.

Image

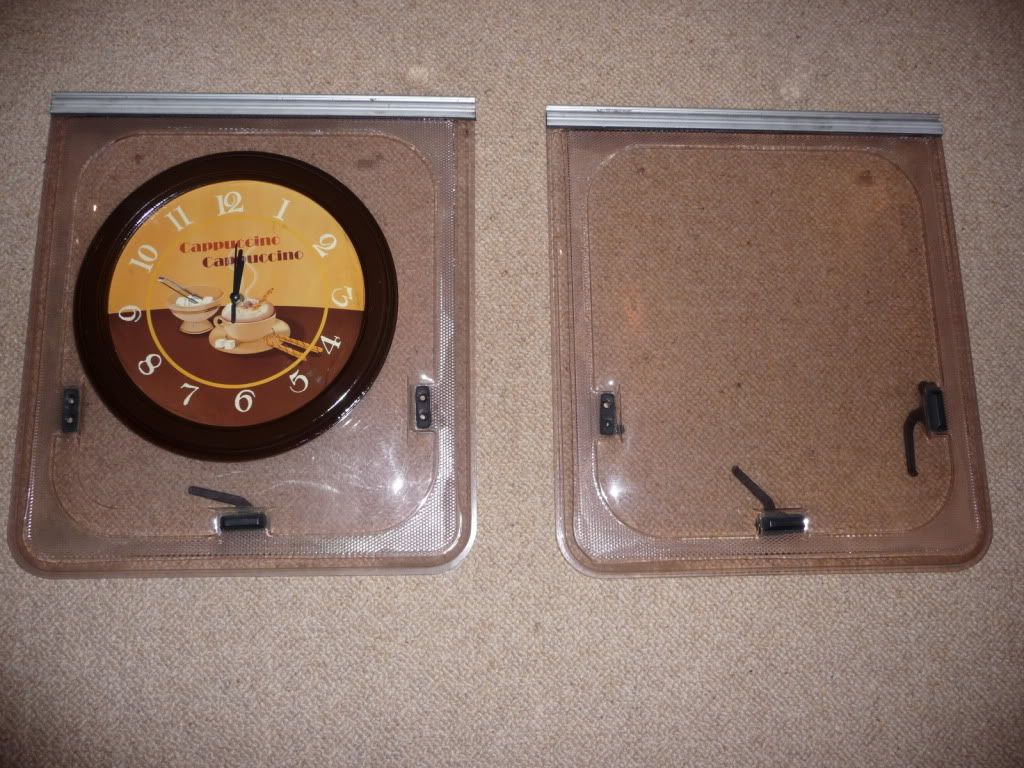
Nicola and I had today off as well, and there were a few options. 1.) London by train and do some museums. 2.) Take the Ford Anglia 100E down to Whitstable and Canterbury for a picnic. 3.) What we did as it was raining this morning....... Go to Essex, into the caravan breakers yard for 2 double glazed caravan windows, and then to Lakeside for a browse through IKEA and lunch of Meatballs and chips with unlimited coffee, followed by more girly walking about in the shopping centre, and homeward by 6pm or later.

I am pleased to say, Option 3 won the day due to the rain.

I paid £40 for a pair of very good condition double glazed caravan windows in acrylic with a slight tint.
While shopping in a place called "WHAT ! "I found some wall clocks for £1 each, with 12 inch raised wooden frames, perfect for portholes I thought and bought 4 which will get stripped and used on the outside and inside of the Teardrop, with the windows being built into the walls... make sense ??

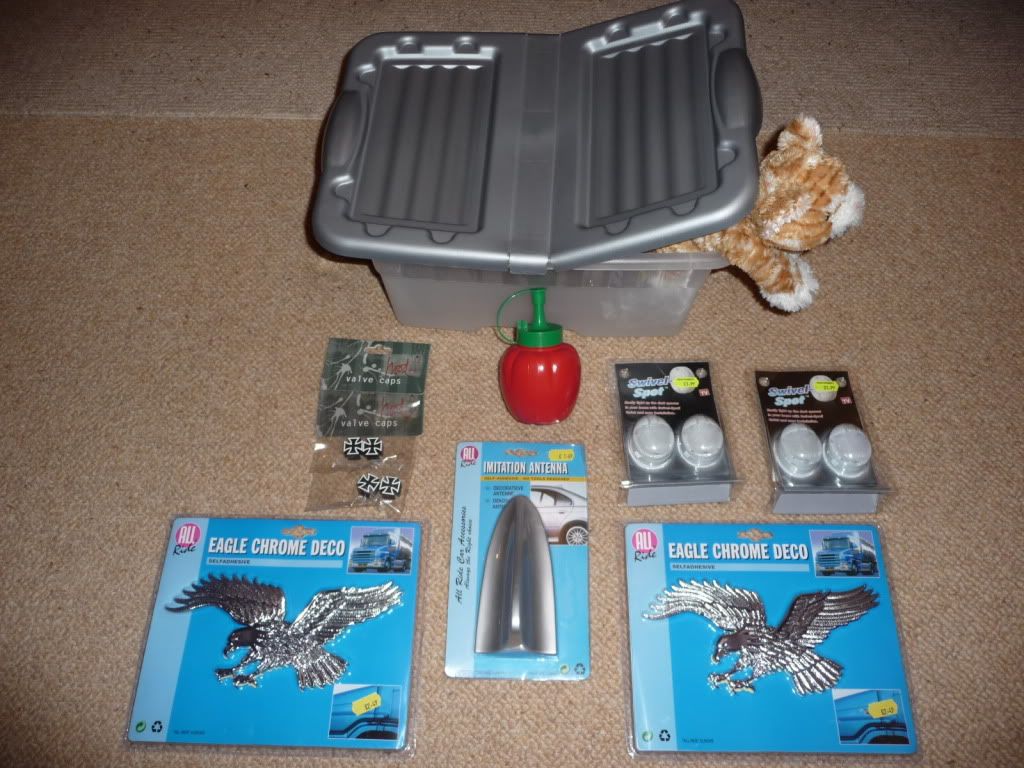
While in the shop I found some more cheap and tacky stuff, note the chromed eagles, good for the sides of the trailer, or even the rear. A Shark type aerial. Two sets of small wall mount/bulkhead pivotal lights for the interior, which run off batteries. Nicola also found a very perfectly tacky tomato sauce or is it ketchup, bottle. She found some storage bins with flip up lids that are 12 inches wide for £1 each at Wilkinsons, to go on the shelf in the galley. (NOTE: All or none of the tacky stuff may make it onto the trailer. )

Lastly, I found some more Maltese Cross valve caps, to replace the one stolen of the bus recently, and a spare set for the wheels on the trailer.


Image


Image

Treasures, tacky or not.

Image
Greetings from England.

Rian.


Hoping to get it all done in time.
User avatar
grizz
1000 Club
1000 Club
 
Posts: 1210
Images: 29
Joined: Mon Sep 21, 2009 2:37 pm
Location: Rochester, Kent, UK
Top

Postby grizz » Fri Oct 09, 2009 2:42 am

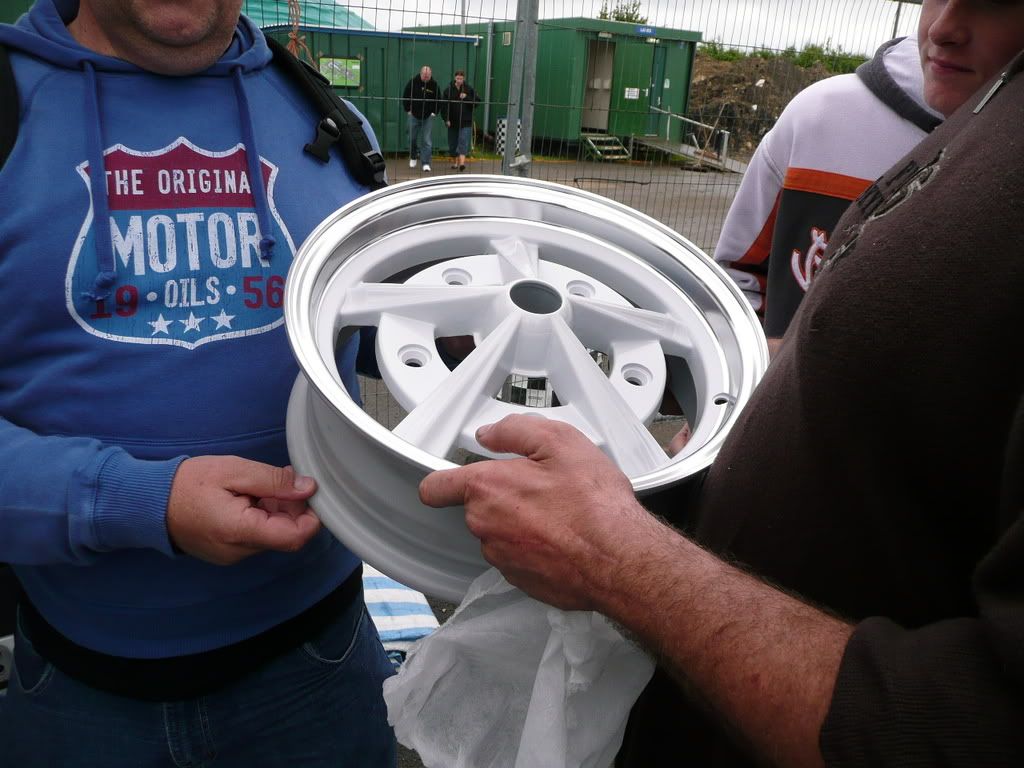
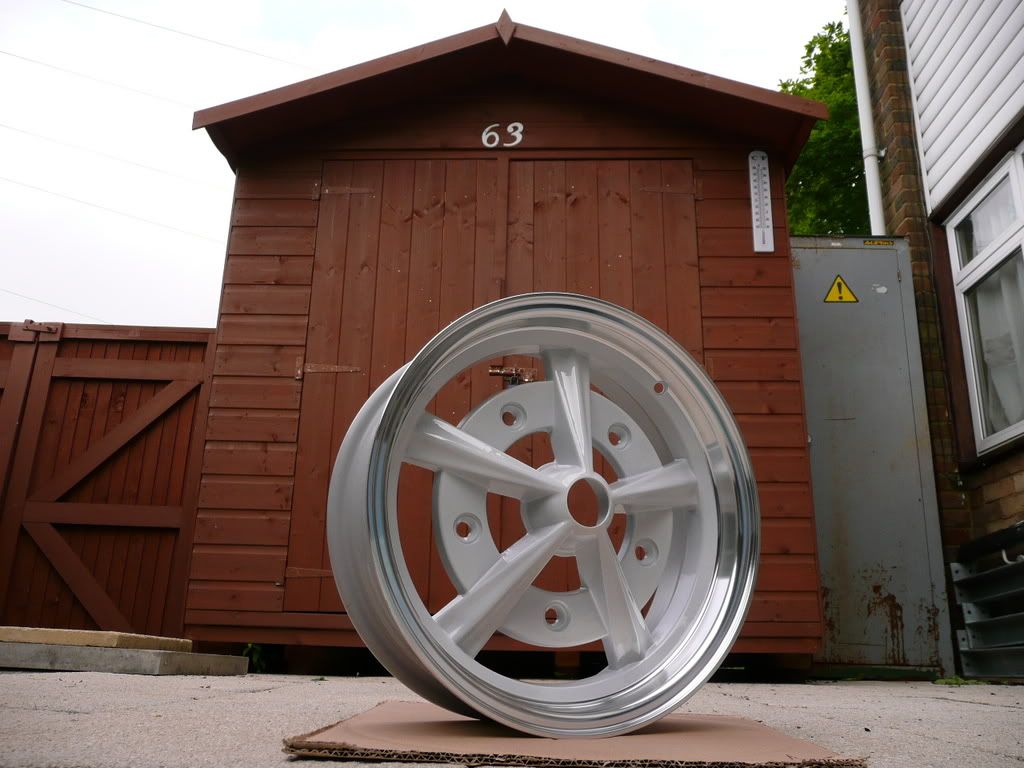
Ultimately decided to walk away from that wheel, and have a guy down in Wales make me a pair of wheel adaptors for the Caravan hubs, which will be fitted with another set of Radar wheel, so that they match the bus.
It is more costly, but the look will just be so much more complete.

Hope you guys agree.

Wheels I will be buying when Midland Wheels do a production run of White again. Not their most popular choice for sales.... which is part of the reason I went with the white rather than a polished or chromed wheel.

Image


Image
Greetings from England.

Rian.


Hoping to get it all done in time.
User avatar
grizz
1000 Club
1000 Club
 
Posts: 1210
Images: 29
Joined: Mon Sep 21, 2009 2:37 pm
Location: Rochester, Kent, UK
Top

Postby jackdaw » Fri Oct 09, 2009 4:10 am

Good move Grizz.
They are going to look great fella :thumbsup: :thumbsup:
User avatar
jackdaw
500 Club
 
Posts: 598
Images: 124
Joined: Fri Feb 22, 2008 2:31 pm
Location: Wltshire, UK
Top

Postby Juneaudave » Fri Oct 09, 2009 8:05 am

I have to agree....those wheels will work nicely!!!! :thumbsup:
User avatar
Juneaudave
Super Duper Lifetime Member
 
Posts: 3237
Images: 380
Joined: Sun Jul 03, 2005 12:11 pm
Location: Juneau, Alaska
Top

PreviousNext

Return to Build Journals

Who is online

Users browsing this forum: No registered users and 27 guests