Hi All! I am back for another build. This will be number three.
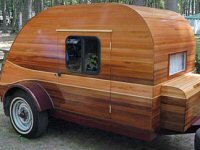
I have chosen to do another Puffin Clone (6'4" x 8') with a Full Size Bed, Drop Floor and Porta-Potty Closet. I decided to do another because of the e-mails I am still receiving from the first one I sold a year ago on e-bay. This will be a fast build from the notes I have from the first.
Let the fun begin! I will take lots of pics but will only doc the high points. If there is something you would like to see, let me know and I will try to get that too!
Teardrops n Tiny Travel Trailersor t n ttt for short (tnttt.com) |
Standie! or Another Puffin Clone
63 posts
• Page 1 of 5 • 1, 2, 3, 4, 5
Standie! or Another Puffin Clone
![]() by shopfabricator » Fri Oct 30, 2009 7:47 am
by shopfabricator » Fri Oct 30, 2009 7:47 am
...materials can no longer be purchaced at quite those prices mentioned here!
-

shopfabricator - Donating Member
- Posts: 189
- Images: 138
- Joined: Fri Aug 24, 2007 9:51 pm
- Location: Mooresville, NC
![]() by shopfabricator » Fri Oct 30, 2009 10:16 am
by shopfabricator » Fri Oct 30, 2009 10:16 am
Waitin for a little glue to set so I will take this time to get caught up to present.
I have done All the shopping for the build. Still need to get a mattress, but that can wait.
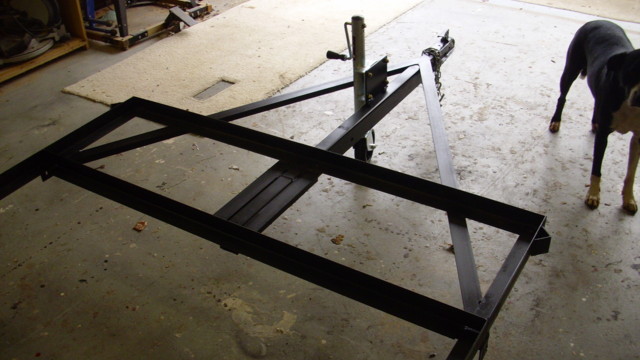
I'm using the NT 5x8 no floor again.
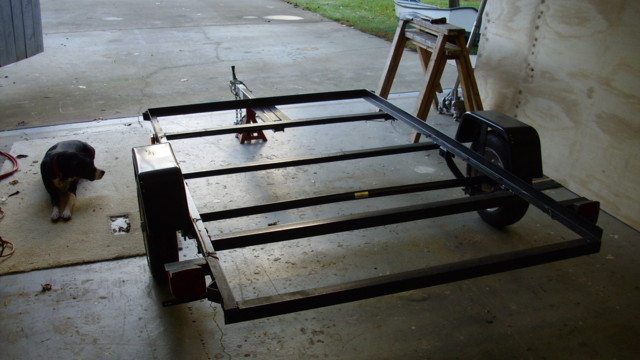
While a NT I also picked up the trailer jack, the paint to finish the ext. and a 100' extension cord for the elec. $487.43
Finished the Trailer Modification.
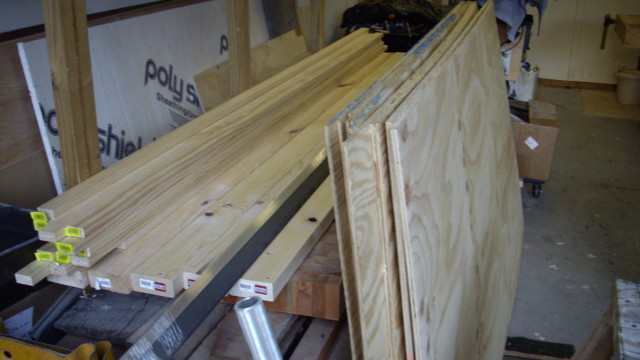
Plywood and 1 by from the Big Blue Store. $236.53
Air Conditioner and Frig from Sears. $237.87
Epoxy US Composites $75.00
Windows from local truck cap co. $183.14
Steel Angle and Trim Alum $31.79
Elec Supplies, Stains, Poly, Glue ect. $193.16
Total so far; $1444.92
I have done All the shopping for the build. Still need to get a mattress, but that can wait.
I'm using the NT 5x8 no floor again.
While a NT I also picked up the trailer jack, the paint to finish the ext. and a 100' extension cord for the elec. $487.43
Finished the Trailer Modification.
Plywood and 1 by from the Big Blue Store. $236.53
Air Conditioner and Frig from Sears. $237.87
Epoxy US Composites $75.00
Windows from local truck cap co. $183.14
Steel Angle and Trim Alum $31.79
Elec Supplies, Stains, Poly, Glue ect. $193.16
Total so far; $1444.92
...materials can no longer be purchaced at quite those prices mentioned here!
-
shopfabricator - Donating Member
- Posts: 189
- Images: 138
- Joined: Fri Aug 24, 2007 9:51 pm
- Location: Mooresville, NC