
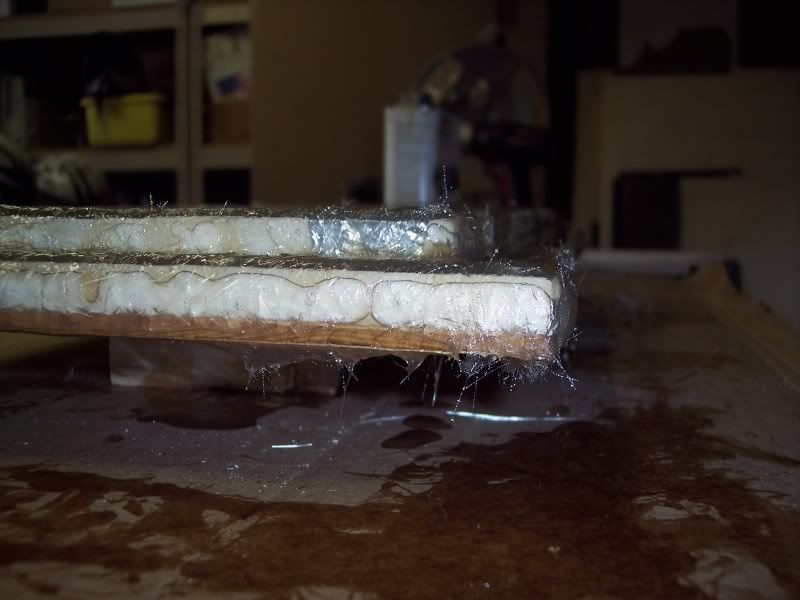
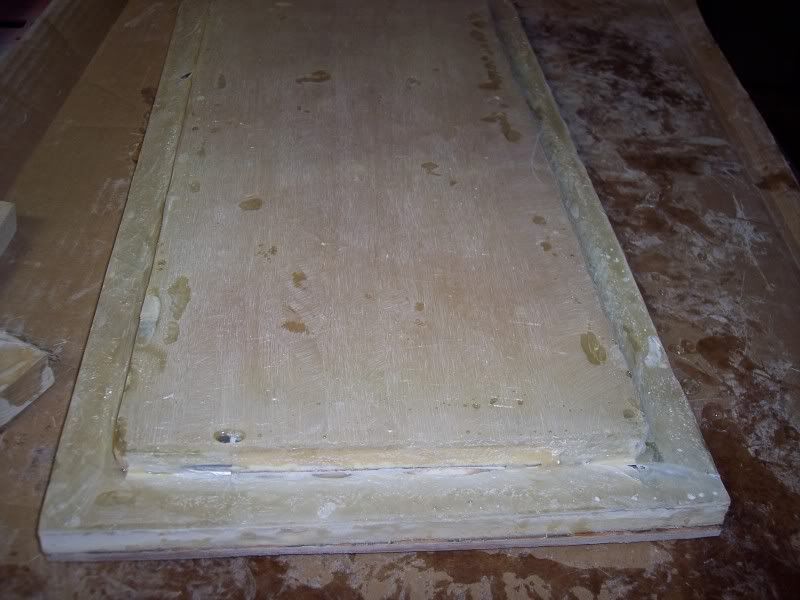
 Fiberglassed roof skin joint
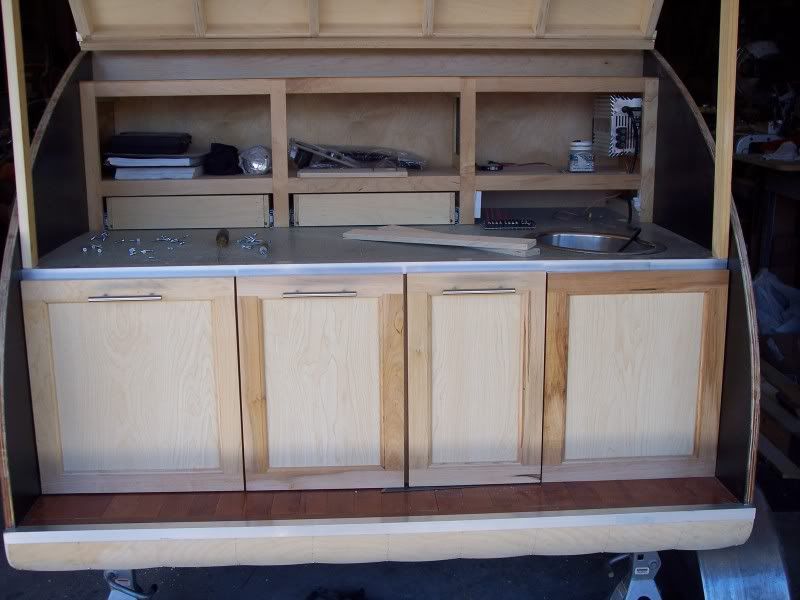
 Inner wheel well framing. I haven't decided if the top will be maple or corian...
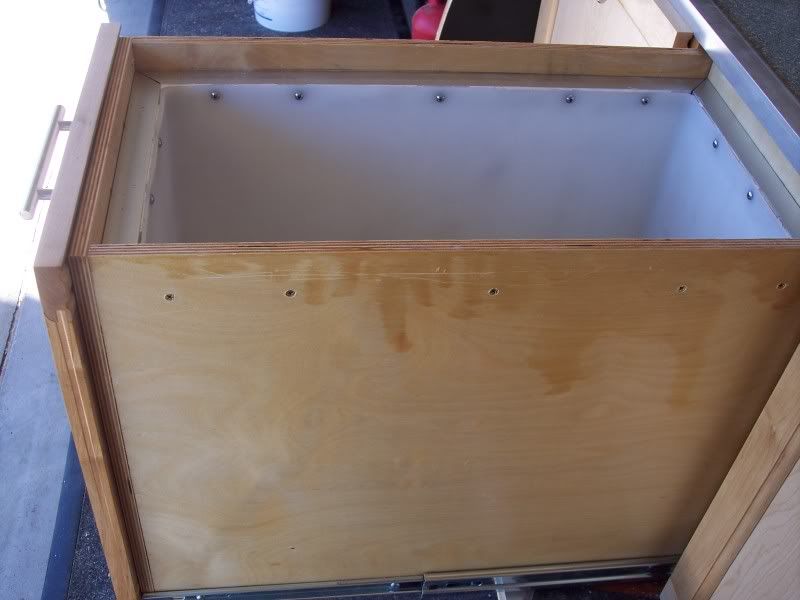
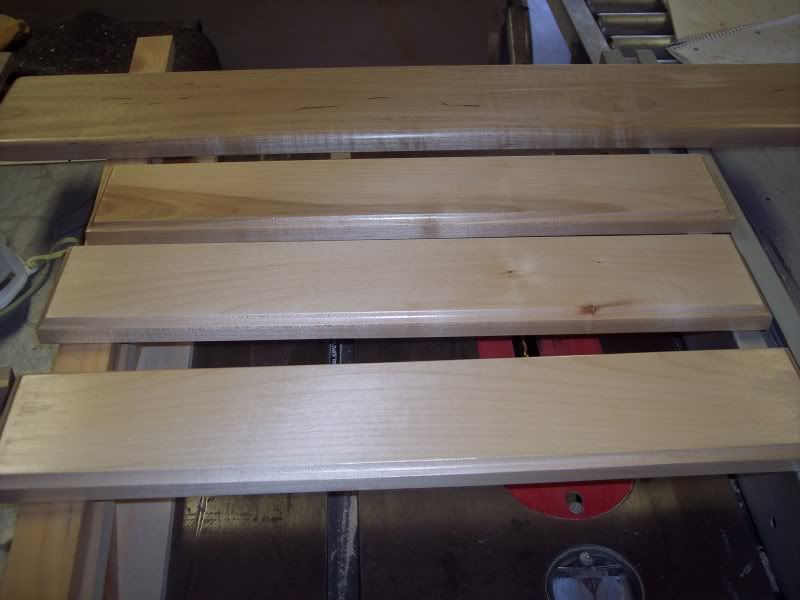
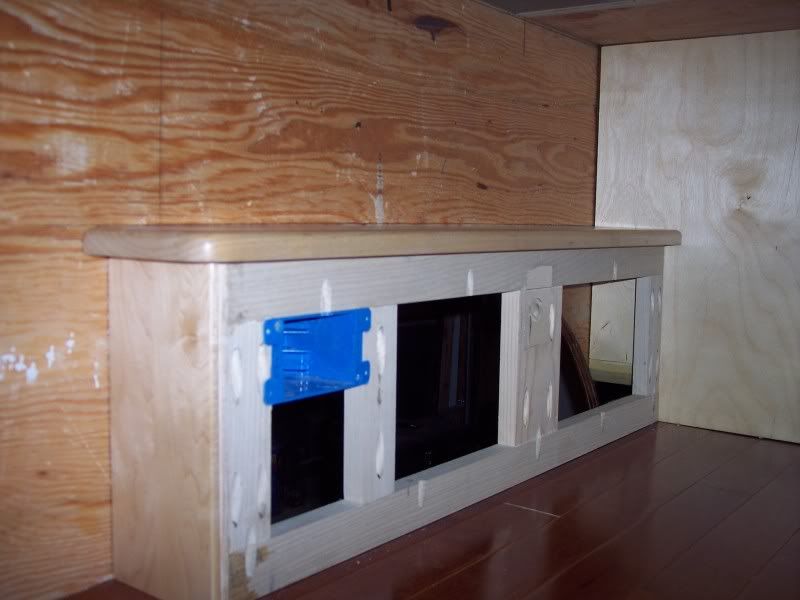
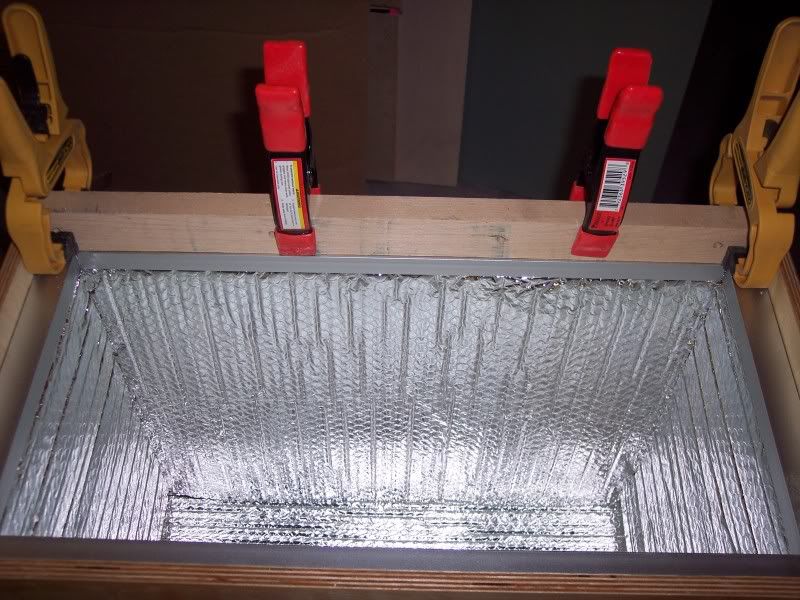
 Stove slideout frame. 1/2" Baltic Birch
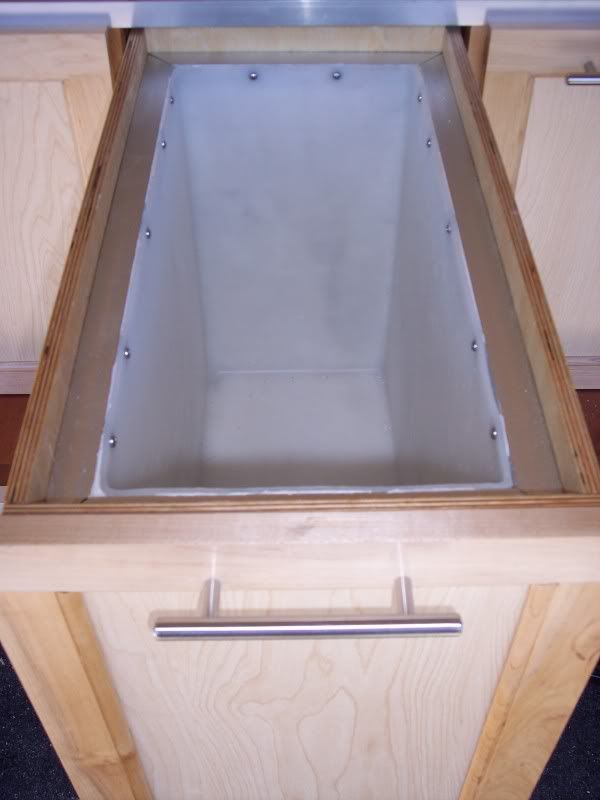
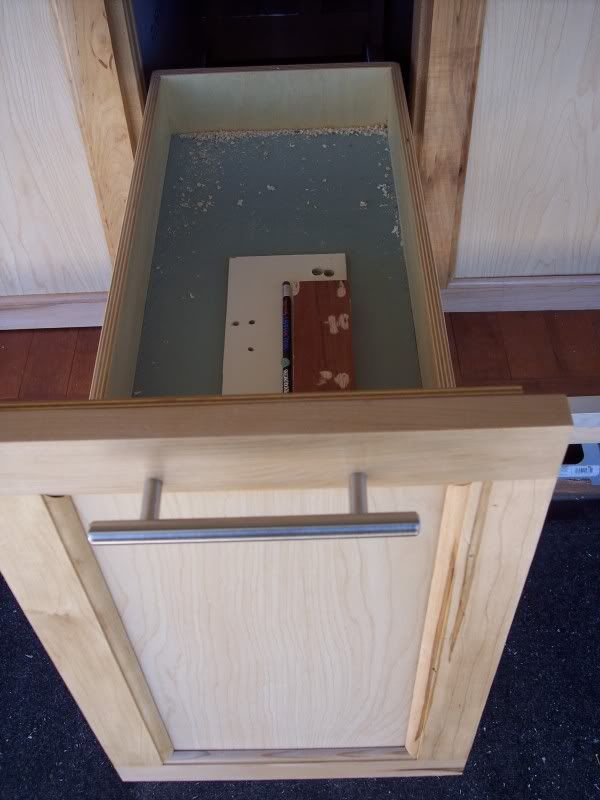
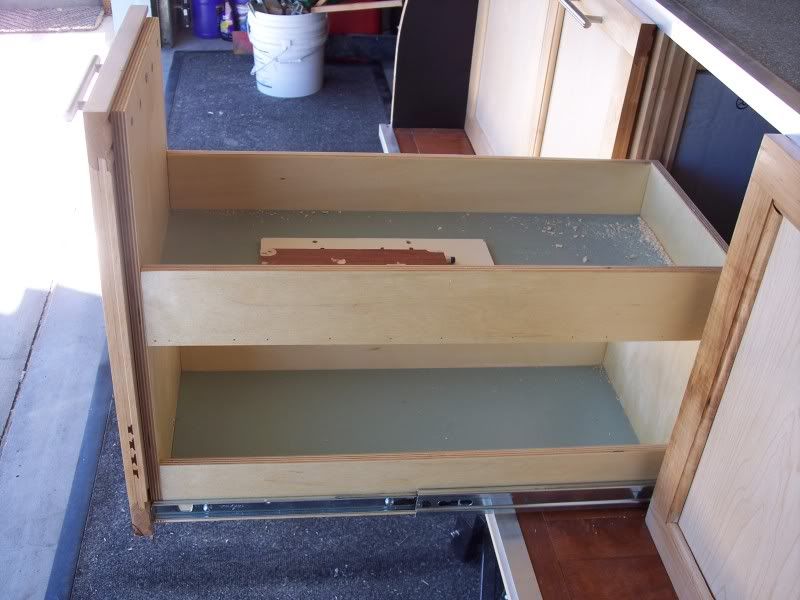
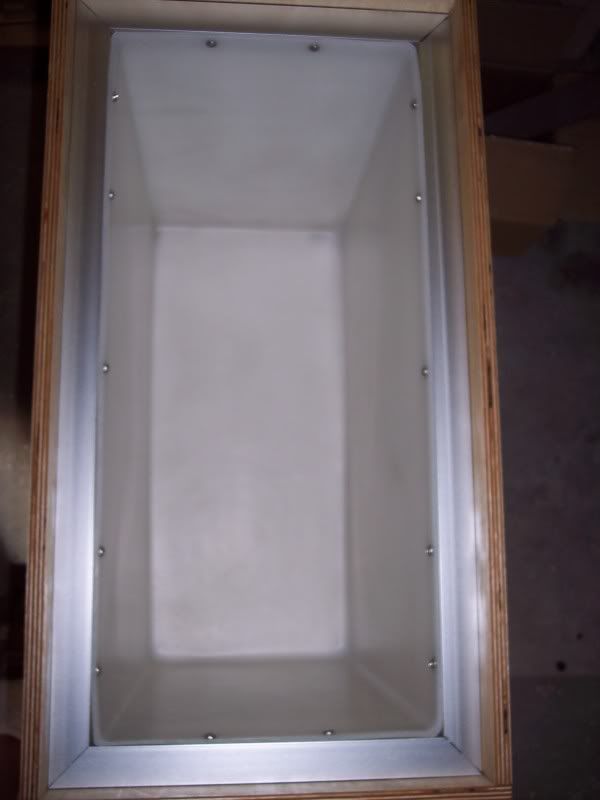
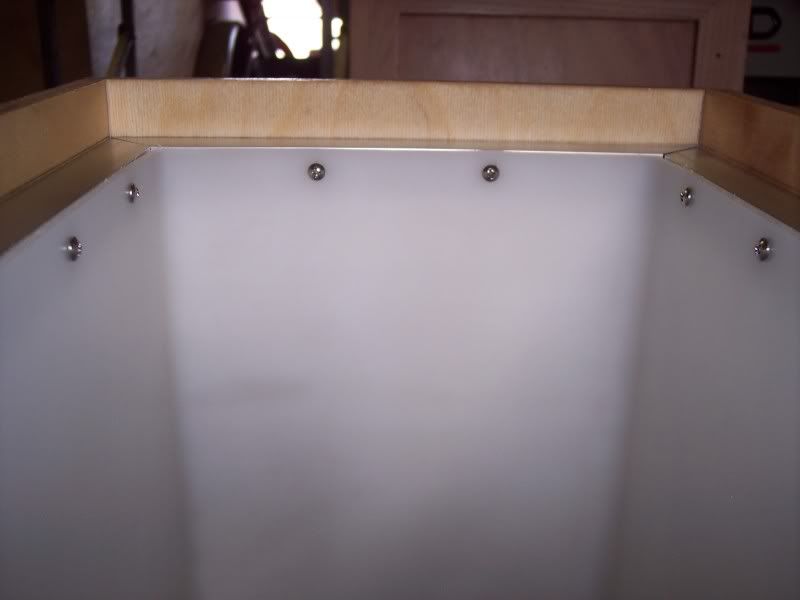
 Stove slideout
 Stove slideout
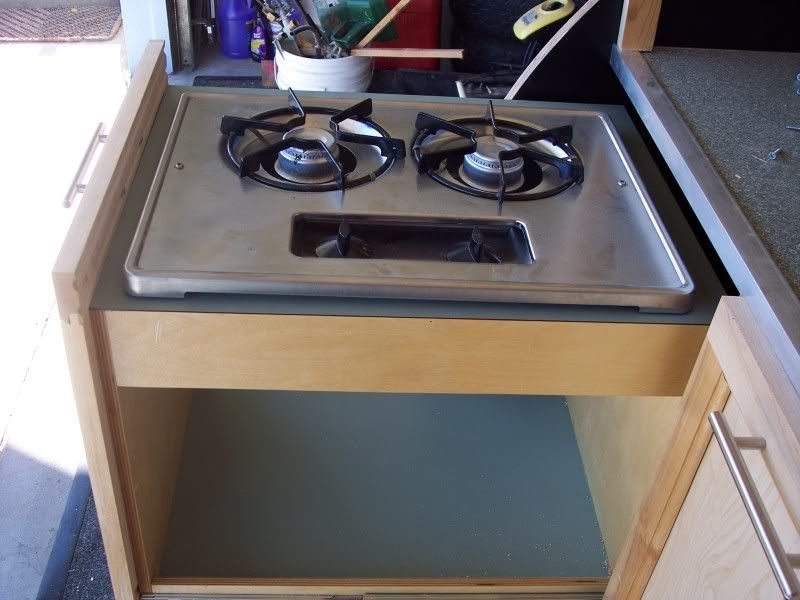
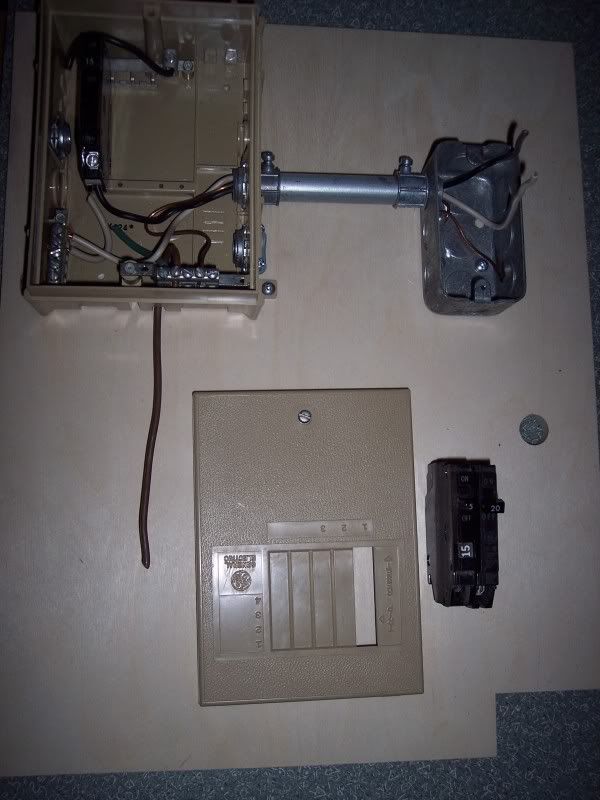
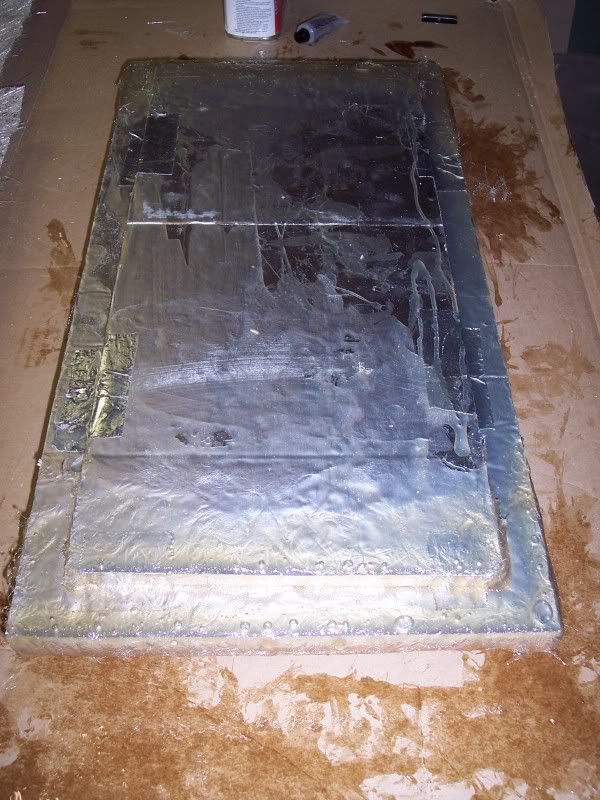
 Stove top
Teardrops n Tiny Travel Trailersor t n ttt for short (tnttt.com) |
![]() by GreatPumpkin » Tue Jul 06, 2010 1:24 pm
by GreatPumpkin » Tue Jul 06, 2010 1:24 pm
Fiberglassed roof skin joint
Inner wheel well framing. I haven't decided if the top will be maple or corian...
Stove slideout frame. 1/2" Baltic Birch
Stove slideout
Stove slideout
Stove top
![]() by GreatPumpkin » Tue Jul 06, 2010 1:32 pm
by GreatPumpkin » Tue Jul 06, 2010 1:32 pm
 Swivel eye light I'm using in the front "shelf"
 Light shelf framing. The swivel light frame has a slight concave to it
 Shelf started. Light frames are held in place with resin due to the curve
 Side view. Hooked up to a small 6V battery to test the output
 Bottom view. Finished with Plam that has a blue/grey pattern similiar to the corian I may use on the wheel well top/shelf
![]() by GreatPumpkin » Tue Jul 06, 2010 1:43 pm
by GreatPumpkin » Tue Jul 06, 2010 1:43 pm

![]() by fromeo » Tue Jul 06, 2010 2:15 pm
by fromeo » Tue Jul 06, 2010 2:15 pm
![]() by GreatPumpkin » Tue Jul 06, 2010 2:25 pm
by GreatPumpkin » Tue Jul 06, 2010 2:25 pm
fromeo wrote:Looks great!
Those light fixtures are very cool.
What laminate is that on your countertop? I really like it.
- Frank
![]() by fromeo » Thu Jul 08, 2010 11:08 am
by fromeo » Thu Jul 08, 2010 11:08 am
GreatPumpkin wrote:Thanks Frank,
I'm not sure the pattern name. I believe it's a Formica brand. I've had a couple sheets of it for years, both in the green pictured and an identically patterned blue. I picked up about 6-7 full sheets (5'x12') for a total of $20 IIRC. Extras from a commercial remodel - they were just going to throw it away!
The piece I used in the teardrop was the last of the patterned sheets. I've used it in my airstream rebuild, and a couple other camp trailer rebuilds over the years.

![]() by GreatPumpkin » Sat Jul 10, 2010 8:30 am
by GreatPumpkin » Sat Jul 10, 2010 8:30 am
fromeo wrote:GreatPumpkin wrote:Thanks Frank,
I'm not sure the pattern name. I believe it's a Formica brand. I've had a couple sheets of it for years, both in the green pictured and an identically patterned blue. I picked up about 6-7 full sheets (5'x12') for a total of $20 IIRC. Extras from a commercial remodel - they were just going to throw it away!
The piece I used in the teardrop was the last of the patterned sheets. I've used it in my airstream rebuild, and a couple other camp trailer rebuilds over the years.
Thanks for the info, I'll keep my eyes open.
Got pics of that airstream rebuild?
![]() by GreatPumpkin » Tue Nov 02, 2010 11:14 pm
by GreatPumpkin » Tue Nov 02, 2010 11:14 pm


![]() by Miriam C. » Tue Nov 02, 2010 11:28 pm
by Miriam C. » Tue Nov 02, 2010 11:28 pm

 Not too bad. Get out the epoxy and glue it back down. You might need some light weight fiberglass for this one...but re-skinning will probably be cheaper...


![]() by GreatPumpkin » Tue Nov 02, 2010 11:31 pm
by GreatPumpkin » Tue Nov 02, 2010 11:31 pm

![]() by GreatPumpkin » Tue Nov 02, 2010 11:36 pm
by GreatPumpkin » Tue Nov 02, 2010 11:36 pm
Miriam C. wrote::crying1:
btw- The rest of it looks fantastic
![]() by GreatPumpkin » Tue Nov 02, 2010 11:52 pm
by GreatPumpkin » Tue Nov 02, 2010 11:52 pm

![]() by GreatPumpkin » Wed Nov 03, 2010 12:59 am
by GreatPumpkin » Wed Nov 03, 2010 12:59 am
![]() by GreatPumpkin » Wed Nov 03, 2010 1:34 am
by GreatPumpkin » Wed Nov 03, 2010 1:34 am

![]() by Cliffmeister2000 » Wed Nov 03, 2010 6:58 am
by Cliffmeister2000 » Wed Nov 03, 2010 6:58 am
GreatPumpkin wrote:

Users browsing this forum: No registered users and 33 guests