It's been about 6 weeks since I've posted an update, so here's a shot at catching up. Been plugging away a couple of days/nights a week finishing things up. Lots of little jobs to do to get things finished, some (like filling nail holes in the paneling and caulking where things run through the floor) aren't really picture-worthy, so here's some of the better jobs..
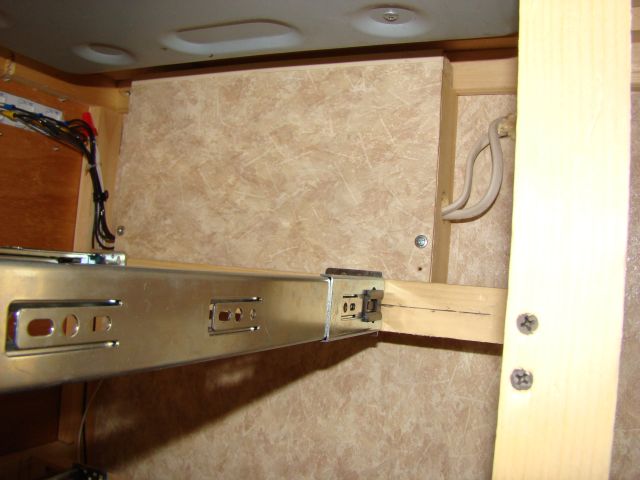
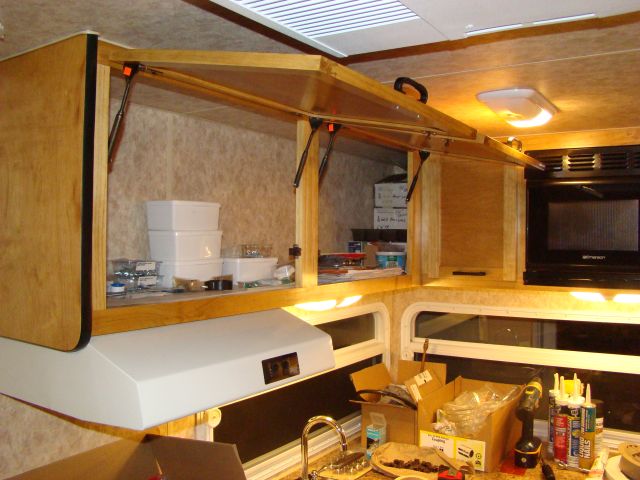
After the last update I started with enclosing the back of the outside entertainment panel:
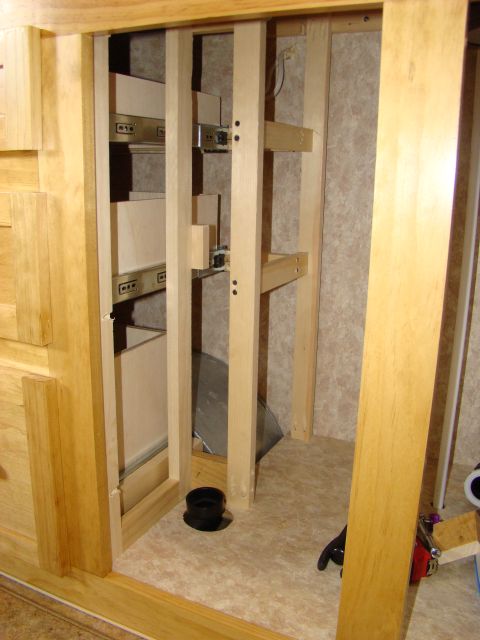
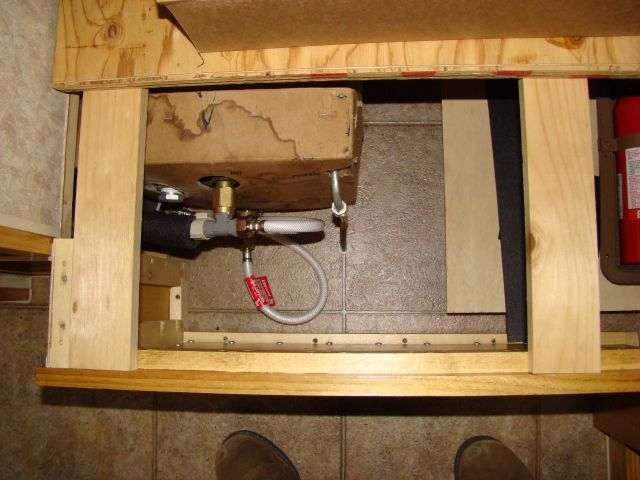
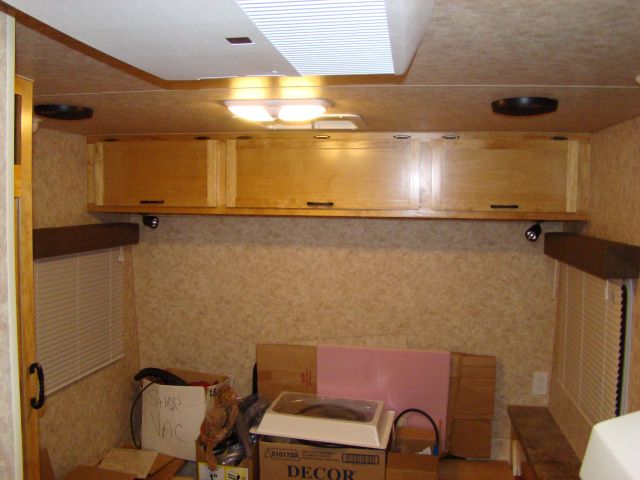
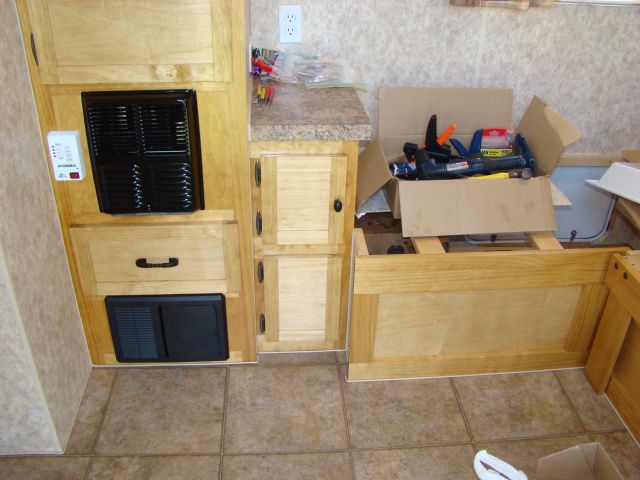
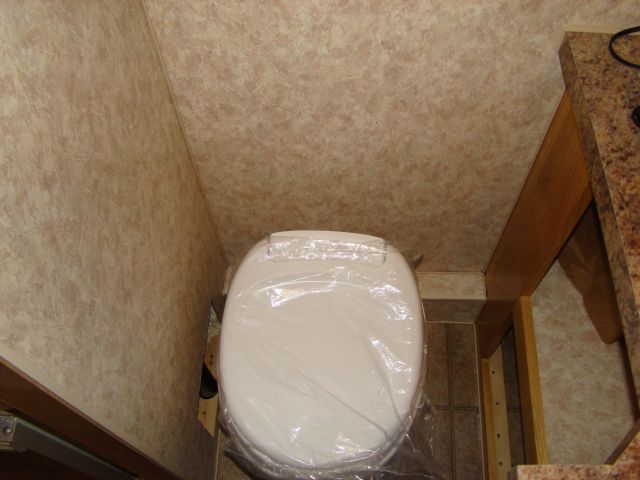
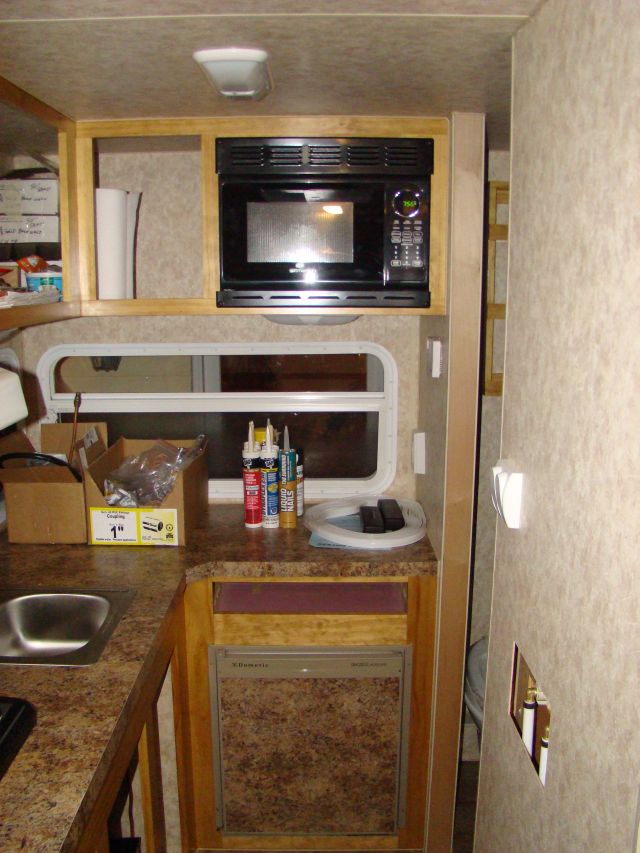
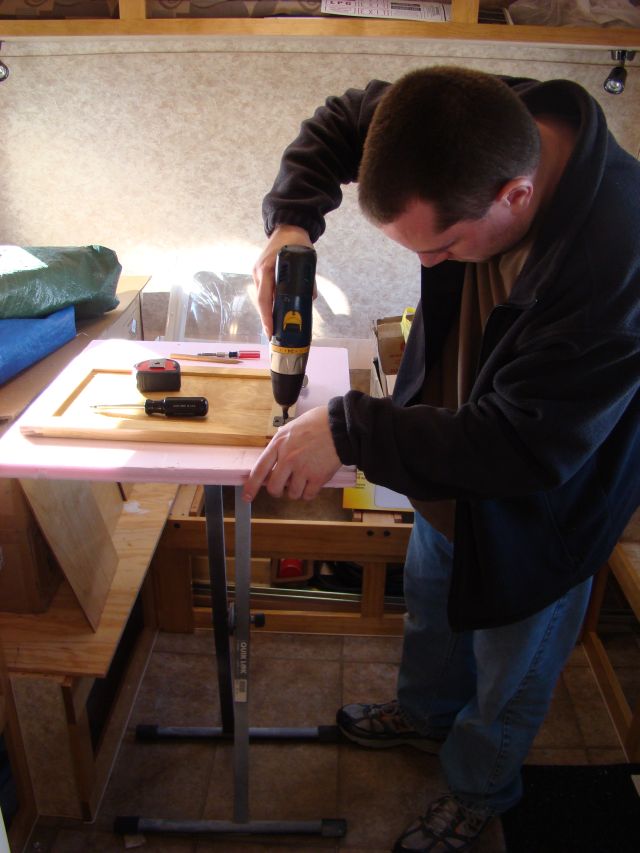
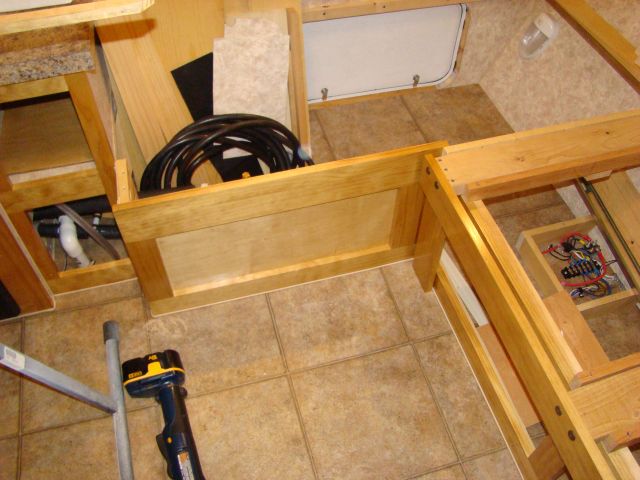
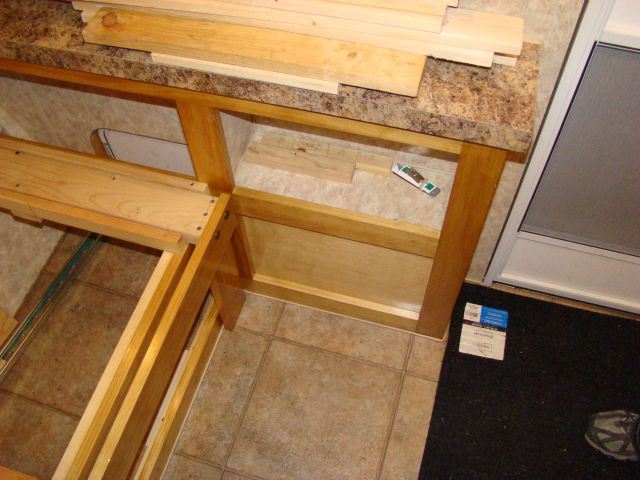
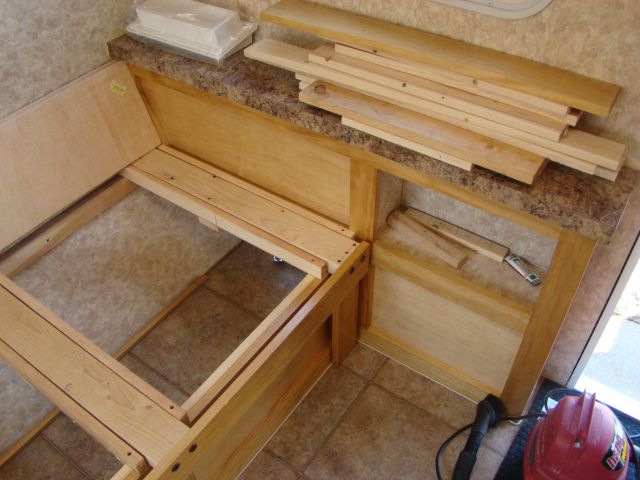
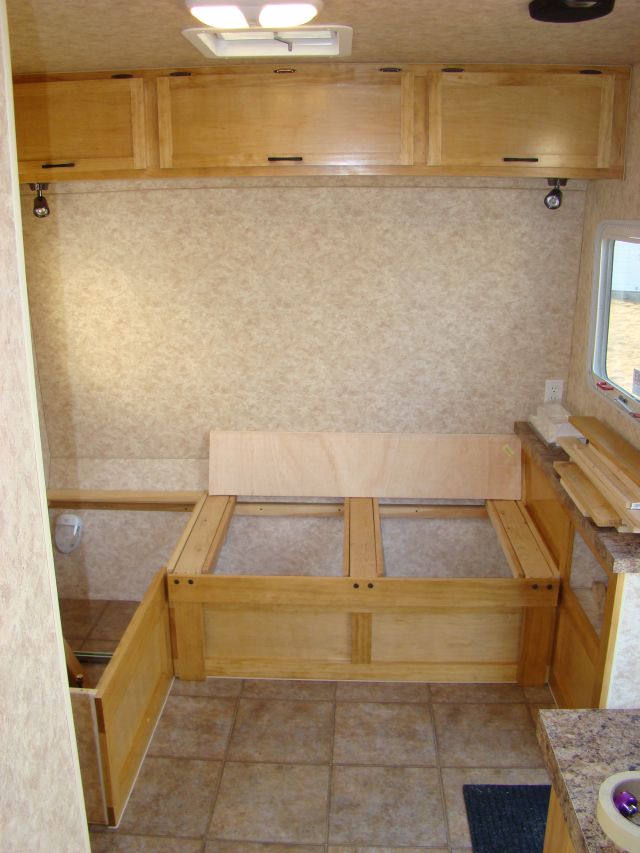
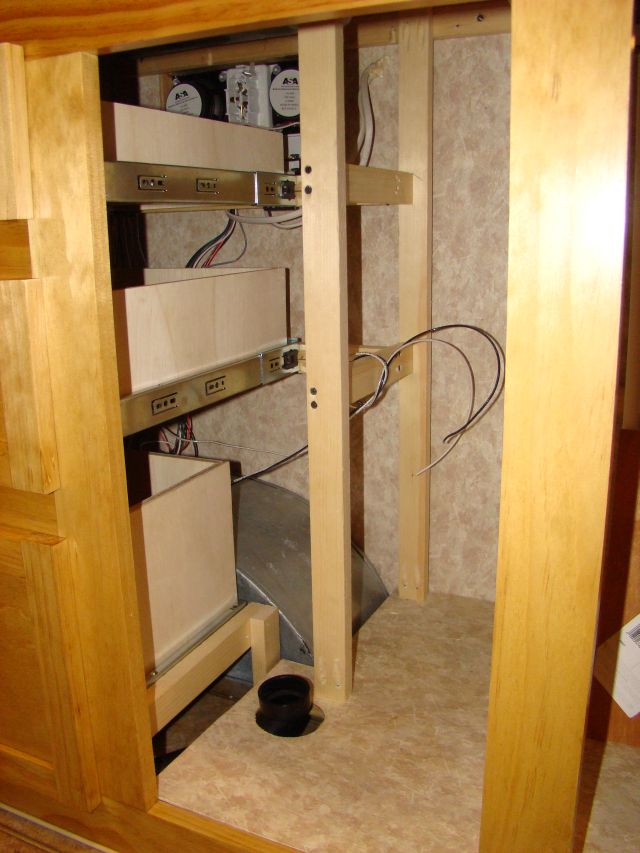
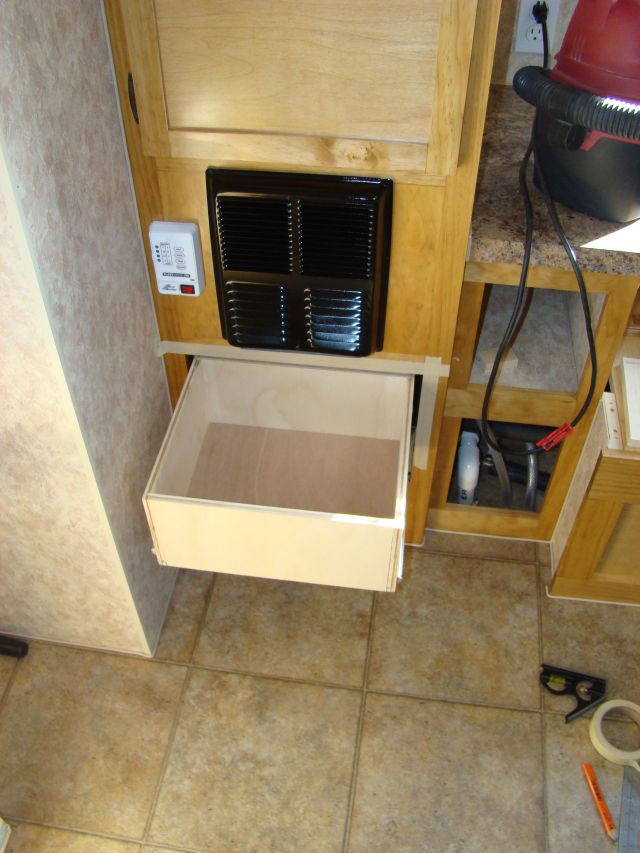
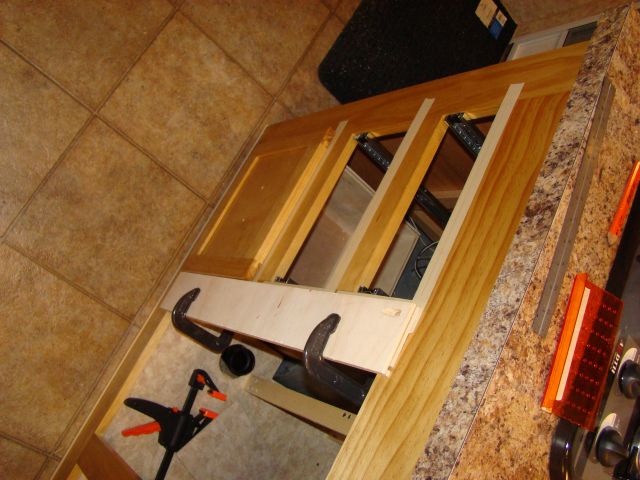
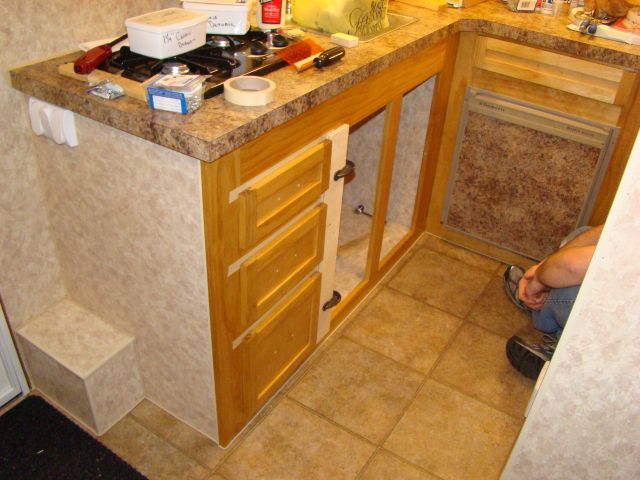
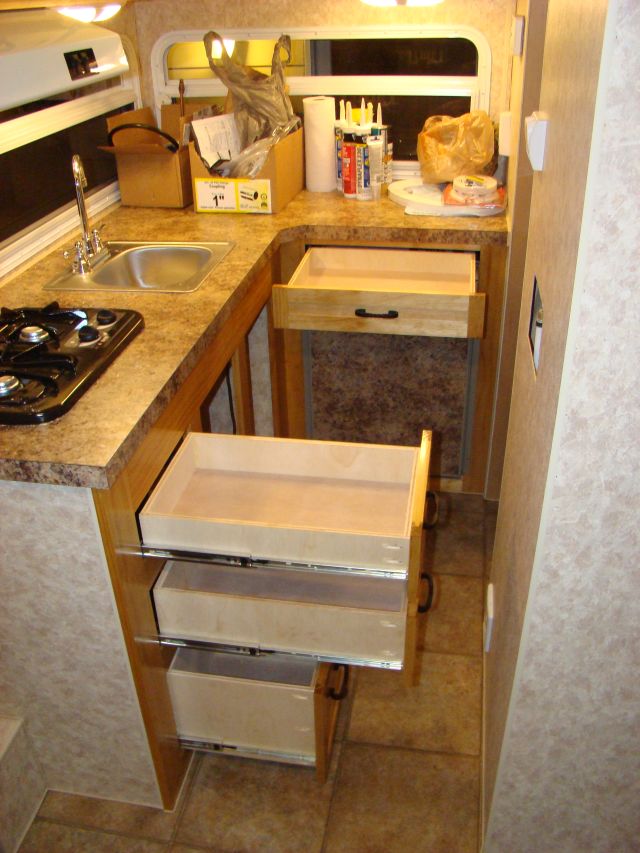
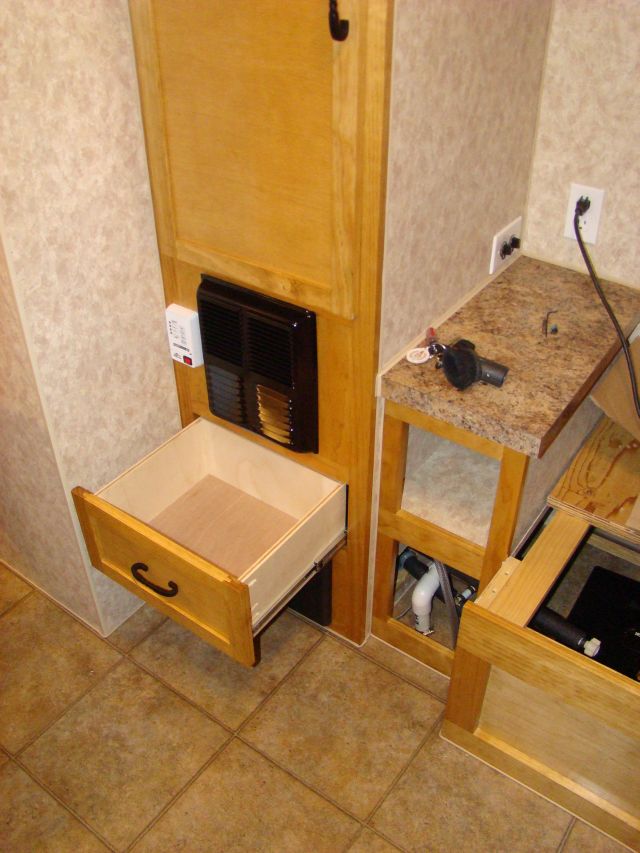
Then I framed out the rest of the divider for the under-sink cabinet:
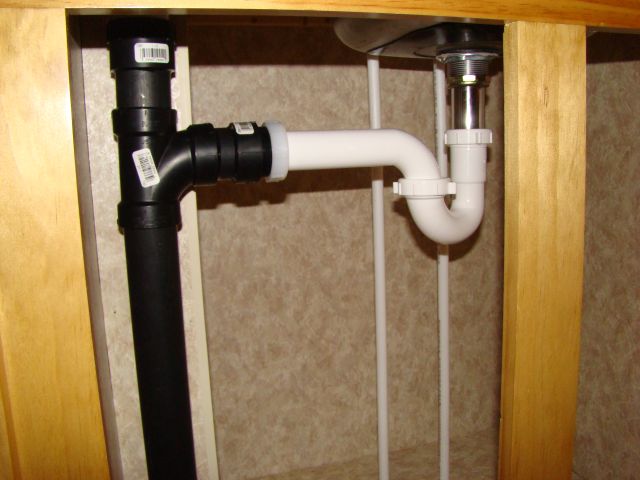
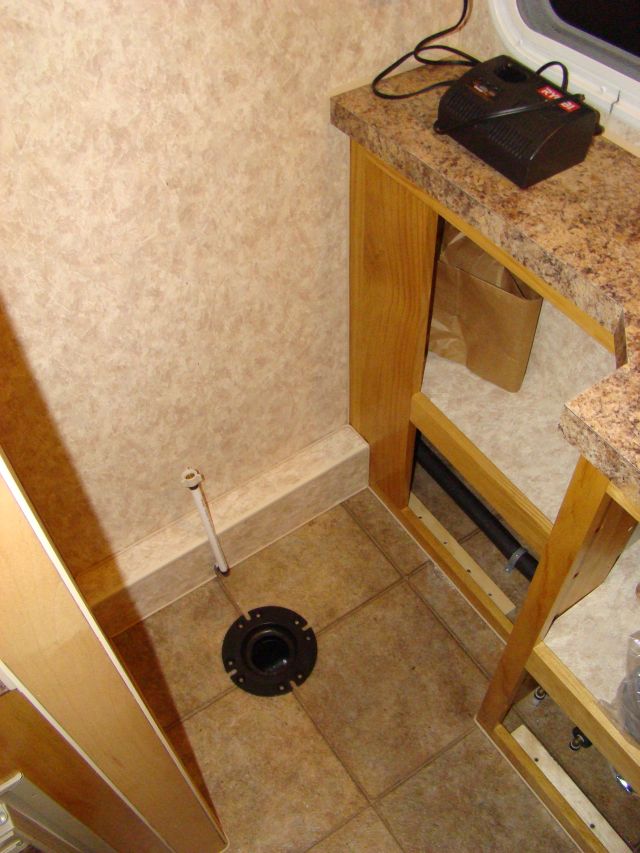
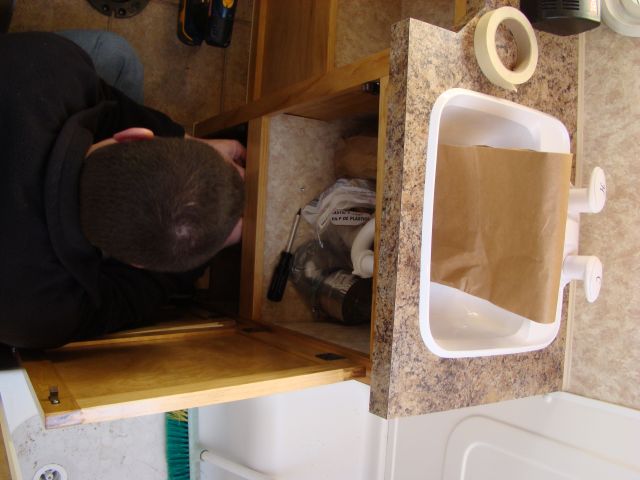
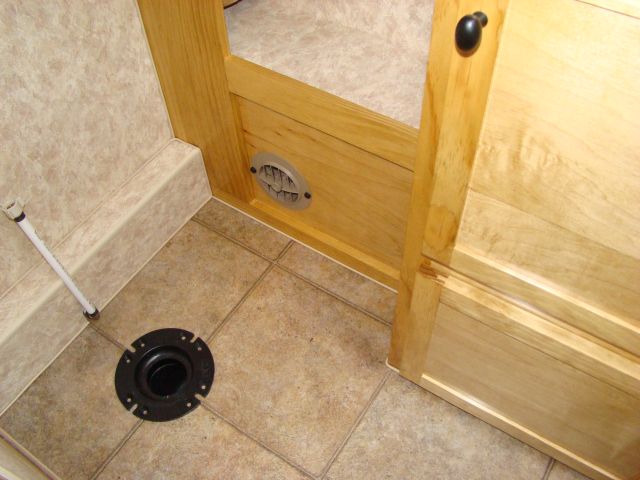
Plumbed the sink drain:
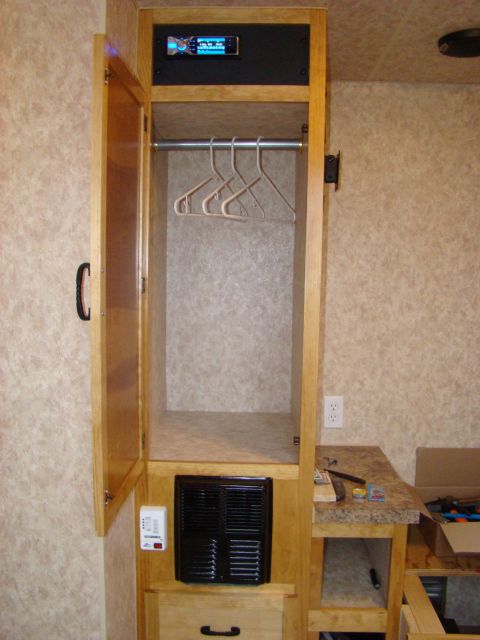
Added a closet rod to the wardrobe cabinet. This is a scrap of EMT sitting in $2 closet rod brackets:
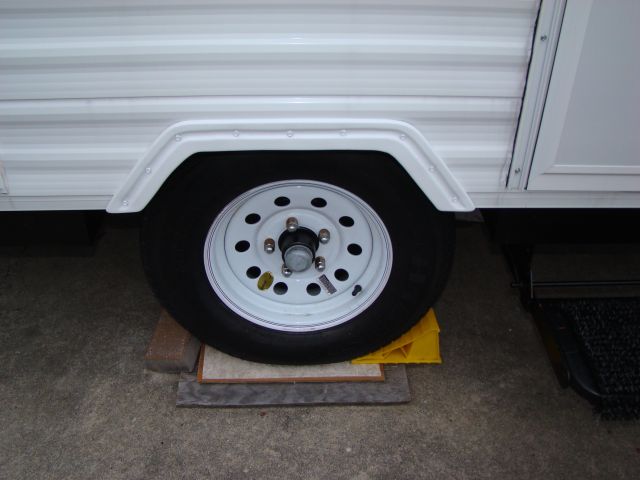
Painted and installed the fenders:
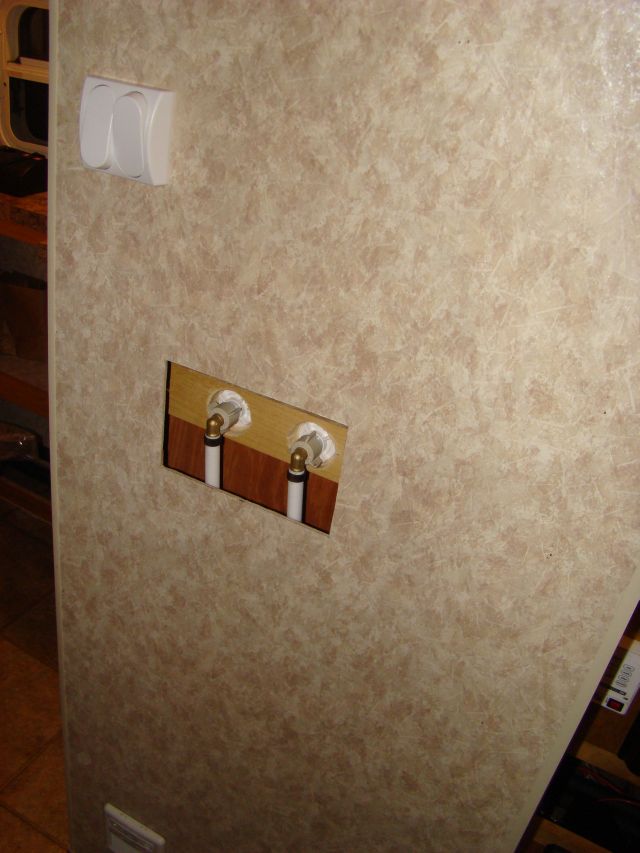
Installed the cable TV inlet (probably never use it, but it came with the antenna...)
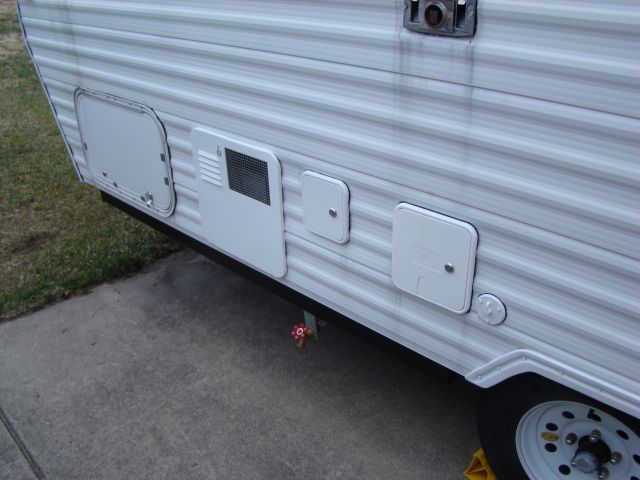
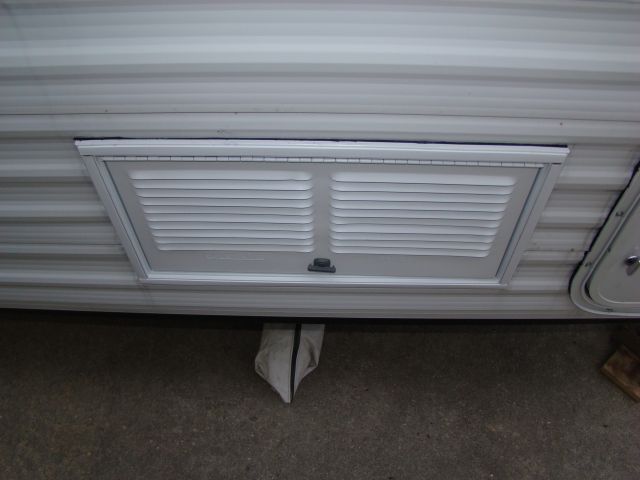
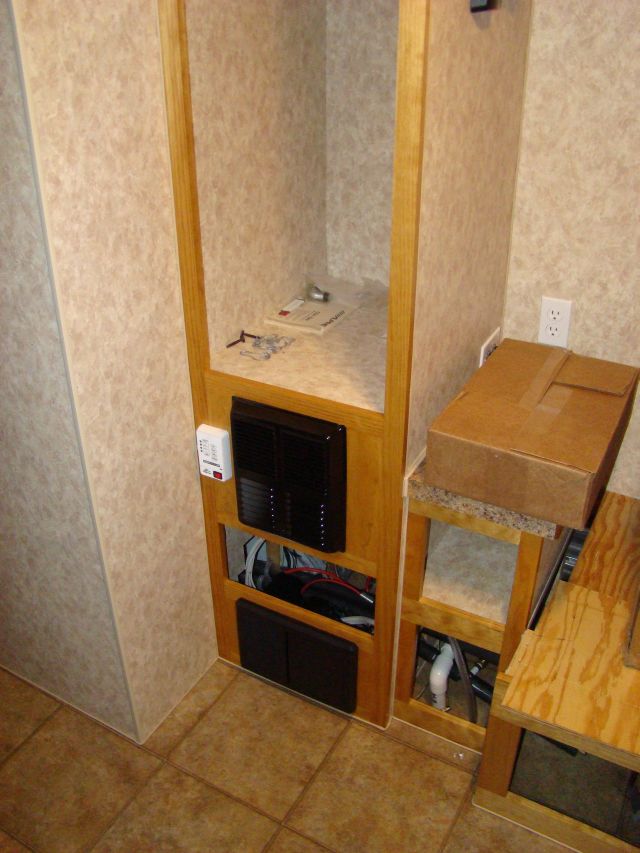
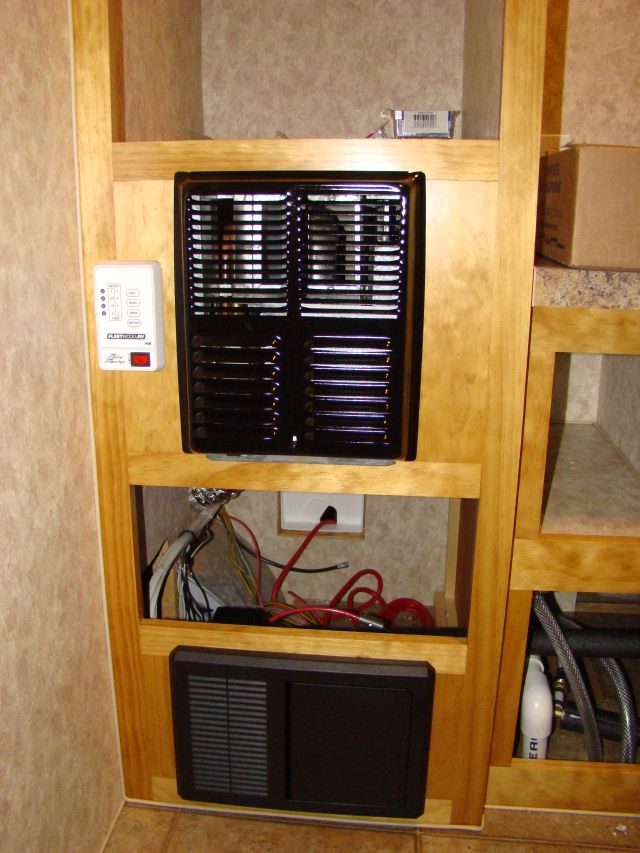
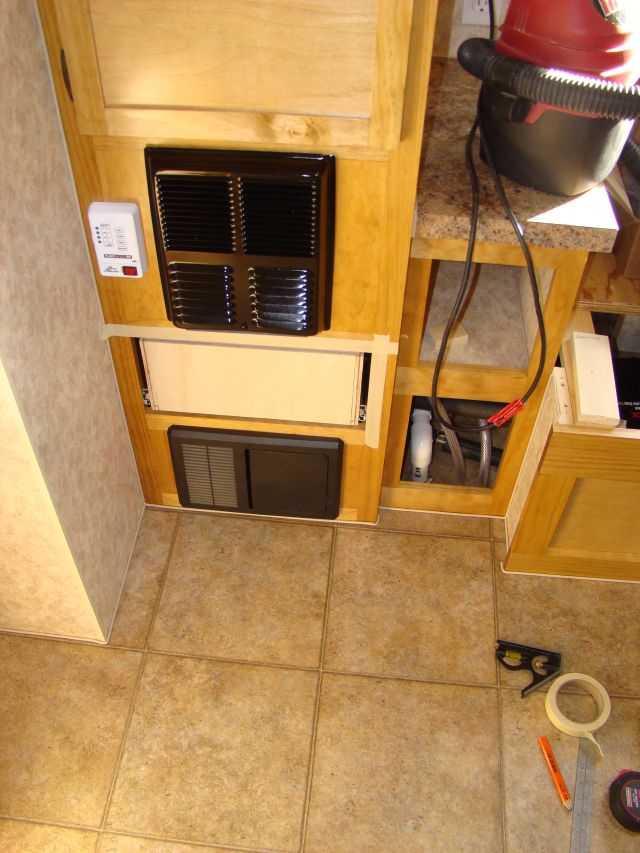
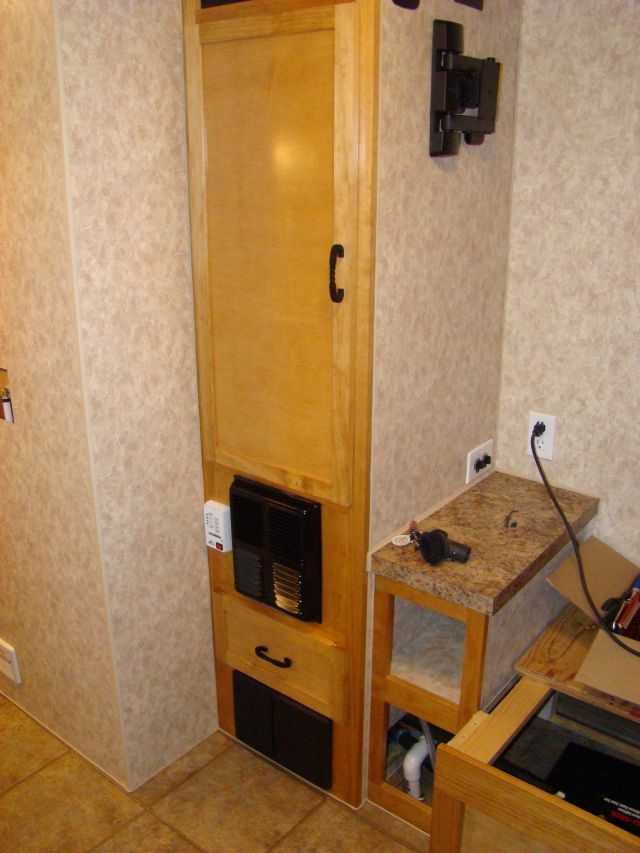
Painted the water heater door and got the water heater installed:
Water heater plumbed in:
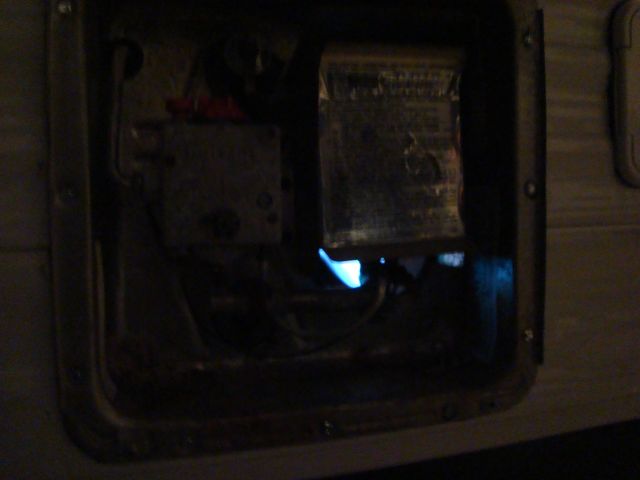
Water heater fired up:
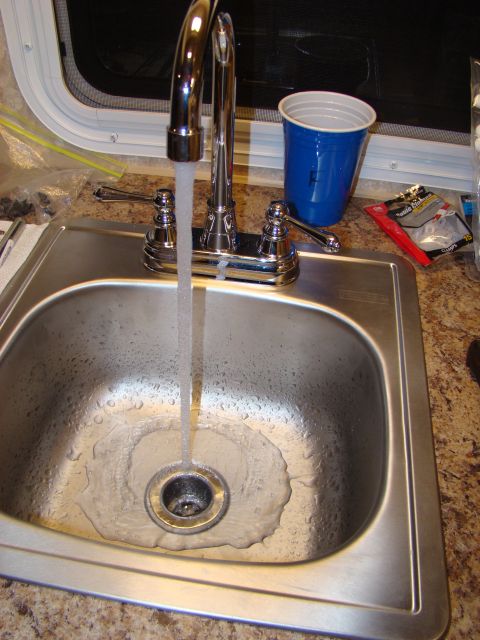
Testing the water system - Running water!
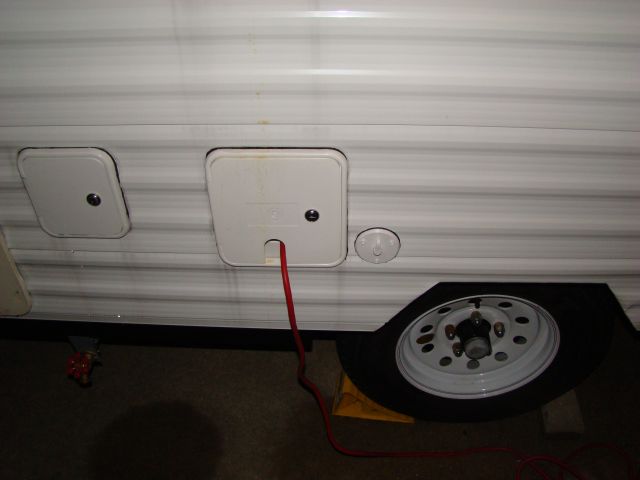
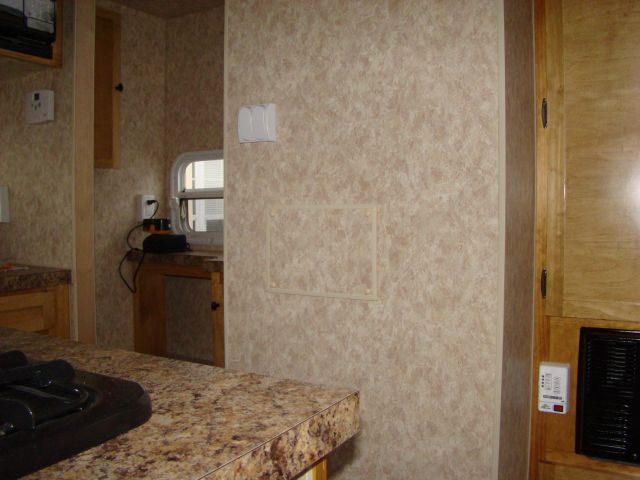
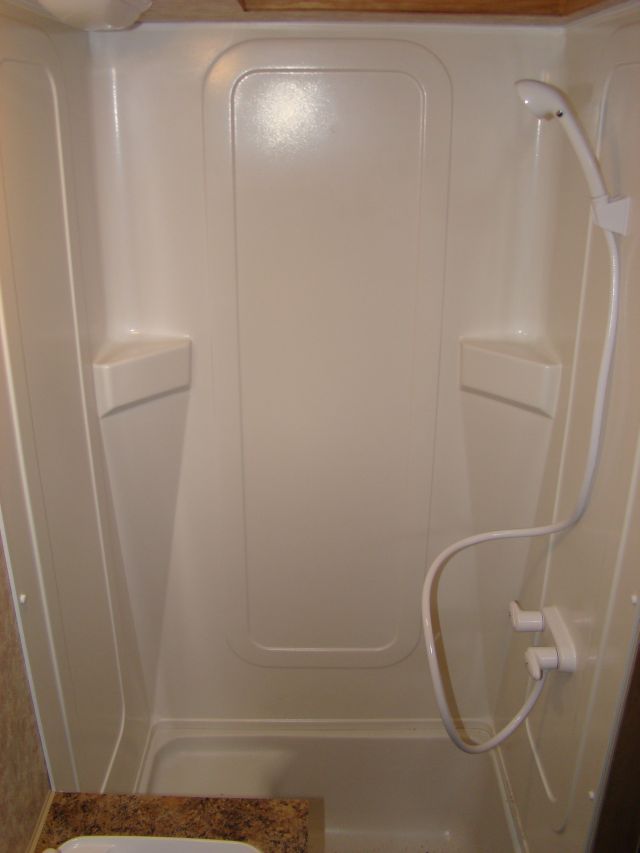
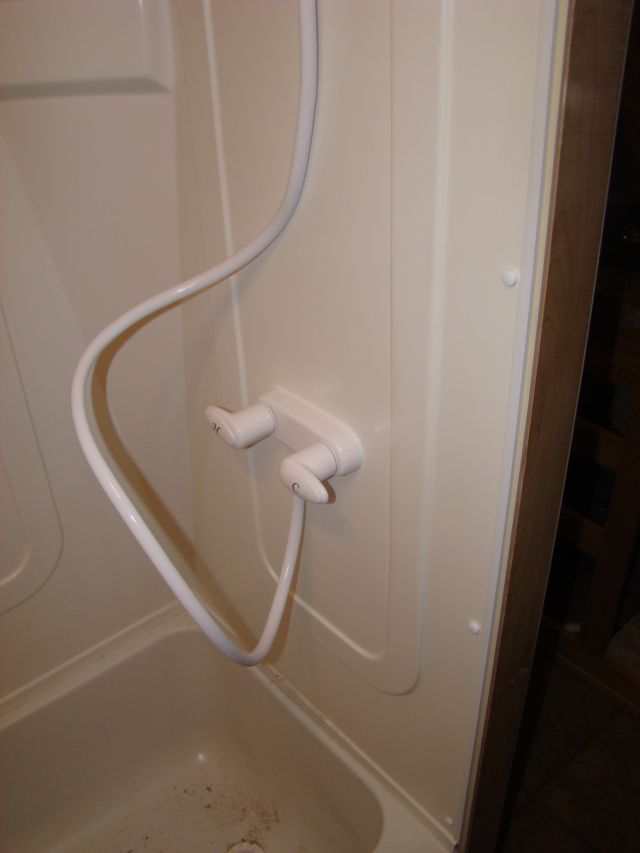
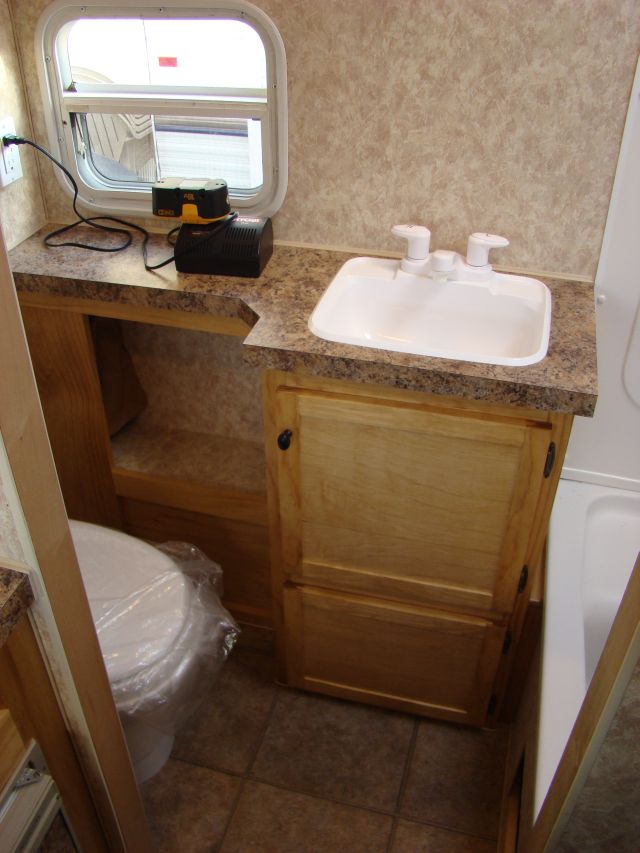
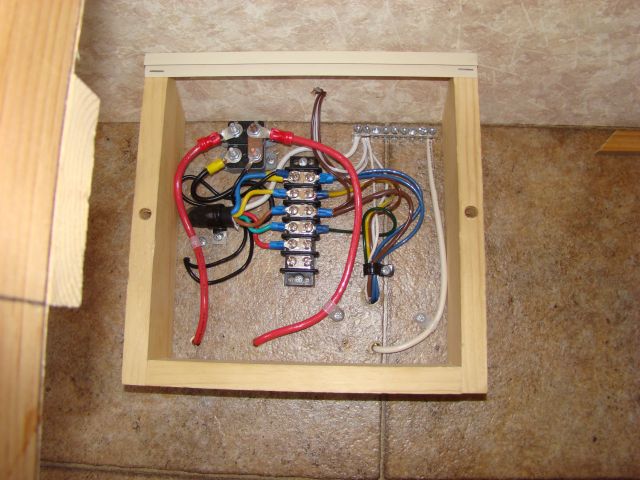
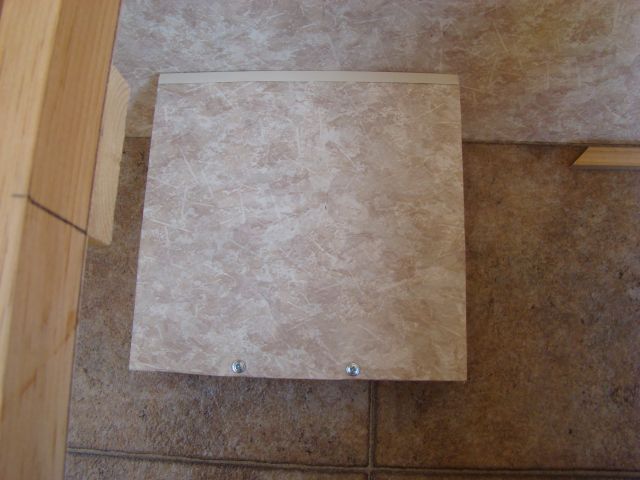
Then installed the cover panels over the plumbing access holes:

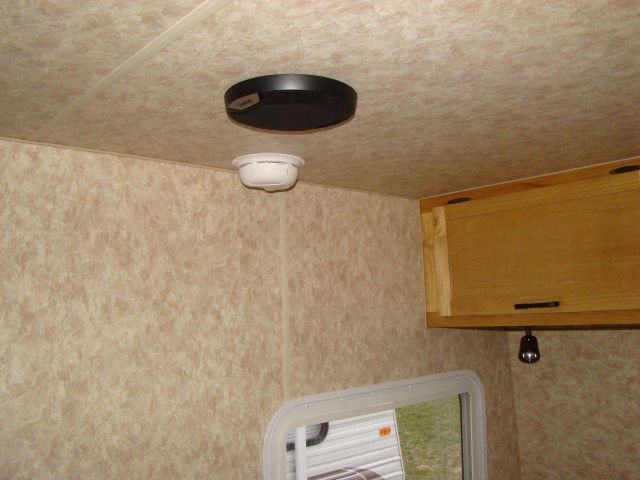
Safety Third! (for the dirty jobs fans) Smoke Alarm:
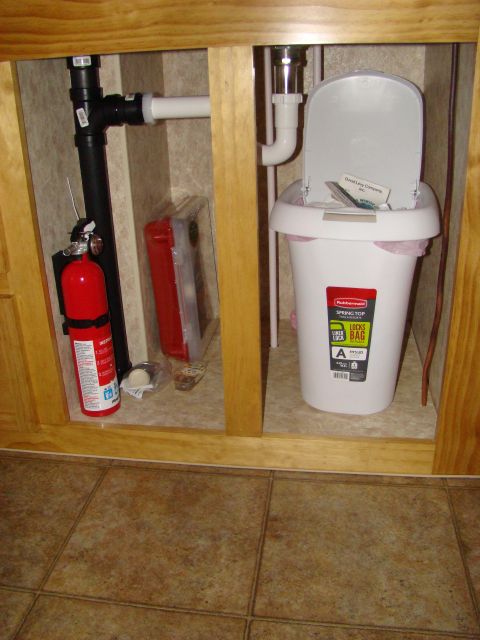
Fire Extinguisher with first aid kit sitting behind (don't forget the trash can, VERY handy!):
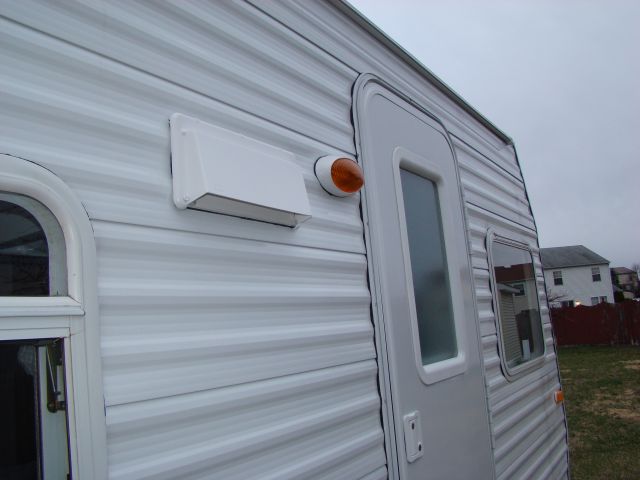
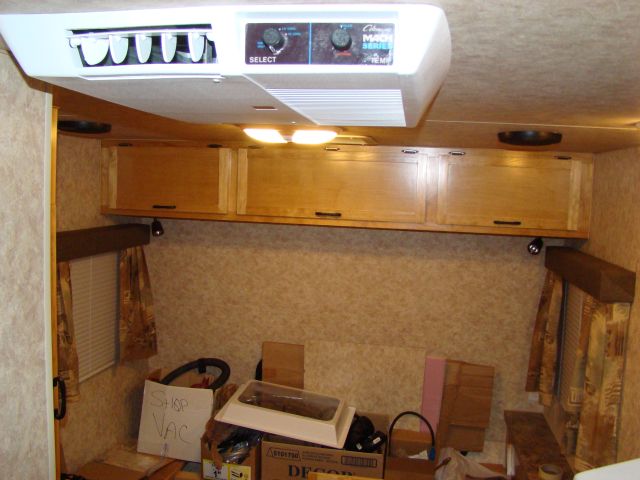
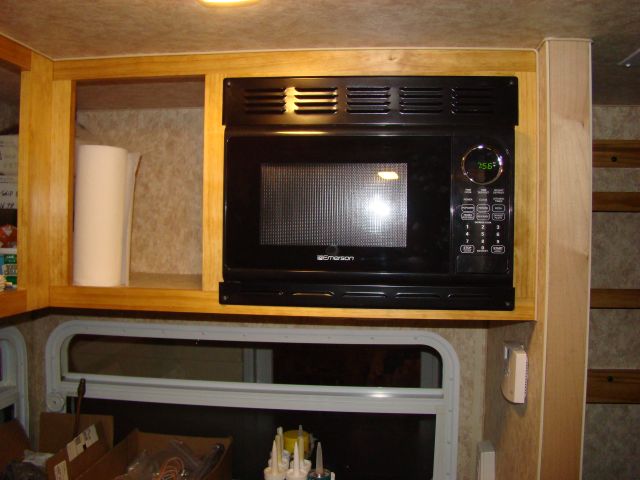
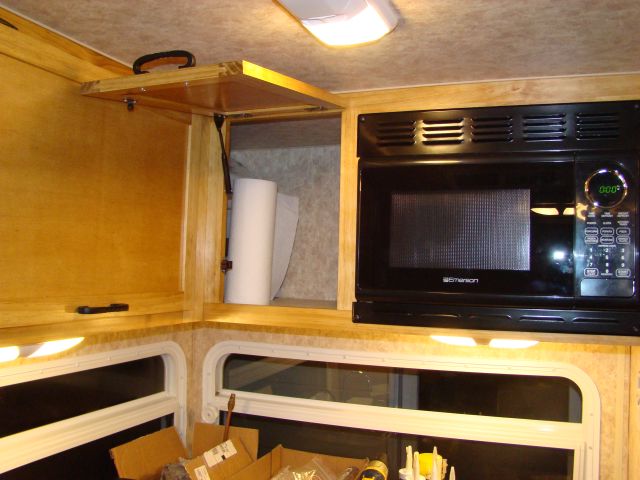
Range Hood Vent installed:
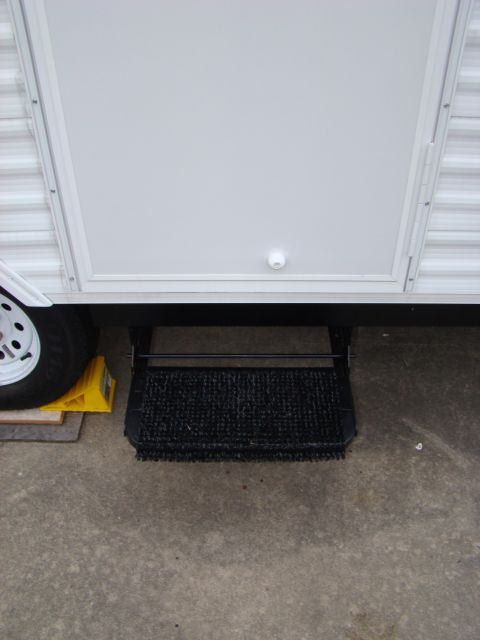
Remounted the step so it was centered under the door (it had just been bolted in the original pop-up location which was a few inches off). Also installed a shoe scrubber mat. The step eventually needs to get sandblasted and powder coated. We sanded/wire wheeled and painted it, but the moving parts kills the paint:
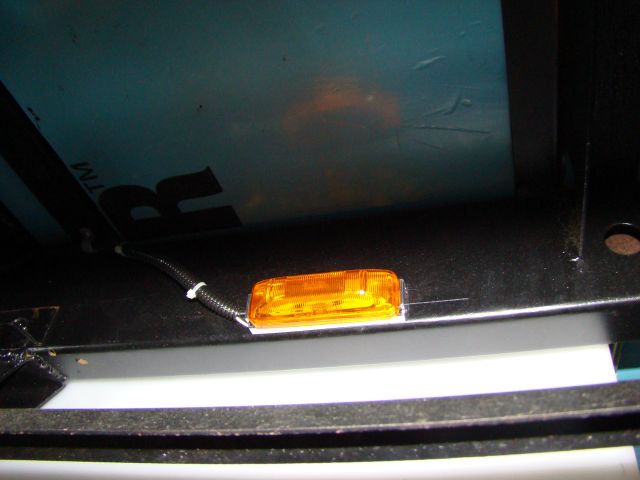
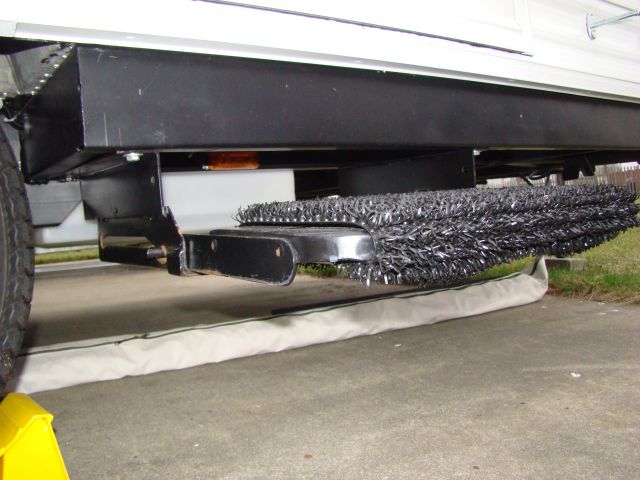
Step Light installed on the side of the frame rail firing at the step. The idea here is to light up the step so you don't break your neck without annoying all the other campers with bright light. Just an amber LED clearance fixture:
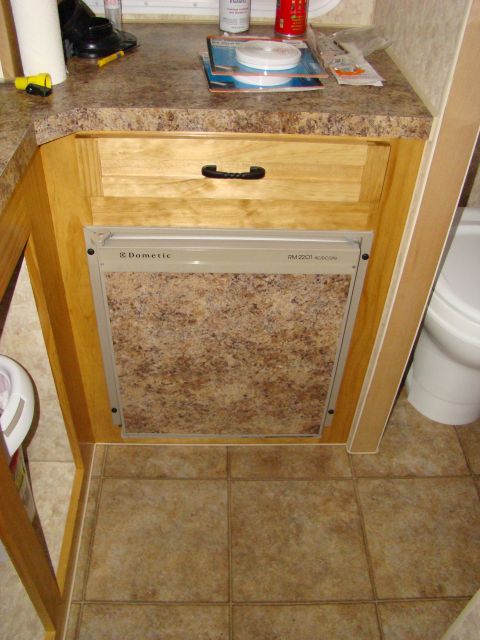
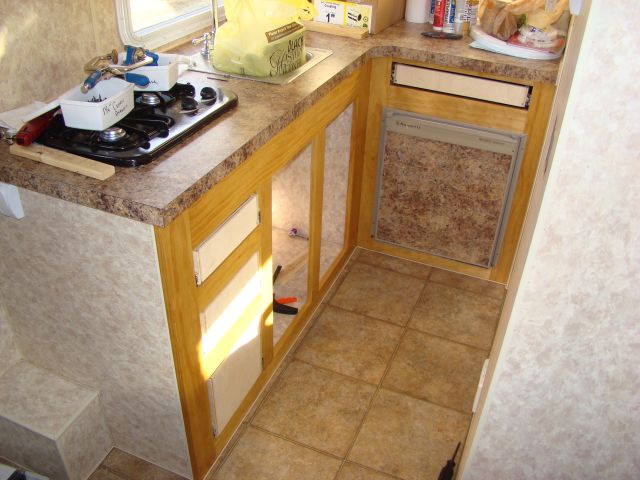
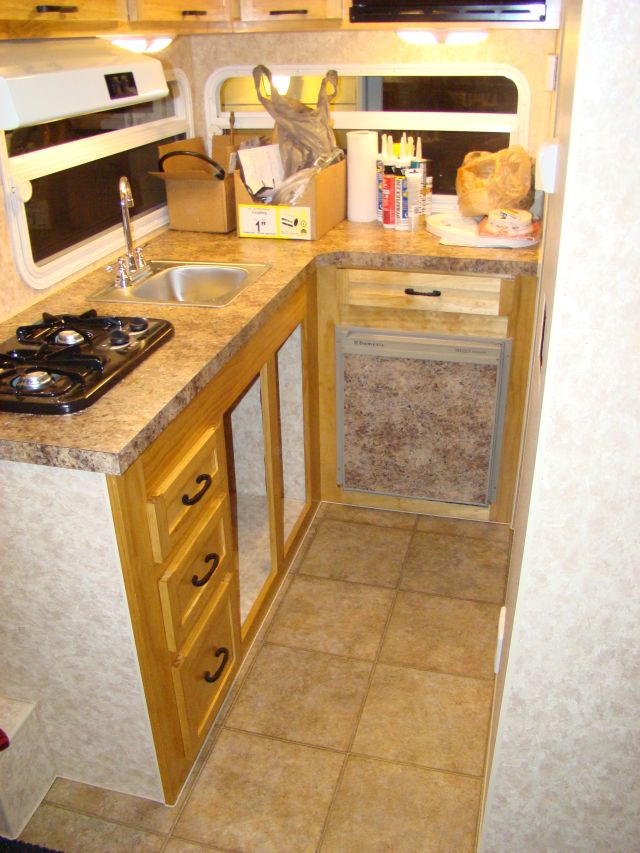
Replaced the foam seals around the fridge and mounted it to the cabinet finally:
Painted and installed the screw cover strips on the fridge vent:
Installed all the vinyl insert trim on the extrusions, and around the doors (yes, it is begging for a bath at this point!):
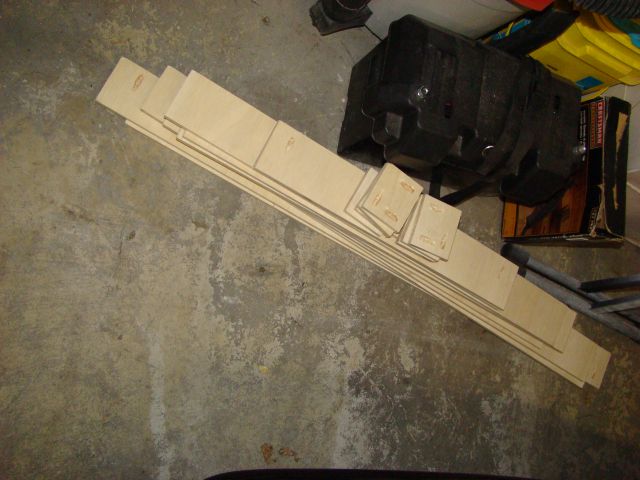
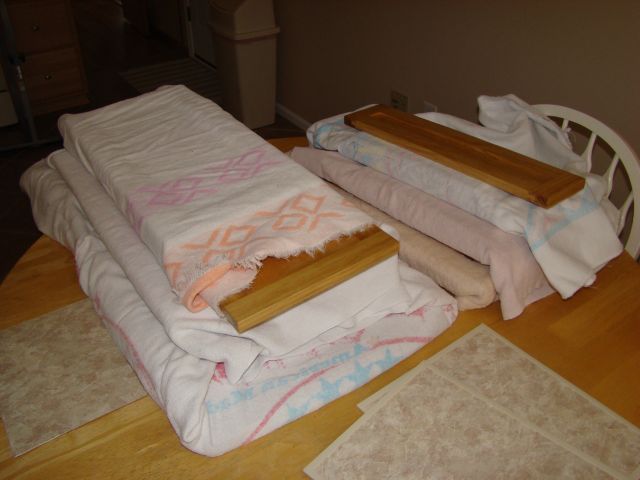
Somewhere along the way, I started on the window treatments. First pulled out the table saw and ripped some strips out of plywood. Then the kreg jig for some holes:
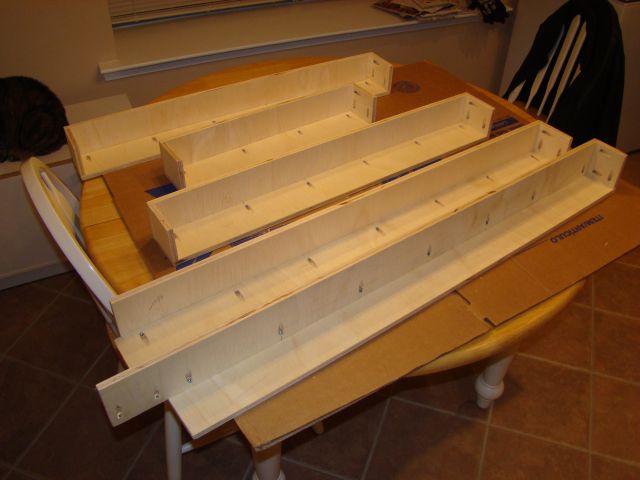
Assembled:
Glued on some batting for a little padding:
And wrap it in fabric:
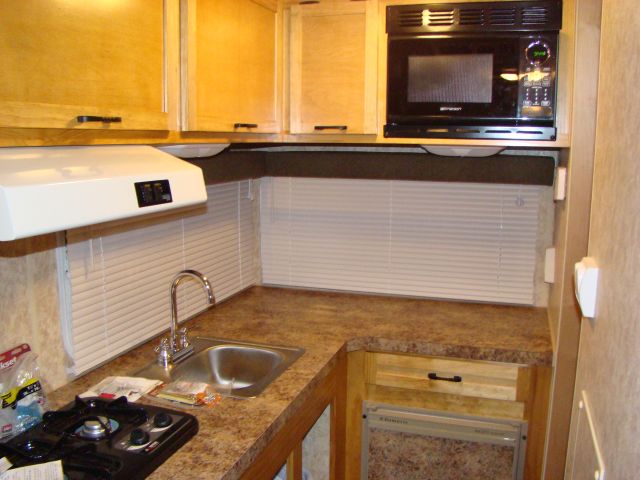
Rinse, repeat and assemble for the galley windows:
And then the rest of the trailer:
Since the fabric is out, might as well make up a trim piece for over the entry door. This is scrap ply, padded and covered:

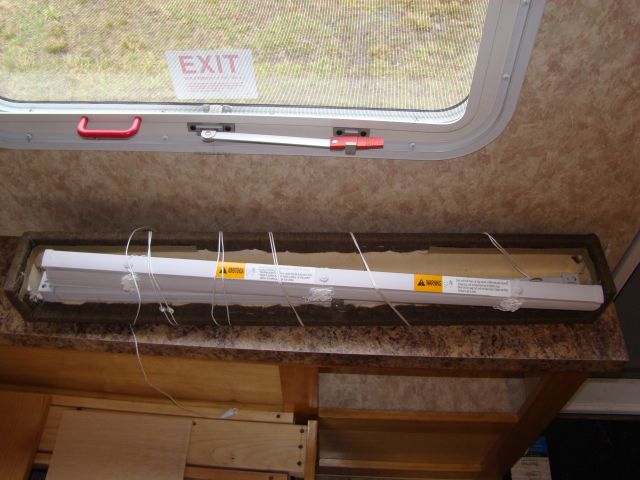
Mount the blinds in the valences (if you look closely in the corners you can see velcro to hold the curtains that come later):
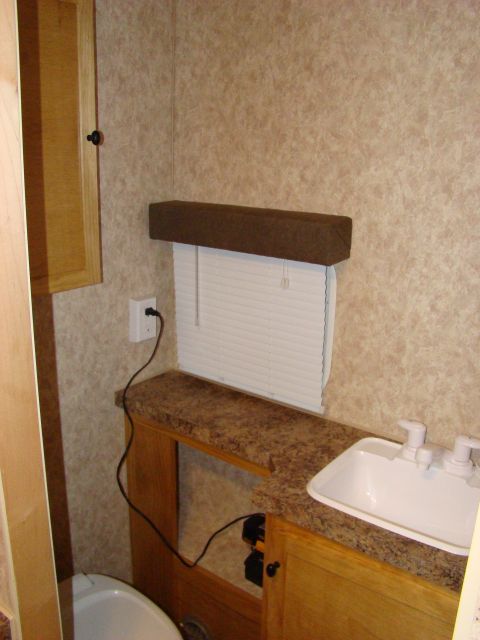
The valences mount to the wall with wide corner brackets. 2 on the short bathroom window, 3 on the others:
Shorten all the blinds, mount the lower rail brackets to the wall and you get this:
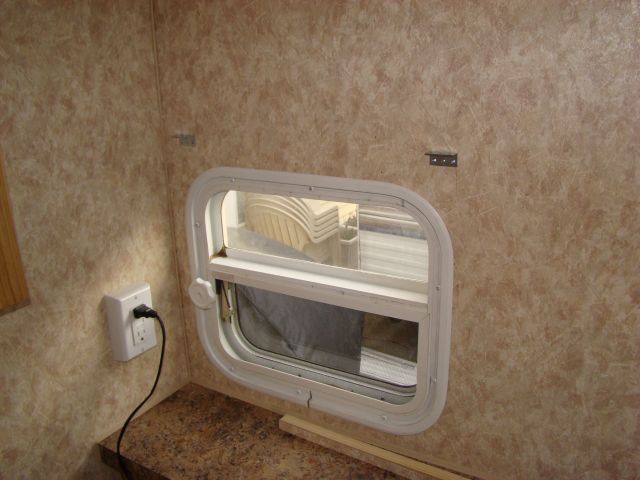
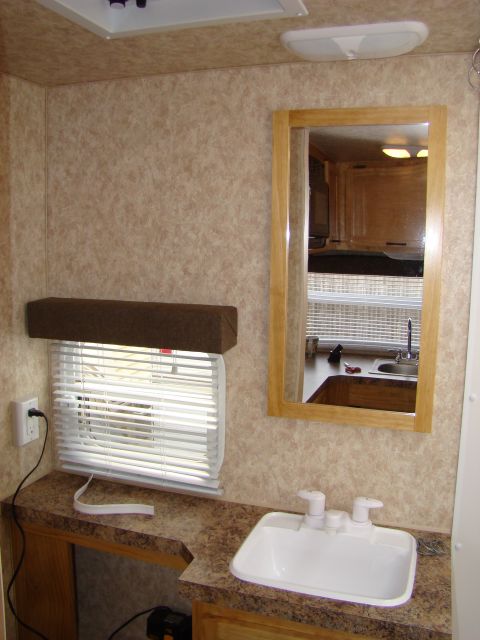
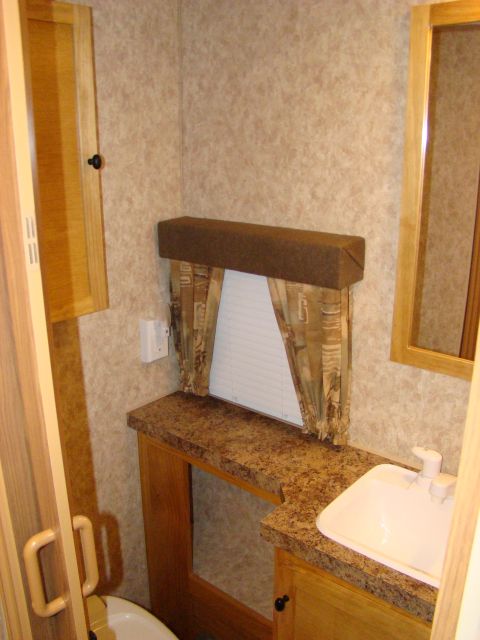
Then my brother made up a matching mirror for the bath:

Mounted with double sided tape:
Done:
Then Kathy and I made up some curtains from fabric we bought years ago (for what I dont remember). We put pleated folds along the top to give them a not-so-flat look:
Stained and polyurethaned the bathroom door jamb:
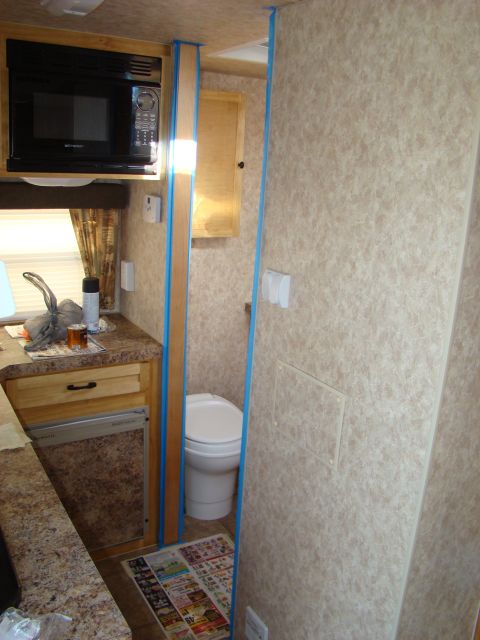
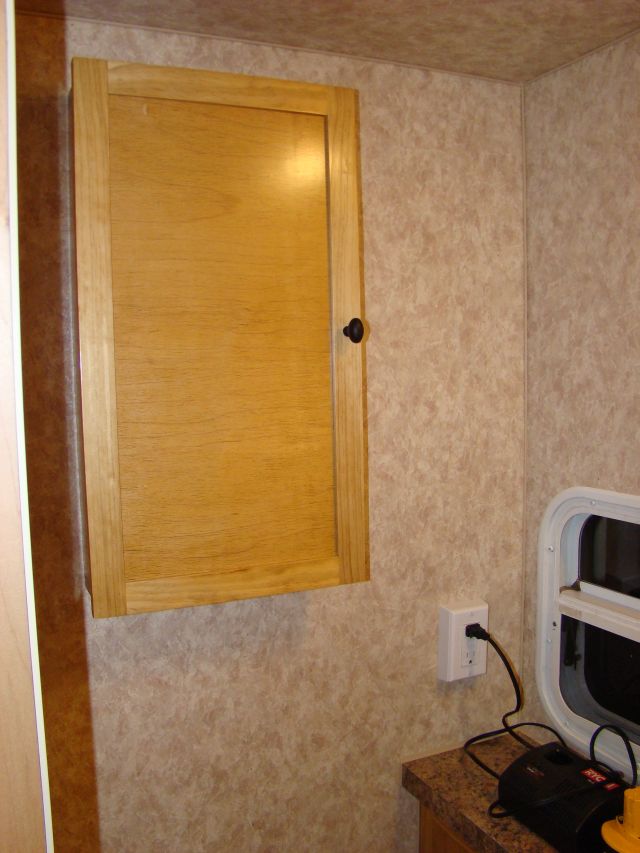
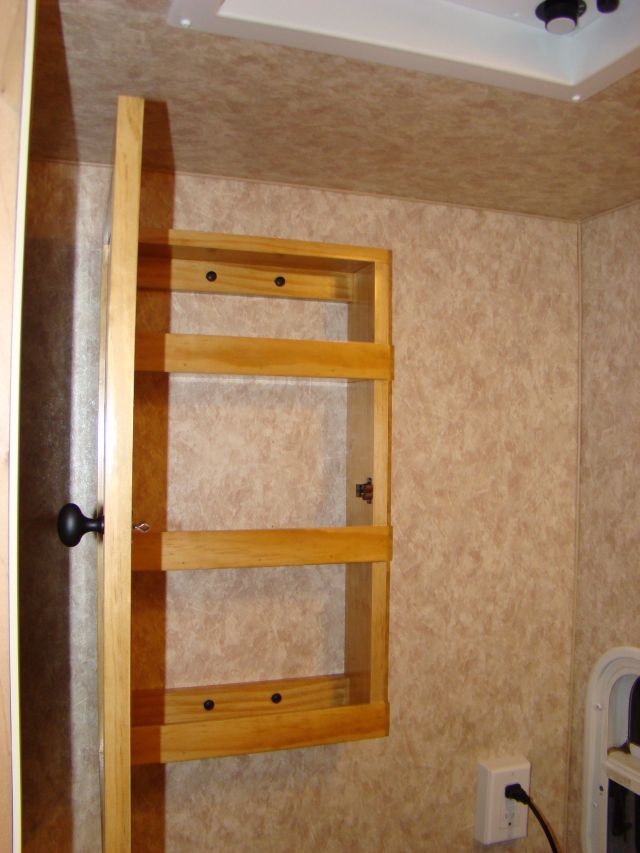
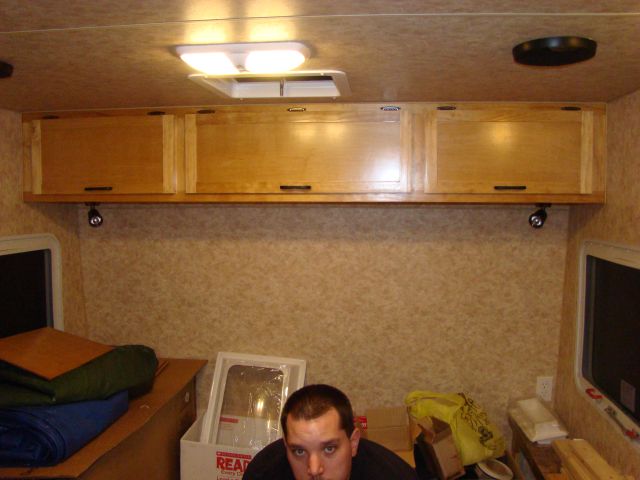
Installed the last two cabinet doors:
Swapped the old tongue jack for a side-crank model, moved the LP foward a few inches to make more room for the battery, and installed the battery:

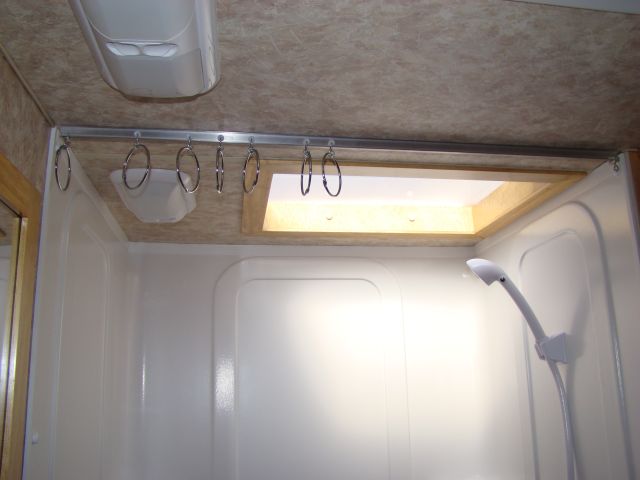
Shower curtain track and the inner skylight trim my brother made (they want $120 for those plastic ones!!)
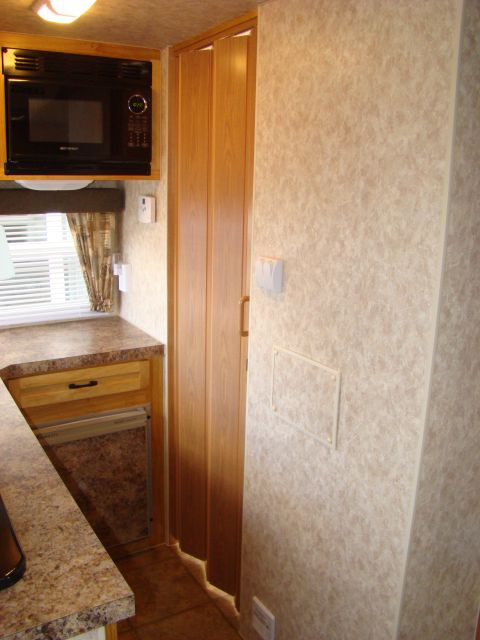
Accordian door for the bathroom:
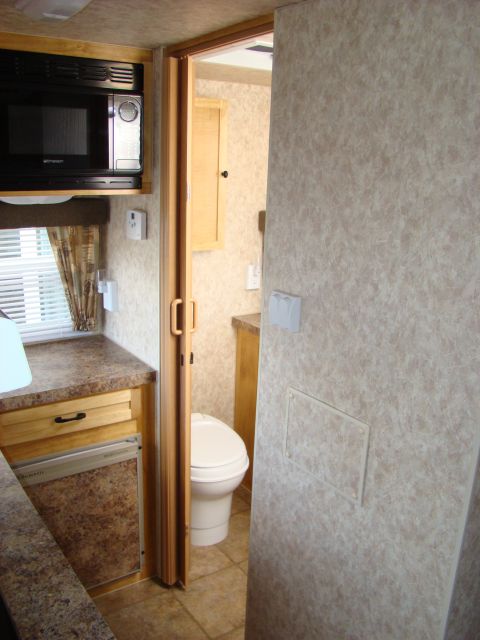
Closed:
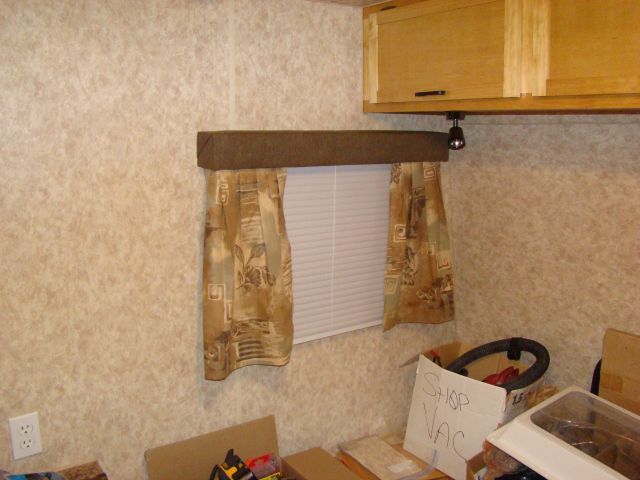
Bathroom curtains done:
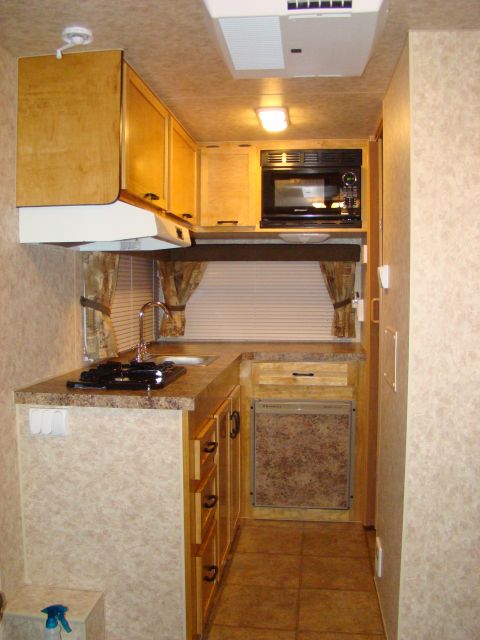
Galley curtains done:
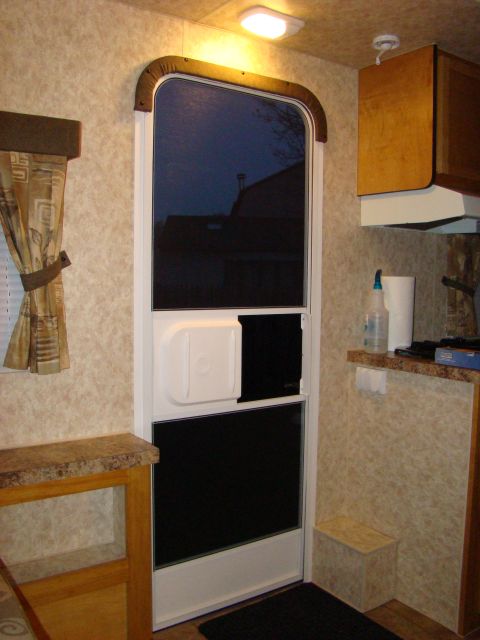
Entry door all trimmed out:
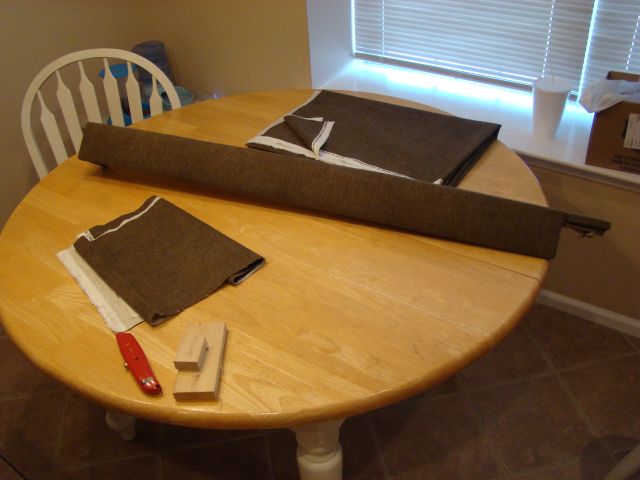
OK, finally on to my favorite part - the couch/bed! We bought upholstery fabric from one of the surplus dealers when we were in Elkhart. During the week I got it cut up and Kathy sewed up all the covers. Then I got started on the foam for the seating.
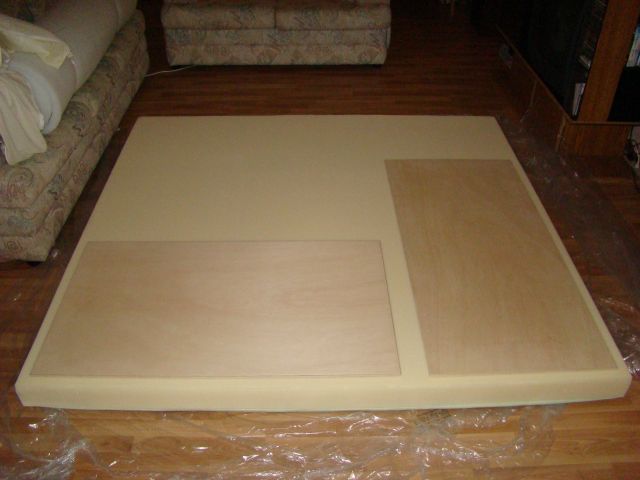
King size 6" memory foam mattress from Wally World being taken apart (much cheaper than buying foam seperately):

Figure out how best to lay out the pieces:
Making marks:
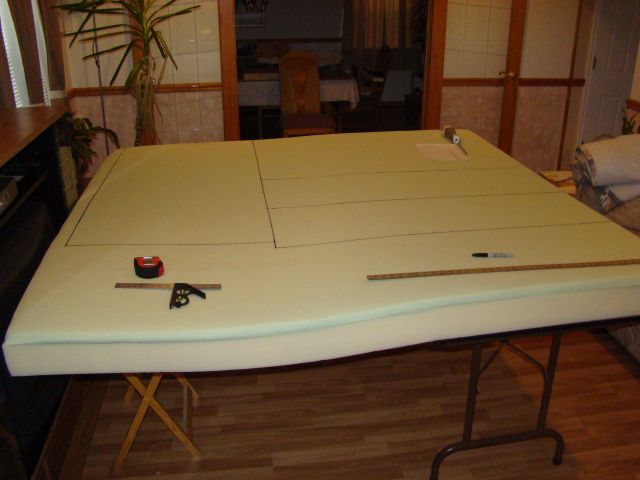
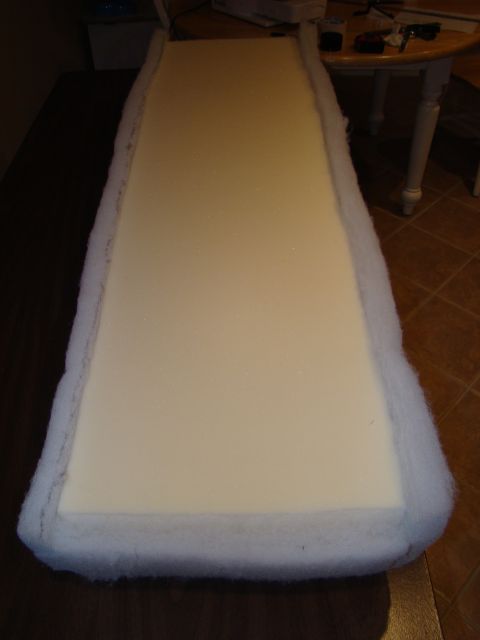
A little fun with the Electric Knife:
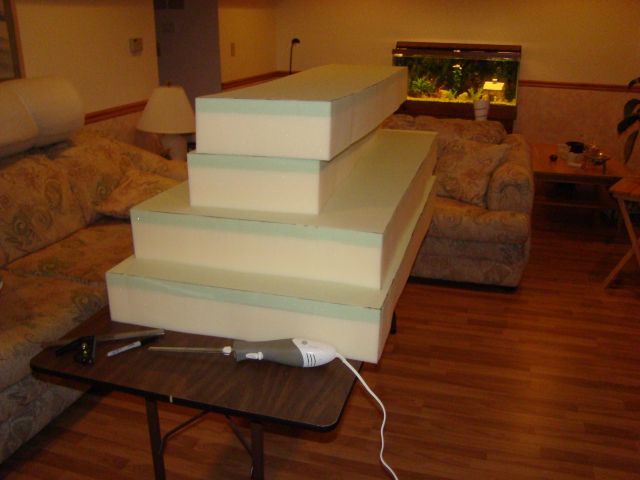
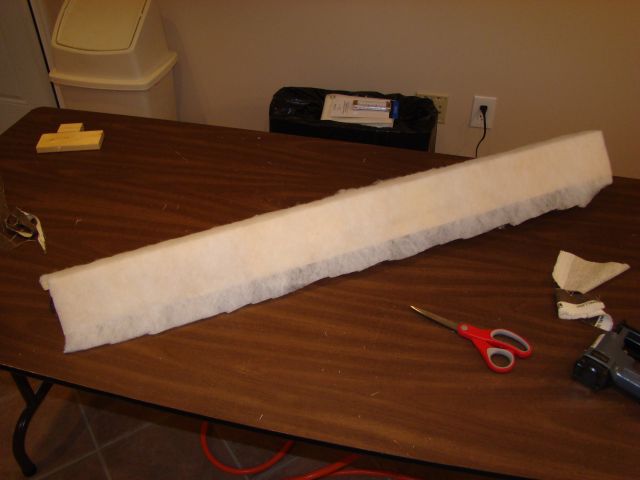
Wrap the foam blocks in polyester (or dacron or whatever the lady said it was):
Glue the foam to the plywood backing and stuff the cushions in:

Pull, tug, shoot 9million staples:

And it resembles a cushion!
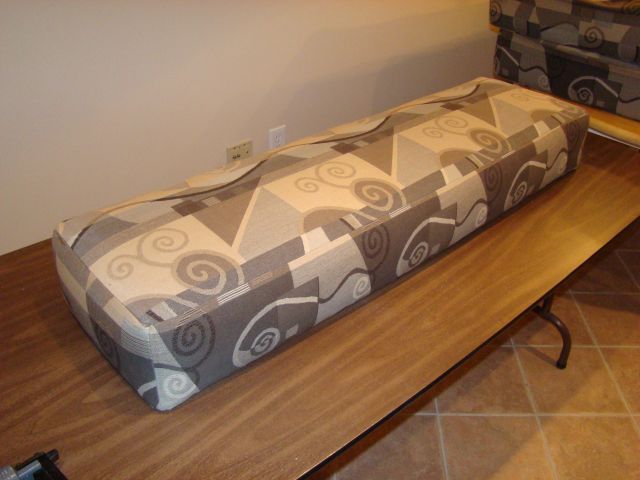
The big ones are even MORE fun..
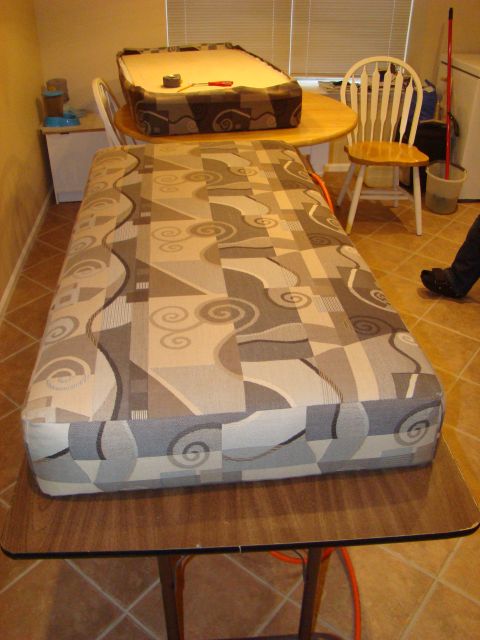
Repeat..
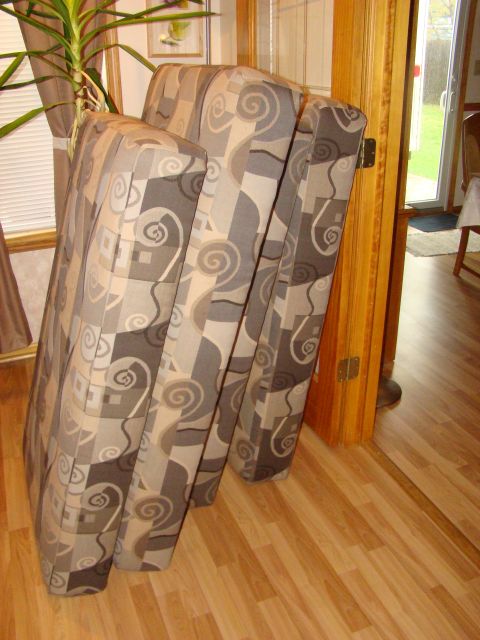
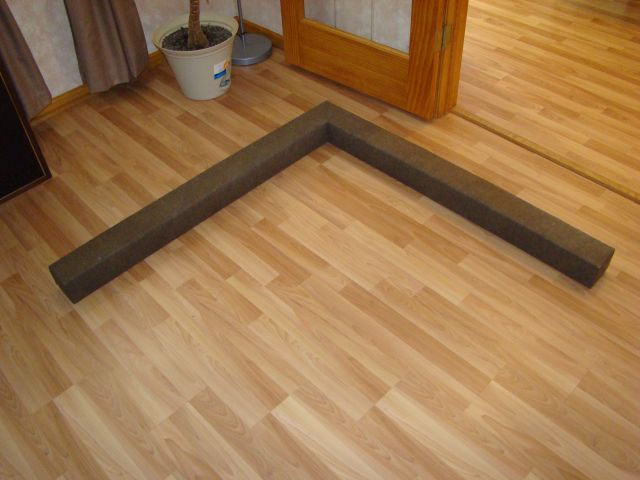
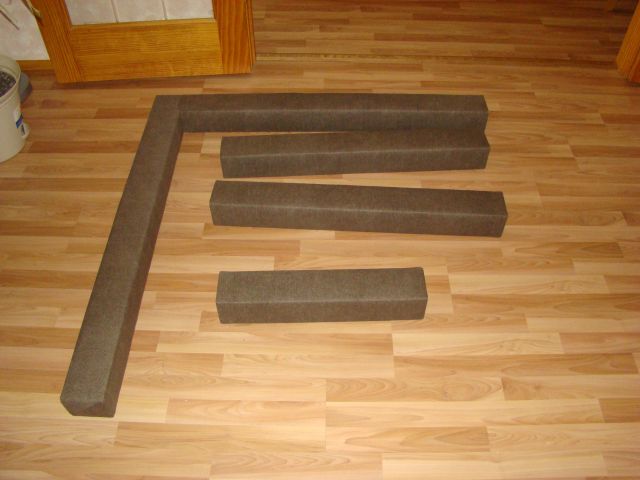
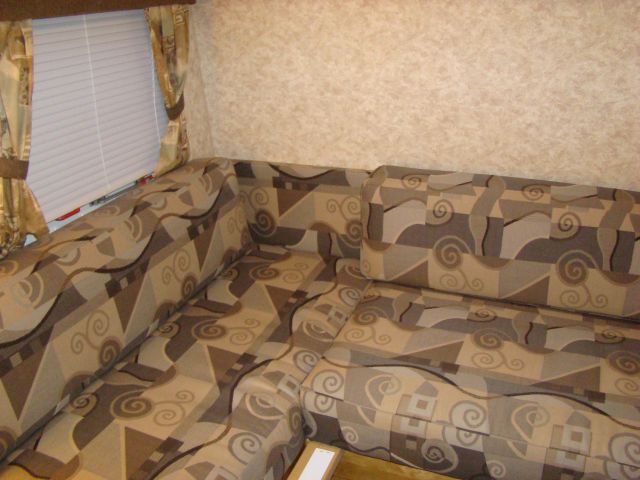
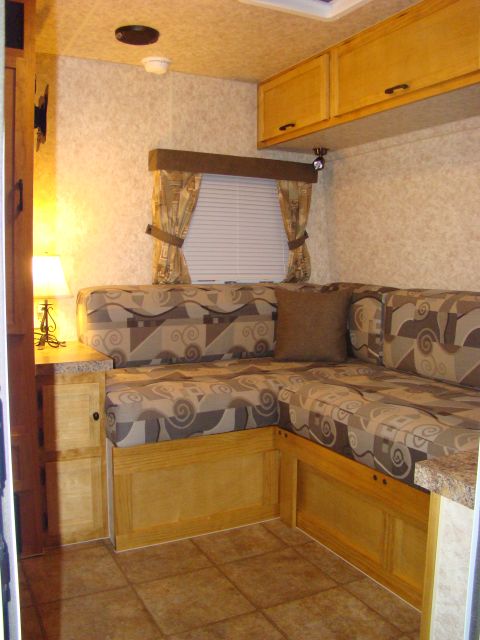
Cushions installed! Kathy made the little pillow from the same fabric I used on the valences.
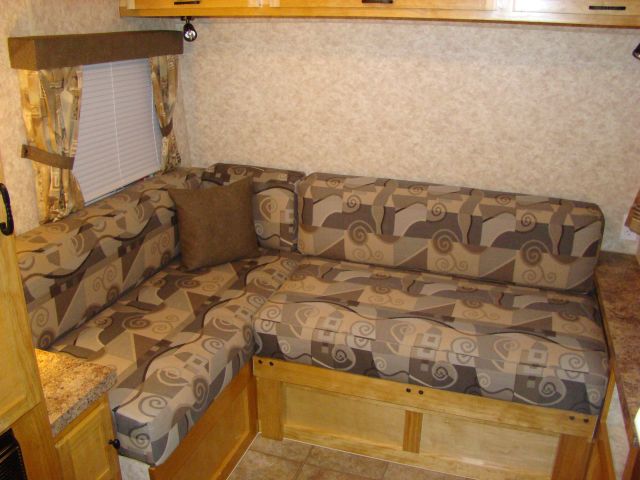
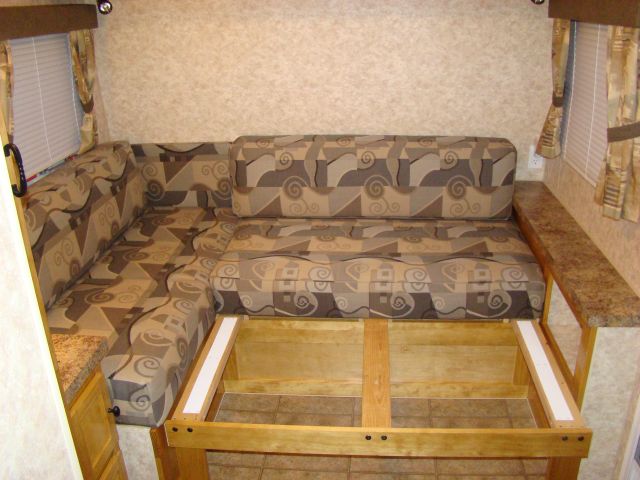
There's a piece of plywood wrapped in the upholstery fabric mounted across the front wall to keep the cushions vertical in couch mode. The 2 seat pieces + the 2 long backrests make up a full sized bed. There is a small gap with just those 4 cushions in couch mode, see here in the corner:
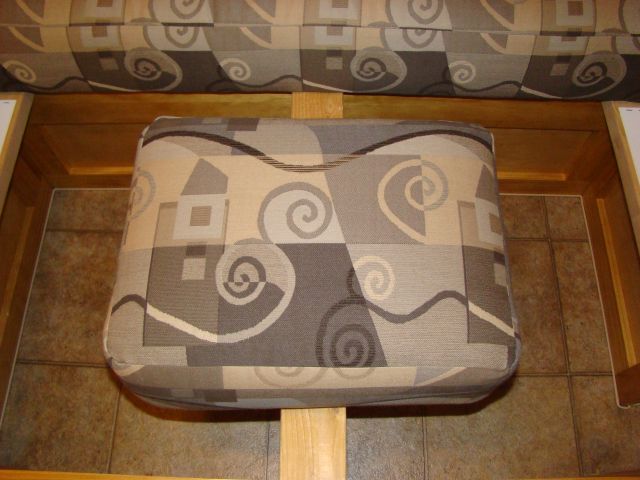
Made this little guy to fill that gap:
Installed pins on the 2 end sliding sections to lock it in or out:
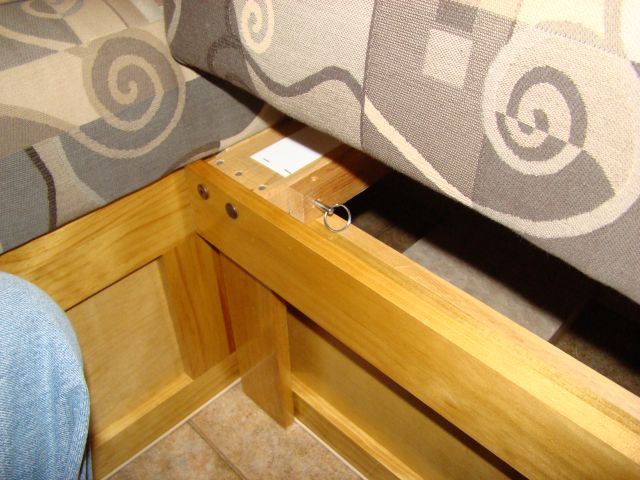
The white strips on the sliding section are pieces of "industrial strength" velcro. This keeps the backrests from sliding around in bed mode:
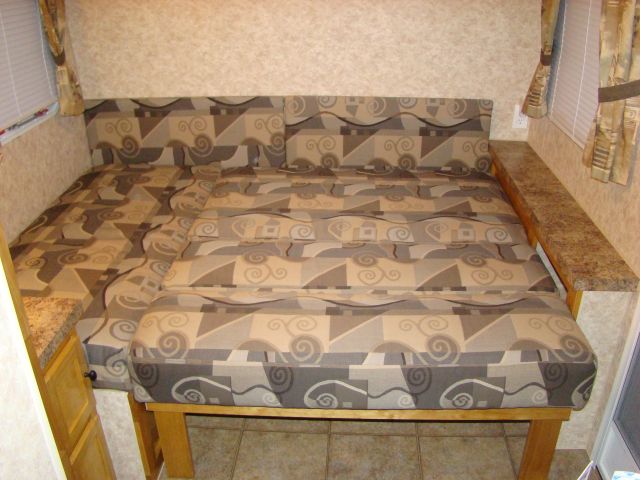
And here it is setup in bed mode. Takes less than a minute to pull the pins, slide the section out, replace the pins and drop the 2 backrests into place. The third little cushion just goes on the floor under the bed:
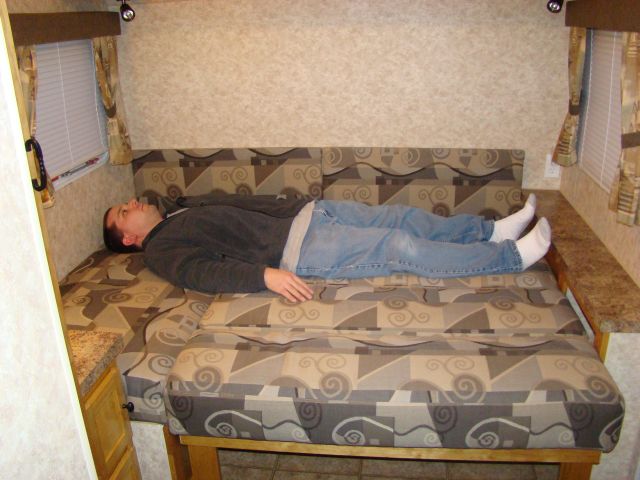
As a bonus, it's pretty comfortable in either configuration! My brother checking it out:
I made up a little 12V table lamp which looks neat on the table next to the couch. Unfortunately it kind of washed the picture out:
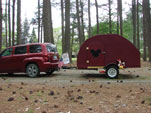
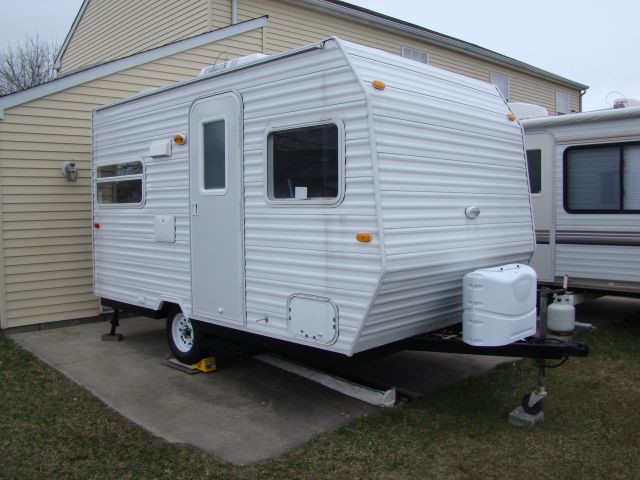
At this point, it is pretty much done (until mods come of course!). He backyard camped in it Saturday night, slept in the bed and used the shower in the morning. I need to put together a hitch ball and mount the sway control bar and get it to the scales. Then give it a really good cleaning inside and out, and he can load it and we'll head out somewhere. Eventually he wants to make up a matching folding table and add some shelves in the cabinets, but he will do that after he sees how it loads up. Pics in the woods ASAP!
- Frank

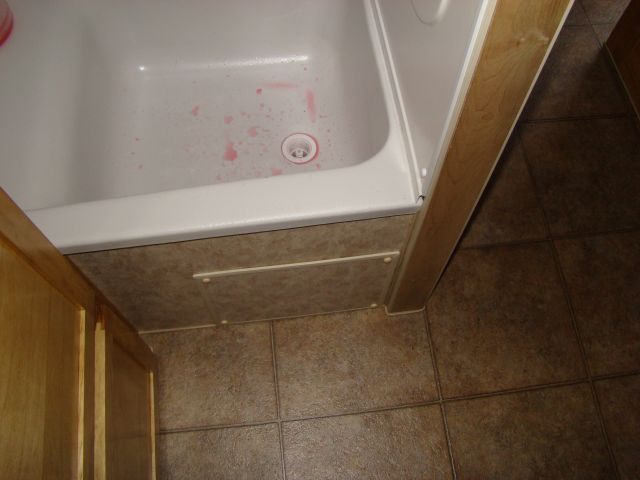
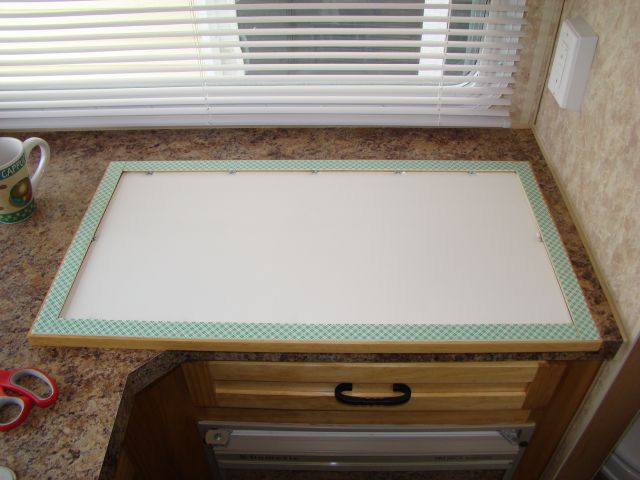
 The edges that meet with the paneling were trimmed in with FRP cap molding and the top was trimmed with that "sealing trim" they sell on a roll that is supposed to replace caulk (this stuff: http://www.magicamerican.com/magicbath/product/f31eb46c-9a4c-4140-bfe7-fb49d8fd2039.aspx). All said and done I'm happy with the way it turned out:


 Thanks for sharing it all.


 Yay, Frank! It's done and done well!!!!! Congratulations! Ya done really, really good!