Steel Raindrop Build

...ask your questions in the appropriate forums BUT document your build here...preferably in a single thread...dates for updates, are appreciated....

Steel Raindrop Build

Postby 16vvincent » Sat Nov 13, 2010 1:46 pm

So I just introduced myself in the newbie forum and I think it is time for me to start posting the build.
For those that missed the intro, my name is Vince and I live in Sacramento Cal.

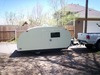
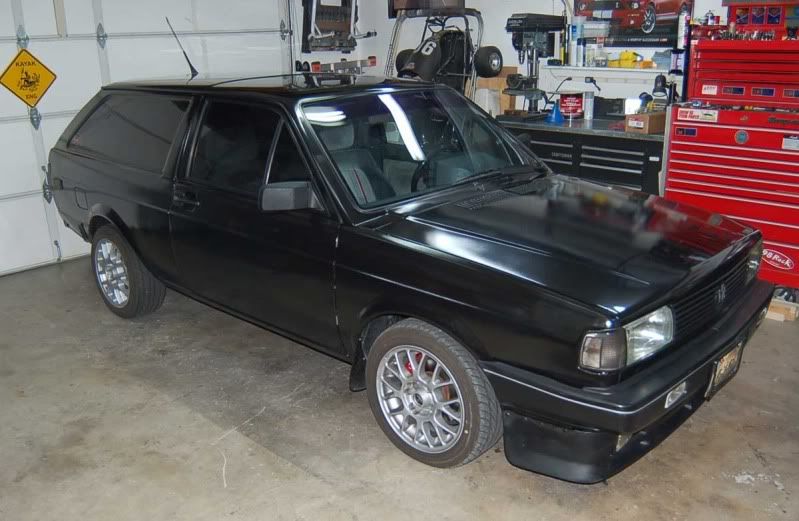
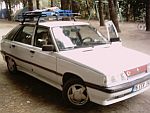
First the intended tow vehicle: It is a 1988 VW Fox Wagon. The car is getting kinda rare, has great carrying capacity, handles well, and gets decent gas mileage. It does NOT have a massive amount of excess power though and the trailer will have to be built with the cars dimensions in mind.
Image

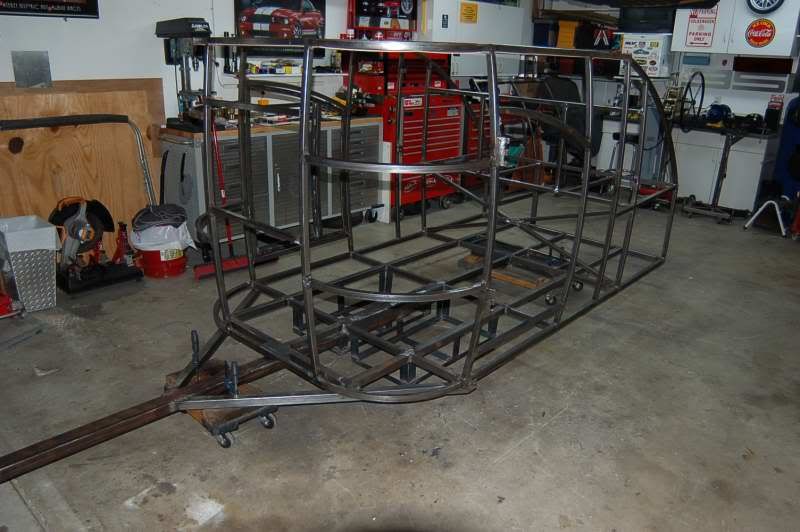
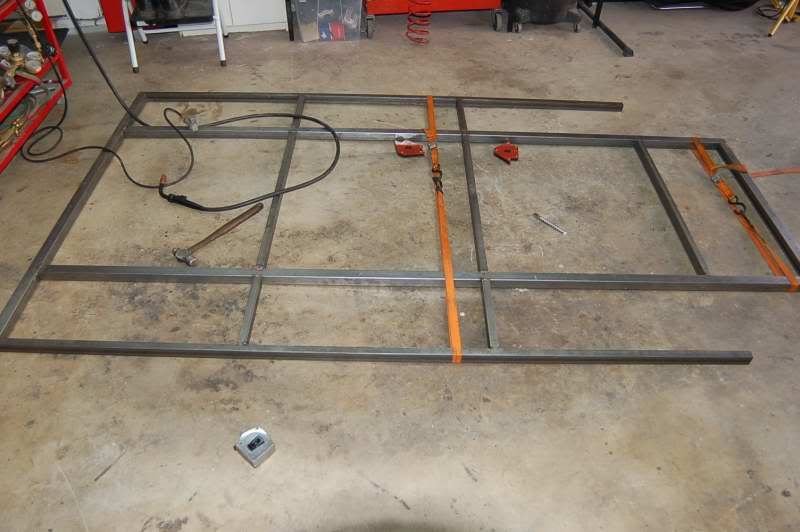
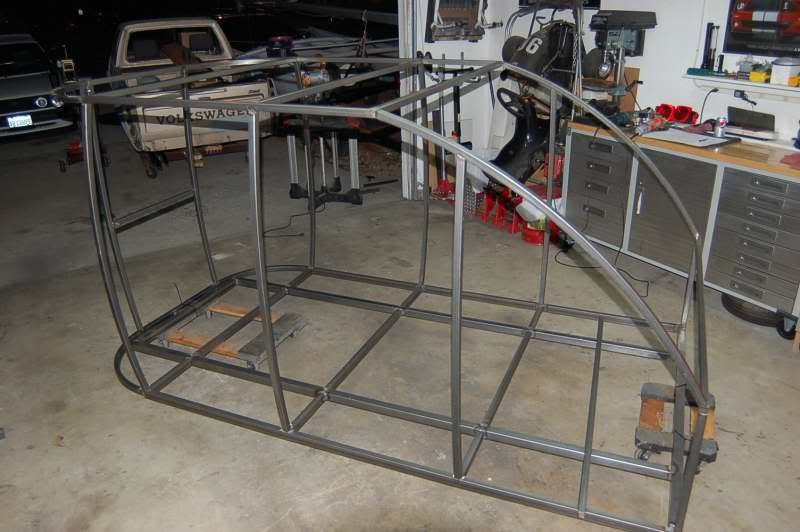
As for the build, it is a Raindrop style and all steel tube frame. Using this construction, I should be able to keep the weight down and the strength up. The build offically started on Sept 18 as that is the day that I bought the first load of tubing.

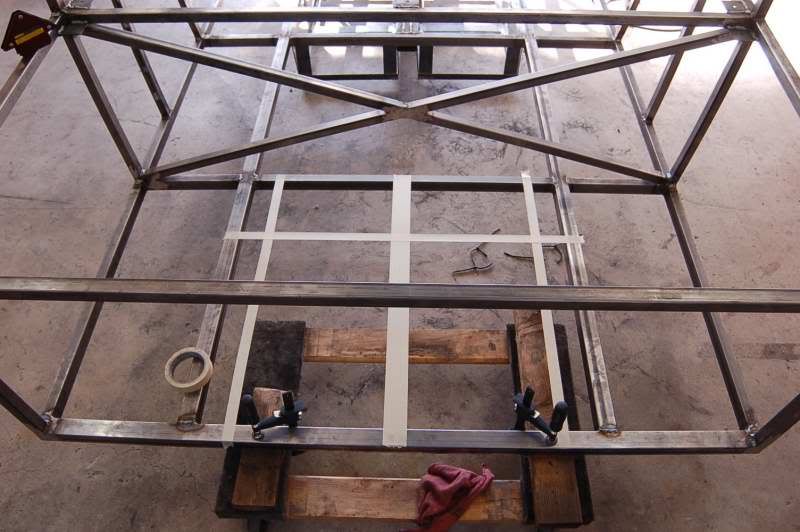
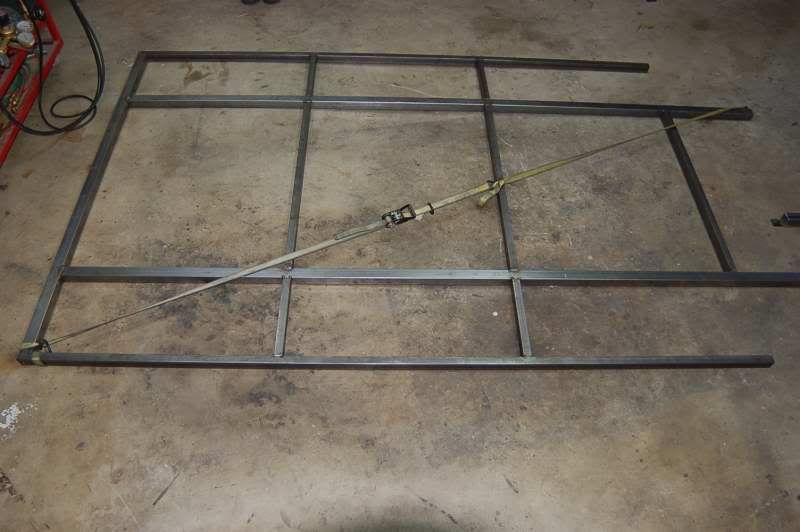
The floor of the frame is constructed out of two different size tubes:
1 1/2 x 1 1/2 and 1 1/2 x 1" tubing.
That may seem a little light for a lot of you, but with the construction method, I will gain a lot of strength in a third dimension.
The intended size of the trailer is to fit me (6'2") and still fit behind the car without a lot sticking out. The trailer will be 5'wide, 13' long (the body is 9') and about 6'6" tall at ride height.

Image
Image
Image

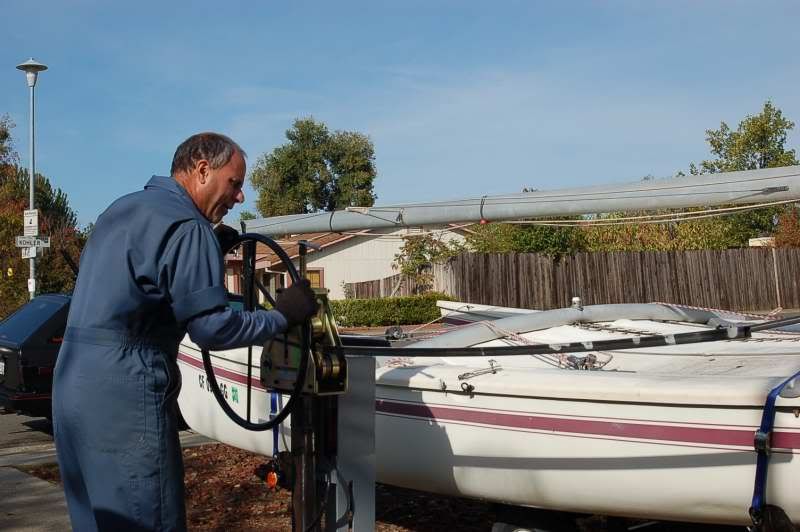
A shot of me, bending tubing. I am using a Harbor Frieght Tubing roller and a set of dies that I modified at work to work with 1" sq tubing.

Image

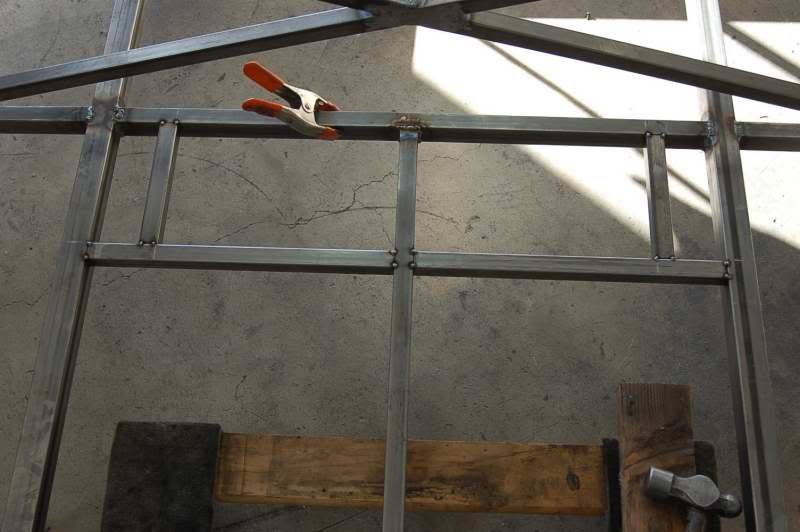
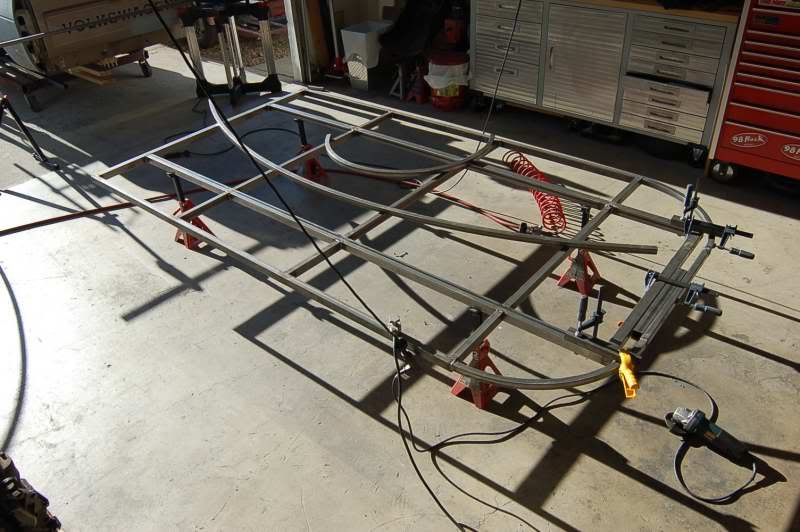
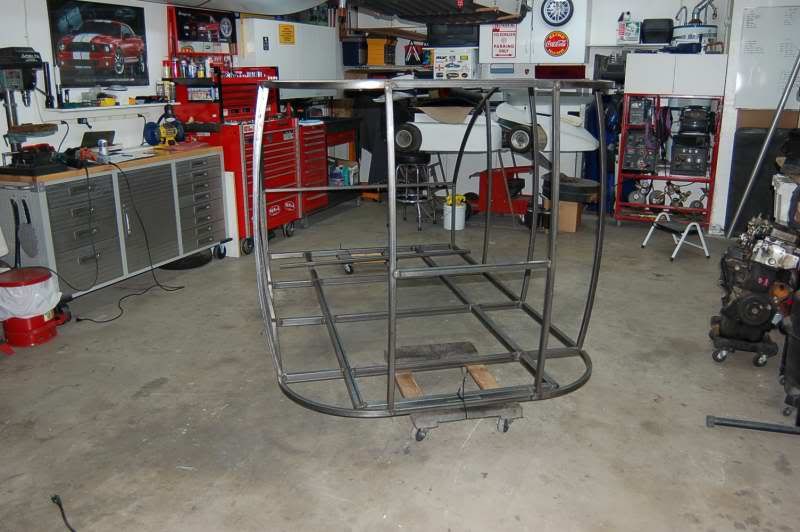
And what I bent the tubing to do:

Image

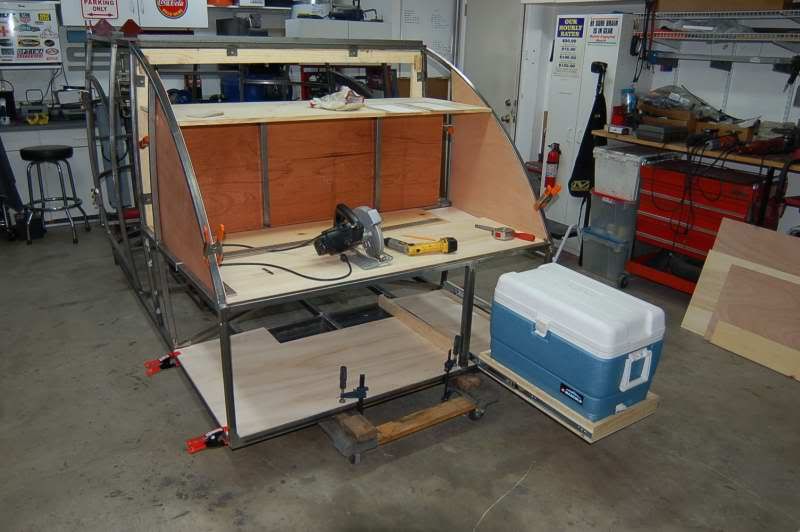
The shape is defined by a set of windows that I salvaged out of a wrecking yard off of a couple of conversion vans. The problem is, the glass is curved and therefore I had to make the sides curved. But I am liking the result more and more.

Image
Image

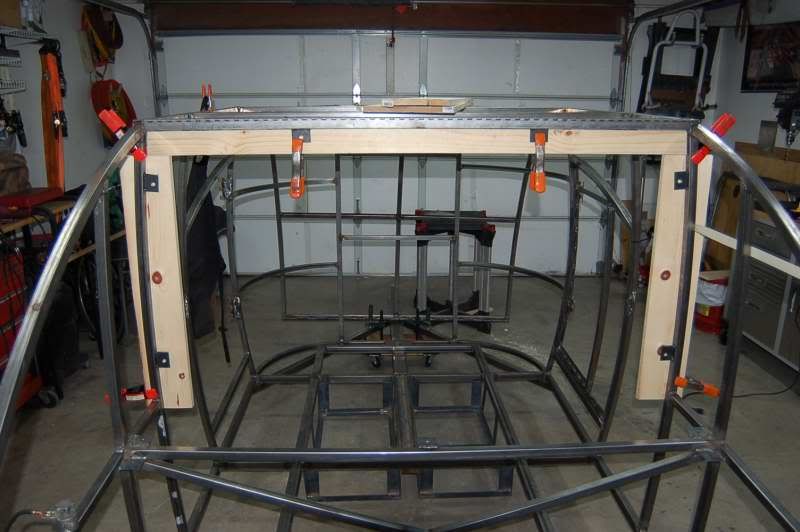
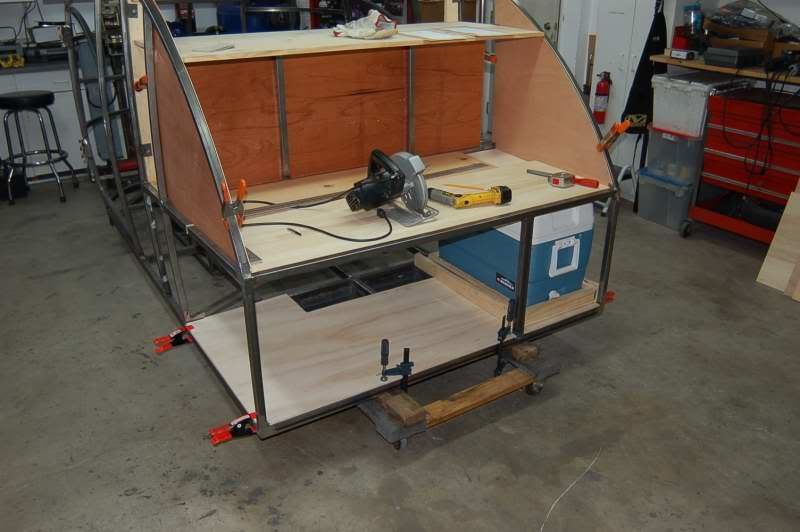
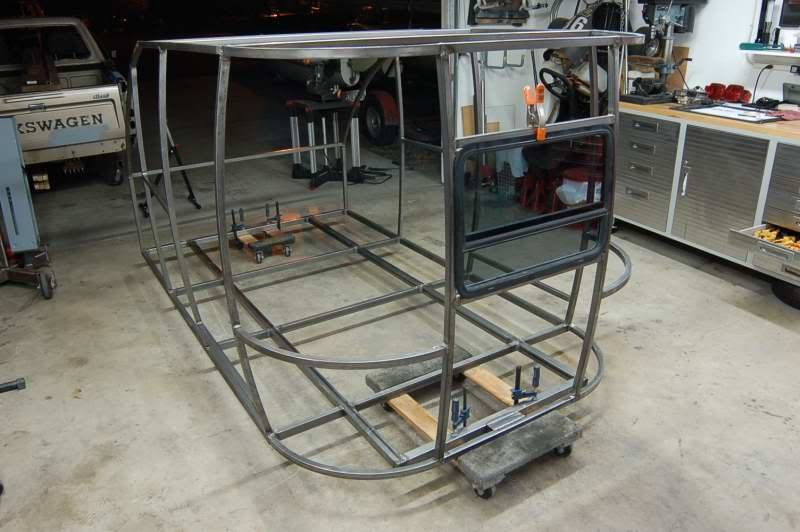
And a shot with the front window placed in its opening.

Image

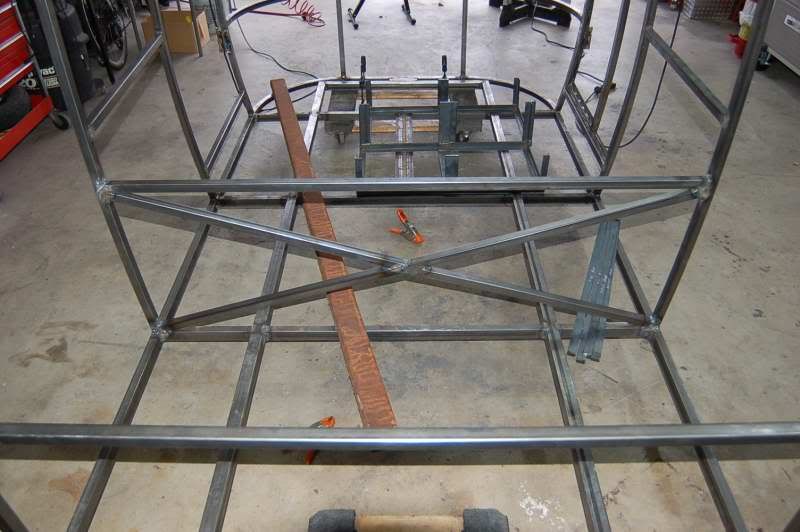
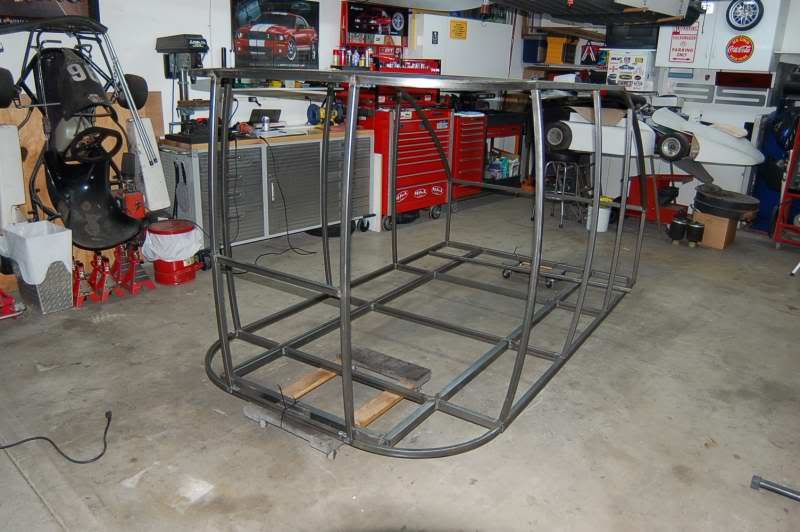
At this point in time, I can pick up the entire frame with no problem, figure about 80 pounds. You can also see the profile that I am trying to acheive.
16vvincent
Teardrop Inspector
 
Posts: 17
Joined: Sat Nov 13, 2010 1:17 am
Location: Sacramento California

Postby bve » Sat Nov 13, 2010 2:09 pm

Very cool, I'll be watching this one for sure.

Looks like you are into all kinds of toys there too :)
Burke

KISS > COMPLEX
Image
Image

Build threads converted to PDFs.
As of 2008-08-08 I have added more build threads to the pdf collection
User avatar
bve
500 Club
 
Posts: 694
Images: 98
Joined: Sat Aug 25, 2007 1:44 am
Location: Edmonton, Alberta, Canada

Postby YuGun » Sat Nov 13, 2010 2:32 pm

W O W
Looks very good.
User avatar
YuGun
The 300 Club
 
Posts: 445
Joined: Sun Apr 11, 2010 1:25 pm
Location: Turkey
Top

Postby TurboandMe » Sat Nov 13, 2010 2:43 pm

Sweet! Love the curved walls! Nice Hobie....16'? I've got a Prindle 18' that has been alot of fun. I look forward to seeing your build progress.
Chateau Le Cargo build: Now for sale!
viewtopic.php?t=40569
User avatar
TurboandMe
Teardrop Builder
 
Posts: 49
Images: 41
Joined: Tue Sep 21, 2010 9:05 am
Location: Denver, CO
Top

Postby Steve_Cox » Sat Nov 13, 2010 2:43 pm

Hello Vince,

Nice frame :thumbsup: 80# very cool indeed 8)
Steve
User avatar
Steve_Cox
4000 Club
4000 Club
 
Posts: 4903
Images: 196
Joined: Sun Apr 03, 2005 8:46 am
Location: Albuquerque New Mexico
Top

Postby angib » Sat Nov 13, 2010 2:44 pm

That's looking very nice and the side curvature will look particularly good.

But... you've got panels on the front corners that have tight horizontal curve plus the gentle vertical curve - and that means double curvature, so you won't get any sheet material to bend like that.

Options are:
- Spend five years acquiring the skill to use a wheel roller (an "English" wheel in the US?) so you can form metal skins to fit right.
- Make the corners out of cold-molded ply strip in you're skinning in plywood.
- Split the corners into three, four or even five horizontal strips (which is what Airstream do in exactly this situation).
- Have one-piece corners with a nasty great wrinkle right across the middle - but we can discount that idea, yeah?
User avatar
angib
5000 Club
5000 Club
 
Posts: 5783
Images: 231
Joined: Fri Apr 30, 2004 2:04 pm
Location: (Olde) England
Top

Postby nevadatear » Sat Nov 13, 2010 2:55 pm

Looking wonderful! My one concern, like our friend from across the pond says, is what you save on the windows to use the salvaged ones, you may end up spending on skinning the wonderful two direction curves you got there! Either in material or machinery to make it work. Anyway, a great learning curve for you and a beautiful trailer when you get it done. Will be fun to watch the progress. :roll: Maybe this is one of the fiberglass over fabric or cardboard situations?
Debbie (with Randy looking over my shoulder)
Our build thread: http://www.tnttt.com/viewtopic.php?t=41295&highlight=monstero
2009 Homebuilt woody, Kenskill inspired 5 wide
ImageImage
User avatar
nevadatear
Silver Donating Member
 
Posts: 2365
Images: 171
Joined: Mon Nov 10, 2008 2:37 pm
Location: No. Nevada
Top

Postby parnold » Sat Nov 13, 2010 2:59 pm

Sweet! :thumbsup: :thumbsup:

I can't wait to see how this progresses!
User avatar
parnold
Donating Member
 
Posts: 2344
Images: 302
Joined: Mon Feb 08, 2010 4:49 pm
Location: Northwest New Jersey
Top

Postby Steve_Cox » Sat Nov 13, 2010 3:17 pm

I would bet Vince has skills we are not yet aware of :lol:
Steve
User avatar
Steve_Cox
4000 Club
4000 Club
 
Posts: 4903
Images: 196
Joined: Sun Apr 03, 2005 8:46 am
Location: Albuquerque New Mexico
Top

Postby Weirdnerd » Sat Nov 13, 2010 4:43 pm

Seeing what the other guys have mentioned ( tight radius/complex curves) you could make the front corners out of fiberglass, only 90 degrees to match front and sides, as far as I know it could be the easier way out... Really nice design!
This is my build thread...
Weirdnerd's teardrop
User avatar
Weirdnerd
The 300 Club
 
Posts: 318
Joined: Thu Sep 23, 2010 3:03 pm
Location: Denver, Co ( USofA)
Top

Postby 16vvincent » Sat Nov 13, 2010 6:30 pm

Thanks everyone for the votes of confidance. Lets see if I can answer all the questions:

Hobie 18 and I love the boat.

Lots of toys indeed. I am a gokart racer and have been for some time. The one that you see in the background is a 250 SuperKart and is a absolute kick in the a--.

I have considered the bidirectional curves in the front corners, but I intend to skin it in layers. As for the English Wheel, I do know how to use and have access to one, but I don't intend to spend that much time on panels. Layer the sheet from bottom to top and with an epoxy sealer between the panels, I don't expect any problems.

I have also considered using 'glas but have had problems with combining glass and sheet without cracking.
16vvincent
Teardrop Inspector
 
Posts: 17
Joined: Sat Nov 13, 2010 1:17 am
Location: Sacramento California
Top

Postby 16vvincent » Sat Nov 13, 2010 6:44 pm

And back to the build (I have about 2 months of stuff to post up to get everyone caught up to where I am right now),

Underfloor storage: Just simple angle iron welded below floor level.

Image

Image

And battery trays: Two batteries mounted behind the axle location and after the rear bulkhead. Not fully below floor level. but low enough to have a positive effect on the Cg.

First layout:

Image

Then top framing:

Image

And a shot of the rear bulkhead: The diagnoials greatly increase the torsional strength of the frame without increasing the weight much at all.

Image

I need to take a photo of the battery trays as completed, stay tuned.

And a shot of the completed frame before I started the wood working:

Image

Right now she is at about 200 pounds, that includes all the mounting tabs for the wood and the tongue (which is heavy wall 2x3 tube and weights a ton on its own)
16vvincent
Teardrop Inspector
 
Posts: 17
Joined: Sat Nov 13, 2010 1:17 am
Location: Sacramento California
Top

Postby 16vvincent » Sat Nov 13, 2010 6:51 pm

Cabinets:

First the interior framing:

Image

And how they are mounted to the steel frame:

Image

The completed shelving:

Image

And doors: The doors are made with 1/2" Ply to help keep the weight and cost down. The material is left over from the flooring.

Image
Image
16vvincent
Teardrop Inspector
 
Posts: 17
Joined: Sat Nov 13, 2010 1:17 am
Location: Sacramento California
Top

Postby 16vvincent » Sat Nov 13, 2010 7:00 pm

And the kitchen side:

First the floor of the kitchen: Made with 1/4" ply with a 2.5mm luan backing glued on the underside. The drawer track supports are 2 1/2" pine screwed from the underside.

Image

And the center drawer: Just a 2 1/2 pine open top box with 1/4" ply base.

Image

The Stove box: Open:

Image

And closed:

Image

And the cooler drawer:

Image
Image

And holding a little weight: Just for testing purposes!

Image

And all of the drawers extended:

Image
16vvincent
Teardrop Inspector
 
Posts: 17
Joined: Sat Nov 13, 2010 1:17 am
Location: Sacramento California
Top

RE: Compound/Double Curvature

Postby mezmo » Sun Nov 14, 2010 3:37 am

Hi 16vvincent,

Great build and documentation! It should turn out fantastic, if only
based on how the "bones" look so far. You're making great progress
too from the looks of the posts.

RE: Double curvature/compound curvature/bidirectional curvature.
Andrew brought up the concern, and it sounds like you also have a plan,
but I thought I'd mention that it might be useful to look into the Eriba Puck
for possible ideas or a solution.

It is basically similar to what you are doing. It uses a smaller size curved
square tube steel framing covered with compound curve aluminum sheets.

Here's a link to the current site:

http://www.hymer.com/cms/DE/Caravans/Touring.html

Also type in 'Eriba Puck' into google images and see what I mean - if
you're not already familiar with them.

Better references would probably be anything you could Google on the
older models - especially anything on their restoration. I recall seeing
some posts on that somewhere, sometime, but can't ferret them out
at the moment. Maybe you could locate replacement panels for them
that you may be able to adapt for your purposes?

And off the top of my head, maybe fellow forum member Reba Puck
would have some suggestions on restoration sites/sources too.

Looking forward to your future build posts,

Norm/mezmo
If you have a house - you have a hobby.
User avatar
mezmo
1000 Club
1000 Club
 
Posts: 1817
Images: 194
Joined: Fri Jan 01, 2010 4:11 am
Location: Columbia, SC
Top

Next

Return to Build Journals

Who is online

Users browsing this forum: No registered users and 6 guests