Everyone Starts somewhere! Looking good. I'm building a Small trailer now as a predecessor for my Big build later this year.
I'm actually going to build a trailer instead of buying one. I came across a 3500#, 4" drop axle with Brakes on craigslist for $50. Can't beat that with a stick.
Hope to see more soon! Good luck on the build.
M<
Teardrops n Tiny Travel Trailersor t n ttt for short (tnttt.com) |
Weekender status - 1st camping (update 10-21-12)
Re: The build begins (modified Weekender)!
![]() by mtrmth » Mon Mar 12, 2012 9:34 pm
by mtrmth » Mon Mar 12, 2012 9:34 pm
No matter how bad it gets, remember, it could always be worse. Always keep your chin up!
Motorcycle Weekender - http://www.tnttt.com/viewtopic.php?t=48271
Motorcycle Weekender - http://www.tnttt.com/viewtopic.php?t=48271
- mtrmth
- Teardrop Inspector
- Posts: 17
- Images: 27
- Joined: Wed Dec 07, 2011 10:12 am
Re: The build begins (update 3-15-12)
![]() by les45 » Thu Mar 15, 2012 6:29 am
by les45 » Thu Mar 15, 2012 6:29 am
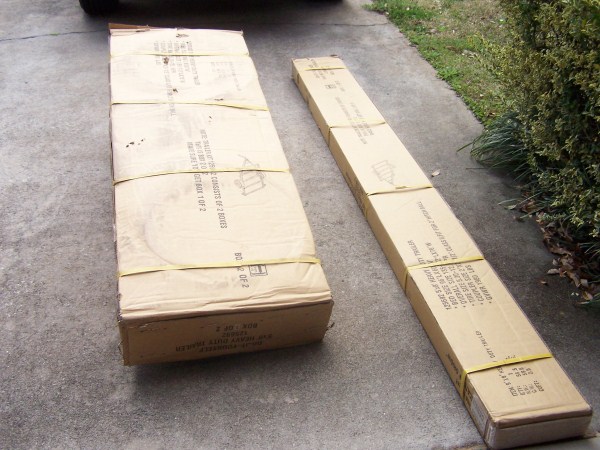
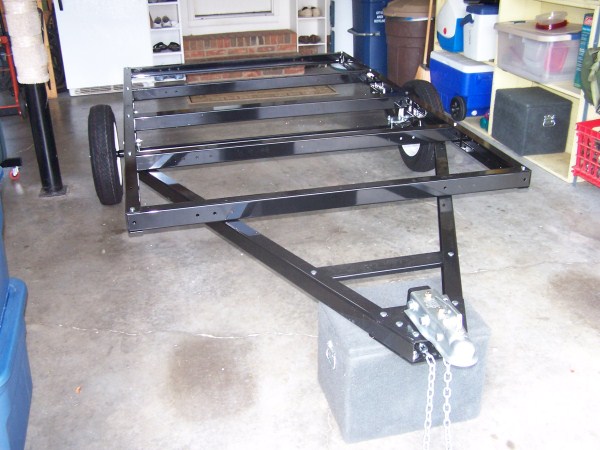
After some distractions, I finally started construction of my weekender this week. After hearing horror stories about delivery damage and missing parts, I was relieved to see everything in good shape and nothing missing. I guess it helped that the NT distribution center was only about 100 miles away in Ft. Mill, SC. The assembly was pretty much straightforward until I got to the part where you flip the frame to install the axle and springs. I didn't have a helper that day so I kept the frame upright and did it upside down from the directions with the help of a trolley jack. Actually I think that might have been easier than flipping it even if I had a helper. I did not install the lighting or fenders at this time. I plan to run the trailer wiring in conduit through the cabin and all my lights will be mounted on the shell. Also I plan to replace the round fenders with angular fenders to match the lines of the weekender. I replaced the grease in the hubs with something called "Red and Tacky". It is a high temp grease favored by a lot of boaters. Also replaced the painted coupler with a zinc plated Reese coupler. Just a cosmetic issue there as I think the light coupler looks better with the black frame. One minor problem with the coupler that I'll explain in the pics below:
Boxes received in good shape:
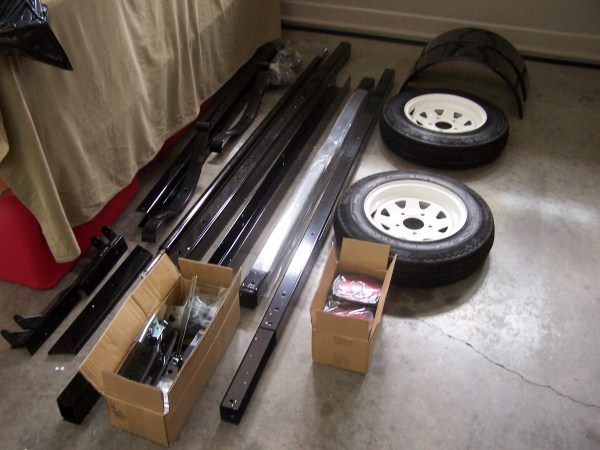
All the parts:
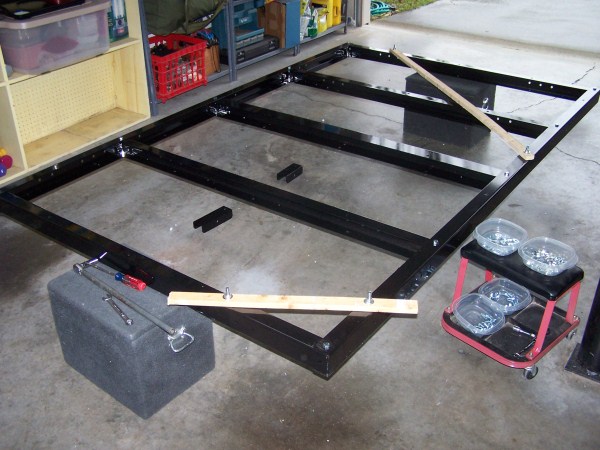
Squaring the frame:
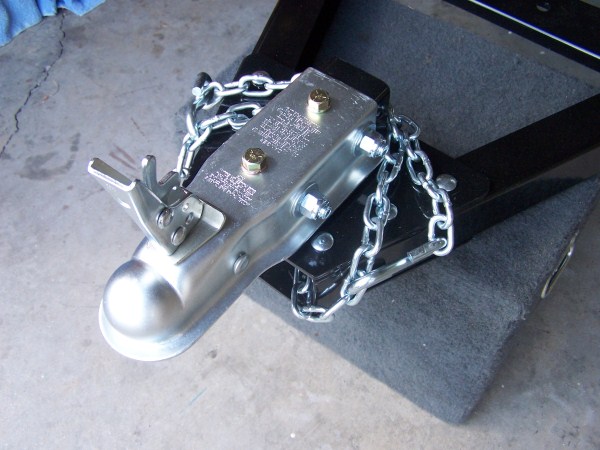
Different coupler (while the main horizontal bolt holes lined up OK, the vertical or top bolt holes were off just enough
that the one 1/2" bolt that was to be installed there would not go; instead, I installed two 7/16" bolts)
This is as far as I go with the frame for now. Sawdust starts flying next with the installation of the floor.
Boxes received in good shape:
All the parts:
Squaring the frame:
Different coupler (while the main horizontal bolt holes lined up OK, the vertical or top bolt holes were off just enough
that the one 1/2" bolt that was to be installed there would not go; instead, I installed two 7/16" bolts)
This is as far as I go with the frame for now. Sawdust starts flying next with the installation of the floor.
-
les45 - 500 Club
- Posts: 974
- Images: 605
- Joined: Sat Feb 25, 2012 8:57 am
- Location: Aiken, South Carolina


