You're really moving with this thing now Mike!!!
Our neighbors had their big party yesterday also. Live band and all. I enjoyed the music while I put primer on my teardrop!!!
Rockhopper - Solutions!
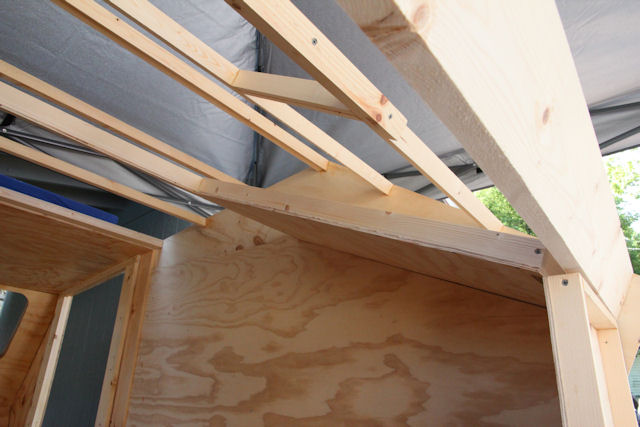
Re: Rockhopper - back wall installed!
![]() by Oldragbaggers » Sun Jul 01, 2012 8:14 am
by Oldragbaggers » Sun Jul 01, 2012 8:14 am
Life is sooooo good.........
Sail...camp....bike...repeat
Becky
Build Journal http://www.tnttt.com/viewtopic.php?f=50&t=45917
Visit our blog at http://www.oldragbaggers.com
Sail...camp....bike...repeat
Becky
Build Journal http://www.tnttt.com/viewtopic.php?f=50&t=45917
Visit our blog at http://www.oldragbaggers.com
-

Oldragbaggers - Gold Donating Member
- Posts: 1842
- Images: 331
- Joined: Mon Aug 01, 2011 9:22 pm
- Location: Essex, MD
Re: Rockhopper - back wall installed!
![]() by pappaw » Sun Jul 01, 2012 9:42 am
by pappaw » Sun Jul 01, 2012 9:42 am
that's one neat camper Mike 
Cheers
Cheers
 Cheers from Granny, Pappaw, and Cocoa (the Dachshund)
- pappaw
- Teardrop Master
- Posts: 240
- Images: 14
- Joined: Mon Nov 22, 2010 12:15 pm
- Location: S.W.Ohio