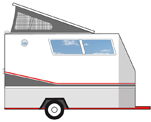
mikeschn wrote:The back end is going to get finished off like the Escape Hatch Winter Warrior...
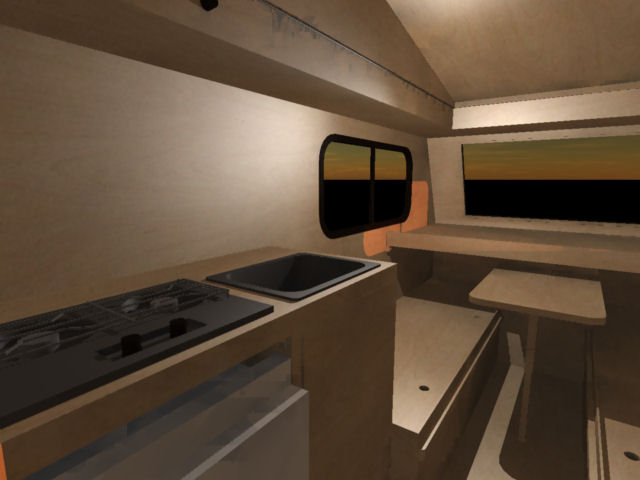
For the inside, I am thinking something like Andrew's Compact design...
Mike...
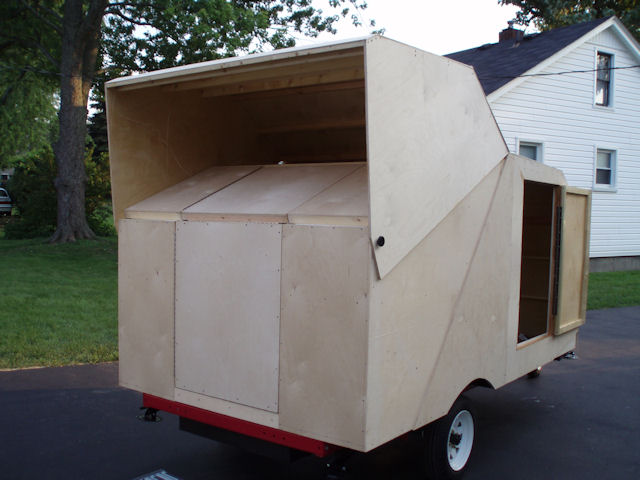

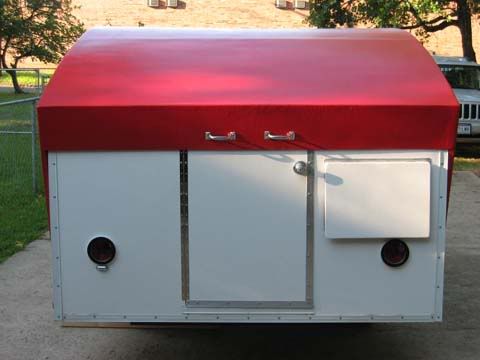
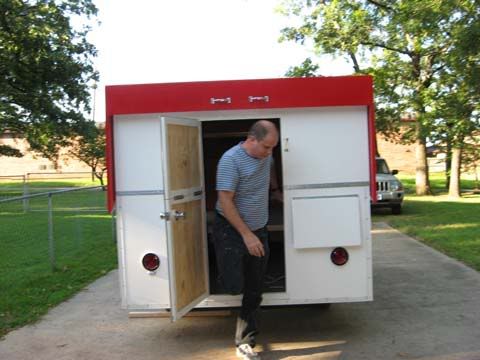
Man you have lots of head room in the back half of the trailer. Very nice and it looks like your folding door is going to be nice and sturdy. What is the reason for have a second little side door? It looks like those in bed can get out of bed and stand up. The side door appears to simply be a remnant from making teardrops.


 Must have more pics