Dave, Sharon and Twisted,
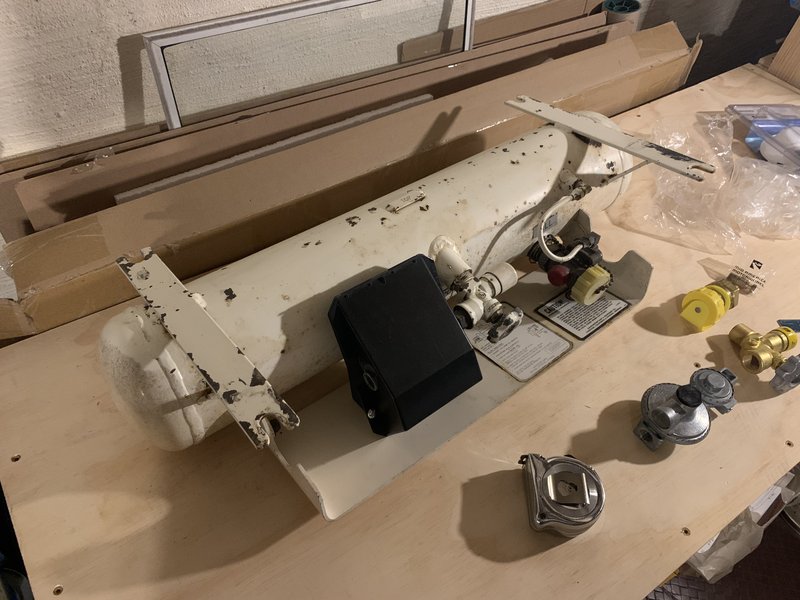
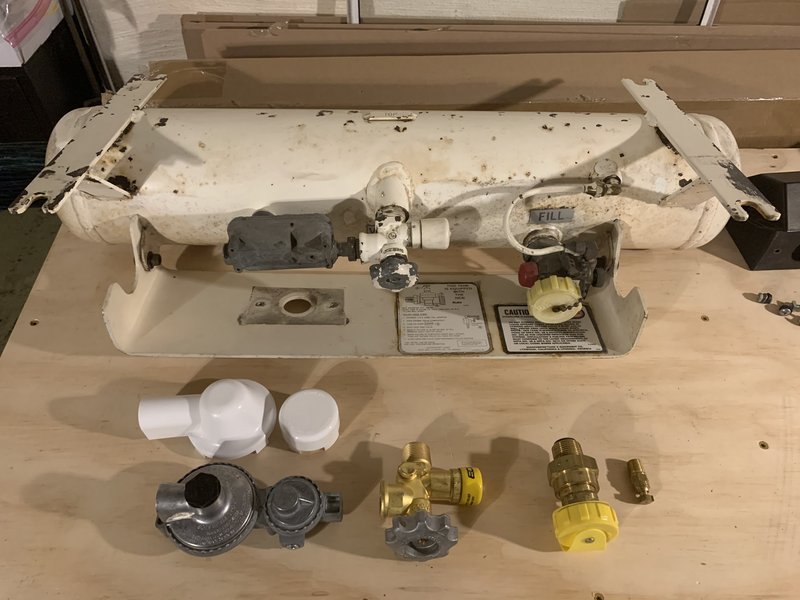
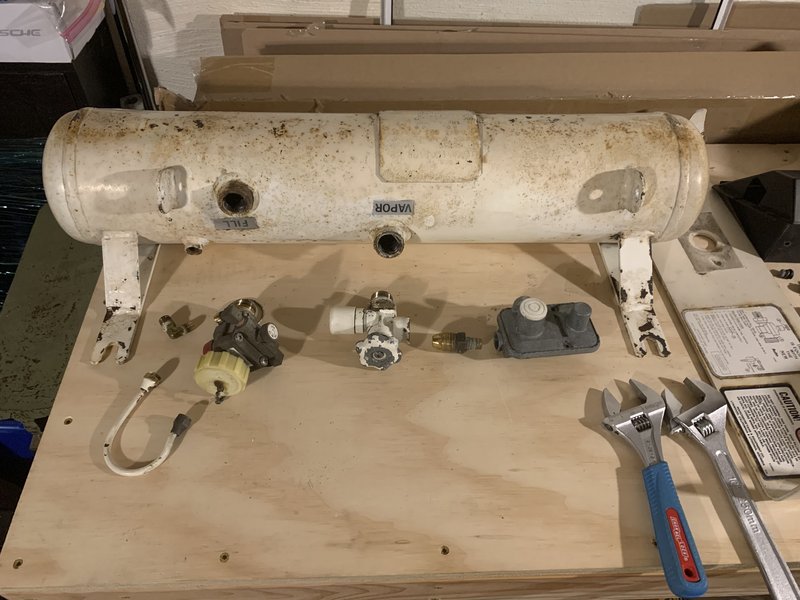
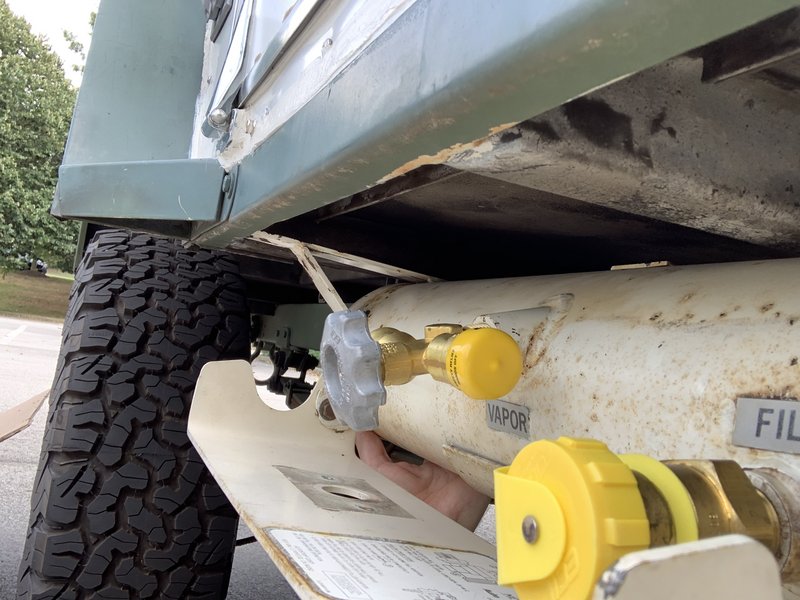
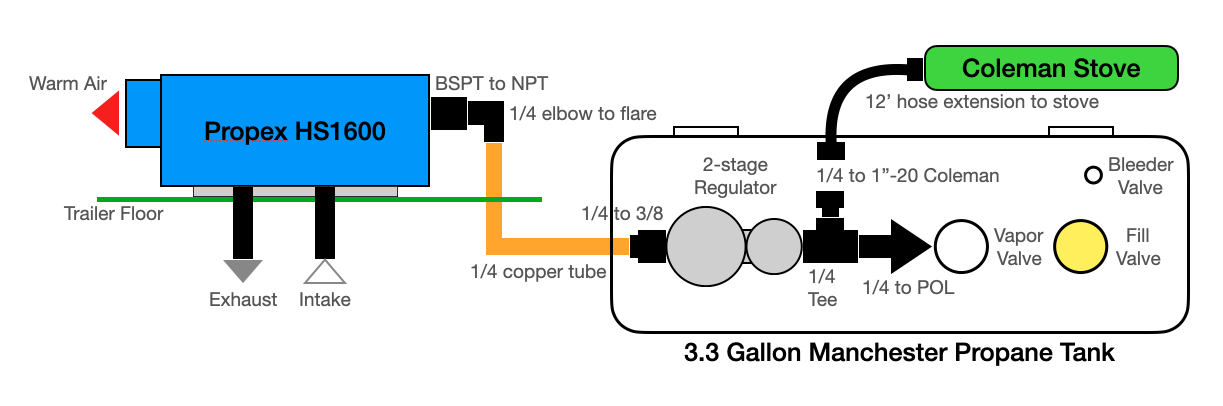
Thanks for your recommendations for the propane tank. Safety is my first priority too, and even though it looks great in photos, it is a 33 year old tank after all.
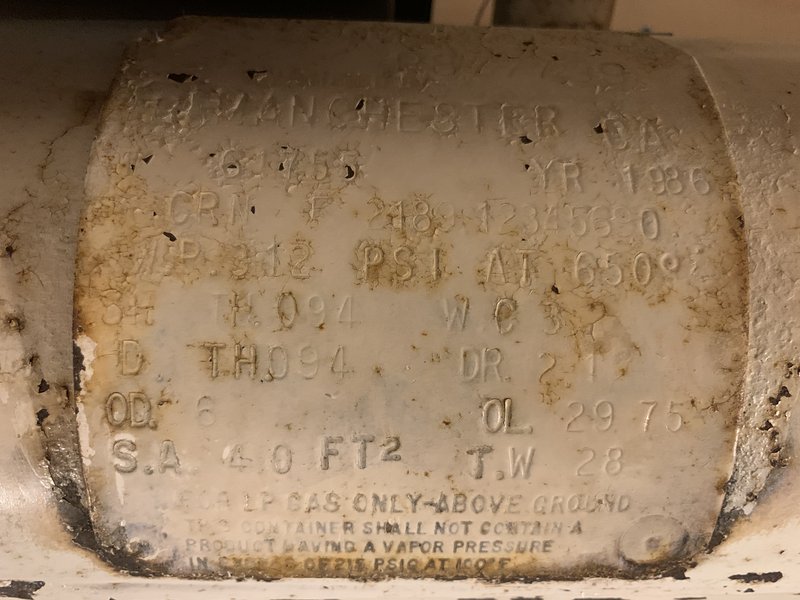
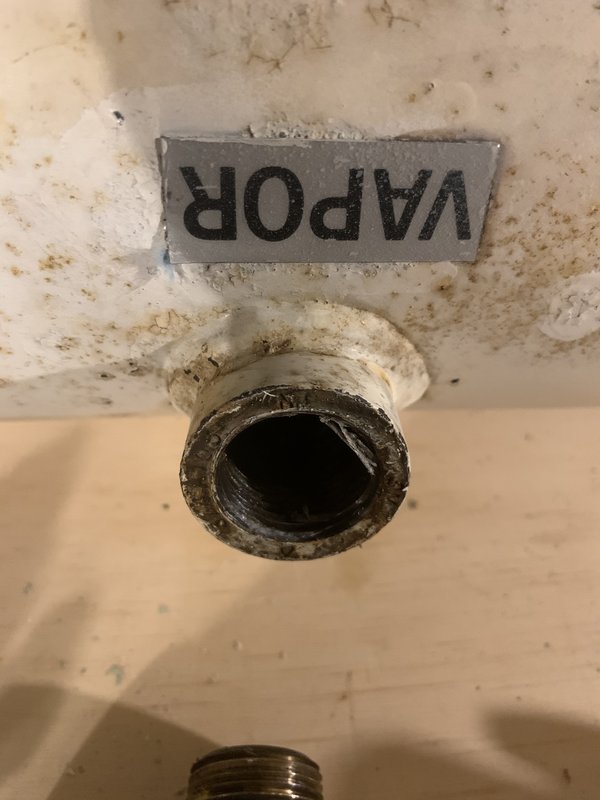
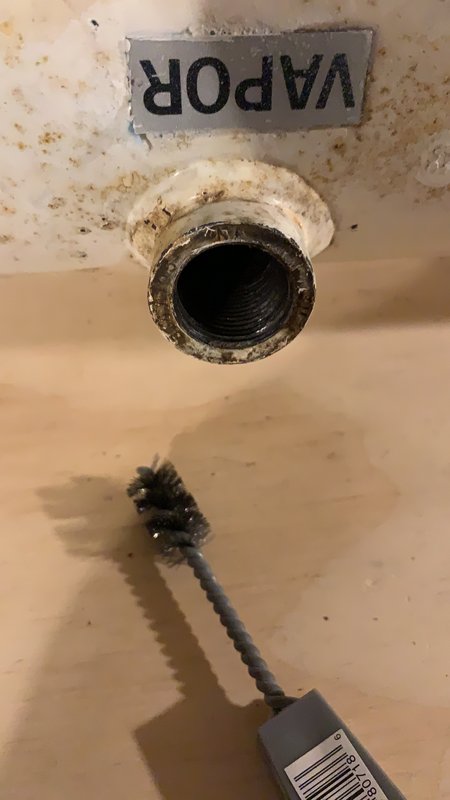
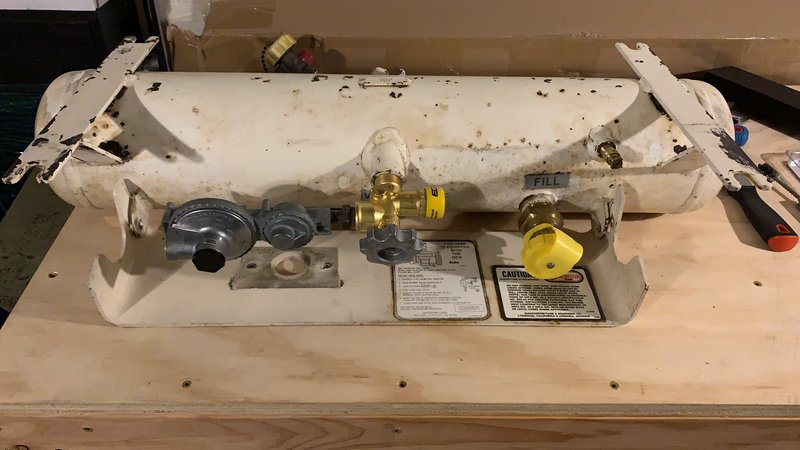
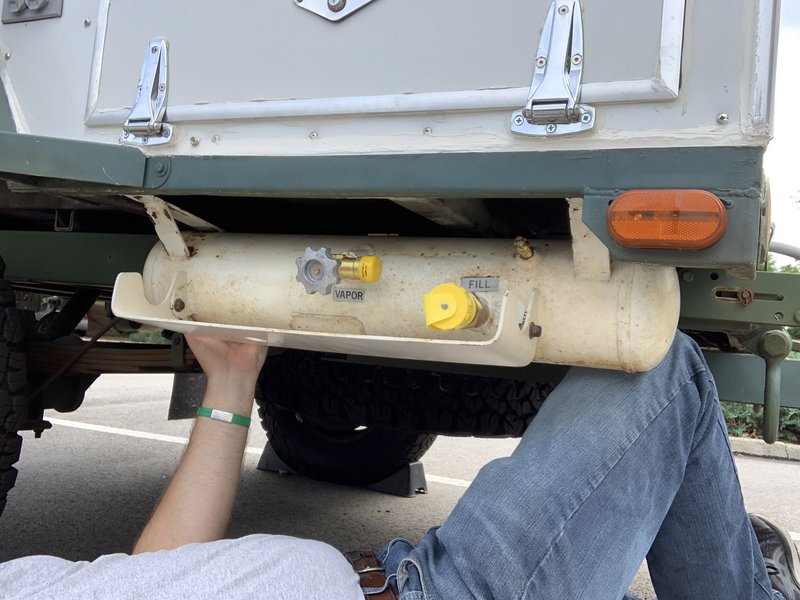
Manchester Tanks like this were built for permanent installation in RV’s and are ASME certified, which is a lifetime certification. The tank should be kept in good working order to remain viable, but its certification never expires. The typical home grill 20 lb cylinders and the swappable horizontal tanks that you find under big RV’s are DOT certified. These are the ones that expire after 10 years and you have to get it recertified or buy a new one.
This is not to say I’m going to fill it up and run. I’m definitely taking this to the propane place down in South Philly where they can change out the old valves and install the new regulator and make sure everything is ship shape. Based on conversations I’ve had with the seller, I don’t think there will be any issues.
M116A3 Build
Re: M116A3 Build
![]() by lfhoward » Sat Aug 22, 2020 7:35 pm
by lfhoward » Sat Aug 22, 2020 7:35 pm
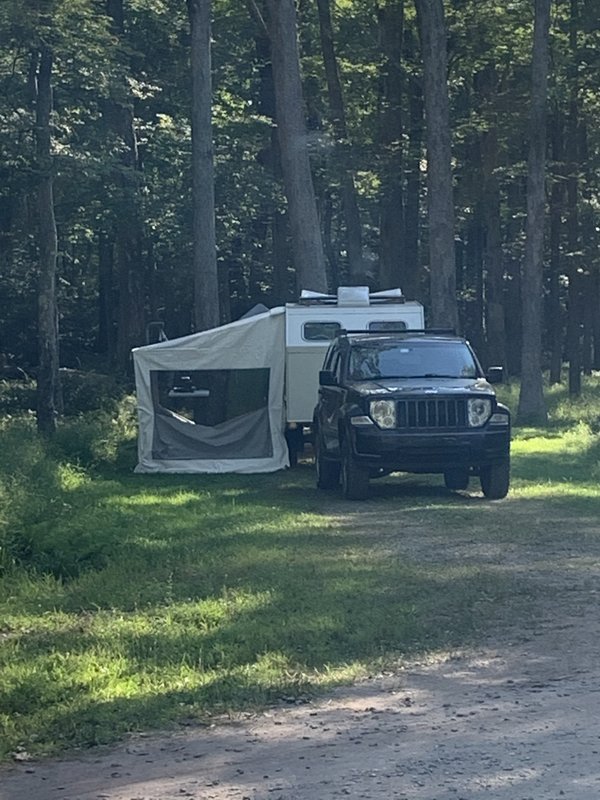
My off-road camper build on an M116A3 military chassis:
http://www.tnttt.com/viewtopic.php?f=50&t=62581
Tow vehicle: 2008 Jeep Liberty with a 4 inch lift.
http://www.tnttt.com/viewtopic.php?f=50&t=62581
Tow vehicle: 2008 Jeep Liberty with a 4 inch lift.
-

lfhoward - 1000 Club

- Posts: 1370
- Joined: Wed Jan 22, 2014 6:10 pm
- Location: Philadelphia, PA
Re: M116A3 Build
![]() by lfhoward » Sun Aug 23, 2020 1:47 pm
by lfhoward » Sun Aug 23, 2020 1:47 pm
The awning room is awesome!
We can imagine our god daughters or visiting friends camping in this. It’s 8 feet long so long enough for 2 sleeping bags (or cots) with walking space between.
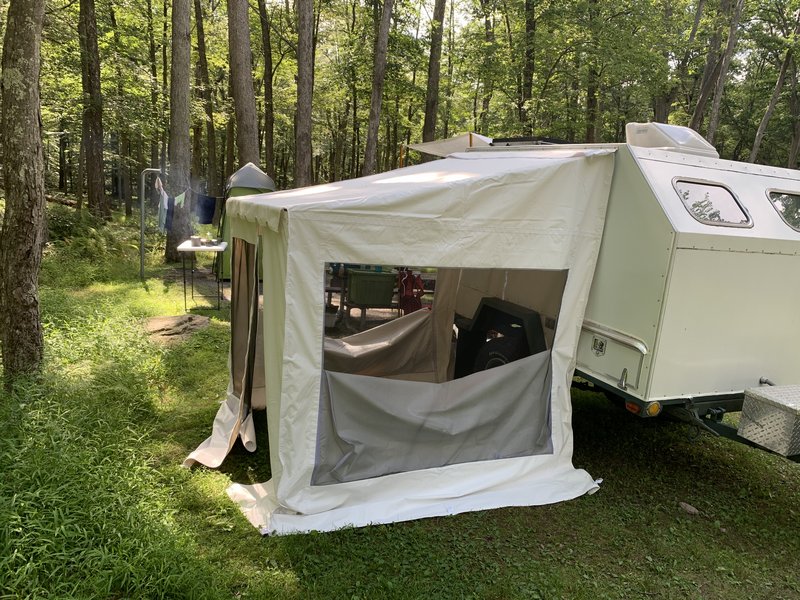
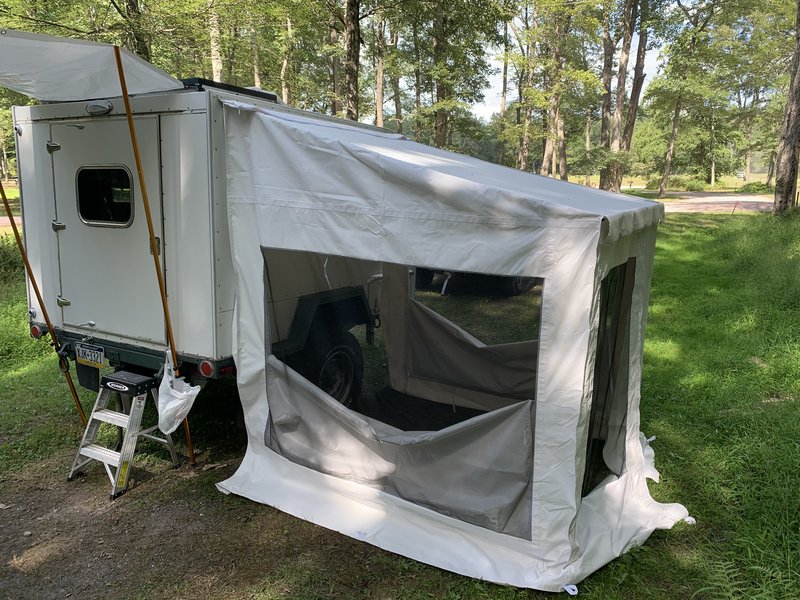
Also large enough for the two of us to hang out in during a rain storm.
We can imagine our god daughters or visiting friends camping in this. It’s 8 feet long so long enough for 2 sleeping bags (or cots) with walking space between.
Also large enough for the two of us to hang out in during a rain storm.
My off-road camper build on an M116A3 military chassis:
http://www.tnttt.com/viewtopic.php?f=50&t=62581
Tow vehicle: 2008 Jeep Liberty with a 4 inch lift.
http://www.tnttt.com/viewtopic.php?f=50&t=62581
Tow vehicle: 2008 Jeep Liberty with a 4 inch lift.
-
lfhoward - 1000 Club
- Posts: 1370
- Joined: Wed Jan 22, 2014 6:10 pm
- Location: Philadelphia, PA


