M116A3 Build

...ask your questions in the appropriate forums BUT document your build here...preferably in a single thread...dates for updates, are appreciated....

Re: M116A3 Build

Postby lfhoward » Sun Sep 18, 2016 4:57 pm

I just got a good answer about the rubber gloves from WWDiesel over on Lostjeeps.com:

WWDiesel wrote:What you need are chemical gloves (PVC coated), Google them, Lowes, Amazon, Ebay, Grainger, Walmart, and many others list them, they will handle most acids with ease.... :wink:
Some are even elbow length!!!

Image


I stopped by HD this afternoon and picked some up.
My off-road camper build on an M116A3 military chassis:
http://www.tnttt.com/viewtopic.php?f=50&t=62581
Tow vehicle: 2008 Jeep Liberty with a 4 inch lift.
User avatar
lfhoward
1000 Club
1000 Club
 
Posts: 1369
Joined: Wed Jan 22, 2014 6:10 pm
Location: Philadelphia, PA

Re: M116A3 Build

Postby lfhoward » Fri Sep 23, 2016 7:37 pm

This week and next week I am not able to do much to the trailer due to a lack of spare time. I do have a question though.

While inspecting it today I noticed a small pool of water near the wall on the inside of the trailer on the starboard side. It seems that during the last rain, water got in through a crack in the sikaflex caulk at the roof seam. A little water dribbled out the bottom sill on the exterior (indicating an incomplete seal down low too) but most came inside, between the wooden sill and the metal floor. I got it all mopped up, but there is still some moisture trapped between the aluminum and the exterior plywood.

Question: I don't want long term problems. Will I need to remove the aluminum siding to dry it out, or will the sun do the job eventually? I am hoping not to have to disassemble it. The exterior plywood should be very waterproof with spar urethane.

To stop the leak at the source, I need to install the aluminum edge moldings asap on the roof. I also may need to install aluminum flashing along the bottom of the walls for a better seal down low. It looks like I won't be able to get to these tasks for another two weeks.
My off-road camper build on an M116A3 military chassis:
http://www.tnttt.com/viewtopic.php?f=50&t=62581
Tow vehicle: 2008 Jeep Liberty with a 4 inch lift.
User avatar
lfhoward
1000 Club
1000 Club
 
Posts: 1369
Joined: Wed Jan 22, 2014 6:10 pm
Location: Philadelphia, PA

Re: M116A3 Build

Postby lfhoward » Sat Sep 24, 2016 11:22 am

Some photos to go with the above post.

The water is running down the side, under the aluminum, directly above the side utility door. This utility door is temporarily covered, so here is an older phot for reference.
Image

And here's where it's at now:
Image

The Sikaflex caulk I used as a temporary seal has started to degrade. This is directly above the leak. Water gets under the aluminum when it rains.
Image

Elsewhere it is worse, but at least water doesn't pool here.
Image

Aluminum edge moldings will seal these areas.
Image

The water is slowly dripping out, even several days after the last rain. This photo was taken from the interior side of the utility door opening.
Image

And a close up of the leak.
Image

Another issue is the lower seal at the sill is compromised. Water leaks out of here too. I think this is a direct result of using silicone between the wall sills and the bed, a noob mistake I made early in the build. I am thinking I need to cover this seam with a drip edge made of aluminum flashing, slather the inside with Sikaflex or butyl putty tape, and screw it down tight.
Image

Close up of the compromised seal:
Image

In the meantime I am thawing out my butyl putty tape, which as you remember is entombed in a block of ice in the bottom of my freezer. Once I can access the putty tape and once I get the adhesive residue off the roof, I can install the aluminum edge moldings.
Image
Last edited by lfhoward on Sun May 13, 2018 3:13 pm, edited 3 times in total.
My off-road camper build on an M116A3 military chassis:
http://www.tnttt.com/viewtopic.php?f=50&t=62581
Tow vehicle: 2008 Jeep Liberty with a 4 inch lift.
User avatar
lfhoward
1000 Club
1000 Club
 
Posts: 1369
Joined: Wed Jan 22, 2014 6:10 pm
Location: Philadelphia, PA
Top

Re: M116A3 Build

Postby lfhoward » Sun Oct 30, 2016 6:52 pm

To keep the water at bay, I used clear packing tape on the trailer seams. Worked decently well, except that when I did get time to make a permanent seal using the aluminum edge moldings, I had tons of sticky tape residue to deal with. Elbow grease + Goof Off did the trick, about 4 hours per side! (Ugh.)

The good news is that I got the edge moldings installed. Here are some pics.

Before:
Image

Image

Image

After:
Image

Image

Image

Should be waterproof! We had quite a gullywasher this evening, so I will go out and check for leaks in the morning. Hoping to find none.

The only other waterproofing measure I can think of is to remove all the exterior screws, shoot Sikaflex caulk into the holes, then reinstall the screws. The screw holes didn't get this treatment before, although screws usually went into the wood through a line of caulk sealer under the aluminum. Overkill? I may do it just for peace of mind.

Also, can anyone recommend a good waterproof sealer tape for under my solar panel rails? I want to make sure the places where I bolt my solar panel to the roof is good and watertight also. Are there best practices for sealing bolt holes for roof-mounted equipment like solar panels?

Thanks all!
Last edited by lfhoward on Sun May 13, 2018 3:14 pm, edited 2 times in total.
My off-road camper build on an M116A3 military chassis:
http://www.tnttt.com/viewtopic.php?f=50&t=62581
Tow vehicle: 2008 Jeep Liberty with a 4 inch lift.
User avatar
lfhoward
1000 Club
1000 Club
 
Posts: 1369
Joined: Wed Jan 22, 2014 6:10 pm
Location: Philadelphia, PA
Top

Re: M116A3 Build

Postby lfhoward » Fri Nov 04, 2016 11:00 pm

I had about an hour to work on it today, so i measured, cut out, and installed some more foam insulation pieces that go between the beams in the ceiling. Chipping away little by little... hoping to do some winter camping later on.
My off-road camper build on an M116A3 military chassis:
http://www.tnttt.com/viewtopic.php?f=50&t=62581
Tow vehicle: 2008 Jeep Liberty with a 4 inch lift.
User avatar
lfhoward
1000 Club
1000 Club
 
Posts: 1369
Joined: Wed Jan 22, 2014 6:10 pm
Location: Philadelphia, PA
Top

Re: M116A3 Build

Postby noseoil » Sat Nov 05, 2016 7:56 am

You're going to need that insulation when it gets cold back there. Winter camping in your setup should be nice & cozy, plenty of power & things to do inside in the evenings. Hope all the water stays outside!
Build log: viewtopic.php?f=50&t=60248
The time you spend planning is more important than the time you spend building.........

137905
User avatar
noseoil
1000 Club
1000 Club
 
Posts: 1820
Images: 669
Joined: Sun Apr 27, 2014 8:46 am
Location: Raton, New Mexico, living the good life!
Top

Re: M116A3 Build

Postby Wolfgang92025 » Sat Nov 05, 2016 9:46 am

lfhoward wrote:The only other waterproofing measure I can think of is to remove all the exterior screws, shoot Sikaflex caulk into the holes, then reinstall the screws. The screw holes didn't get this treatment before, although screws usually went into the wood through a line of caulk sealer under the aluminum. Overkill? I may do it just for peace of mind.


Many years ago I built a camper top for my F-150.Were I had screws, they just went into the raw wood. Over the years the screws worked loose and caused rot. :thumbdown:
The Silkaflex will do two things. Seal the opening and help as a locking agent to keep the screw tight as you go bouncing down the trails. :thumbsup: If it were me I would put in that extra effort. I used PL Urethane for the screws (on the inside , so no water issue) on my tear and they are still as tight as the day they were installed and the trailer has been down many a dirt trails.
Wolfgang

Image
User avatar
Wolfgang92025
Lifetime member
 
Posts: 1059
Images: 651
Joined: Fri Apr 18, 2008 10:16 pm
Location: Salt Lake City area, Utah
Top

Re: M116A3 Build

Postby lfhoward » Tue Nov 08, 2016 8:09 pm

Wolfganga and Tim, thanks for your responses. I will definitely spend the time to seal each screw hole individually. After all the work put in, I don't want it to rot! I'll do that on the day I install the solar panel, because I'll have an open tube of Sikaflex handy. Once the tube is open, it is only good for a day or two.

Today I did the rest of measuring and cutting styrofoam trapezoids to fit between the ceiling beams. With all of the pieces of insulation in place I will have 1-1/2 inches of foam in the ceiling and 3/4 inches of foam in the walls. I also have two layers worth of interlocking gym mats to go over the metal floor, although I have not cut those to fit yet. The trailer should be nice and snug. :snow
My off-road camper build on an M116A3 military chassis:
http://www.tnttt.com/viewtopic.php?f=50&t=62581
Tow vehicle: 2008 Jeep Liberty with a 4 inch lift.
User avatar
lfhoward
1000 Club
1000 Club
 
Posts: 1369
Joined: Wed Jan 22, 2014 6:10 pm
Location: Philadelphia, PA
Top

Re: M116A3 Build

Postby GuitarPhotog » Tue Nov 08, 2016 8:19 pm

Ya know, I'm not much of a fan of mounting the solar panel on the trailer. It means you have to park in the sun, if you're gonna use the panel, and it means you must/should move the trailer to follow the sun. I've camped in sites where the pad was in complete shade all day. If my panel hadn't been loose on a 25' cord, I would not have gotten a recharge those days.

My $0.02 worth

<Chas>
:beer:
GuitarPhotog
Silver Donating Member
 
Posts: 1779
Images: 55
Joined: Tue Feb 08, 2011 12:52 pm
Location: Grants Pass Oregon
Top

Re: M116A3 Build

Postby lfhoward » Fri Nov 25, 2016 8:19 pm

A little more progress: The day before Thanksgiving I wired up a 12 volt power outlet near the back door for easy phone-charging without having to climb inside.

Today I did about 4 hours of driving with the trailer, two trips back and forth to NJ to pick up a bedroom set for my sister in law. The trailer handled really well even fully loaded. The first trip we picked up the dressers & end tables and the second trip we got the box spring, mattress, a big mirror, and the bed rails.

Thinking ahead to needed maintenance, a few things are going to need attention.

1) I should lube the bushings in the leaf springs (they have grease zerks) because the trailer suspension creaks quite a bit going down the road.

2) The trailer brakes work great but the shock absorber in the surge brake housing is blown. This means there is quite a clunk when I first put the Jeep's brakes on, or when I take off from a dead stop. Here's the link to the replacement shock ($79.95), so I don't forget: http://www.etrailer.com/Accessories-and ... DQodHyoONA
Image

3) I'd like to replace the master cylinder filler top, which currently has an ugly rubber breather hose, with a simple metal cap. The military used different versions of the cap, some with hoses and some without. I found one on eBay for $25. http://www.ebay.com/itm/like/1317901594 ... noapp=true
Image

4) I have a set of used A/T tires I want to swap on, because the ones I have on there now have very little tread left. The new-to-me tires have been sitting next to the shed under a tarp since summer, but it would be nice to have the extra traction on the trailer before the snow flies.
My off-road camper build on an M116A3 military chassis:
http://www.tnttt.com/viewtopic.php?f=50&t=62581
Tow vehicle: 2008 Jeep Liberty with a 4 inch lift.
User avatar
lfhoward
1000 Club
1000 Club
 
Posts: 1369
Joined: Wed Jan 22, 2014 6:10 pm
Location: Philadelphia, PA
Top

Re: M116A3 Build

Postby lfhoward » Sun Dec 11, 2016 8:49 pm

Today I got around to some much needed maintenance.

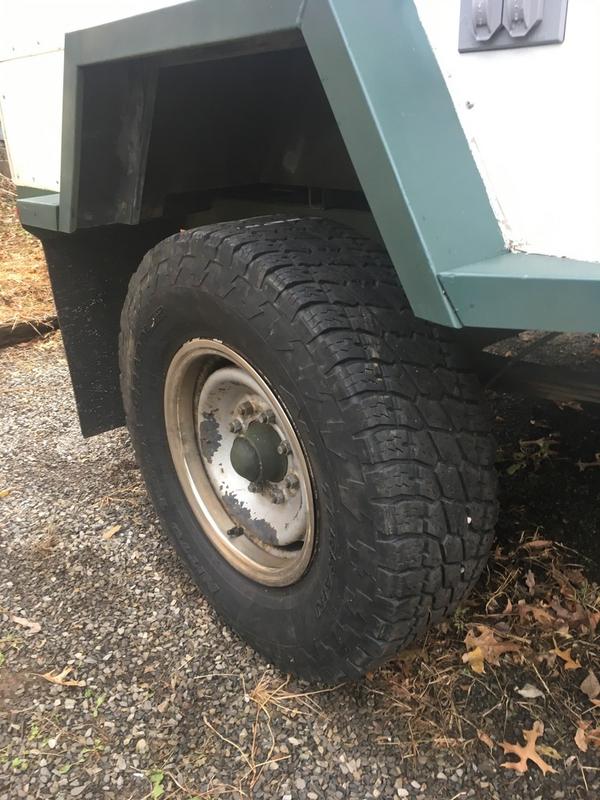
1. The bald tires are being swapped for some used A/T's that have a bit more tread. Just in time for the first snow flurries today!
Image

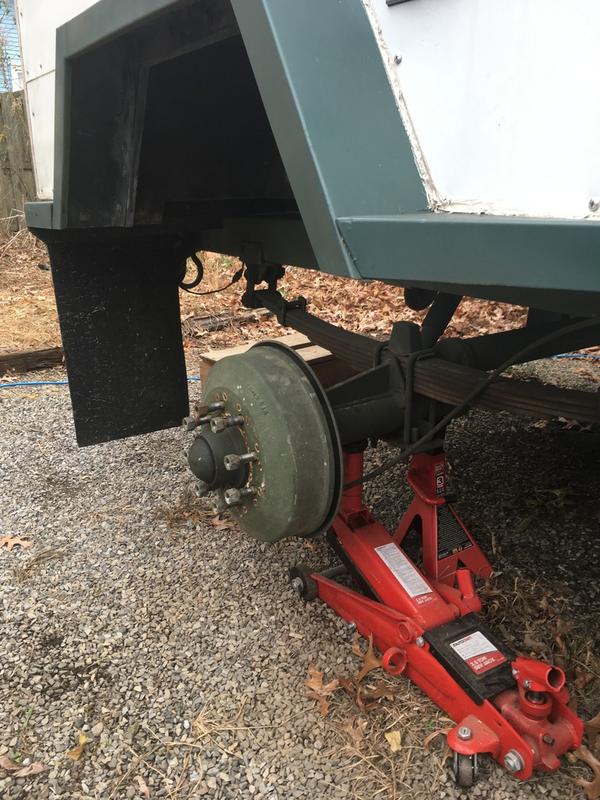
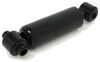
2. I got to work changing out that shock absorber in the surge brake housing. The shock is for Toledo brake actuators and is available on E-trailer.com.
Image

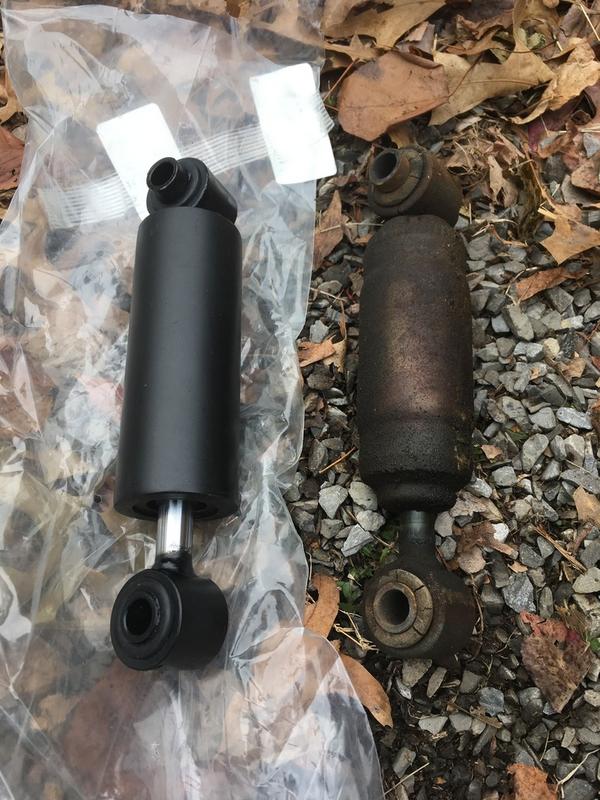
Here's a closer look at all the parts that had to come off. E-trailer has a good video of how to make the swap.
Image

What a difference! The old shock was indeed blown.
Image

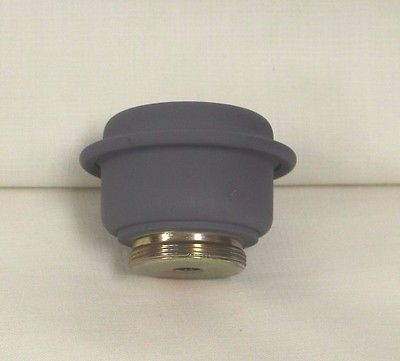
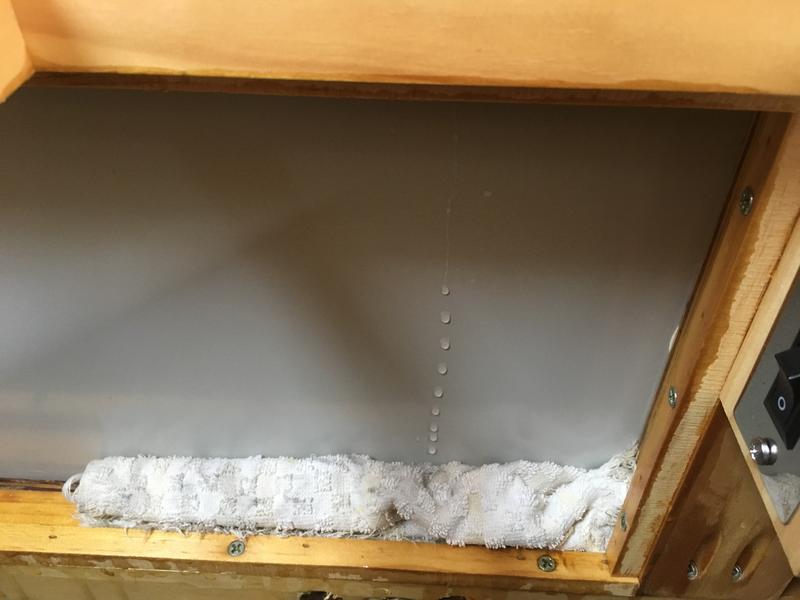
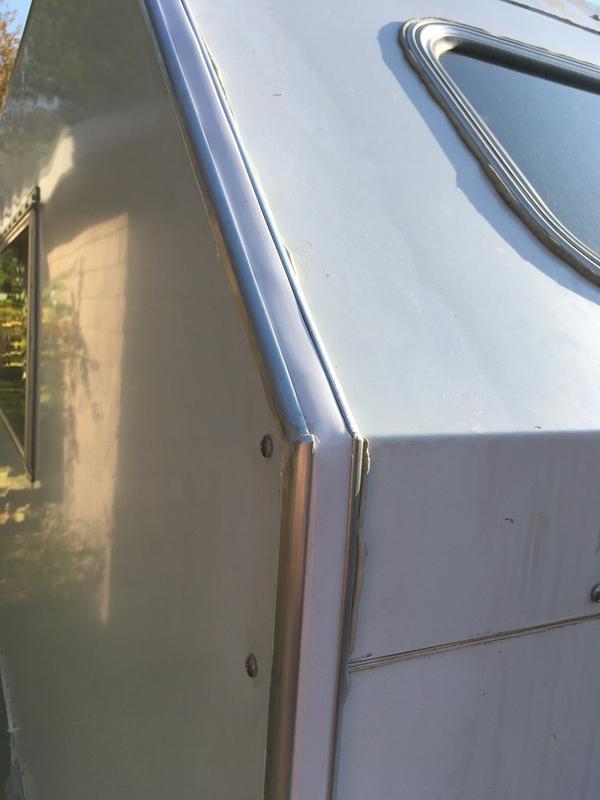
3. I also ordered a cap to replace this:
Image

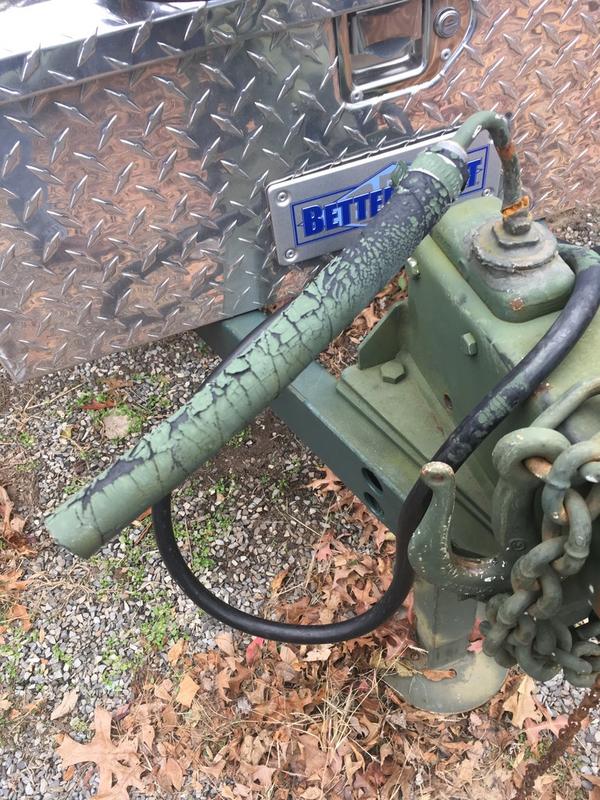
The vent hose has seen better days.
Image

The cap I ordered, from an Ebay seller:
Image

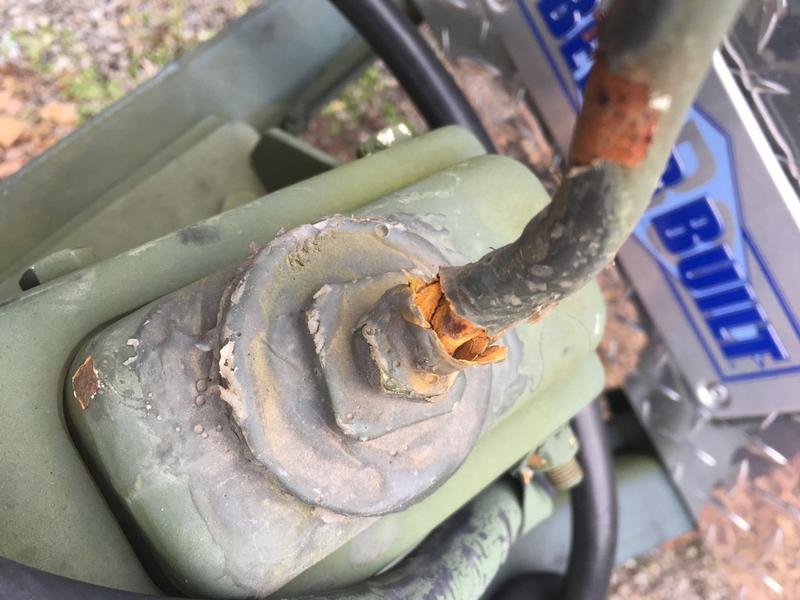
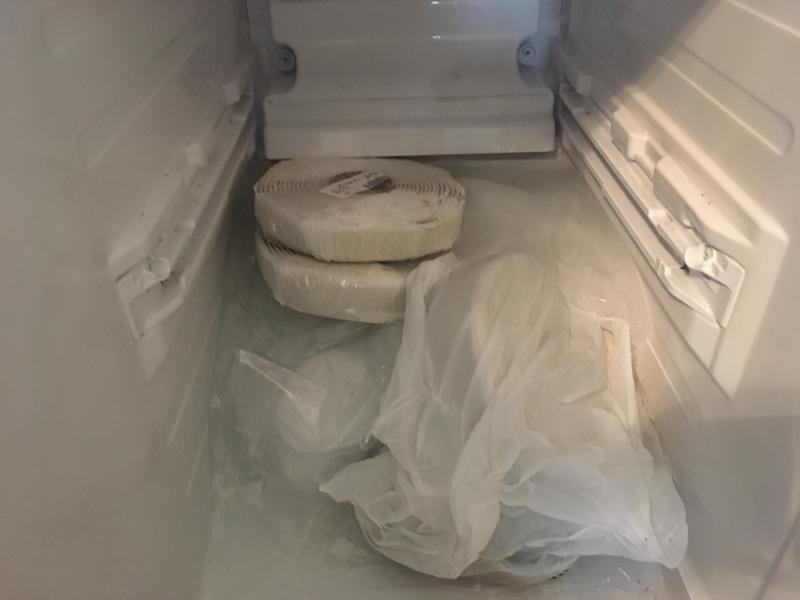
4. Here is the big surprise of the day:
Image

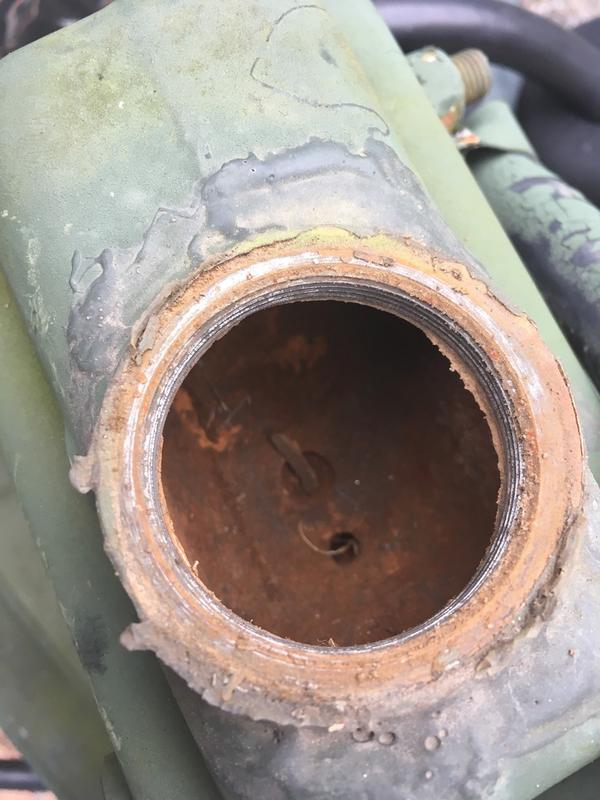
Yes, that is the inside of the master cylinder.
Yes, there is no brake fluid.
Yes, that's a ton of rust.

How do "the brakes work great," you ask? Must be my Jeep's brakes work great! This trailer hasn't stopped under its own power in years!

Sigh. Well, I think I have a complete rebuild ahead. Or an axle swap. I actually prefer to keep the trailer as stock as I can, because the Army builds them tough. I also like having the hand brakes there for parking.

Option 1: Rebuild.
The master cylinder will need replacing, and I'm sure the wheel cylinders will as well. Most likely the brake line has interior rust too, so I might need to remake that too. The military Technical Manual has all of the measurements and angles for making replacement brake lines, so it wouldn't be making it by trial and error. I've made double flared brake lines before, and have the tools to do that, so it isn't a deal killer. While I'm at it I might as well do the wheel bearings too and check the brake shoes. (I'm guessing the brake shoes are fine because the manual parking brakes DO work really well.) This could be a fun little (big) project.

Option 2: Axle Swap.
If there was ever a chance to swap to a Dexter axle with electric brakes, this is it.
Pros: weight savings, could get 5-lug hubs that match the tow vehicle
Cons: I'll lose the parking brakes, I still need a 1-1/2 ton axle, need to re-wire my Jeep with a brake controller and 7-pin wire harness, need new wheels and tires on the trailer
This is probably the more expensive option, although I haven't priced it out yet to compare.
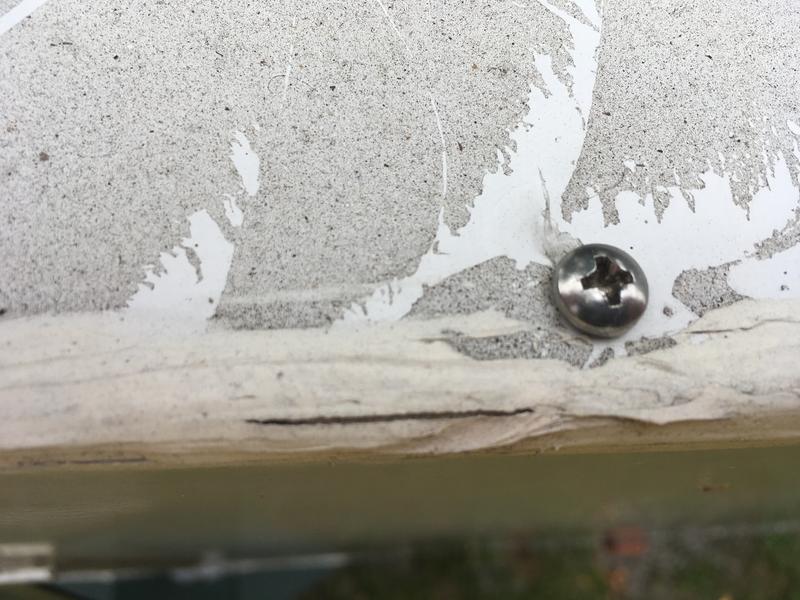
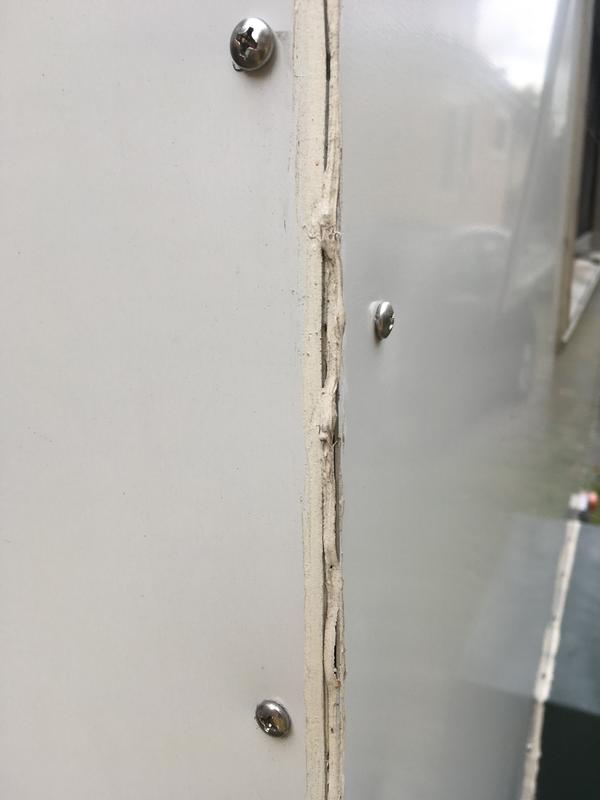
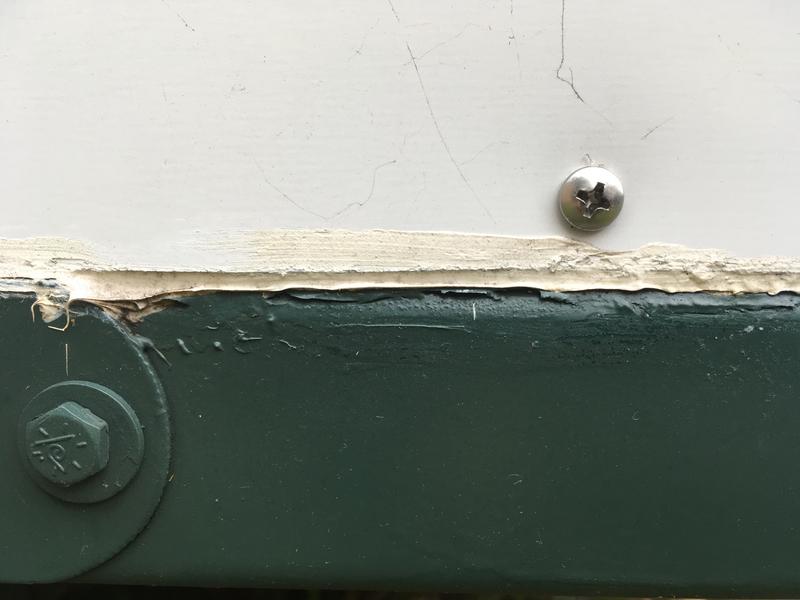
Last edited by lfhoward on Sun May 13, 2018 3:14 pm, edited 2 times in total.
My off-road camper build on an M116A3 military chassis:
http://www.tnttt.com/viewtopic.php?f=50&t=62581
Tow vehicle: 2008 Jeep Liberty with a 4 inch lift.
User avatar
lfhoward
1000 Club
1000 Club
 
Posts: 1369
Joined: Wed Jan 22, 2014 6:10 pm
Location: Philadelphia, PA
Top

Re: M116A3 Build

Postby lfhoward » Mon Dec 12, 2016 9:12 am

I'm going to post these links here so I don't lose them. I've been searching over on SteelSoldiers and elsewhere to locate civilian equivalent part numbers for the brakes and bearings on my M116A3 military trailer and have a half a dozen threads saved. Useful links that apply to the M101/M116 trailer are condensed below:

Download of the M101/M116 trailer technical manual:
http://www.steelsoldiers.com/showthread.php?119178-TM-9-2330-202-13P-M101-Trailer-Dec-30-2011-revision

Toledo Surge Brake Actuator:
Shock absorber: http://www.etrailer.com/Accessories-and-Parts/Toledo/1844-2.html
Master cylinder: http://www.etrailer.com/Accessories-and-Parts/Toledo/10614.html
Pivot shaft: http://www.etrailer.com/Accessories-and-Parts/Toledo/1829.html
Pivot bushing: http://www.etrailer.com/Accessories-and-Parts/Toledo/1745.html
Push rod kit: http://www.etrailer.com/Accessories-and-Parts/Toledo/34850590.html
Complete Toledo Actuator assembly: http://www.etrailer.com/A-Frame-Trailer-Coupler/Toledo/16039.html

Brakes:
RH wheel cylinder: http://www.etrailer.com/Accessories-and-Parts/Redline/BP17-020.html
LH wheel cylinder: http://www.etrailer.com/Accessories-and-Parts/Redline/BP17-030.html
Brake shoes: http://www.etrailer.com/p-BP04-160/12-x-2-Hydraulic-Trailer-Brake-Shoe-and-Lining-One-Wheel.html
RH complete brake assembly (without parking brake): http://www.etrailer.com/p-23510.html
LH complete brake assembly (without parking brake): http://www.etrailer.com/p-23510.html

Bearings:
Inner bearing: http://www.etrailer.com/p-25580.html
Inner race: http://www.etrailer.com/p-25520.html
Outer bearing: http://www.etrailer.com/p-2585.html
Outer race: http://www.etrailer.com/p-2520.html
Seals:http://www.etrailer.com/p-RG06-070.html

Timken part numbers for bearings:
Inner Bearing 25580
Inner Race 25520
Outer Bearing 2585
Outer Race 2520
Grease seal 10-36 (double Lip)

Many thanks to the following posters on SteelSoldiers.com for the above info:
ncdeerejeep
xonetruthcrewx
swbradley1
juanprado
My off-road camper build on an M116A3 military chassis:
http://www.tnttt.com/viewtopic.php?f=50&t=62581
Tow vehicle: 2008 Jeep Liberty with a 4 inch lift.
User avatar
lfhoward
1000 Club
1000 Club
 
Posts: 1369
Joined: Wed Jan 22, 2014 6:10 pm
Location: Philadelphia, PA
Top

Re: M116A3 Build

Postby lfhoward » Mon Dec 12, 2016 3:26 pm

I got the new shoes on the trailer today.

Image

These treads will be better in winter conditions than the nearly bald tires that were on it before.
Last edited by lfhoward on Sun May 13, 2018 3:15 pm, edited 2 times in total.
My off-road camper build on an M116A3 military chassis:
http://www.tnttt.com/viewtopic.php?f=50&t=62581
Tow vehicle: 2008 Jeep Liberty with a 4 inch lift.
User avatar
lfhoward
1000 Club
1000 Club
 
Posts: 1369
Joined: Wed Jan 22, 2014 6:10 pm
Location: Philadelphia, PA
Top

Re: M116A3 Build

Postby lfhoward » Tue Dec 20, 2016 2:46 pm

My first experience winter camping was very chilly because the heat stratified-- the top foot up by the roof was super hot, but it was really cold down by the mattress. Airflow is needed! (And I didn't want to run my ceiling fan because that would have been way overkill, either drawing outside cold air in or blowing all the warm air out.)

Here's my idea: Use a pair of 6" audio/visual cabinet fans (basically big computer fans) to create air circulation in the trailer when the ceiling fan is not running. That should mix up the heat so that some of it blows down to sleeping level.

A sketch:
Image

On the top is a schematic of how things are now.
Beneath that is a side view and a front view of a little book/glasses/iPhone shelf that I could build up above the front windows. It would have a cabinet fan integrated on each side to blow warm air from the ceiling area down.
On the bottom is a 3D view looking towards the front of the trailer.

The fans I am looking at are only 23 decibels (quiet enough for audio/visual cabinets) and move 52 cubic feet per minute of air. My trailer is 8x6 so that's roughly circulating the entire top two feet of air (out of 4 total) every minute. That seems more than enough. They are also 5V USB and take 0.3 amps, which is a pretty low draw. They also have 3 speeds that can be manually adjusted.

Image
Last edited by lfhoward on Sun May 13, 2018 3:15 pm, edited 2 times in total.
My off-road camper build on an M116A3 military chassis:
http://www.tnttt.com/viewtopic.php?f=50&t=62581
Tow vehicle: 2008 Jeep Liberty with a 4 inch lift.
User avatar
lfhoward
1000 Club
1000 Club
 
Posts: 1369
Joined: Wed Jan 22, 2014 6:10 pm
Location: Philadelphia, PA
Top

Re: M116A3 Build

Postby OP827 » Tue Dec 20, 2016 4:35 pm

Bruce installed computer fans to address air stratification in his boxcar. He recommeded Noctua fans during our recent discussion on best trailer furnaces. Hope it'll help in your design - http://tnttt.com/viewtopic.php?f=42&t=67448&p=1191539#p1190218
User avatar
OP827
Donating Member
 
Posts: 1553
Images: 405
Joined: Fri Apr 25, 2014 7:27 pm
Location: Bruce County Ontario
Top

PreviousNext

Return to Build Journals

Who is online

Users browsing this forum: Bing [Bot] and 15 guests