Teardrops n Tiny Travel Trailersor t n ttt for short (tnttt.com) |
M116A3 Build
Re: M116A3 Build
![]() by S. Heisley » Fri Aug 21, 2015 7:43 pm
by S. Heisley » Fri Aug 21, 2015 7:43 pm
If you got the windows from Grant, send him an email or PM and he will most likely tell you how best to install them. He's good about things like that. However, he just got married a week (or so) ago and may be on an extended honeymoon. But, it looks like you could wait a while and work on other things until he answers.
...Sharon....
I think I can...I THINK I can...I THINK; I CAN! (I think I did it!)
http://www.doityourselfrv.com/handcraft ... g-trailer/
viewtopic.php?f=50&t=27313&start=555
http://www.squidoo.com/painting-a-campi ... ramebuster

I think I can...I THINK I can...I THINK; I CAN! (I think I did it!)
http://www.doityourselfrv.com/handcraft ... g-trailer/
viewtopic.php?f=50&t=27313&start=555
http://www.squidoo.com/painting-a-campi ... ramebuster
-

S. Heisley - Super Lifetime Member
- Posts: 8772
- Images: 495
- Joined: Mon Sep 17, 2007 10:02 am
- Location: No. California
Re: M116A3 Build
![]() by lfhoward » Sun Aug 23, 2015 2:17 pm
by lfhoward » Sun Aug 23, 2015 2:17 pm
Hi Sharon,
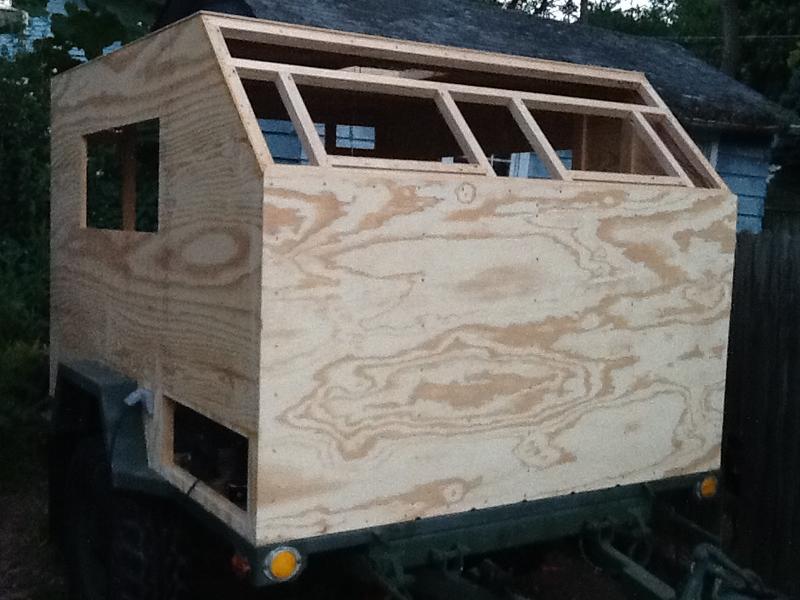
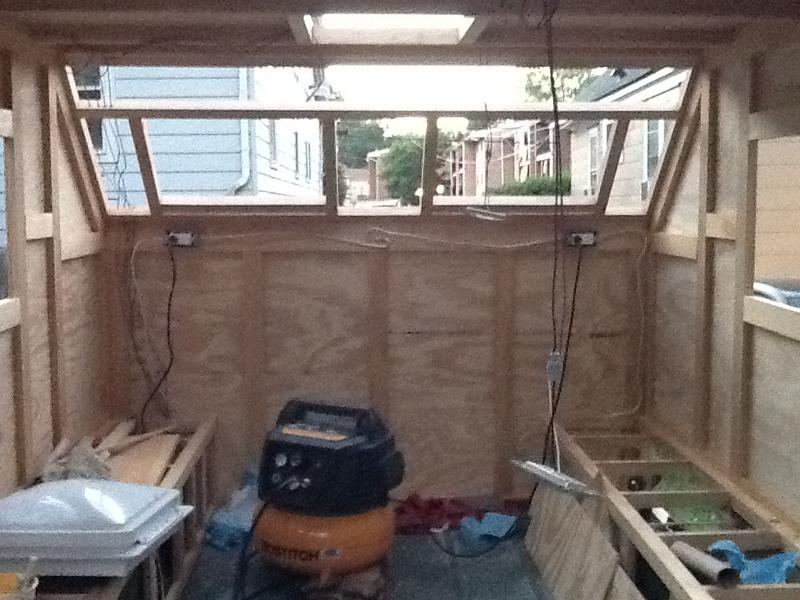
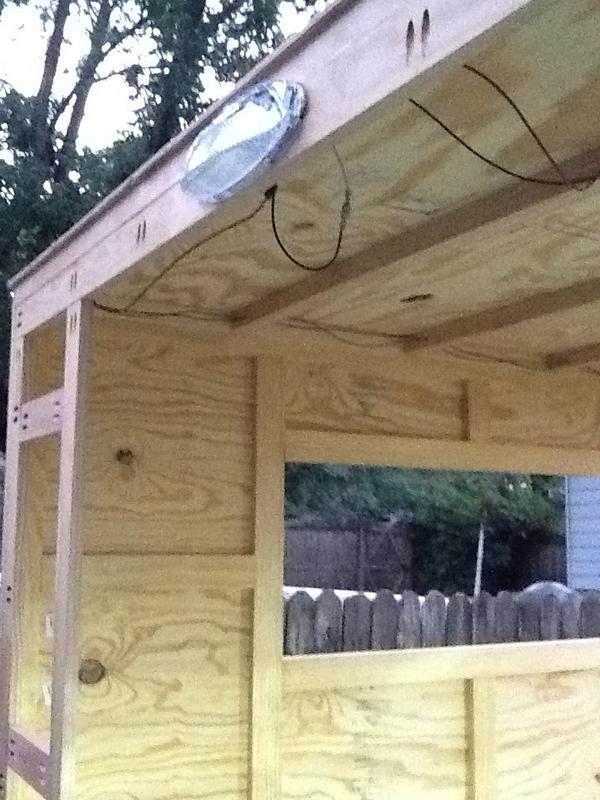
Now I vaguely remember Grant telling me these didn't come with trim rings, but for $10 each, I didn't think that would be a problem.
I'll do a little research and see what I can find. I am pretty sure 14x21 radius corner windows are pretty widely available, so maybe trim rings could be bought for not too much. Noseoil also said he was building his own trim rings, so it is nice to know that is an option too. Worse case scenario, I'll contact Grant when he gets back from his honeymoon. Plenty to do in the meantime to keep me busy!
Hope you had a good weekend.
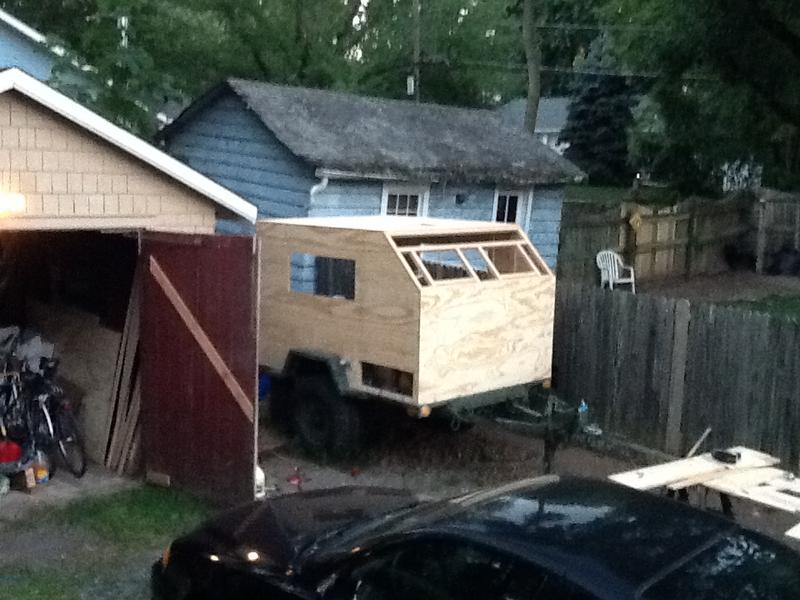
My off-road camper build on an M116A3 military chassis:
http://www.tnttt.com/viewtopic.php?f=50&t=62581
Tow vehicle: 2008 Jeep Liberty with a 4 inch lift.
http://www.tnttt.com/viewtopic.php?f=50&t=62581
Tow vehicle: 2008 Jeep Liberty with a 4 inch lift.
-

lfhoward - 1000 Club

- Posts: 1370
- Joined: Wed Jan 22, 2014 6:10 pm
- Location: Philadelphia, PA


 Well, I won't do that again on my next trailer!