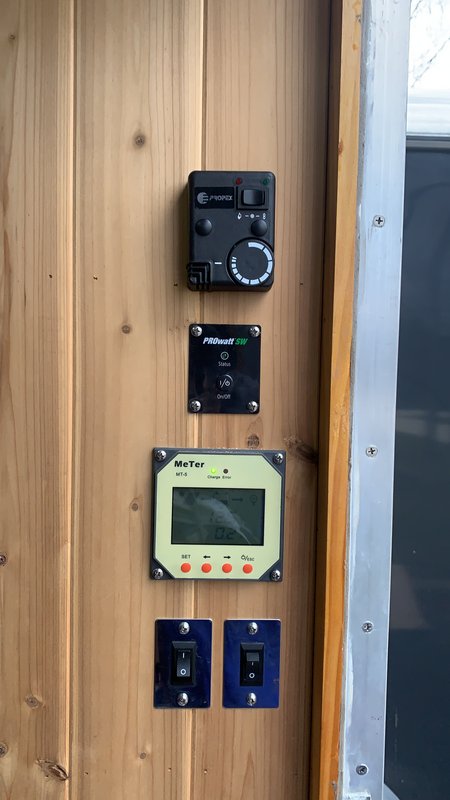
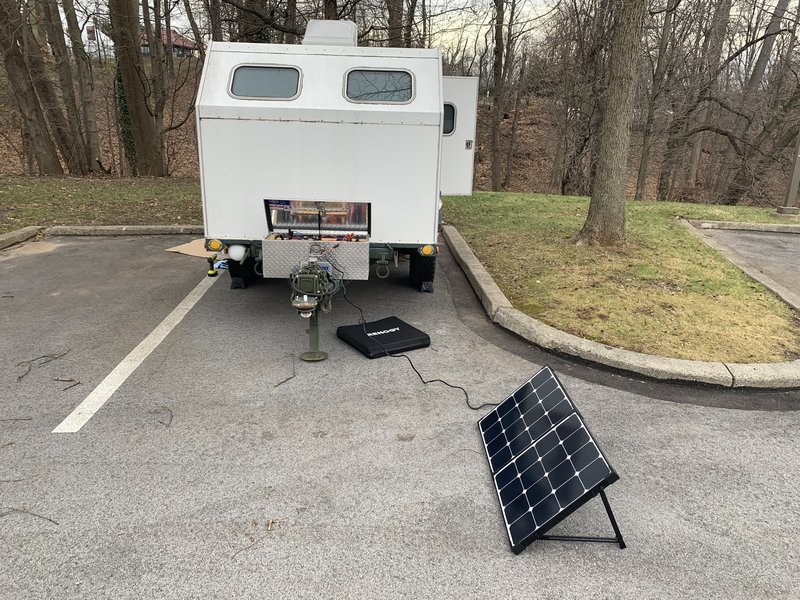
I was back at it today working on installing the Propex heater. It was very cloudy so I hooked up my auxiliary solar to try to get a little more power to recharge my drill batteries.
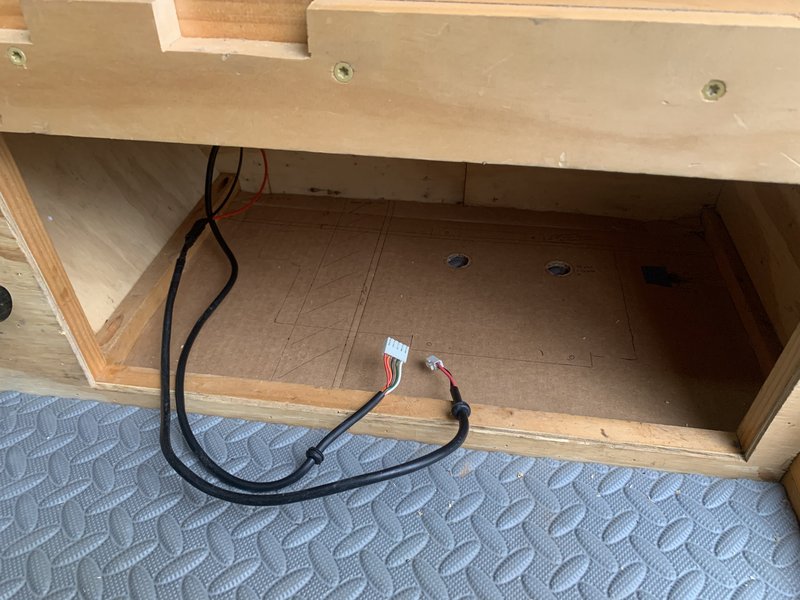
Last time I had installed the electrical but nothing else yet. I began today by putting the cardboard template in the cubby to help me know where to drill.
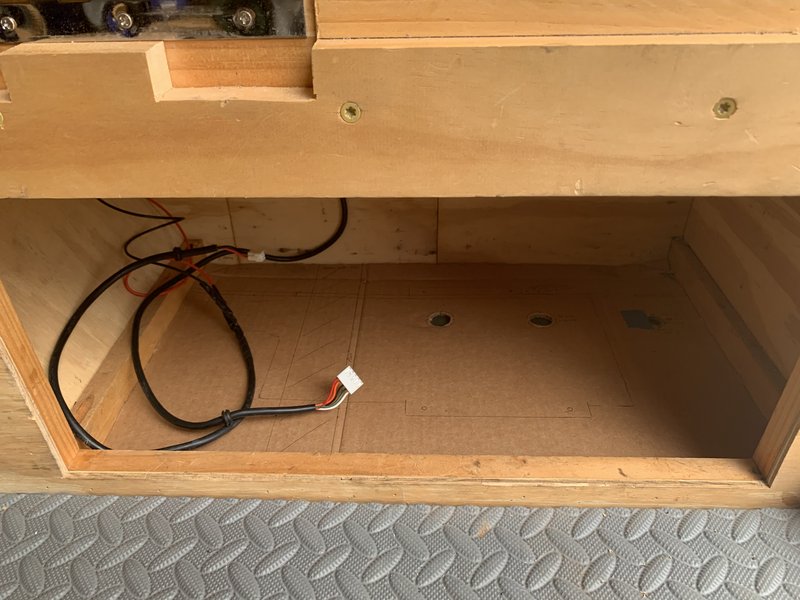
I started with small pilot holes to make sure everything was lined up. I’m glad I did, as one hole was 1/8” off and I had to redrill it.
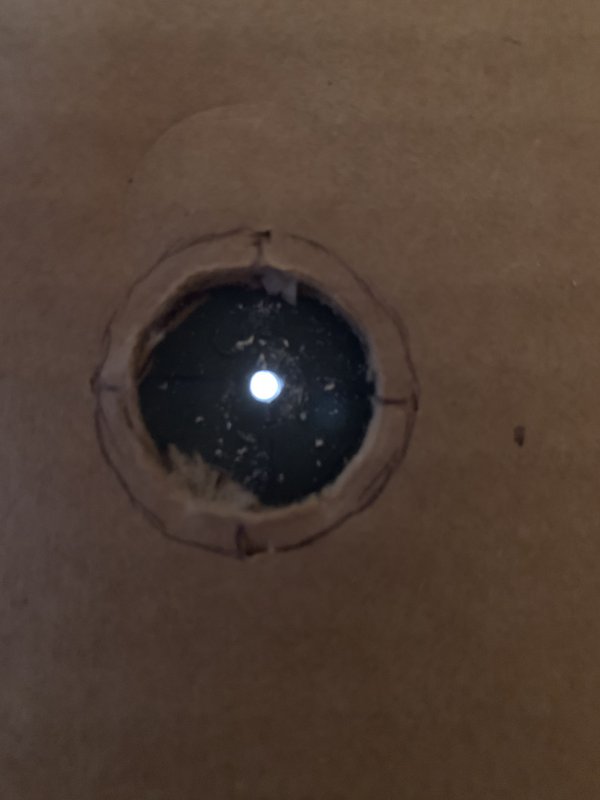
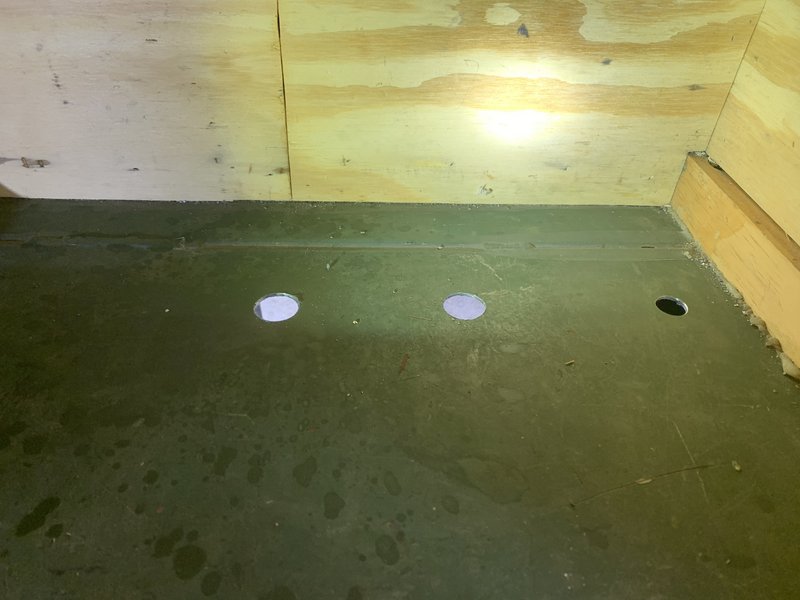
Next I drilled out the holes for real. This is after cleaning up all the metal shards and the cutting oil. Then I zapped the bare metal edges with Rustoleum.
The next step was to install the wooden frame that the heater will screw down to.
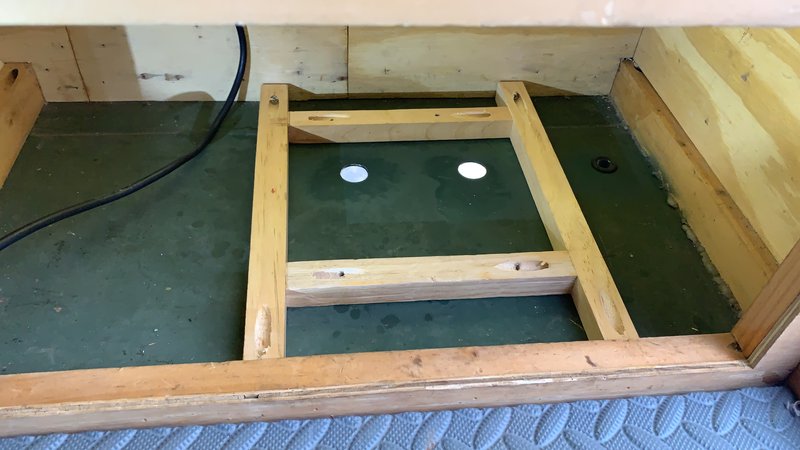
The Propex can be fastened directly to the floor but I wanted room for insulation. The larger hole in the insulation corresponds to the exhaust pipe, which can get hot. I don’t want it touching anything that can burn.

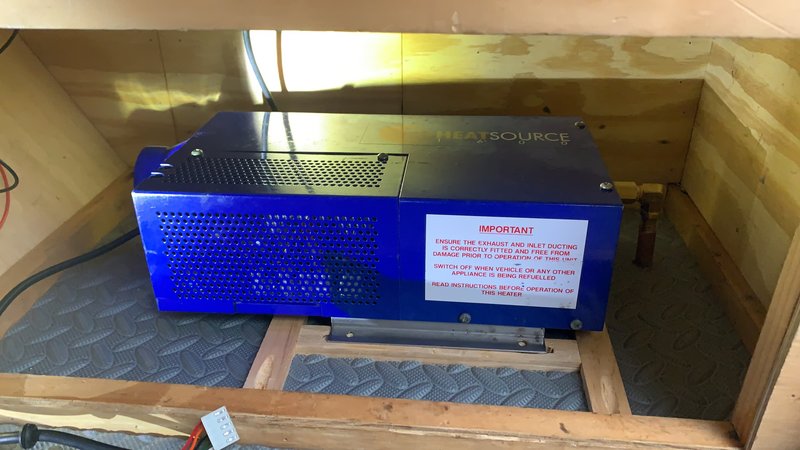
Here is the Propex in place on the frame.
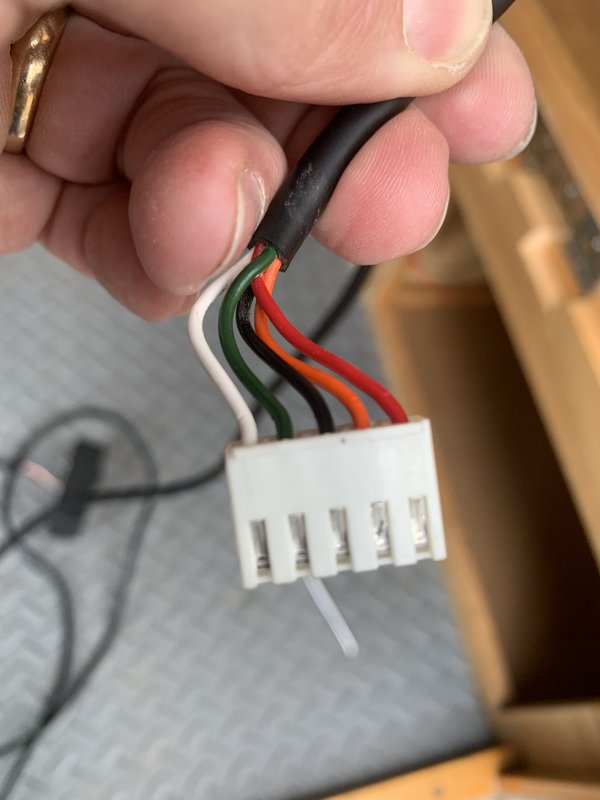
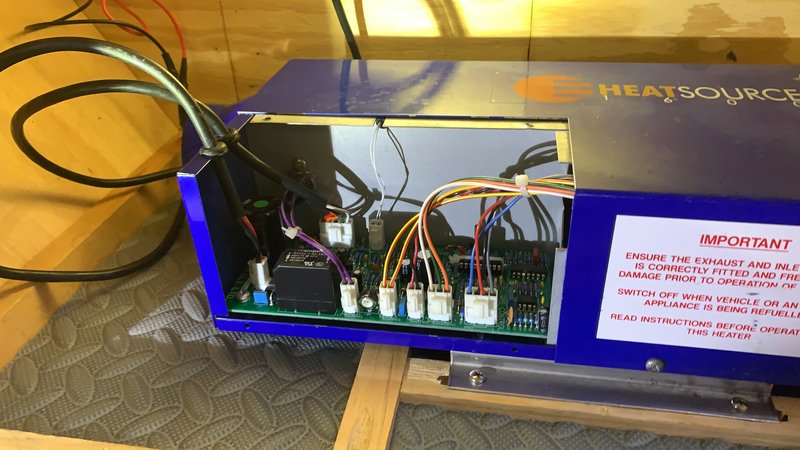
Attaching the electrical. It is very important to make sure the thermostat pigtail is connected before the power is connected. If not, a main fuse on the circuit board will blow and need to be replaced. After connecting the power I verified the unit can run its fan.
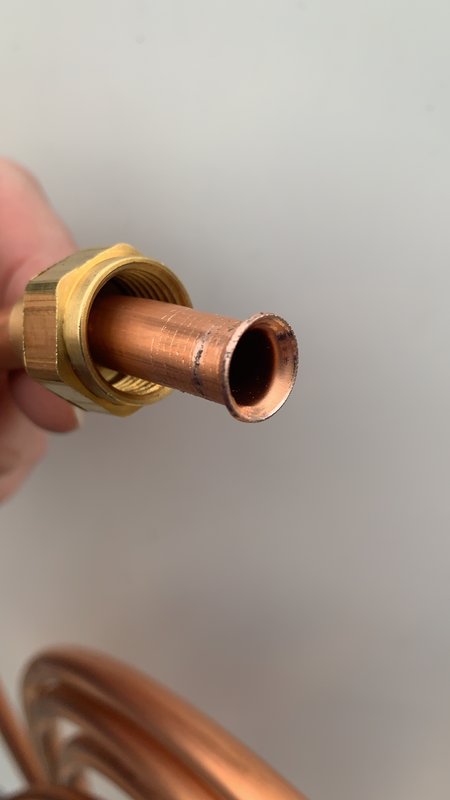
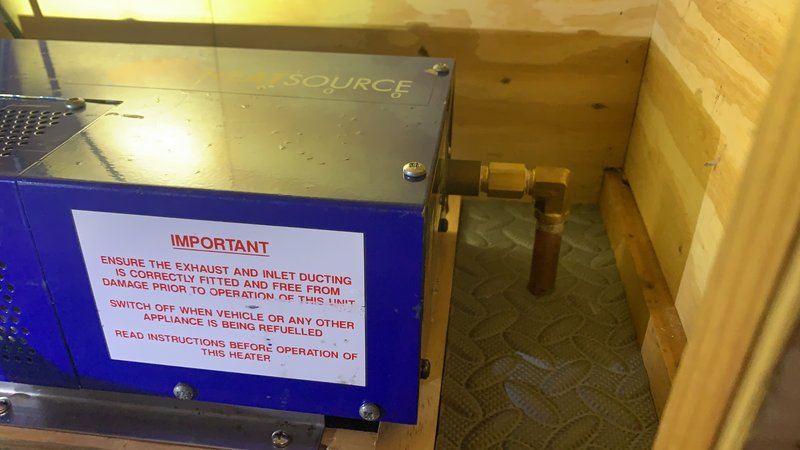
The gas connection. I used PTFE goop on the threads that is rated for propane and will completely seal the connections.
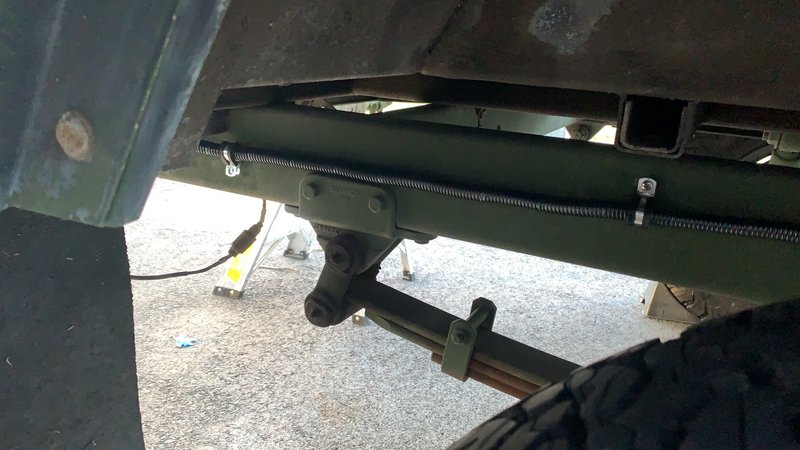
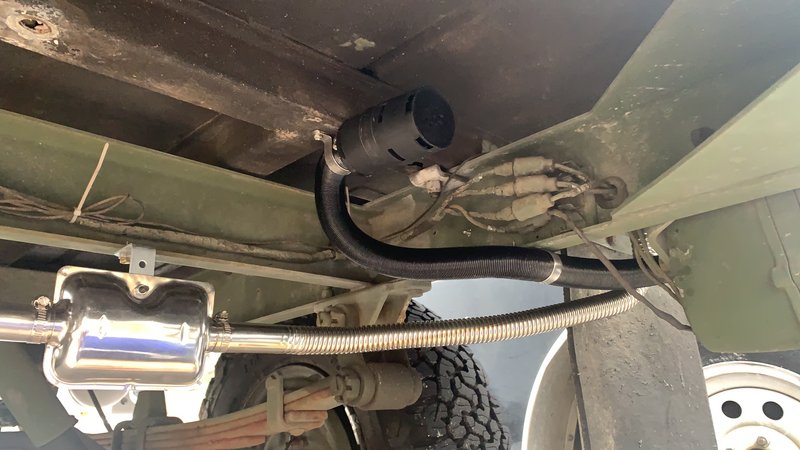
Underneath. Closest to the camera is the gas line, then the combustion inlet and the combustion outlet. The pipes still stick out 5/8” below the floor, so there is plenty of room to attach the intake tube and exhaust pipe.

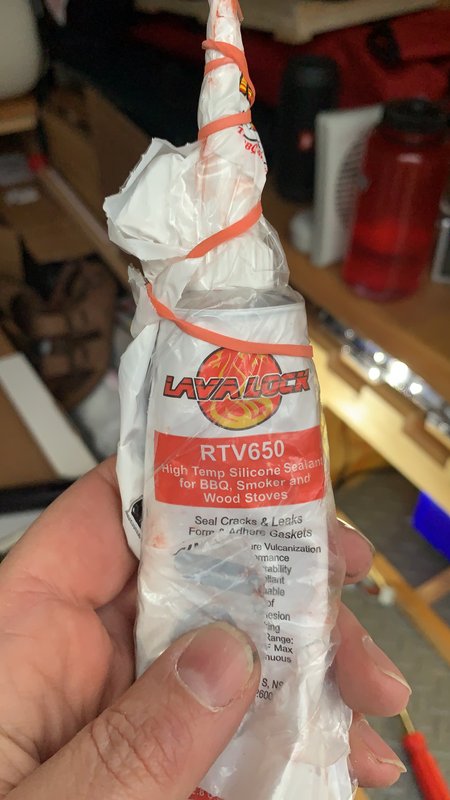
While the seal around the gas line is with a rubber grommet, the seals around the intake and exhaust will be with this high heat silicone. I will do this step next time, as I ran out of daylight today.
The next steps are:
- Tidy up the wiring.
- Attach the hot air hose to the Propex in the cubby and run it to the vent on the cubby door.
- Seal the intake and exhaust pipes against the trailer to make them airtight.
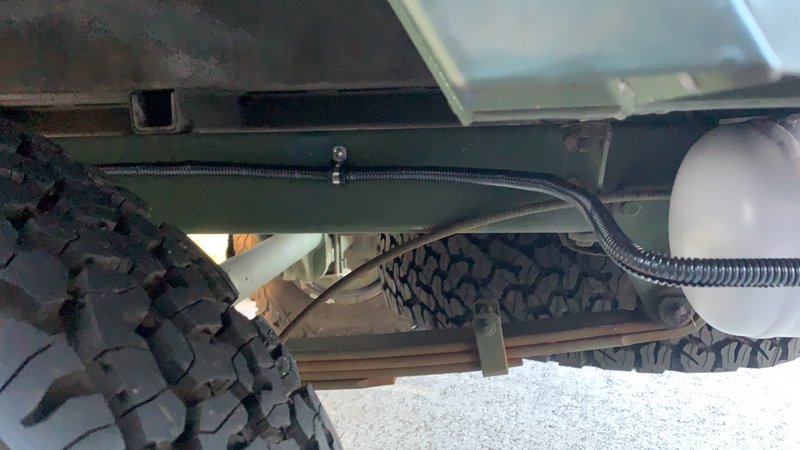
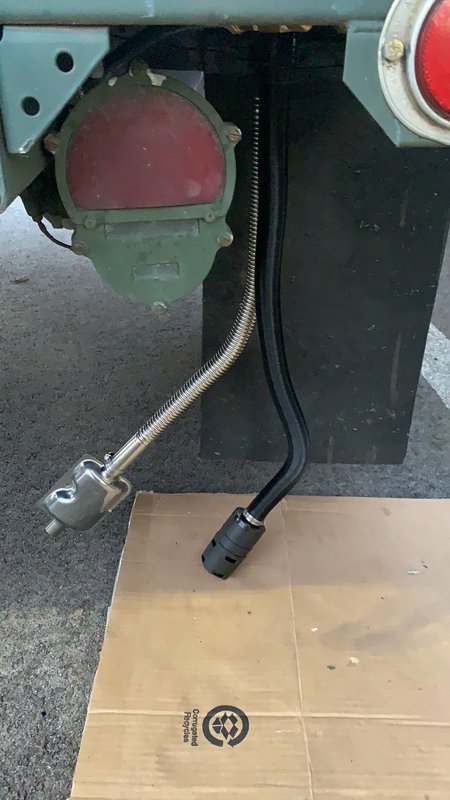
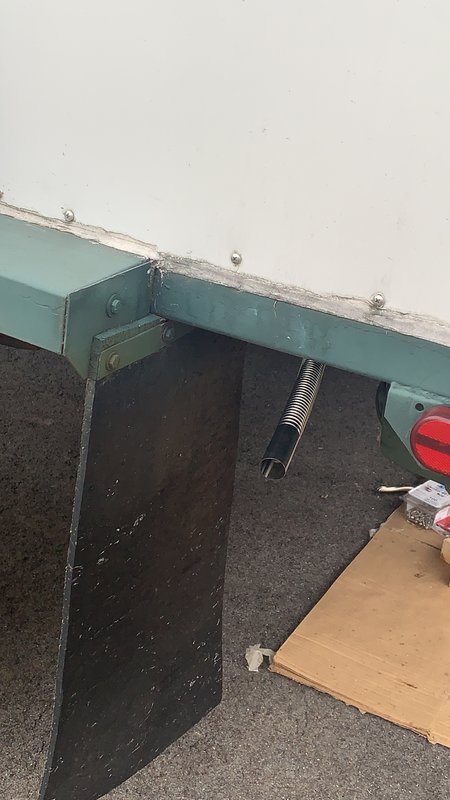
- Attach the intake hose and run it to a protected location under the trailer.
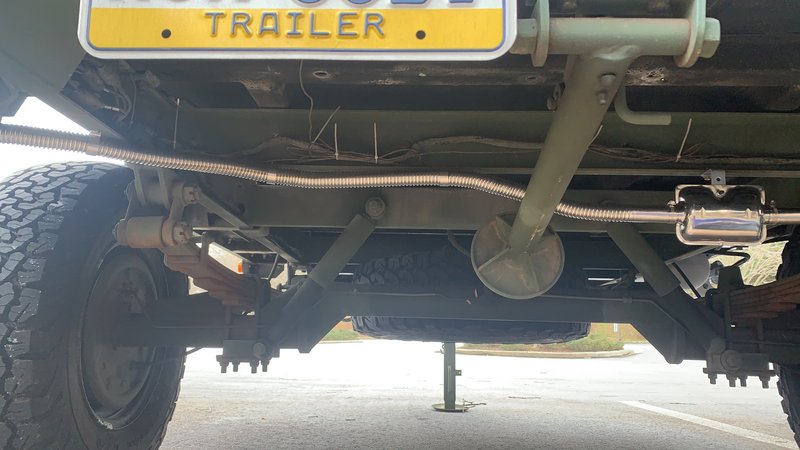
- Attach the exhaust pipe and muffler and run it to the drivers side edge of the trailer.
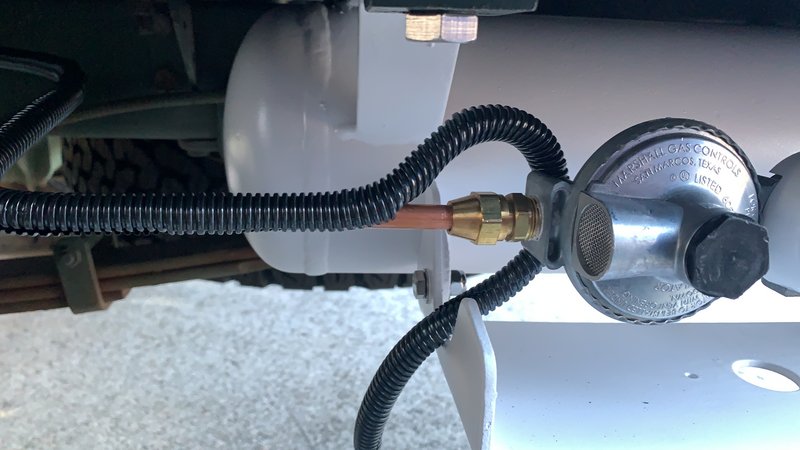
- Run the gas line from the propane tank to the heater connection.
- Check for gas leaks with the sniffer.
- Fire it up!


 Looks
Looks