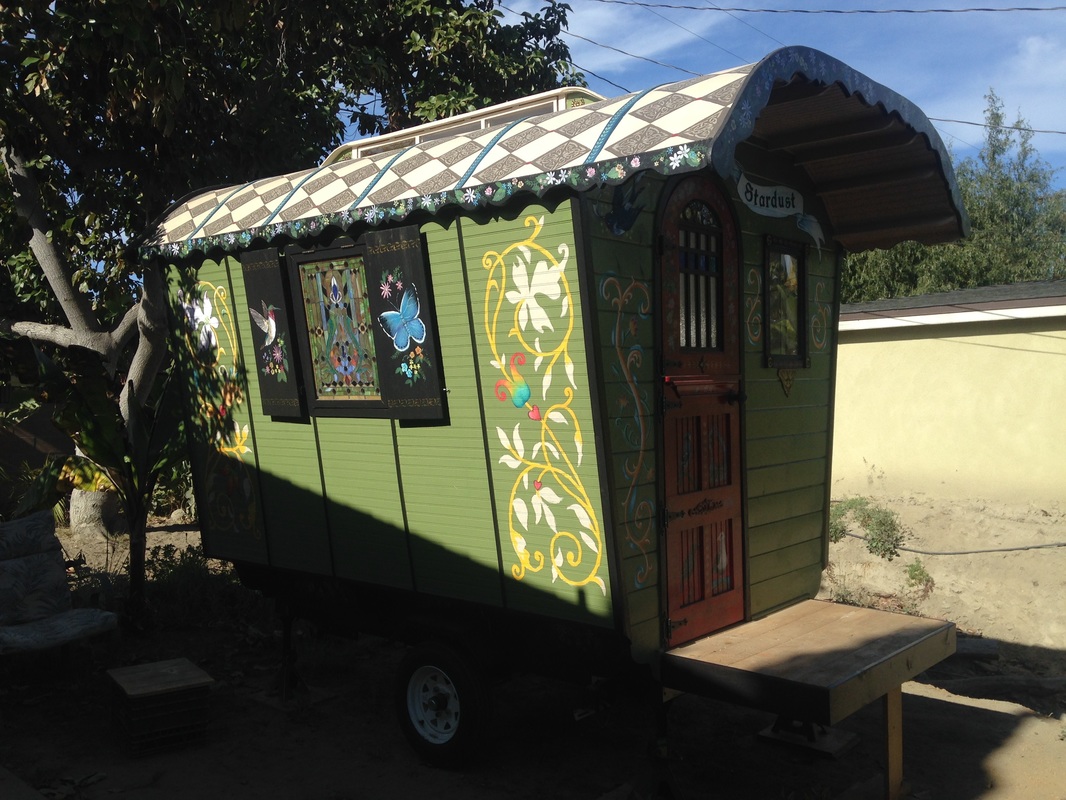
Our first build - a vardo
Re: Our first build - a vardo
![]() by noseoil » Sat Nov 28, 2015 7:48 am
by noseoil » Sat Nov 28, 2015 7:48 am
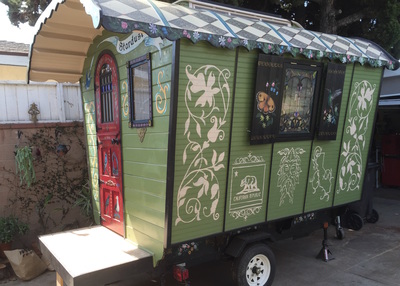
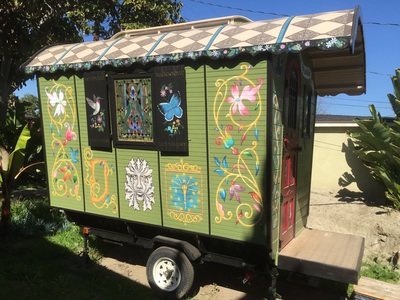
Incredible job on the build! Yes, the finish & details can take as much time as the build itself, but it's always worth the extra effort when it's finished. Looks like you will have some weight to haul as was mentioned. Any idea of the weight so far? If it's getting close, you may need to travel with empty tanks & top them off once you're close to your destination. Really enjoying the progress pictures & paint.
Build log: viewtopic.php?f=50&t=60248
The time you spend planning is more important than the time you spend building.........

The time you spend planning is more important than the time you spend building.........
-

noseoil - 1000 Club

- Posts: 1820
- Images: 669
- Joined: Sun Apr 27, 2014 8:46 am
- Location: Raton, New Mexico, living the good life!
Re: Our first build - a vardo
![]() by Vedette » Sat Nov 28, 2015 12:45 pm
by Vedette » Sat Nov 28, 2015 12:45 pm
Wow! Wow! Wow! 
What else can one say?
Good Roads
Brian & Sandi
What else can one say?
Good Roads
Brian & Sandi
-

Vedette - Silver Donating Member
- Posts: 5141
- Images: 443
- Joined: Thu Dec 01, 2011 4:28 am
- Location: Westbank B.C.


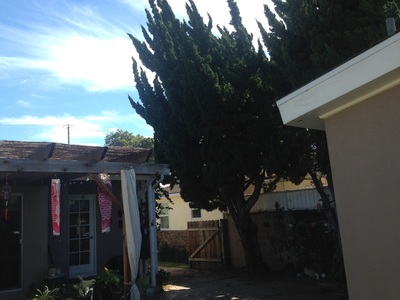
 So we haven't been able to get it out of the yard to check for weight, but we can do that soon.