Well, we're getting a new roof on our house, so we had to move the vardo to the backyard and pack up the tools to keep the crud out for a few days. So I am working on a couple of decorative bits. The first thing I did was make a little sun and moon for over the back window -- found a clip art of a sun/moon, drew it out on some plywood and wood scraps, cut it out with my jigsaw, then sanded the bits.
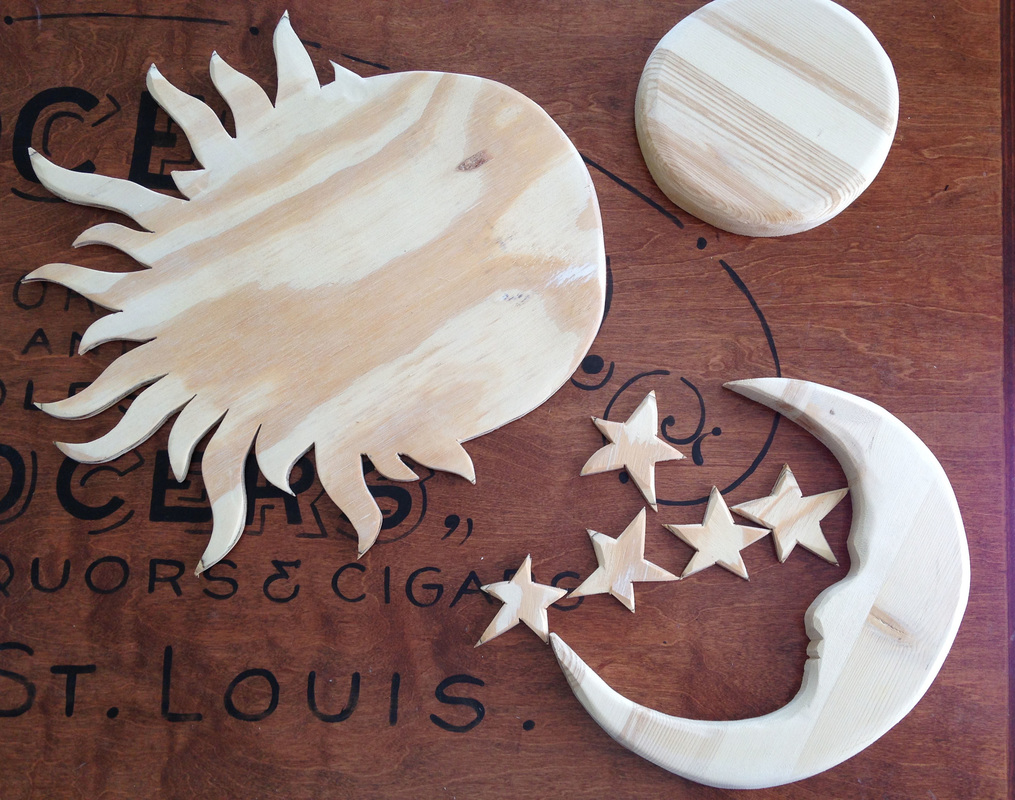
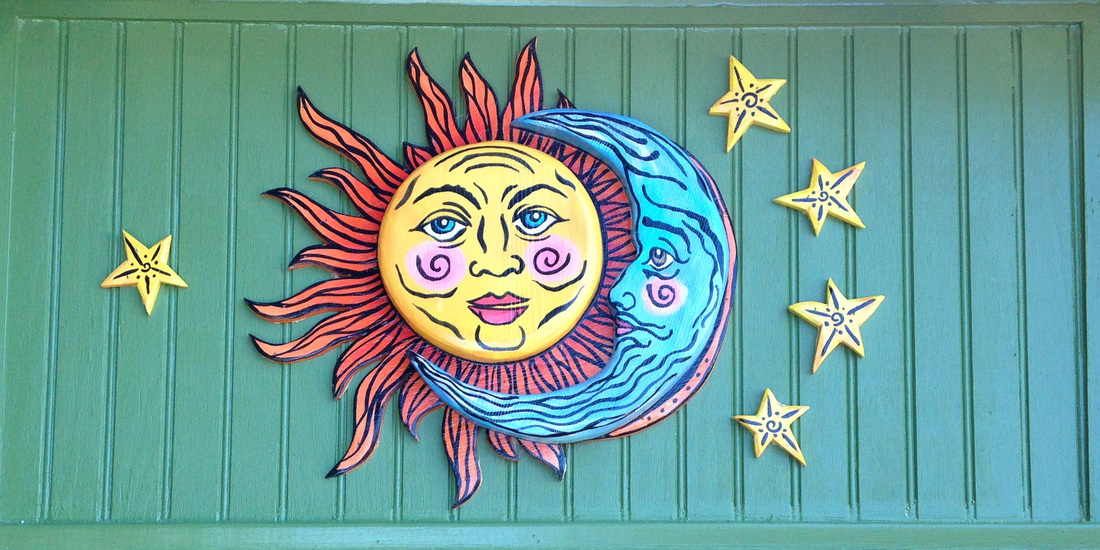
Then I painted them, glued/screwed the pieces together, and finished with about 4-5 coats of marine varnish and a top coat of spray to to be sure they're sealed against the weather. Then I used a combination of titebond and construction adhesive to mount them on the roof to the window, and nailed the heck out of them, too.
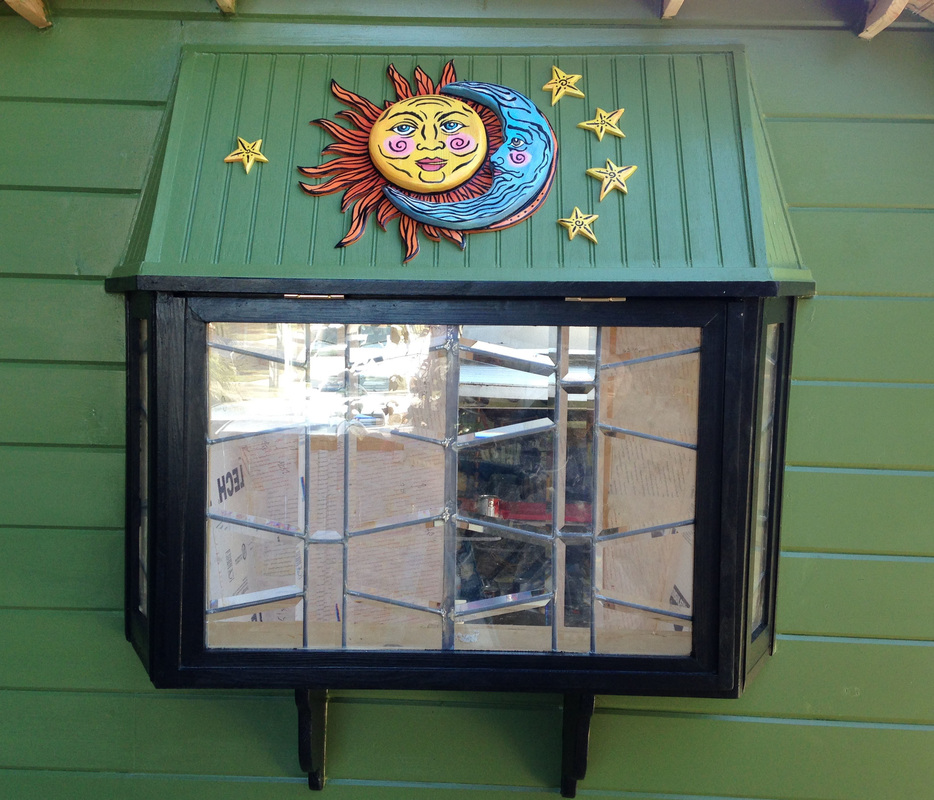
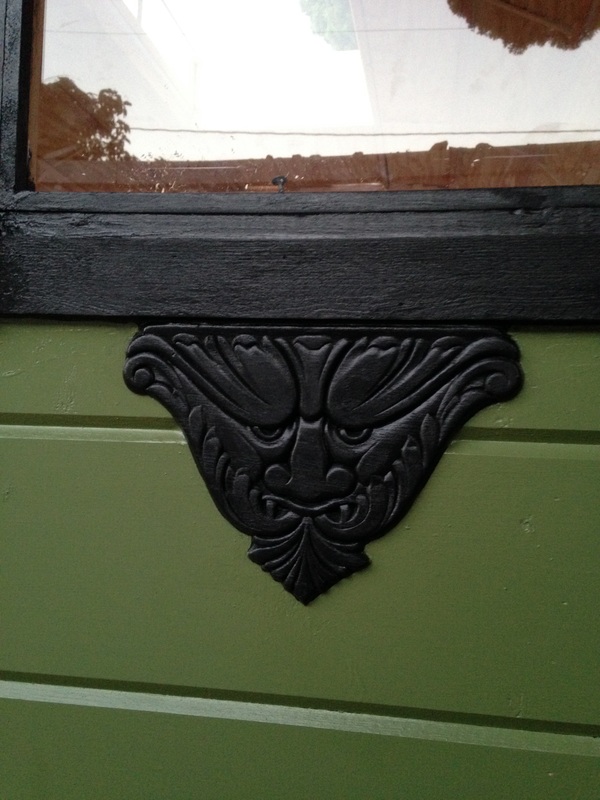
I've got ideas for stenciling the border (along with pretty much every inch of the whole thing), and yep, gonna add lots of gold. I'm thinking especially along the bottom edge, the black really made it disappear, but I've got some ideas for that area to accent it.
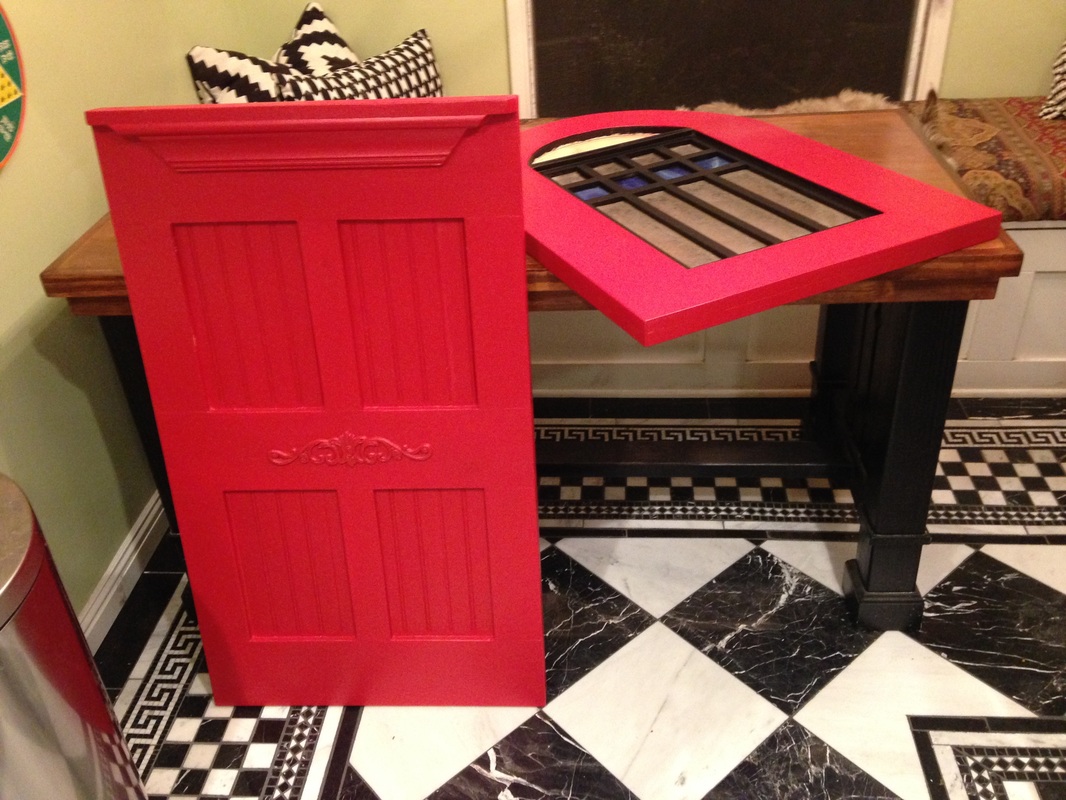
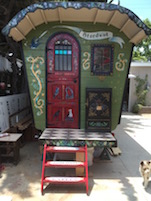
The other thing I did was paint the doors red -- really, really red as it turns out! But I will be giving them a wash of black to give them an "antique" look -- and then I've got some ideas for painting in the panels and around the edges. So here they are before, I'll post other pics after...
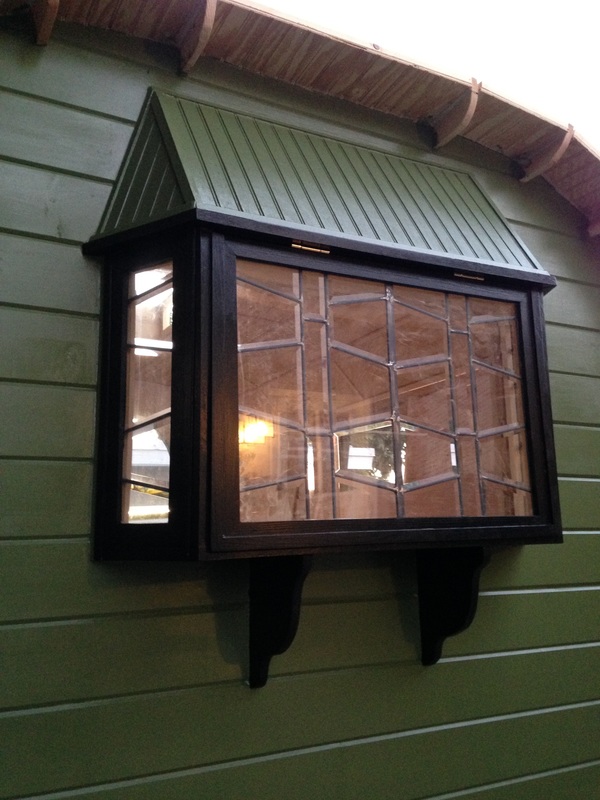
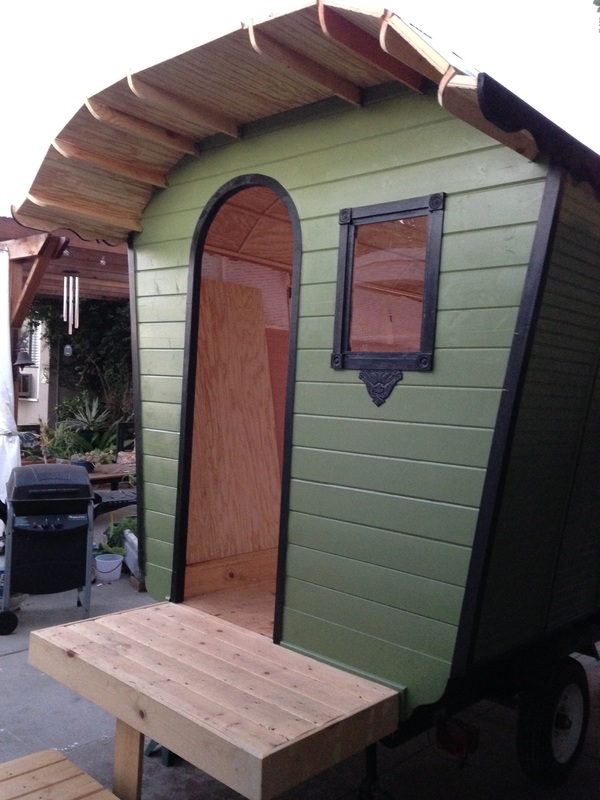
We did get half the roof plywood curved and attached before we had to pack up shop, it went easier than we thought, so by the next post, we might actually have that closer to finished. Also got the two stained glass windows fitted and just need to pick up a couple more hinges to install them. We cut the insulation for the walls, and I also got the window installed by the door, but I guess I forgot to get a picture of that. Oh well, next time!
Thanks for the encouragement and kind comments, we are having so much fun! I am really anxious to get this shell done so we can start focusing on the interior -- and figuring out how to do the wiring, which is our next big milestone after the roof ---


 The dutch door is looking really good, and the lead windows fit the part well.


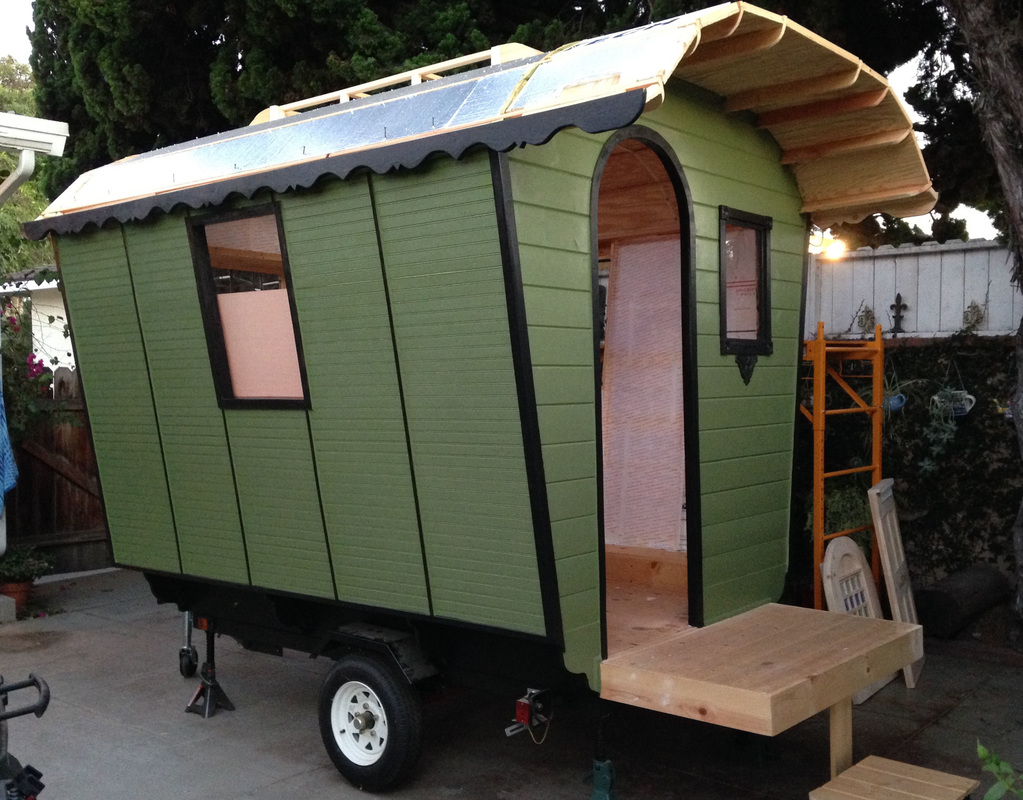


 It's looking awesome already!