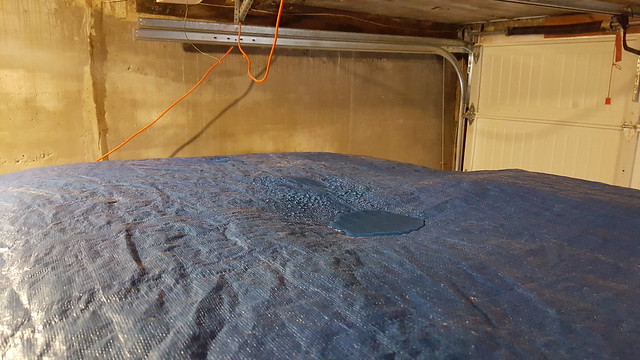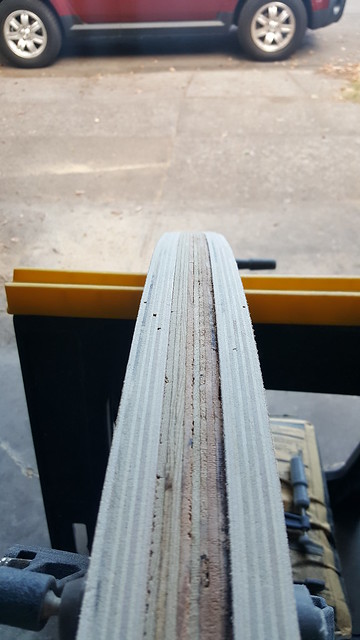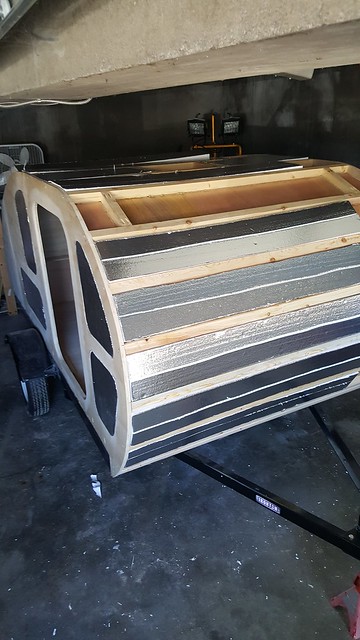

Got the insulation roughed into place. (not the best photo)
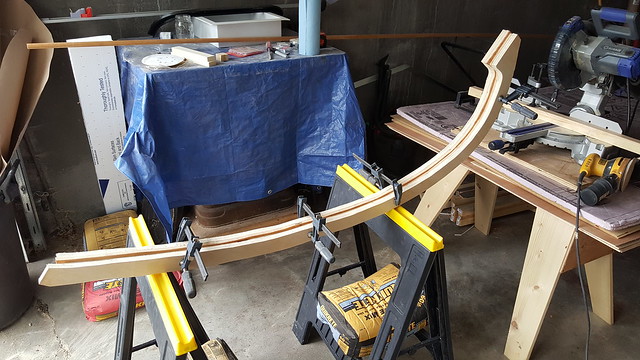
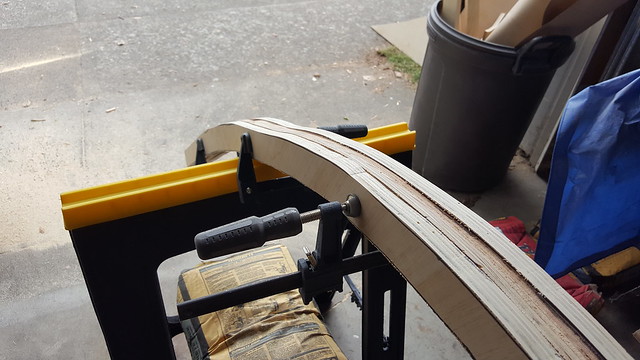
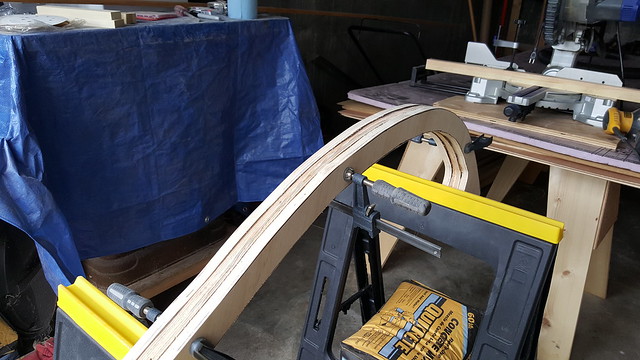
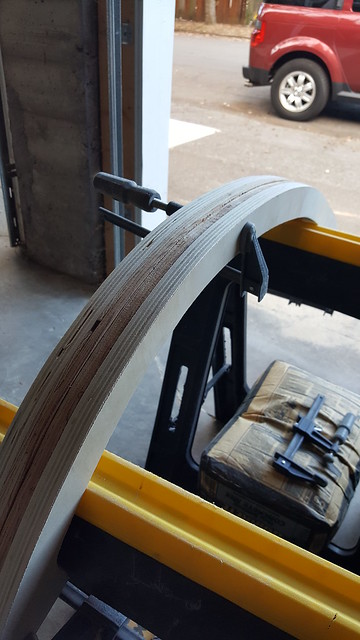
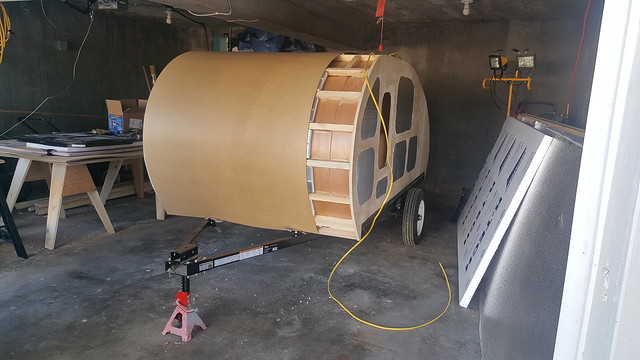
And just cause I couldn't contain my excitement and curiosity I put the masonite layer on and clamped it down. Its comin' together!
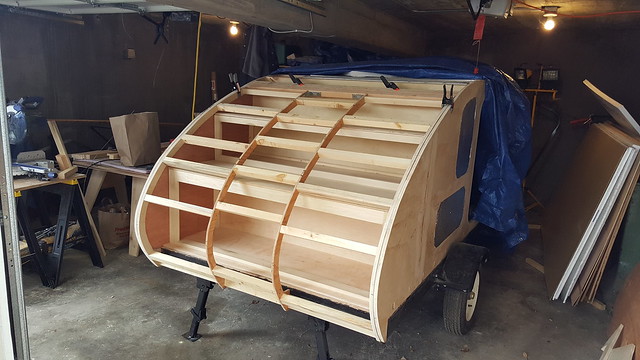
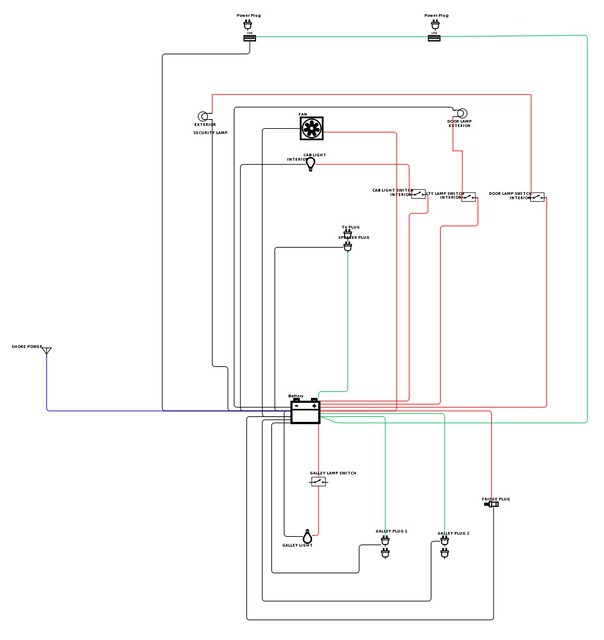
Strung the 120v across and left room room in the insulation to make that happen.
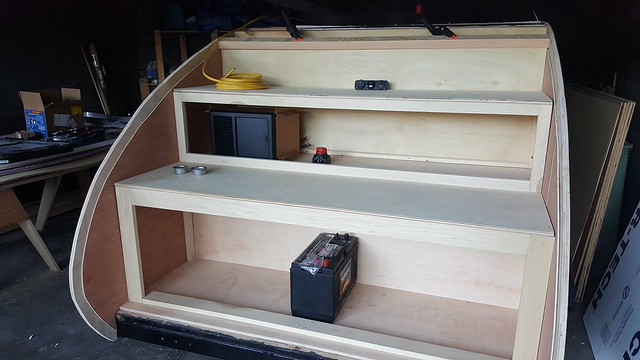
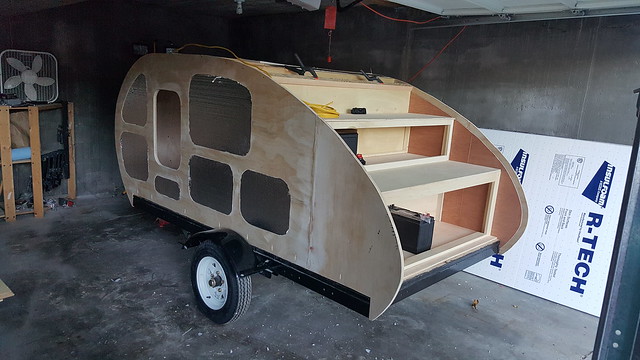
Here's where I have things placed in the galley (so far). If it all makes sense then Ill start building it into the cabinets. Fortunately I left certain pieces of the galley unfixed.
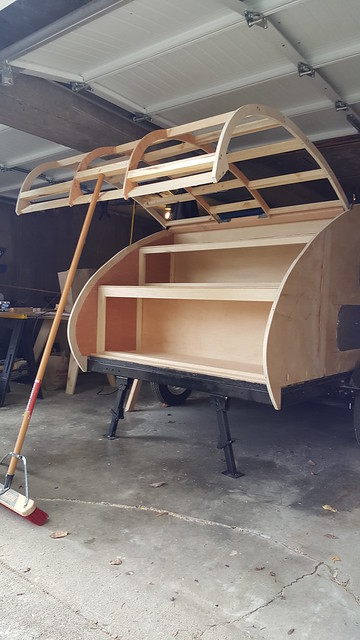
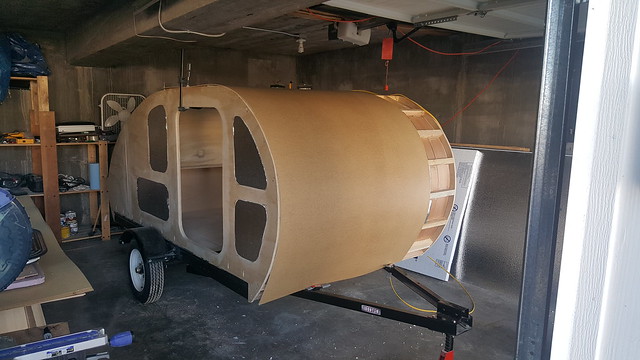
And just for the hell of it, I turned the trailer around so I could get sunlight into the back while I work on it. So heres finally a clear shot of the left side profile.