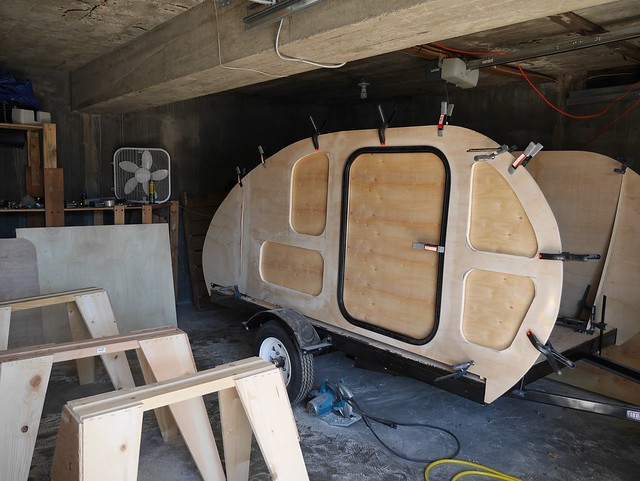
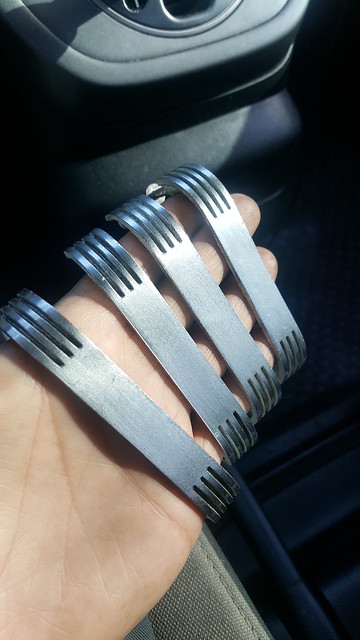
KCStudly wrote:Nice handles!
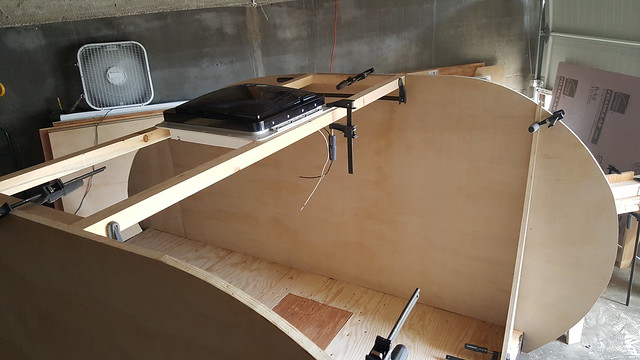
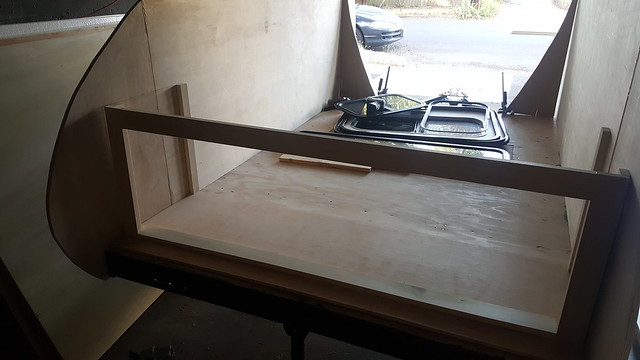
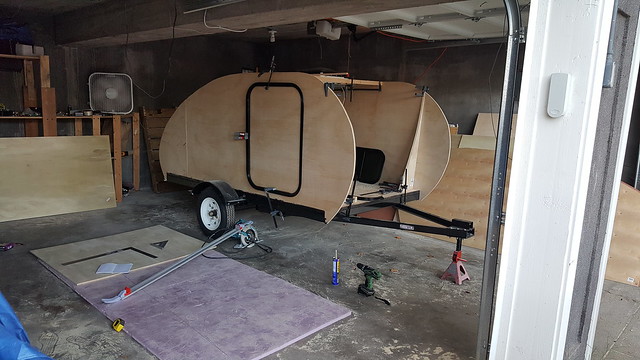
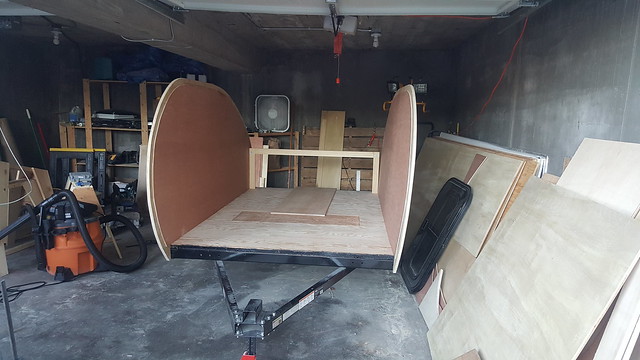
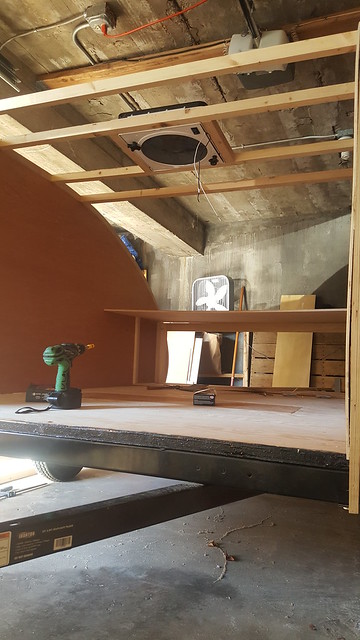
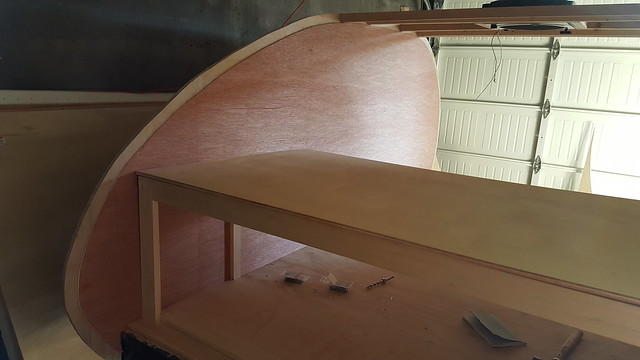
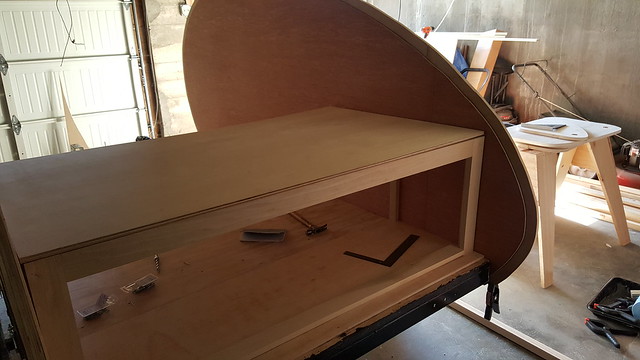
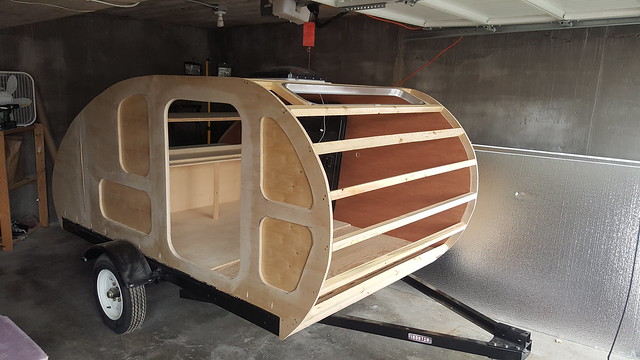
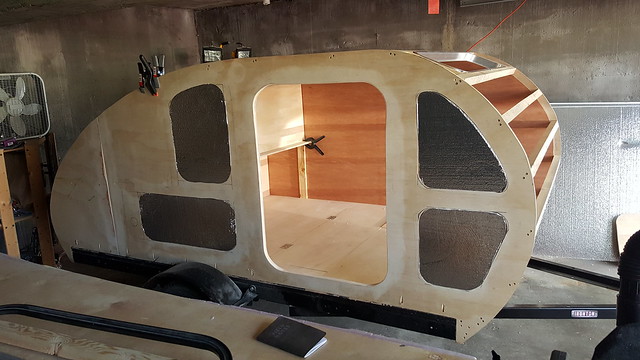
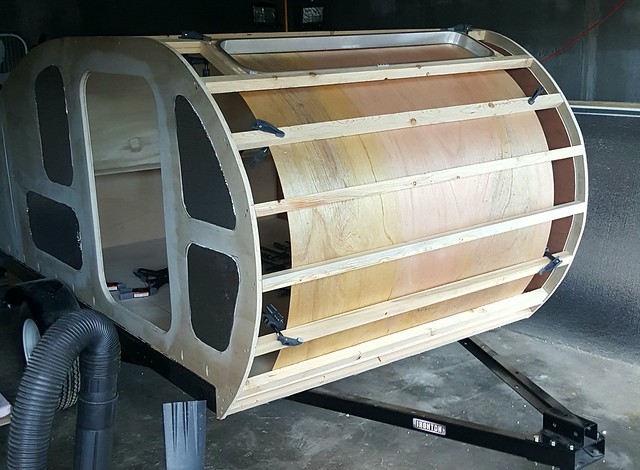
I'm looking at your roof ledge/rabbet and I see it goes all the way to the rear floor. Is this part of Steve Fredrick's method where the roof gets built all the way to the rear and then the hatch gets cut out later? Boy it would really s**k to cut the corner off of the galley counter while cutting the hatch out!

I'm sure I've seen the technique before here on the forums but for some reason the fact that the rabbet is running all the way back is standing out as odd to me, at least at the moment.
To be honest, I hadnt put too much time into thinking about how I was going to have the bottom edge of the hatch link into the trailer. I always kind of knew I would make it work either way but was just gunna cross that bridge when I got to it. But after thinking about what you said it got me thinking and I feel Ive come up with an elegant solution.

Ill post up more picture when I get to that part, hopefully soon.

EDIT:
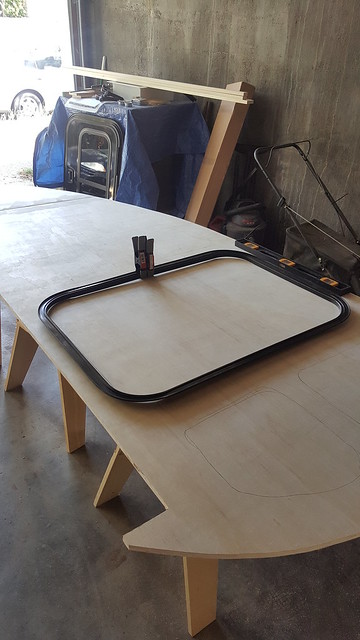
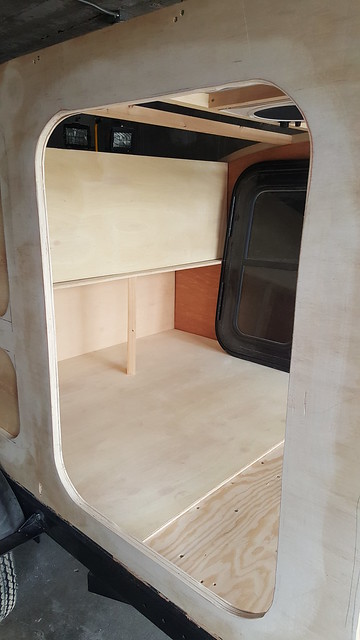
Ahh, ok! I think I understand what you are saying now KCStudly. Yes, it definitely gives me something to think about. After looking around and seeing how most people have done I can see where my issues may lie. My original thought was that the outer ribs of the hatch would align with the lip of the rabbet on the inside and then I would run weather stripping under the outer skin of the hatch that overhung the walls, to create the seal. (if that makes sense) I think I have a few oversights in there, including space for the molding+stripping.
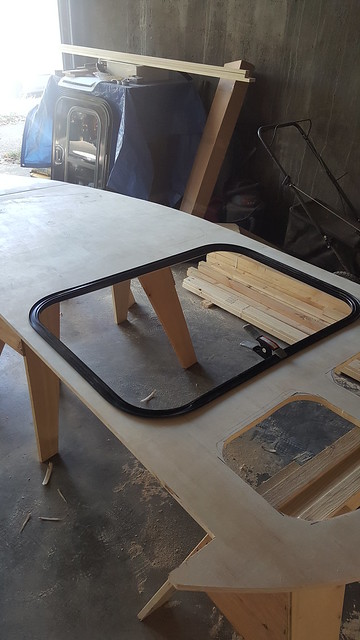
My first thought now is, yes I may have to cut that top part of the rabbet out and use that as the basis of my hatch ribs. Thatll give me more room to play with spacing of the seal and it will also tidy up the interior all of the galley.... Im not too concerned with hitting the cabinet, Ill just take my time at those points.
Any insight to this would be appreciated. Any alternatives or suggestions. Thanks for the input!