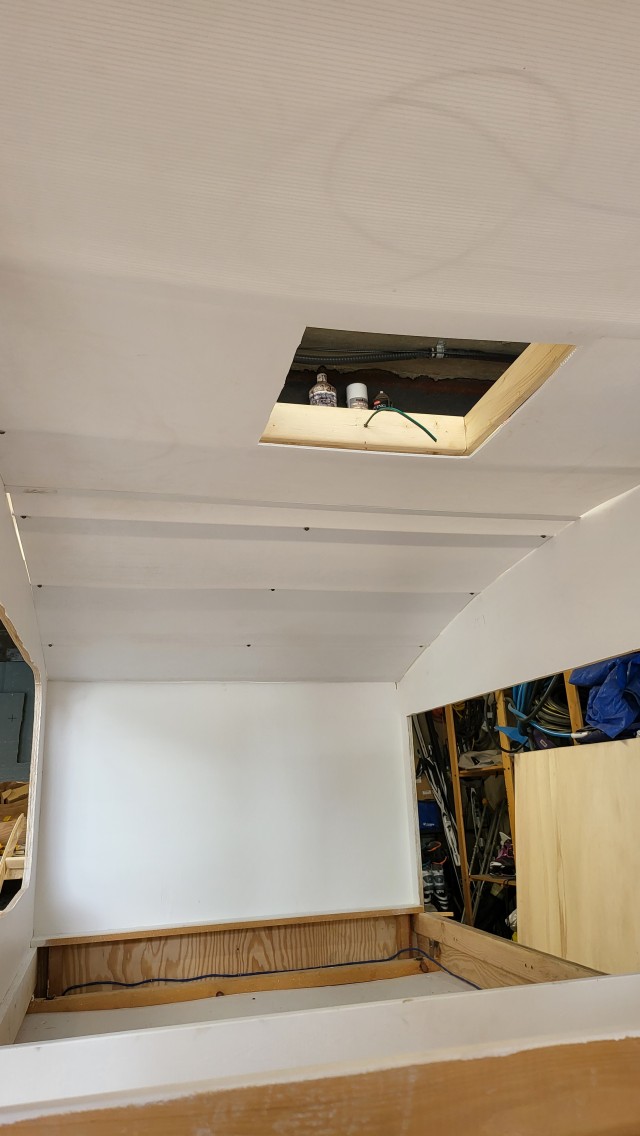
Now let's re-visit the interior. I added some coat hooks, the ceiling vent, and an LED puck light. and of course, mattresses!

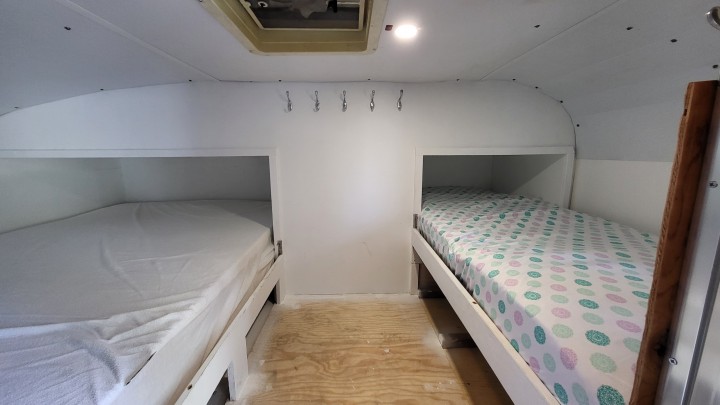
You can see it both folded, and unfolded.
The larger mattress is an ikea double, it's the thinnest one they sell, but then I added a 2" memory foam topper to it. keeps it all flexible for folding, but gives enough comfort too. The smaller mattress is an "RV Bunk" size, but we custom made it with leftover open cell foam we had from another project. It's 3 layers of 2" foam.
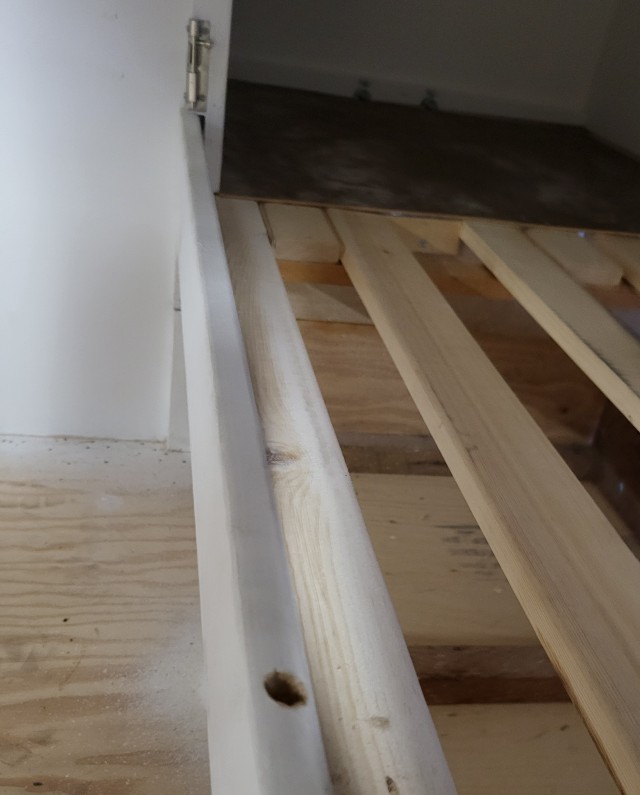
If you look closely at the edge of the image you can also see the interior door trim that I added, it's just thin plywood cut in 2 inch strips.
We also put down vinyl plank flooring (this is leftover from our bathroom and mudroom renovations at home

)
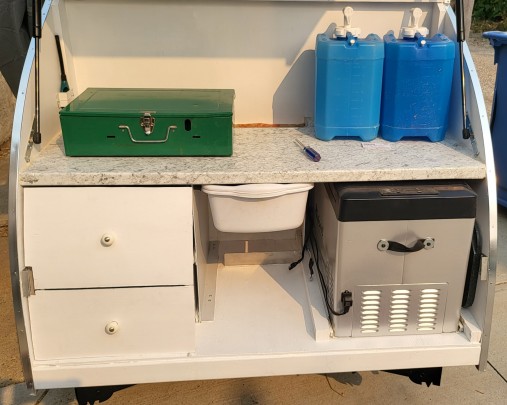
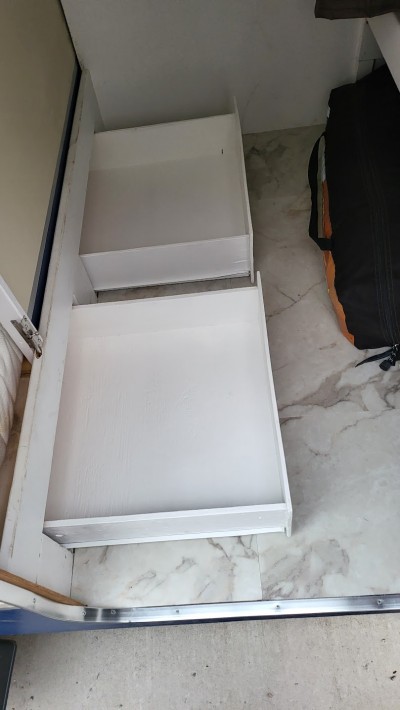
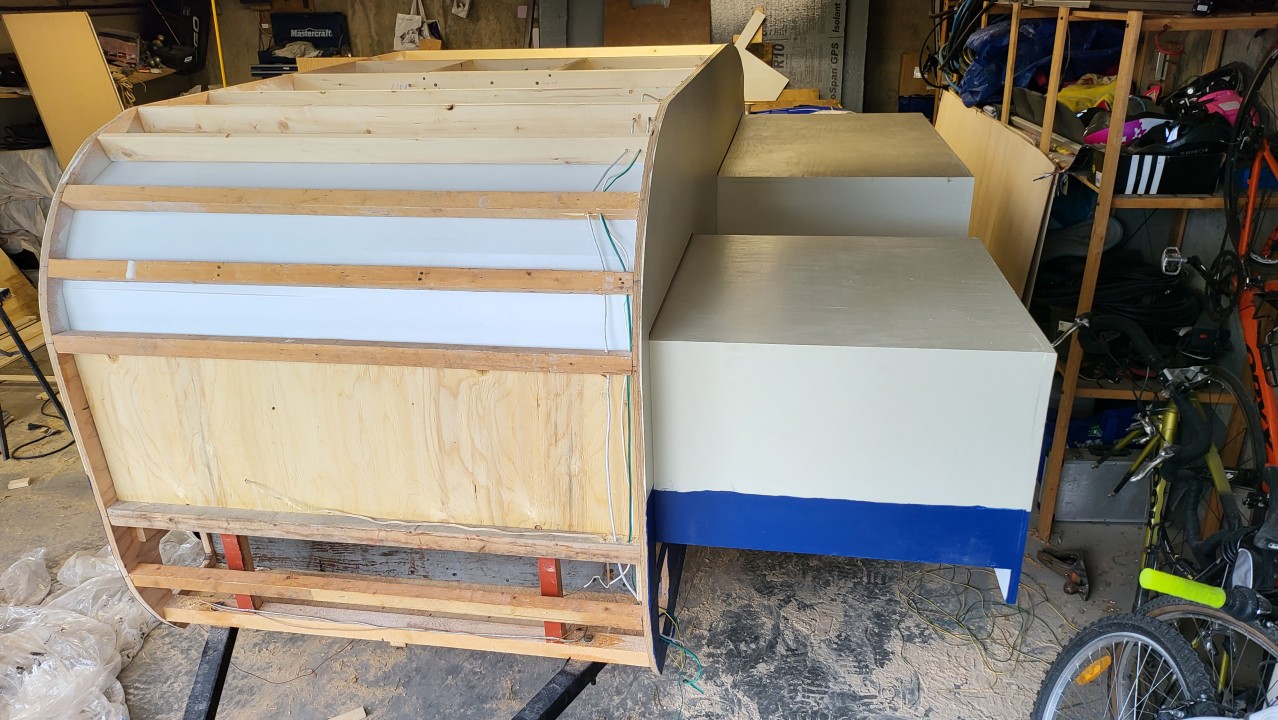
And I built some drawers for under the large bed.
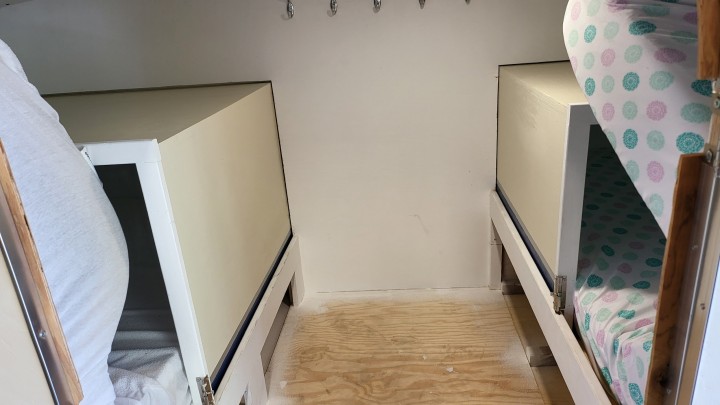
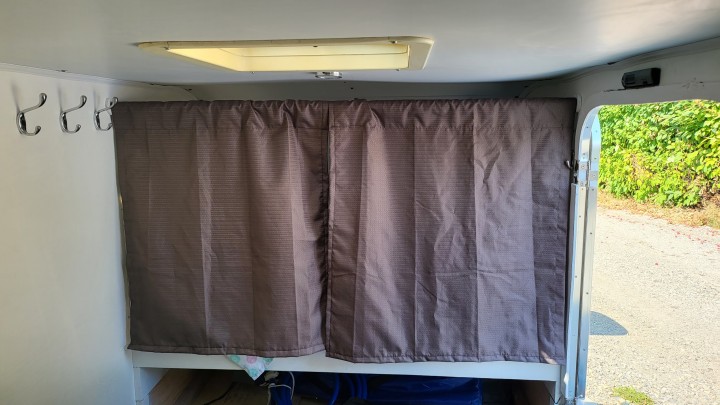
Now apparently 8 year olds need something called "privacy"?

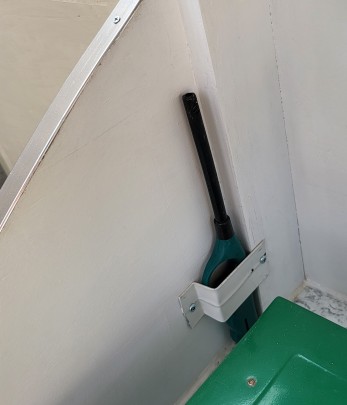
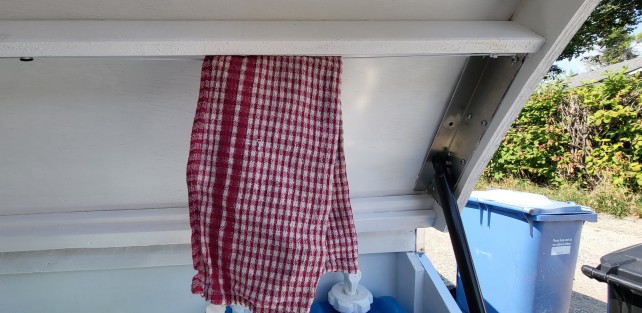
So I added a curtain across her bed.
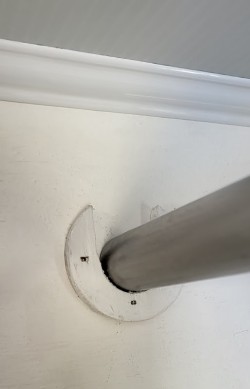
The curtain rod is an old mop handle which I sanded the red paint off of, and the brackets are chunks of plywood cut with a hole saw and jigsaw and then nailed to the wall.
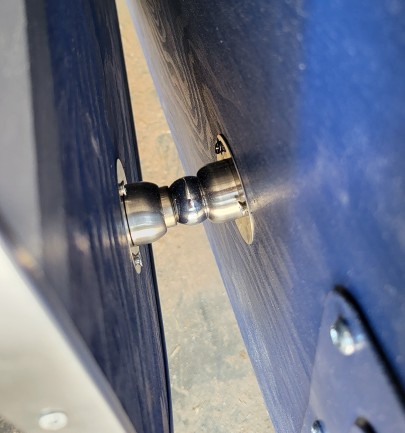
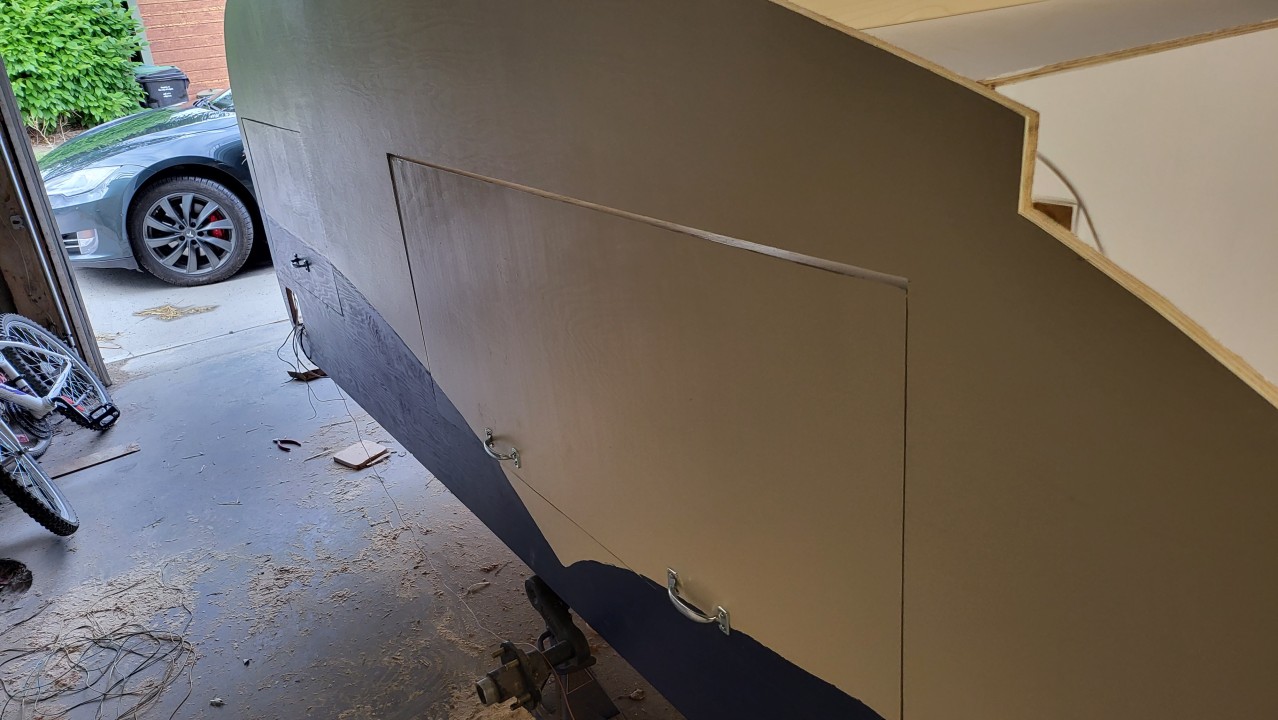
You can also see the roof edging here, it's a peel and stick flexible moulding.
On the right side of the picture you can see a better view of the door trim, a car thermometer above the door (probe is under the trailer) and you can just see the edge of another hook sticking out from behind the curtain, I put hooks at each side of both beds.
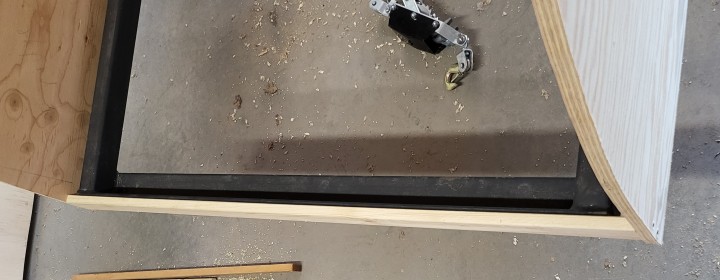


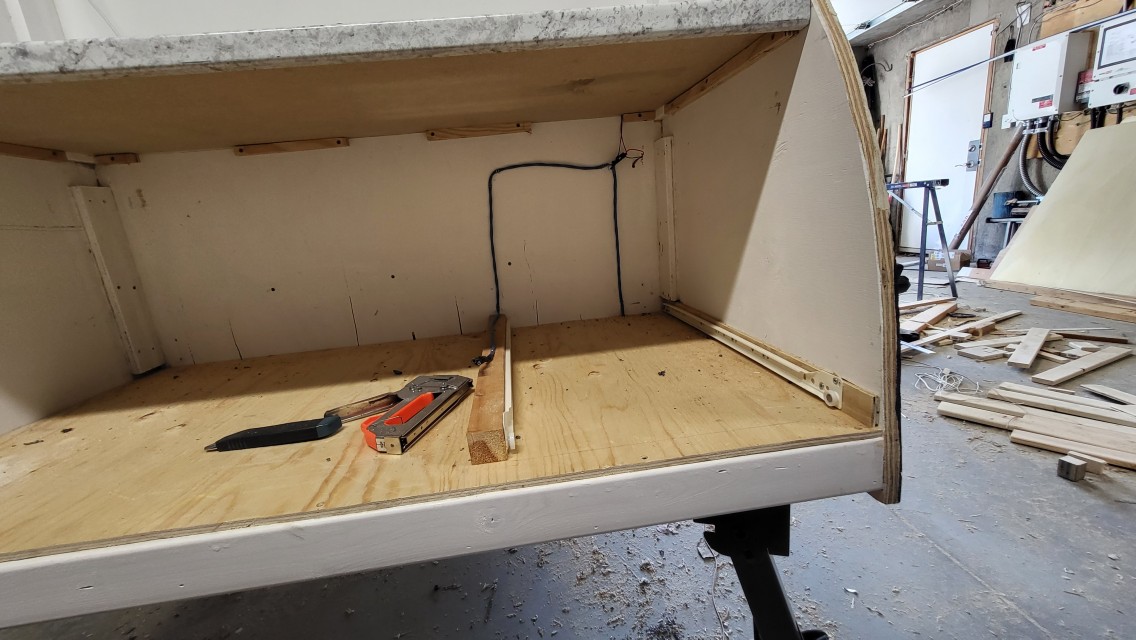
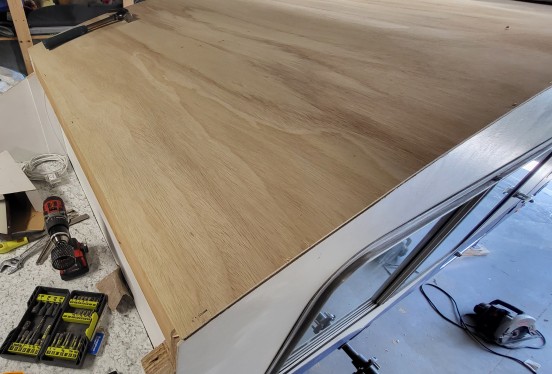
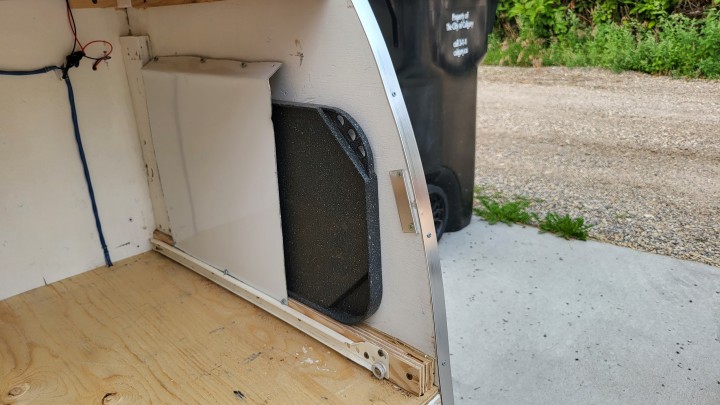
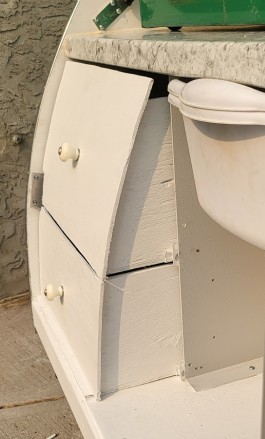
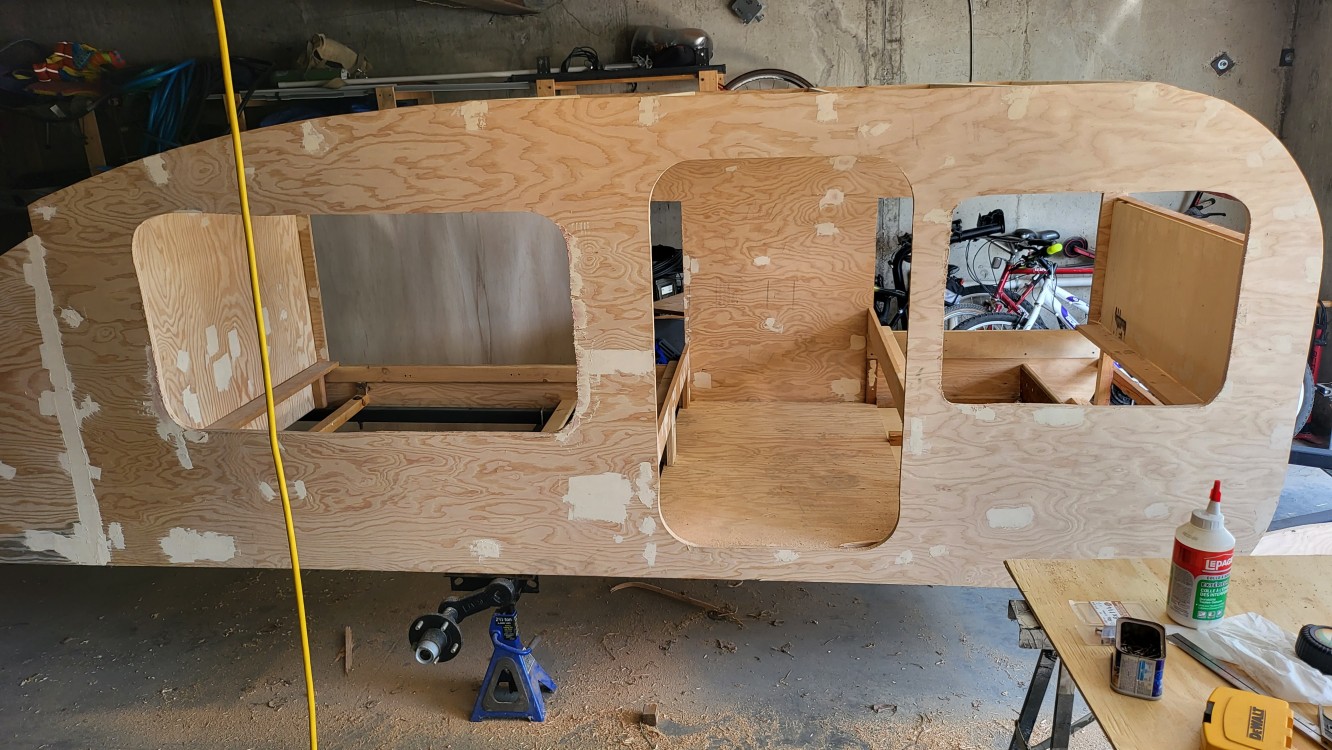
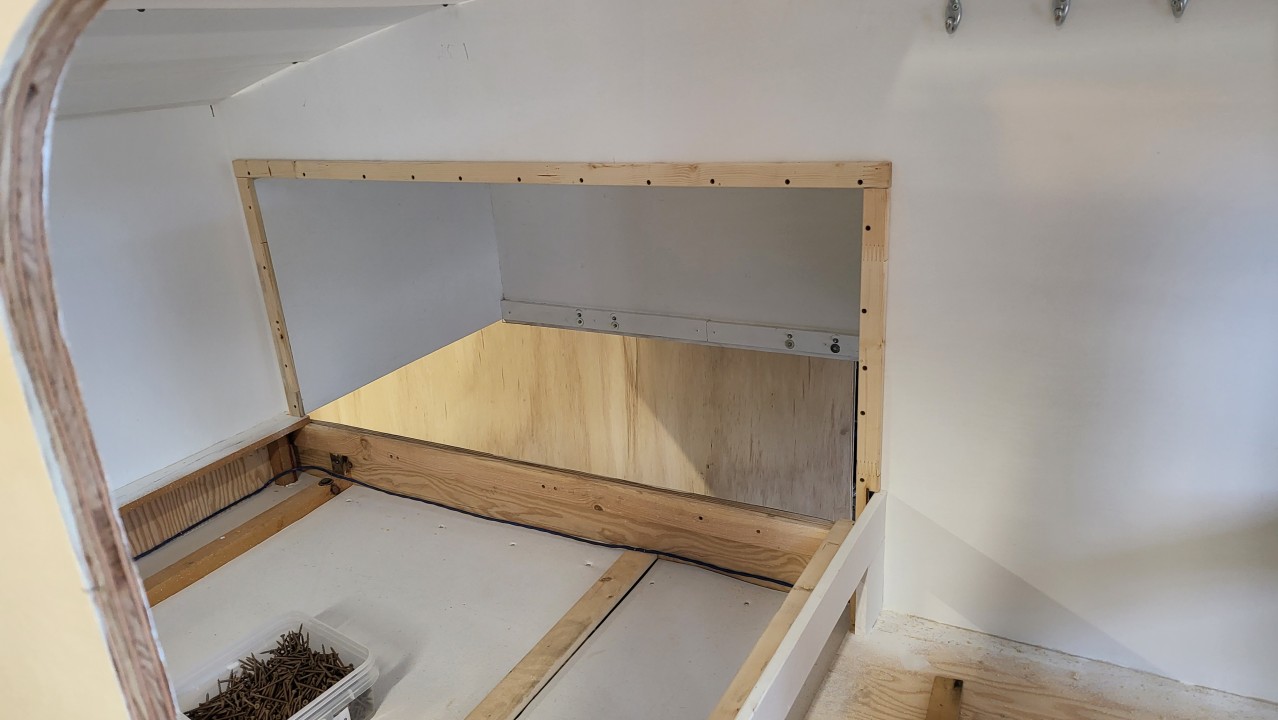
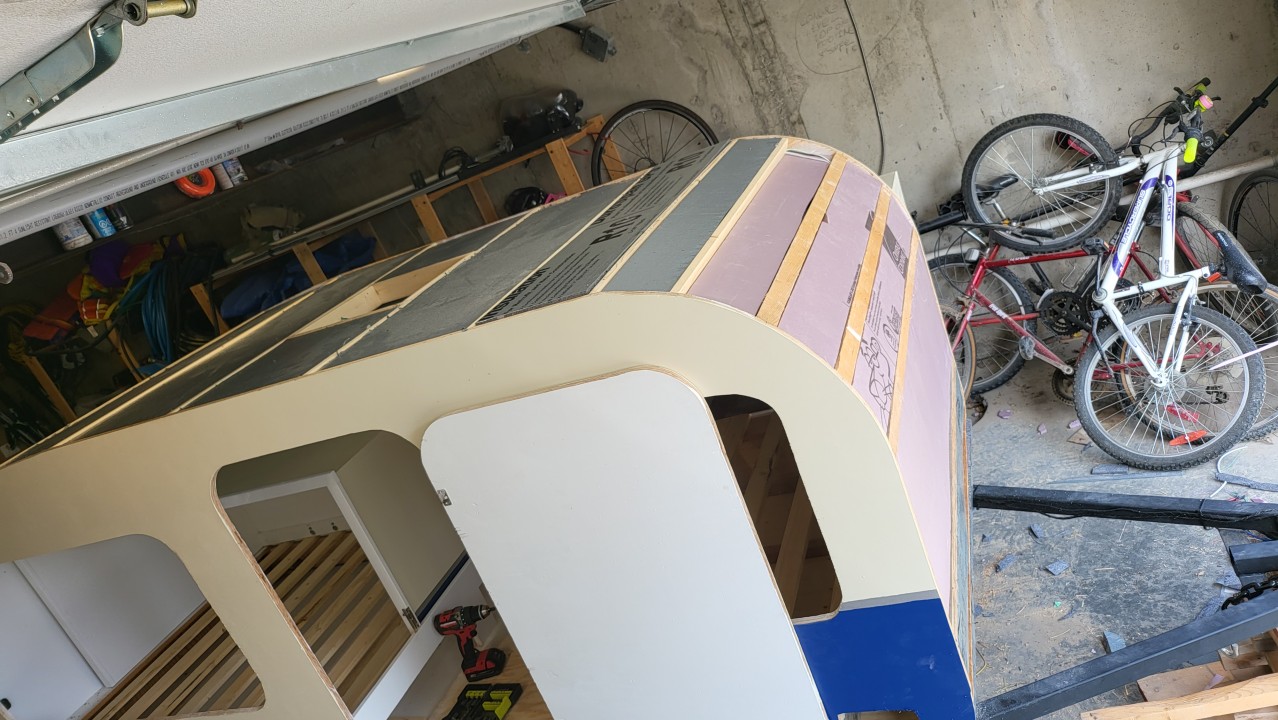
 So the next step was to work on the area under the smaller bed.

 Have I mentioned how much I dislike painting?
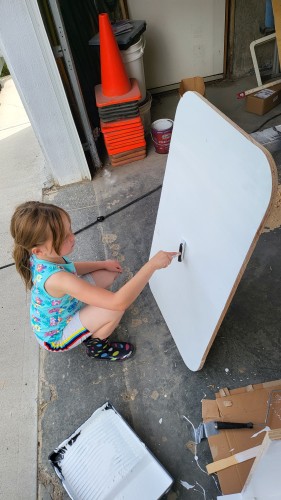

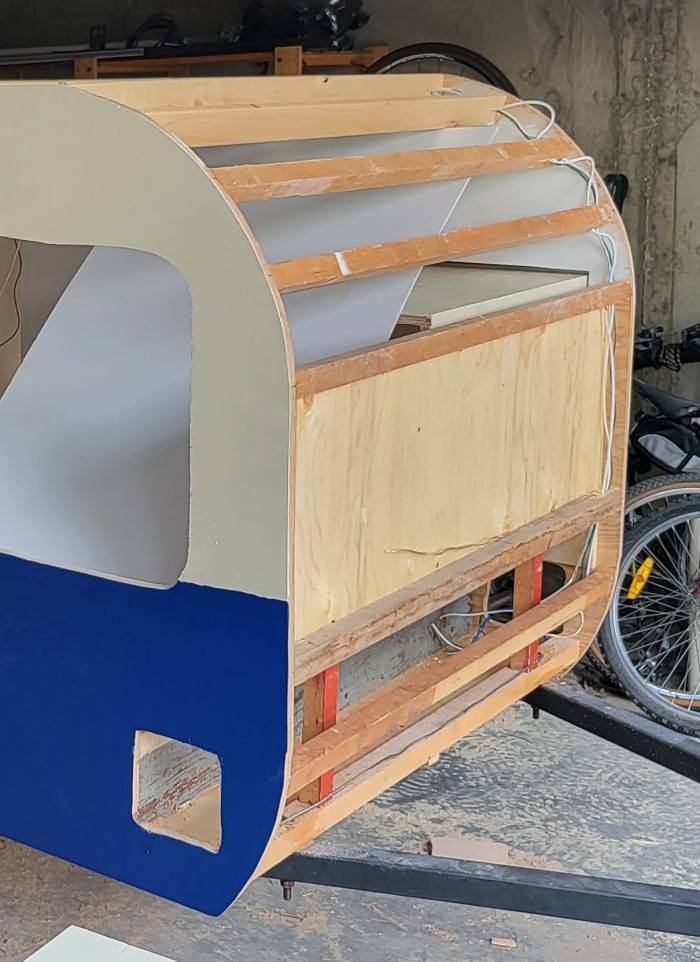
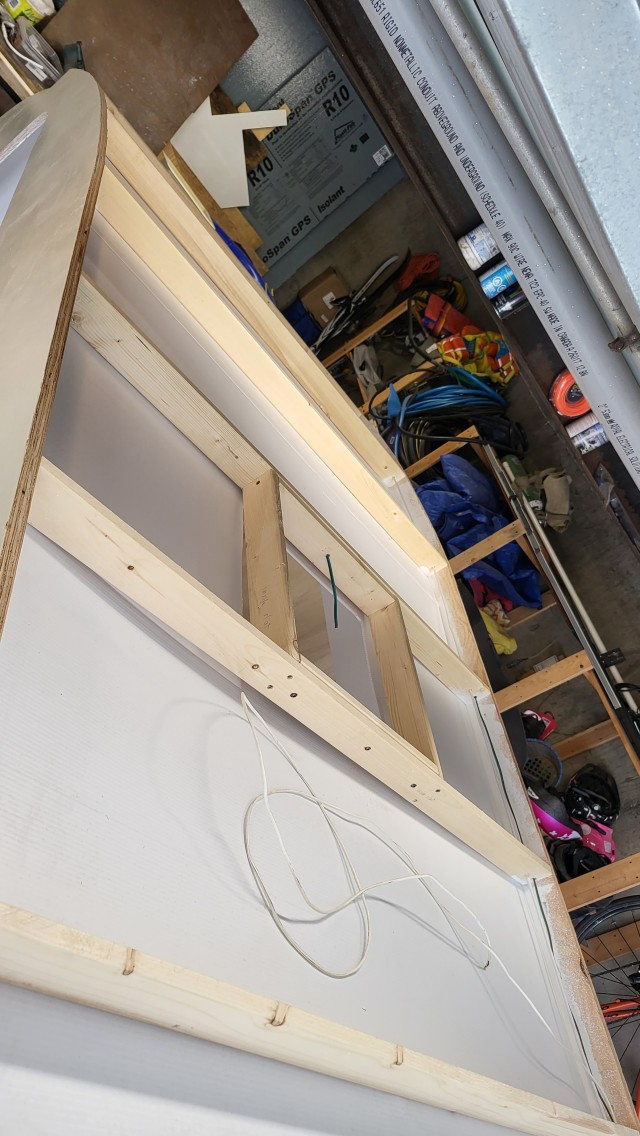
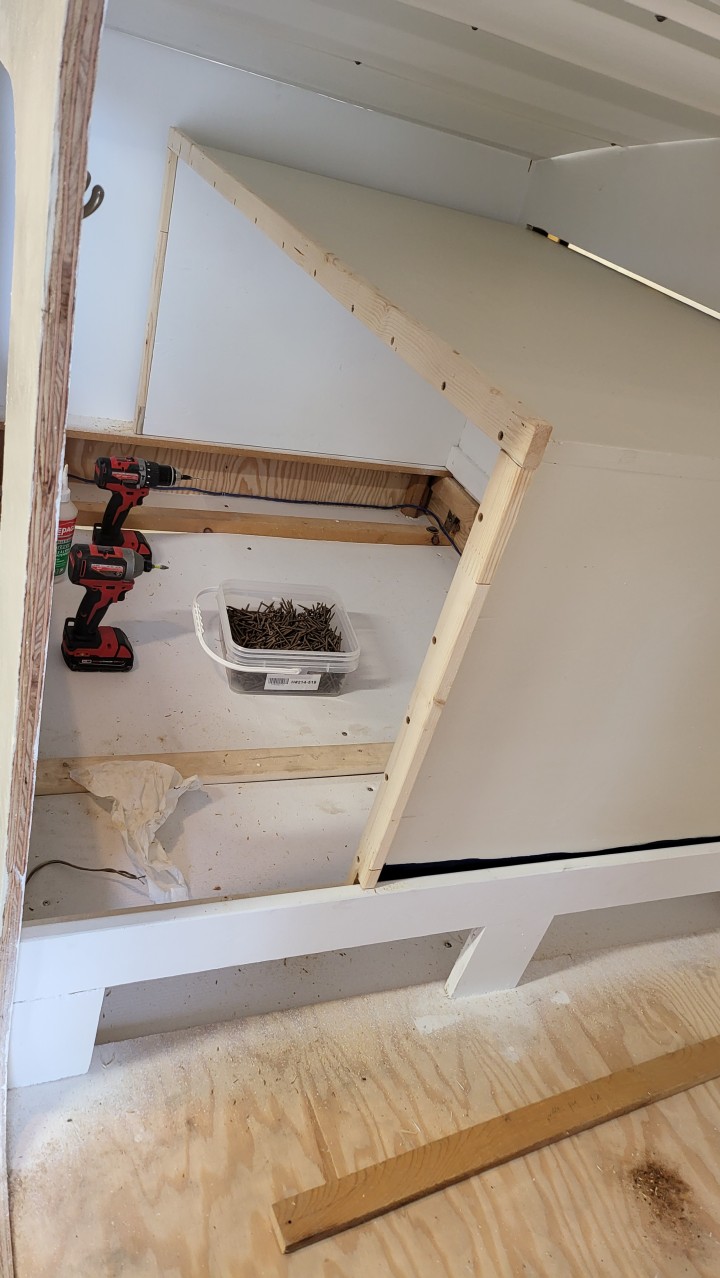
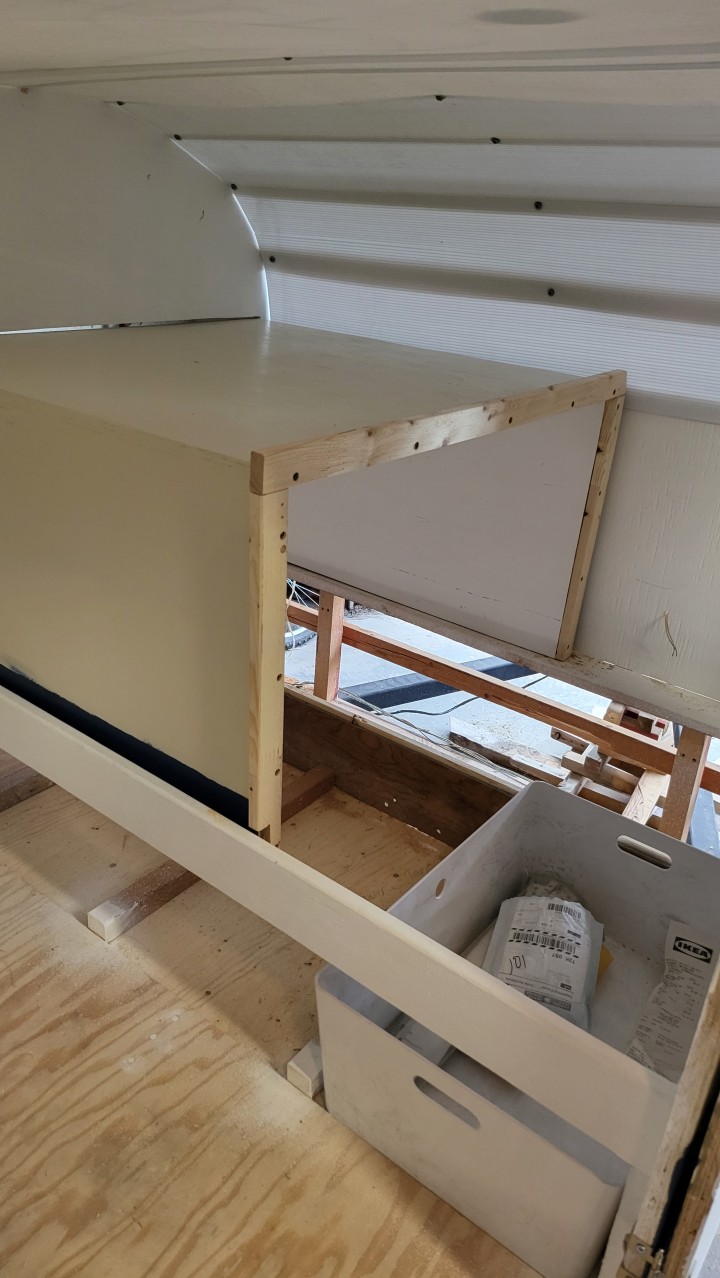

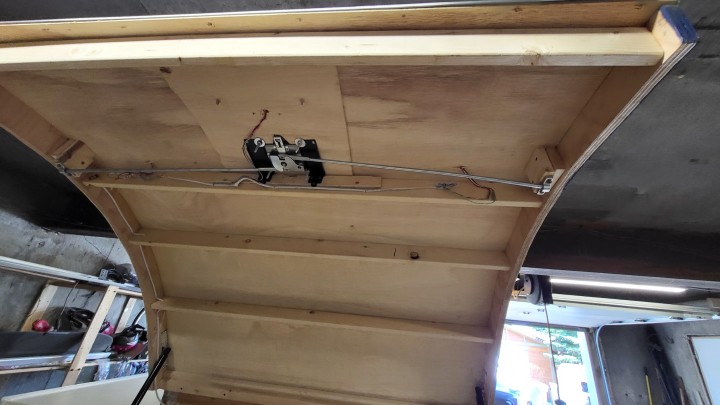
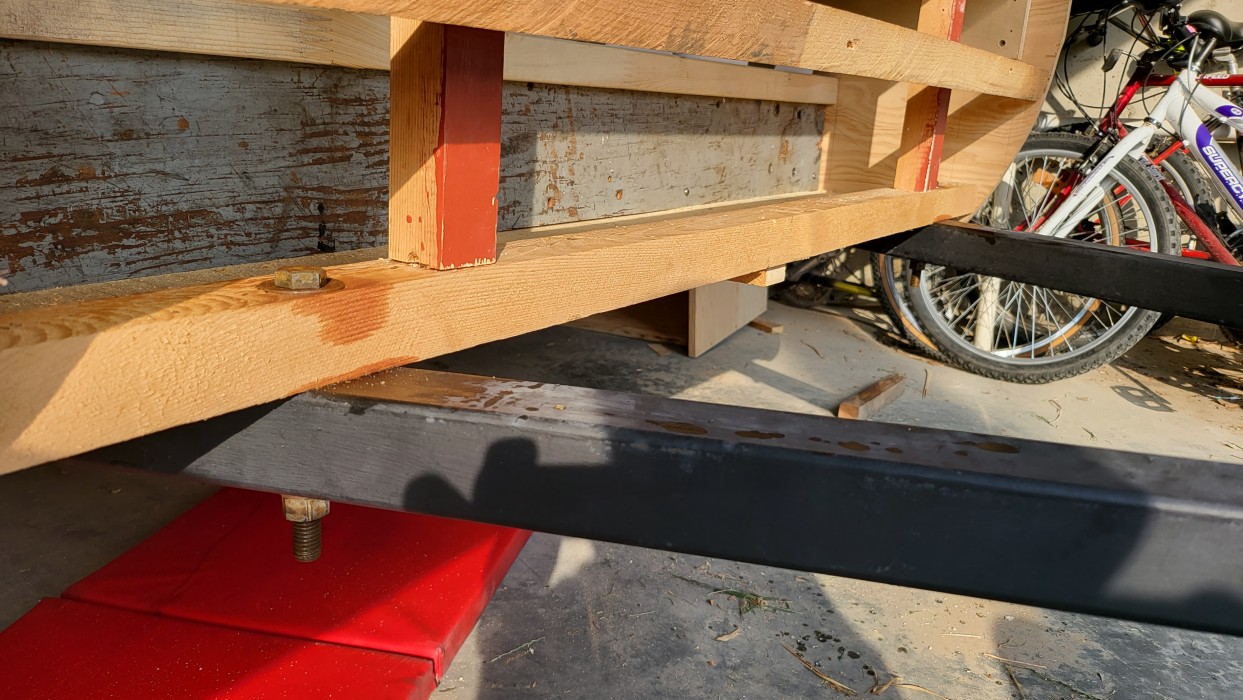
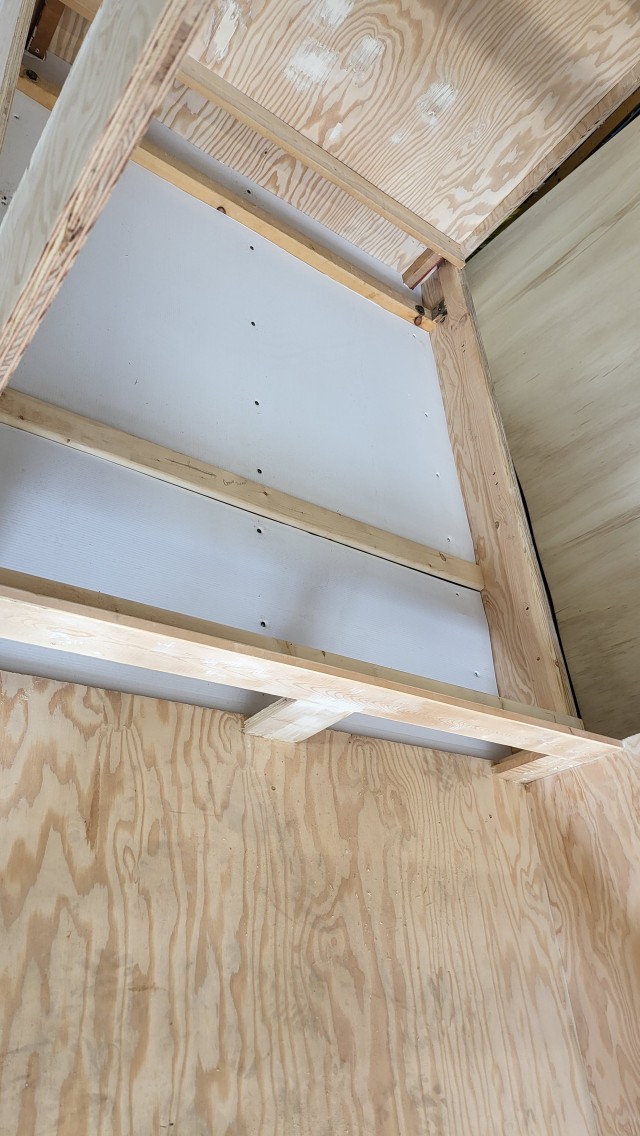
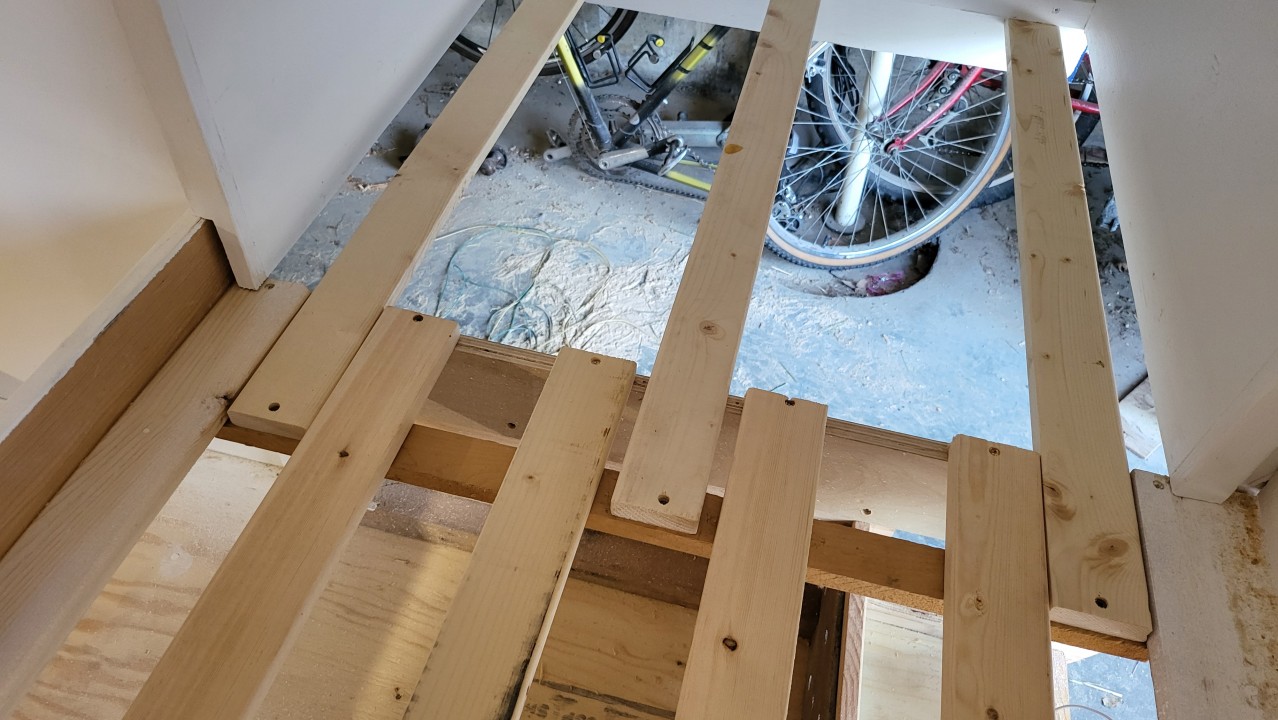
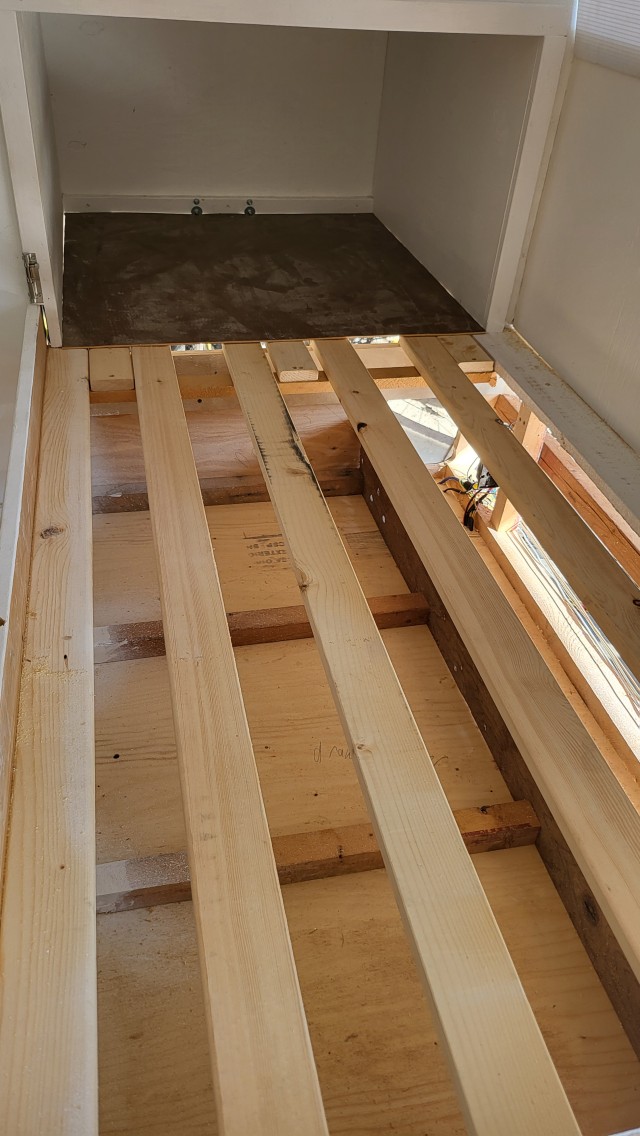
 ) Note that in the outer section I skipped every second slat, as there's going to be a floor out there, they weren't really needed for structure under the mattress.
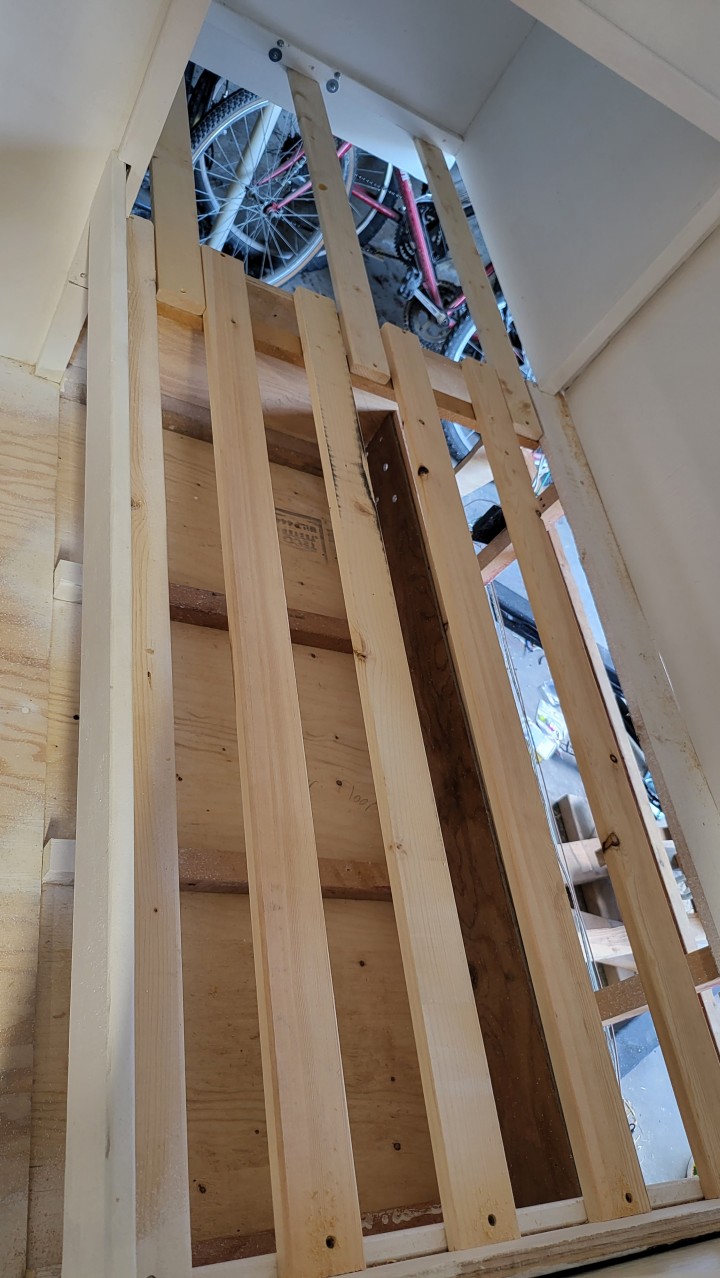
 (and that's without going brand name!)