Page 20 of 51
Re: #1

Posted:
Tue Apr 22, 2014 7:29 pmby S. Heisley
Glad you're feeling better, George. It's no fun, being sick.
Re: #1
Posted:
Sat May 24, 2014 10:52 amby Papi
ghcoe wrote:Shelves made form left over foam from the roof panel. So far I have not had much foam scrap.

Just did a test fit today before gluing it all up. Maybe tomorrow, still a few things to think about before I make it solid...
DSCF1787 small.jpg
I like the foam interlock method you'r using!
Re: #1
Posted:
Sat May 24, 2014 12:37 pmby ghcoe
Thanks, it seems to work out well so far. A bonus is that it also builds in some internal strength to the shelf as well which is welcomed at the center of the shelf.
Re: #1
Posted:
Sat Jul 05, 2014 4:44 pmby ghcoe
Been working on the door framing some this weekend between keeping cool too.
I am working with 1x2 flashing and some drywall beading to make a door frame. I started a thread on how to work with flashing and beading here,
viewtopic.php?f=55&t=60303 .
Pictures of how the frame goes together. Not seen well is that there is another 1x2 piece of flashing on the inside.
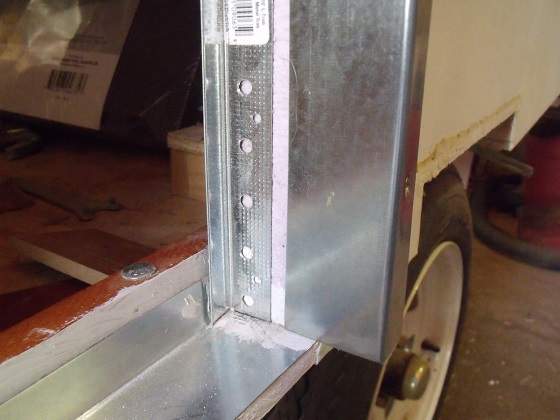
- Flashing and beading
- DSCF3163 small.jpg (103.34 KiB) Viewed 1664 times
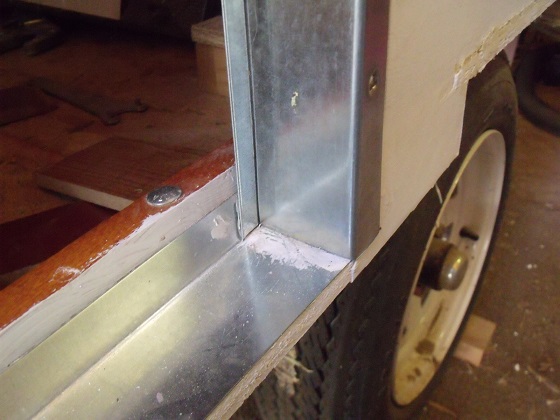
- Together
- DSCF3166 small.jpg (101 KiB) Viewed 1664 times
Re: #1
Posted:
Sat Jul 05, 2014 4:48 pmby ghcoe
Next I had to make it all one piece.
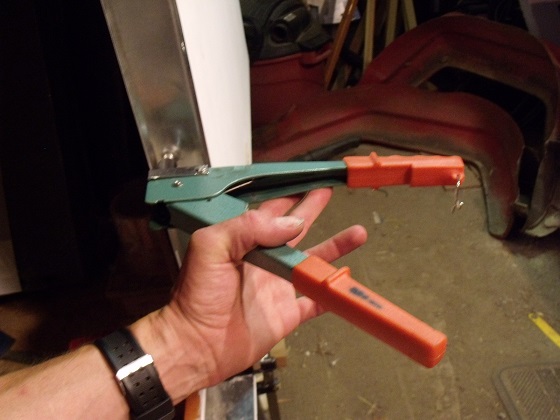
First clamp, then drill, then pop rivet. Makes for a nice strong channel with a built in edge for the weather stripping to attach to. I used a piece of scrap beading for a drill template.
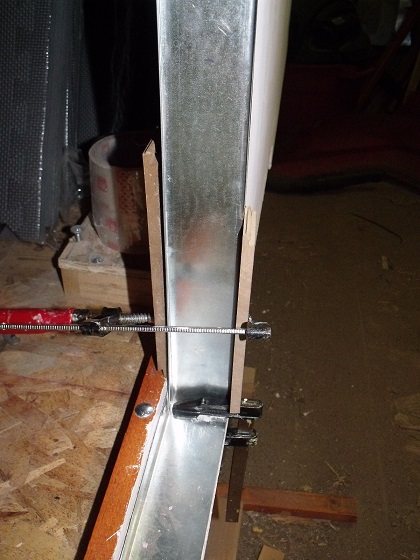
- Clamp
- DSCF3171 small.jpg (130.1 KiB) Viewed 1664 times
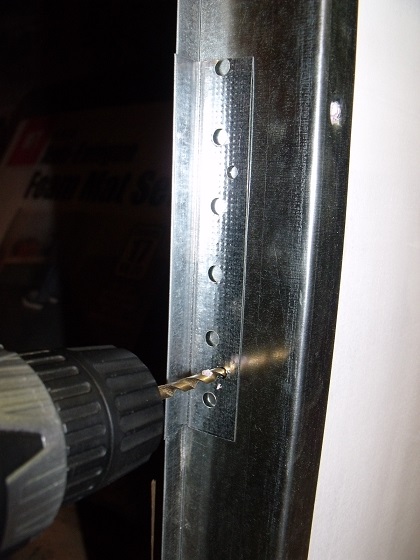
- drill
- DSCF3176 small.jpg (116.2 KiB) Viewed 1664 times
- Pop rivet
- DSCF3177 small.jpg (92.48 KiB) Viewed 1664 times
Re: #1
Posted:
Sat Jul 05, 2014 4:55 pmby ghcoe
Finished with the first side.
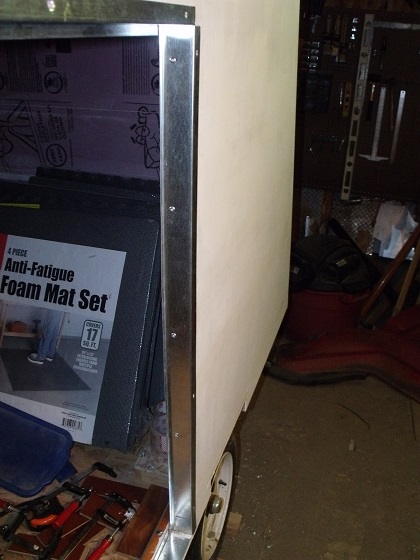
- Finished side
- DSCF3179 small.jpg (120.26 KiB) Viewed 1686 times
After installing the door frame I attached the forward shelf to the door frame.
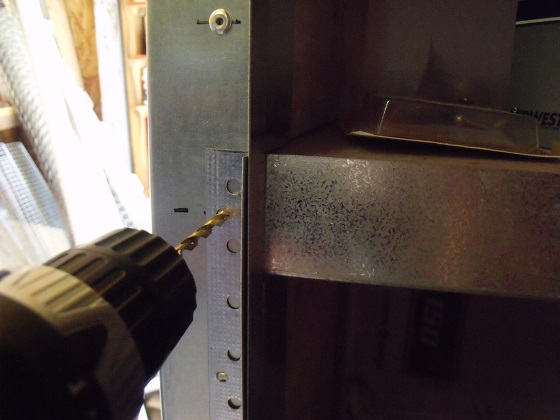
- Drilling rivet hole
- DSCF3188 small.jpg (89.94 KiB) Viewed 1686 times
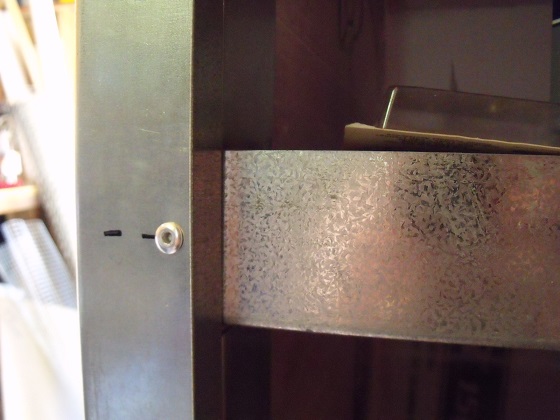
- Shelf attached
- DSCF3190 small.jpg (93.17 KiB) Viewed 1686 times
The shelf was not glued in yet. I was waiting for this time so I could attach it to the door frame and then glue it in so that it was even all the way across to the other door once installed.
Re: #1
Posted:
Mon Sep 29, 2014 9:55 pmby bespurcell
I just read this entire build. Awesome details and info in here. I plan on using some of them on mine. I'm really interested in seeing your galley hatch finished because that's my biggest concern on my build.
Re: #1
Posted:
Mon Sep 29, 2014 11:36 pmby S. Heisley
Gorrilla Glue, Great Stuff and Gripper. The three G's of foamie construction.
There are
four G's in your foamie: Gorrilla Glue, Great Stuff and Gripper....and
George!

Re: #1
Posted:
Fri Nov 21, 2014 8:31 pmby ghcoe
Sorry folks. Been a long busy year and unfortunately hardly any work on the foamy. It seems a shame to be so close to being finished, but yet so far. Winter is setting in now so no work until spring. My plan is to purchase the last remaining items I need during this winter so I can get this thing done as soon as the snow melts. Crossing fingers.
Re: #1
Posted:
Thu Nov 27, 2014 3:39 pmby ghcoe
Early Christmas presents, two 24"x15" RV slider windows and one 14"x14" vent with fan. Getting closer.
Re: #1
Posted:
Fri Nov 28, 2014 8:00 pmby ghcoe
Weather actually was quite pleasant today so I was able to go out and do a bit of work on the trailer. Started to fit a door. Some cutting and sanding and I got it to fit.
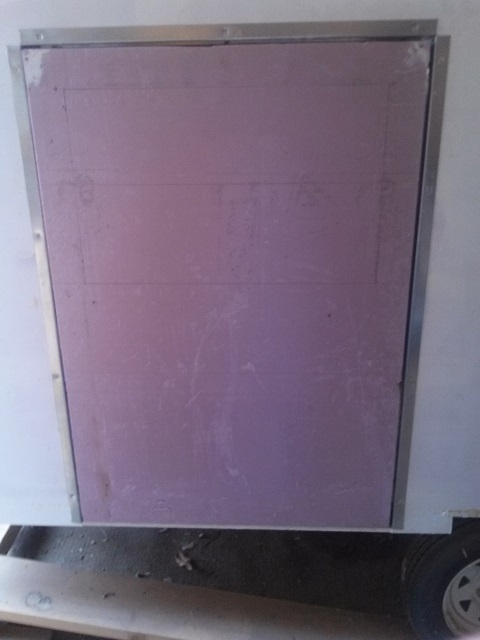
- Door
- CAM00631 s.jpg (75.52 KiB) Viewed 1339 times
Hope that a 1/4 inch gap will be enough clearance. It will be about a 1/8 inch clearance once the door is hung.
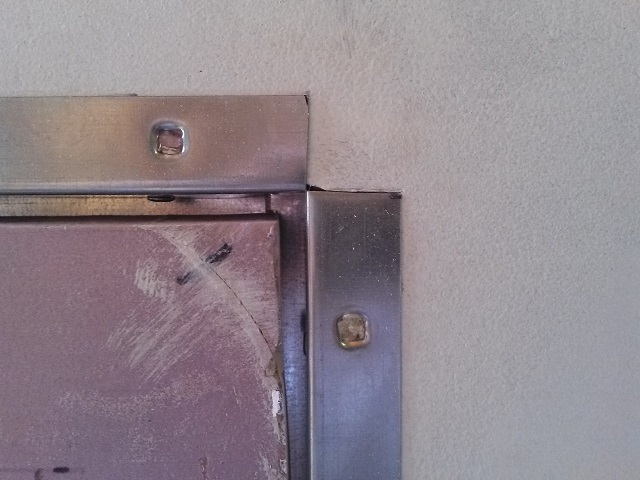
- Gap
- CAM00632 s.jpg (100.22 KiB) Viewed 1339 times
Re: #1
Posted:
Fri Nov 28, 2014 10:14 pmby pchast
You may be tight with only a 1//4 inch, Depends on the skin.
I experimented and still am a little too tight on ours...
Re: #1
Posted:
Sun Nov 30, 2014 8:57 amby ghcoe
Yeah, I was thinking of opening it up another 1/8. I figured that would make up the difference of the flashing and canvas that still needs to go around the outer edge of the door. Not to mention the hinges will take up some room too. I guess that makes up my mind for me, thanks.
Re: #1
Posted:
Fri Dec 05, 2014 11:35 pmby ghcoe
Windows and vent showed up. The windows were the single biggest expense so that hurdle is over.
Re: #1
Posted:
Fri Dec 05, 2014 11:57 pmby Wolffarmer
Cool beans. I will have to invite myself over to see your build someday. I live over in Rupert. And this time of year I often need things to do.

Randy