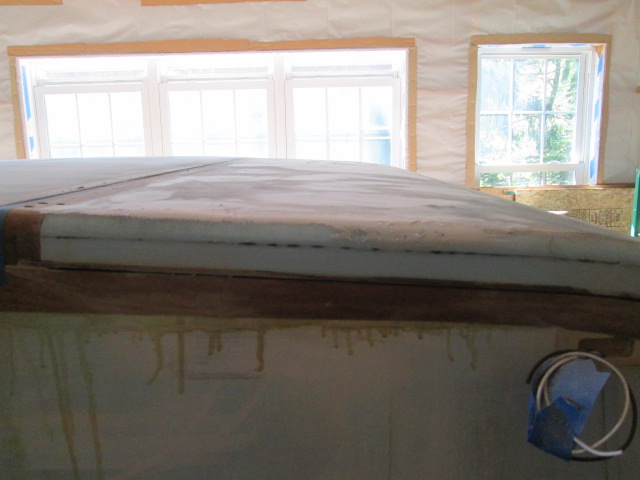
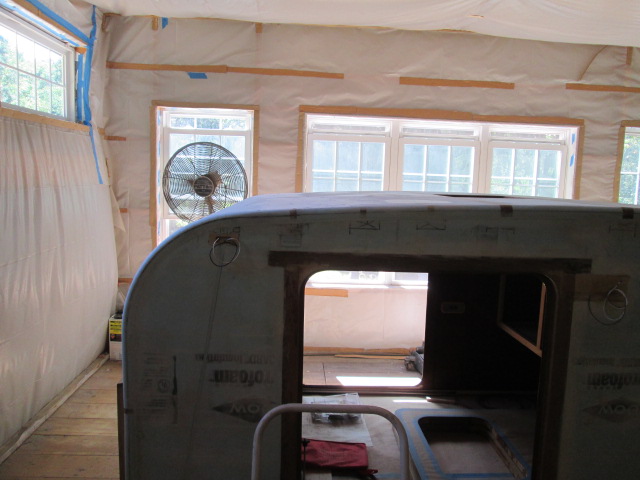
Well I finally feel like I am back on the right track with the roof and hatch top profiles. I still wish that I could reach across the whole width of the hatch in one session, but after this latest round I think I have the techniques down now to get it where I want it, and, despite the way the pictures look, it is much closer to the way I want it and better than it has been yet. The pics don’t show the whole story well, and the blotchy look of the guide coat makes it look worse than it is in reality, but at least now I have the intended crown shape pretty well dialed in. I think just a little more work on some smaller localized areas along the street side edge and over on the curb side and it will be all set.
This is after a sanding session and filling lows again. The dark area of guide coat by the left clearance light is just where the guide coats built up in an area that I was not sanding, so that gives the false impression of a low spot.
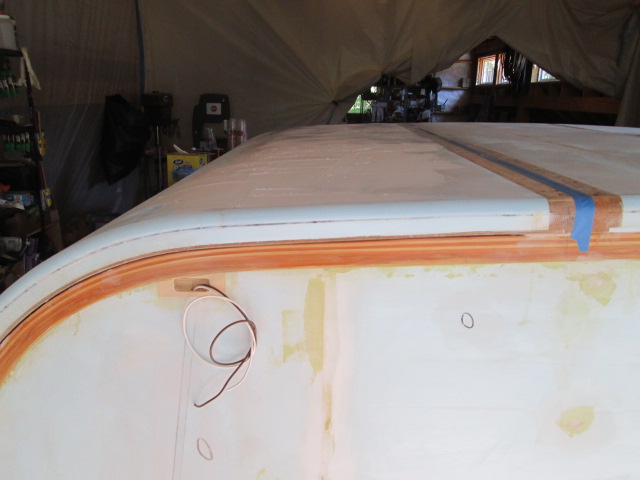
I think working in the day with very good natural light also made a huge difference in my ability to judge my work, even with the guide coat. I’m wishing now that I had waited to do the edge radius until after I decided to fix the roof and hatch contours, but I can fix that too; just a little rough buildup shown here, that will sand off with the radius block once cured.
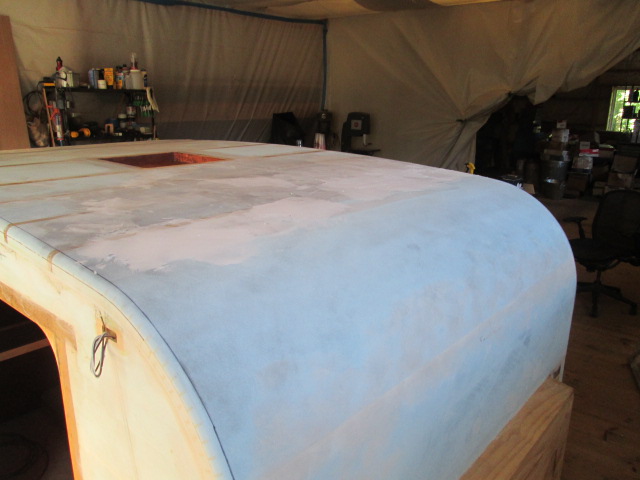
I know this still looks like crap in the pics, but trust me, the long board does not lie, and neither does the eye; it is way better with the crown and the lumps are now much more under control, despite the mottled appearance. Local lows are far easier to deal with once the overall shape is correct.
I left a little extra crown on the street side; leaving a little “in the bank” for a final sanding once I get the curb side to match. Once I knock this little skim coat back, do a little more local filling, and a final sanding I think the top of the hatch will be as good as I want it to be.
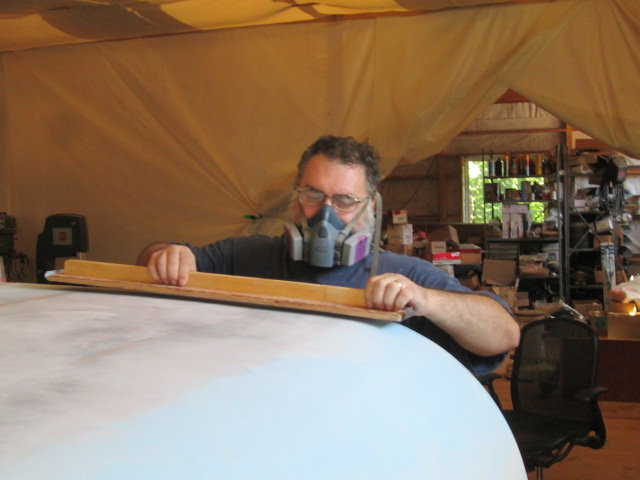
On to the front of the roof. I picked up a bunch more spackle, but at the last minute, faced with the number of sessions and effort I had spent on the hatch, decided to “deck the nose” rather than fill the swale. I have had pretty good luck keeping the rounded profile of the front radius from going flat while sanding the ridges from the kerfs (by using a rolling X pattern and consistent number of long strokes), so I figured I would have a pretty fair shot at keeping the two radii blended together. Decking the nose consisted of using the arced long board, guiding off of the second and third roof bay, while knocking the top of the front radius off; again using a long axis X pattern. Yvette stopped by to do a quality/progress check and snapped this action shot.
Periodically I would use the medium flat board and roll that up in a long crosswise X pattern to break over the resulting crest (… blending the two curves back together). I think it was easier to hold a consistent line across the camper by doing it in stages like this, rather than trying to do all of the decking and then blend it all back together at once. Small adjustments using hand tools and relatively fine grit (120), rather than messing up in a big hurry.
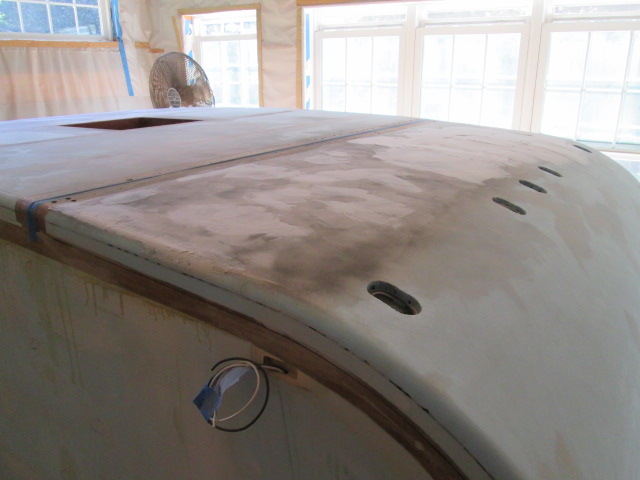
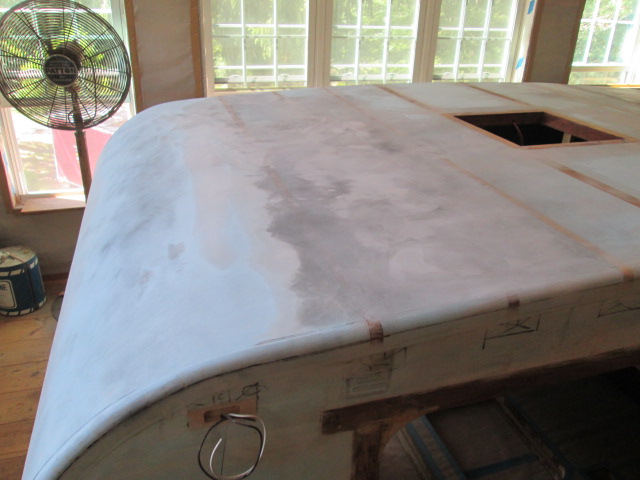
Here you can see that the curb side has come in very nicely; the middle has a bit of a high spot that needs a little more crosswise work; and the near side just needs a little skim coat of spackle to fill in the dark area… a lot less filler than would have been needed to bring the whole thing up, and probably less sanding in the end, too.
This may seem like a lot of effort to some for such a “small” difference, but to me the profile is the whole enchilada and it just looked wrong to me with a hollow dip; would not pass the 50 ft rule, let alone the 10 ft one. Now it is much better.
I went back and looked at previous pics, but they actually look better (in the pics) than these. Unfortunately you can’t see how much better it looks in person. In this one the street side still looks flat, but that is an illusion due to the line between the wall and roof foam having the dip. If you look at the profile of the curb side you can start to see the crown coming back now.
Here it is after adding the skim coat of spackle.
Since we were away on my B-day, and for other reasons, we didn’t celebrate at mom’s until last night. Guacamole dip and corn chip app; butterflied leg of lamb on the grill with mint sauce; a bed of brown rice with a dab of butter, truly wonderful beefsteak tomatoes from the neighbor’s garden sliced with a dab of mayo and some salt; grilled slices of eggplant and zucchini; a really good spinach salad with sautéed mushrooms, bacon, diced hard boiled egg, and a mild tabasco dressing; and Graber olives. The lamb was cooked perfectly, moist with a touch of pink, and all of the juices, dressings and sauces played so nicely together when sopped up by the rice; it was thoroughly enjoyable.
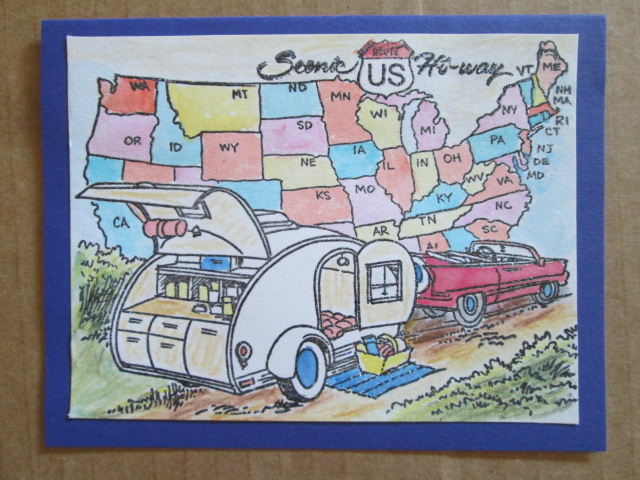
Mom (and her sisters) have been doing the rubber stamp craft thing for some time now and are all quite creative with it. Mom found a TD rubber stamp to make my B-day card (about the size of a postcard); pretty cool.
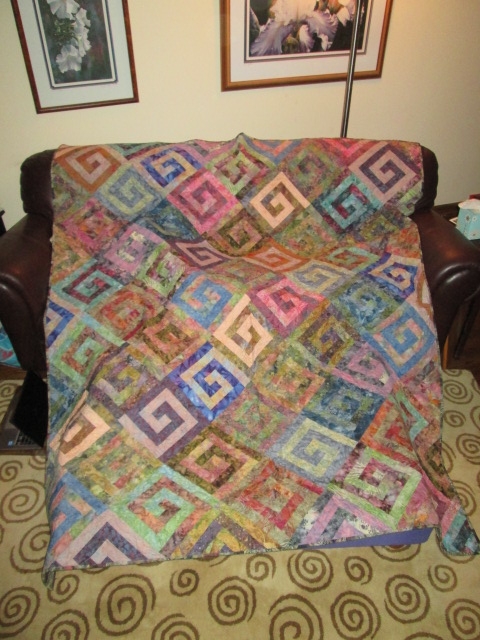
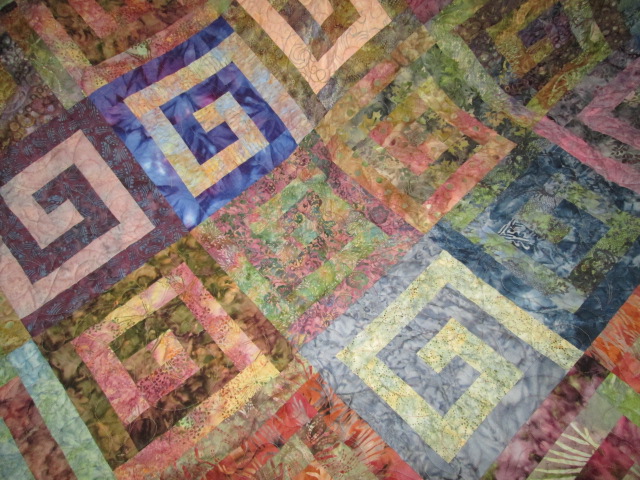
My present is very special. Mom is a quilter and made an Athena’s Puzzle patterned quilt for me. Seems like it might be just the right size for TPCE.
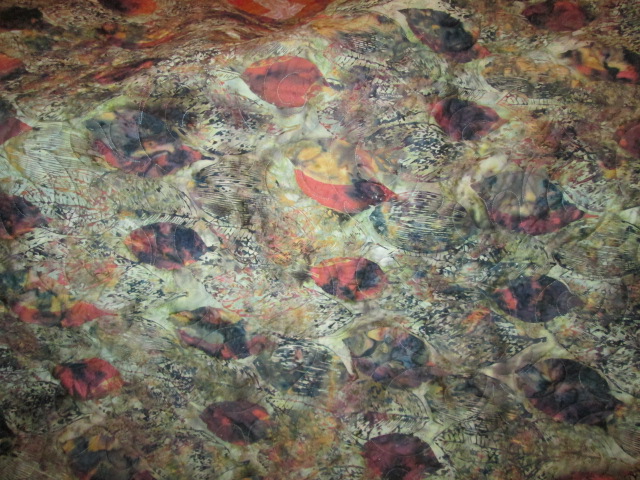
The back.
I know I should be in the shop today, but it is The Big Go this weekend, so pop, pop, pop.