Page 4 of 10

Re: A Foamie for one

PostPosted: Wed Apr 01, 2020 4:07 pm
by JazzVinyl
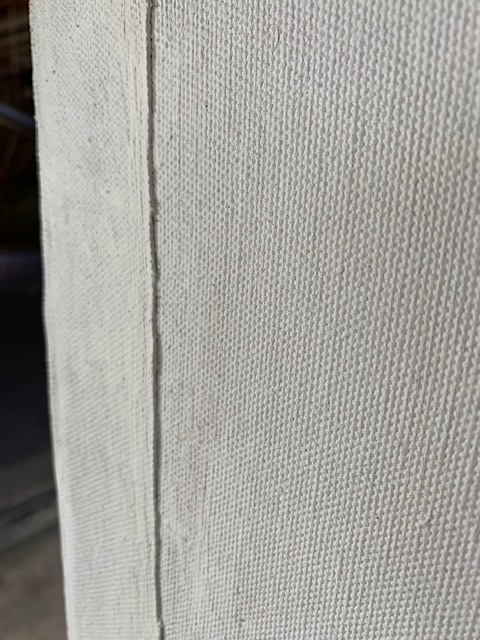
I did my edges and fold unders' today:

Image

Image

Image

Image

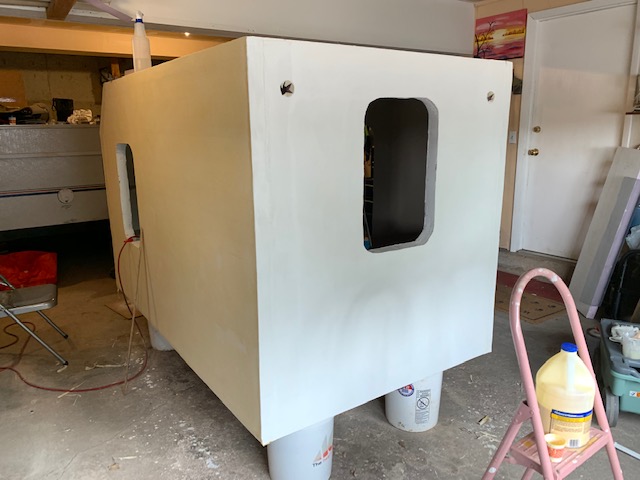
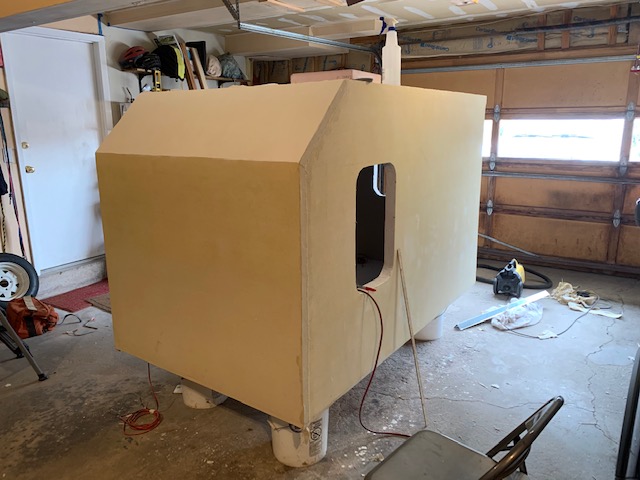
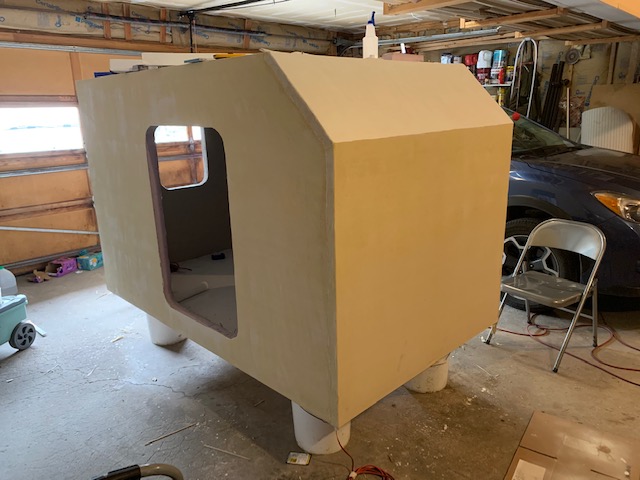
They are definitely not as nice as George's...but hopefully 'okay' for a first time builder.

Questions:

1> Should I go over the "leading edge" of all folds/edges with more glue, once they dry?

2> What is the stuff you coat the underside with?

3> The "drip edges" are held in place....how?

.

Re: A Foamie for one

PostPosted: Thu Apr 02, 2020 12:52 pm
by JazzVinyl

Re: A Foamie for one

PostPosted: Thu Apr 02, 2020 12:54 pm
by ghcoe
Sorry! Forgot to include that last message.

Re: A Foamie for one

PostPosted: Thu Apr 02, 2020 1:07 pm
by JazzVinyl
I am gluing the rear "overhang" back on after cutting it off to make canvassing the rear wall, easier:

Image

Gorilla construction glue and added a "screen" between the existing roof and the added overhang:

Image

Many push pins will hold the screen down while the wood glue dries:

Image

I pre-installed 1/2 of the screen on the overhang side and canvassed the underside of the overhang before glueing it back on.

The screen across both pieces will ensure it will be solid. Will canvass the roof and overhang as one panel.

The overhang looks a little weird after seeing it off, for weeks

But hope it looks okay when back on the trailer since there is a cargo rack behind the sleeping quarters...

Primer coat has been applied to lower body as well:

Image


Now have to wrangle that "Elastomeric Roof Coating" for the bottom...

.

Re: A Foamie for one

PostPosted: Thu Apr 02, 2020 2:29 pm
by ghcoe
JazzVinyl wrote:Now have to wrangle that "Elastomeric Roof Coating" for the bottom....


When I did my floor I just rolled the body onto it's side. I used some left over foam strips to support the body to keep it from getting damaged.

Re: A Foamie for one

PostPosted: Thu Apr 02, 2020 3:22 pm
by JazzVinyl
ghcoe wrote:When I did my floor I just rolled the body onto it's side. I used some left over foam strips to support the body to keep it from getting damaged.


Thanks George...

How did you attach the drip edge?

Re: A Foamie for one

PostPosted: Thu Apr 02, 2020 3:54 pm
by Sparksalot
JazzVinyl wrote:A little more progress...


Skewers hold it until the glue dries:

Image


Pretty soon, I will be fresh out of excuses not to get the exterior canvassing done!

And oh my, the acoustics inside, are sooooooooo nice!!

.


The skewers are a novel idea. Looking good!

Re: A Foamie for one

PostPosted: Thu Apr 02, 2020 4:02 pm
by ghcoe
JazzVinyl wrote:
ghcoe wrote:When I did my floor I just rolled the body onto it's side. I used some left over foam strips to support the body to keep it from getting damaged.


Thanks George...

How did you attach the drip edge?


Paint the body and coat the bottom of the floor first. I then use L Trim Corner Bead https://www.homedepot.com/p/Gibraltar-B ... /202948027 and use Sharp Point Lath Screws https://www.homedepot.com/p/Teks-8-x-1- ... /100150464 to attach it to the floor. I also apply caulk to the body before installing the beading to create a water tight seal.

Re: A Foamie for one

PostPosted: Fri Apr 03, 2020 4:19 am
by GPW
We used George’s drip edge idea on the FoamStream and it works PERFECTLY … :thumbsup:

Re: A Foamie for one

PostPosted: Fri Apr 03, 2020 4:11 pm
by JazzVinyl
Sparksalot wrote:Skewers hold it until the glue dries:

Image


The skewers are a novel idea. Looking good!


Hey Sparks...

Can't take credit for the wooden skewers, idea, saw others doing it here, and copied the technique. Was also crucial to getting the roof on, by myself!

Re: A Foamie for one

PostPosted: Fri Apr 03, 2020 4:15 pm
by JazzVinyl
ghcoe wrote:Paint the body and coat the bottom of the floor first. I then use L Trim Corner Bead https://www.homedepot.com/p/Gibraltar-B ... /202948027 and use Sharp Point Lath Screws https://www.homedepot.com/p/Teks-8-x-1- ... /100150464 to attach it to the floor. I also apply caulk to the body before installing the beading to create a water tight seal.


Perfect George! Thanks!

Can you please briefly describe the process of getting the finished body up on the trailer? Drip edge goes on first then carefully set the body on the trailer? Or, body goes on trailer via the runners first, then install the drip edge?

Appreciate!!

Re: A Foamie for one

PostPosted: Fri Apr 03, 2020 4:17 pm
by JazzVinyl
GPW wrote:We used George’s drip edge idea on the FoamStream and it works PERFECTLY …


Thanks, GFW! Yes, drip edge is an absolute, definite, 'gonna do".

Re: A Foamie for one

PostPosted: Fri Apr 03, 2020 4:28 pm
by JazzVinyl
Adding a regular outside RV style light:

Image

Other side:

Image

The rear overhang triangle is "screened on the inside", and is strong enough to accept machine screws to hold the "regular RV outside" light, on.

I also didn't like the way the overhang just terminated flat down. So glued in a little triangle so that it will terminate with angles.

Does not look that great here, but wife and I agree that this, once canvassed, will make the back look a lot better than the straight down flat cut did..

Image

Will cut the part that is too tall, flat/even with the roof, once the Gorilla glue dries...

Image


Ah...here is the 'final' aft profile...just need some lightweight spakle:

Image

Hope everyone is staying safe, and staying well....!!!

Cheers!

,

Re: A Foamie for one

PostPosted: Sat Apr 04, 2020 4:57 am
by GPW
Looks Good !!! Nice termination ! 8)

Re: A Foamie for one

PostPosted: Sat Apr 04, 2020 7:39 am
by JazzVinyl
GPW wrote:Looks Good !!! Nice termination !


Thanks GPW,

Getting much closer!

,