Did some test you might find interesting
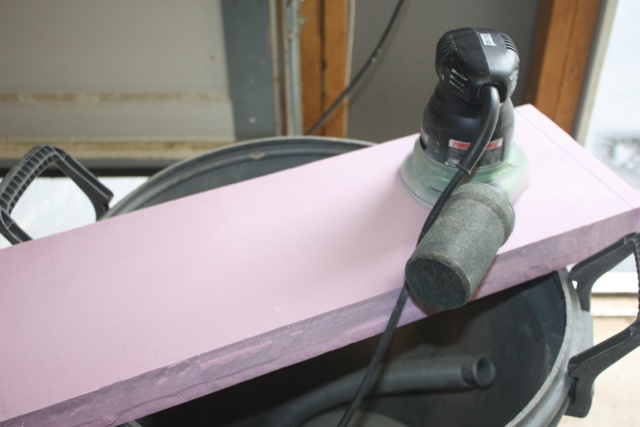
I was using pink foam from Home Depot 1 inch thick 6inches wide by 2 ft long
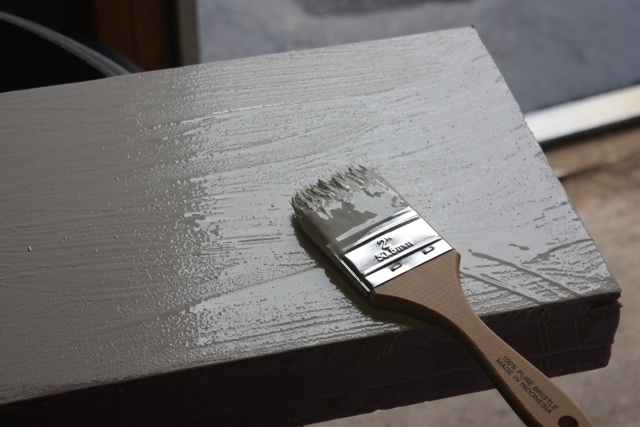
I made several samples using 6 ounce cloth and epoxy covering both sides with just one heavy coat.
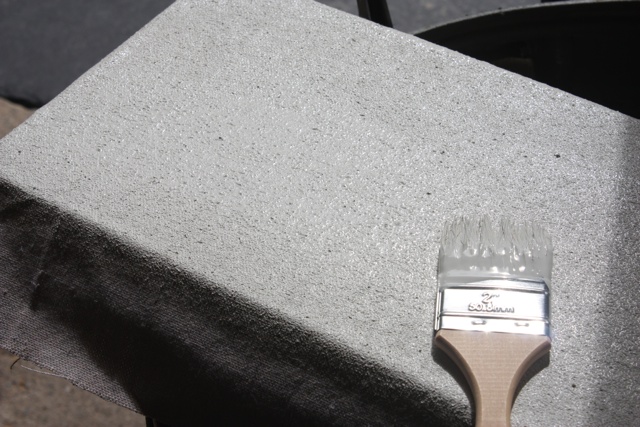
After drying a couple days the test piece was very ridged and stiff
I placed both ends on a block and slowly started putting presure in the middle , I finally got enough pressure in the middle that the foam collapsed leaving both sides of the cloth attached. Pretty strong layup.
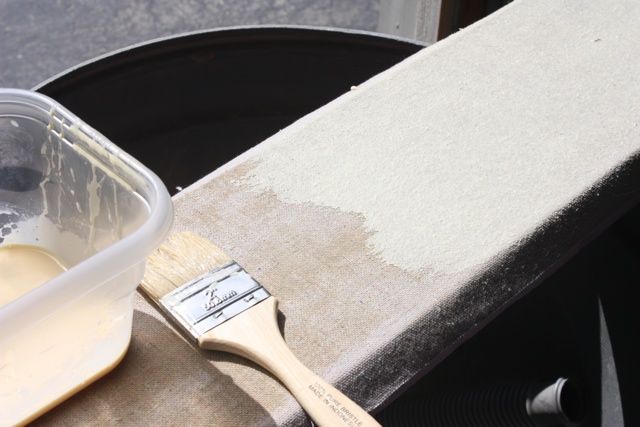
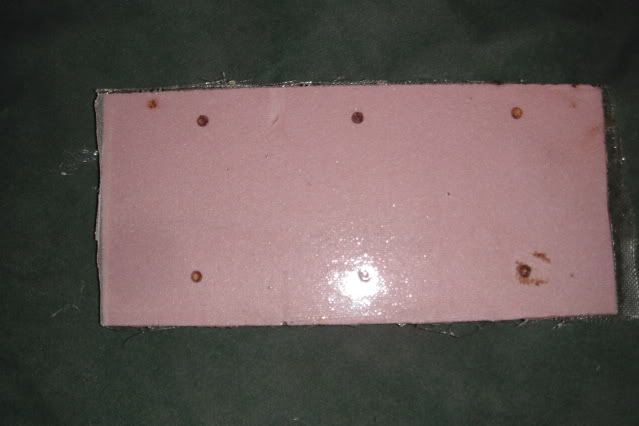
Next I did another piece , I drilled holes on four inch center after coating on both sides with cloth and epoxy. I used the small wooden skewers like you use for cooking inserted them in the holes and cut them flush, the put some wood flour epoxy mix on them.
After drying a couple days I tried to break it , put a ton of my weight on it , very little give ,finally took a 2+4 placed on edge between the pegs
put a lot of weight on it ,it finaly broke ,but it pulled the 6 ounce glass into before it did. You can see the foam is not deformed it snapped clean
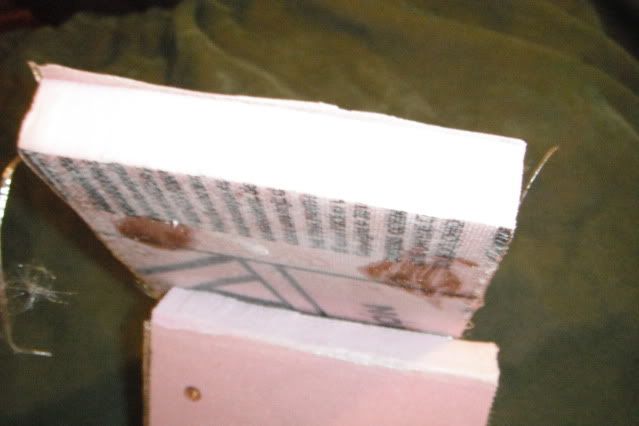
On the bottom side of the top piece you can see where it tore into ,I cut the other side with a knife. This piece was really strong,now if I had glass down the edges I dont think I could break it.
I then to a framing hammer and using the same force it would take to drive a 16 boxing nail hit the same spot 30 times .
I did this between the right four pegs , can you even see it, I had to roll it up on edge to see any indentions at all , the hammer was used flat just like you would drive a nail.
What I am doing with this method is tying both skins together so a hard blow is transferred not just on the outside but to both sides at once and the wood dowels make a truss. Also if you take a hard blow it keeps most of the impact and damage inside the square made by the dowel.
I think the same ideal would work with canvas covered sides.
Ron