Was toward the end of this next batch of pix that my cam started acting up so there are some gaps and then no more of the build finish.

But here they are FWIW...
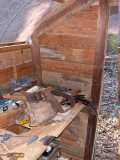
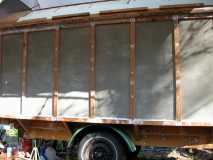
Other corner by the door showing the temp workbench.
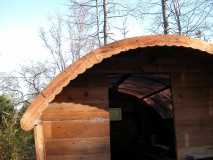
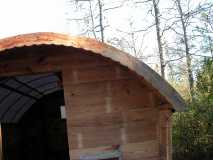
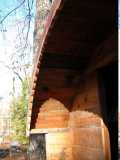
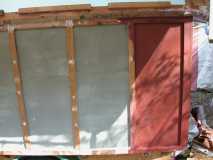
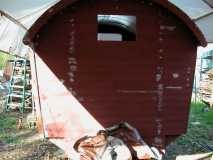
Back (door) end about finished. I think this is the first view of the scalloped facade boards. Each end facade board is made up of 4 pieces cut from a section of 1x6. Half lap joints between them. Scallops drawn with a compass and cut with a jigsaw. Was interesting getting the top (and bottom) curvature to match the ribs and ends. Used a pencil in a hole in a long 1x1 with a screw as a pivot to draw the arc. Same tool I used to get the arc and the top of the ends and form the ribs from. Harder to describe than to make.
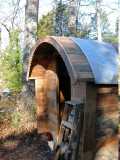
A shot of the rear overhang showing the boards. They only span from the back wall to the facade board. Planed the tops and edges to they fit like a barrel. Don't think I have any pix of that part of the build.
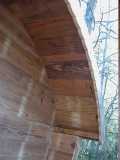
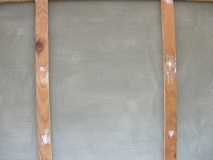
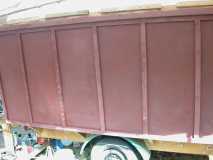
Closer view right side.
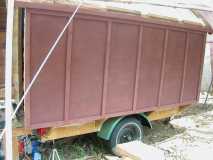
And left side.
Overhang from the other side.
Overhang right.
Center.
And left.
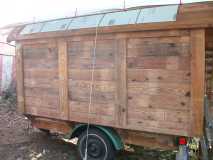
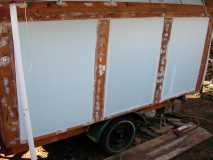
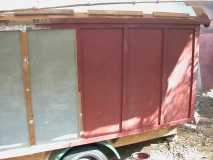
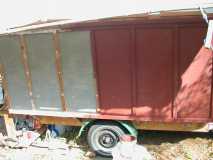
Unfinished side.
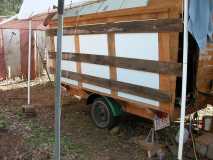
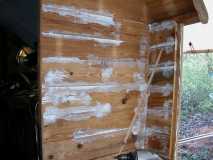
Drivers side foam glued and clamped in place. Used 1x??? screwed into the studs to hold it while it dried. Glue was an adhesive caulk that I will NOT use again. Should have used GS or GG but hindsight is always 20-20 and all of that...
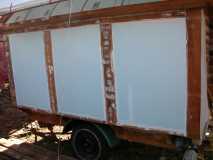
Next day cured with the 1x's off and seams caulked.
And from another angle.
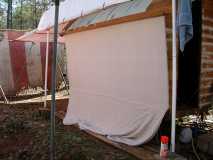
Canvas going on. Painters drop cloth, cut along the seams. I stretched it dry, stapled the edges and under where the outer ribs were going and then slathered paint on the outside. Should have painted underneath first but its pretty well bonded and the ribs aren't going to let it go anywhere anyway.
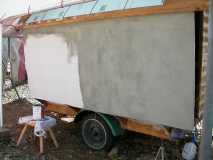
Bottom edge trimmed off and about half painted.
Seal coat done. Really hardened it up.

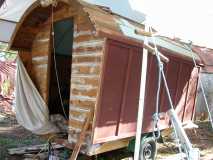
Ribs and trim on drivers side.
And passengers side.
Closeup of the painted canvas.
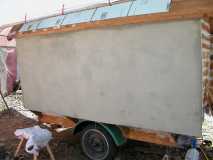
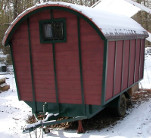
Color coat going on.
About half way through.
Different angle.
First coat on.
Dried overnight.
Hitch view.
Closeup.
Trim going on.
Lotta caulking going on. And am very unhappy that I spent as much as I did on the crap Wally World stuff. Still have cracks everywhere I used it when the temp/humidity changes. Should have spent more and gotten a better grade caulk that would have shrunk and expanded with the wood.
Back about half caulked.
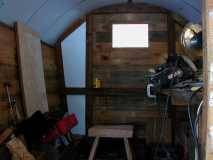
Inside. Sorry it's so dark.
And unless I find some more pix I have forgotten about that's it. I thought I had some of the roof foam, both inside and outside, going on but so far haven't found them.
Later,
Dave


 With the Tacoma as TV my fuel mileage went from 27 to just over 14. And any hill called for down shift and crawl. I'm thinking about trying a wing of some kind on the camper shell. Also looking at taking the metal off the roof and replacing it with painted canvas, both to save weight and get rid of the 2 inch overhang at the front.


 All back to more normal by the weekend ...Thankfully !!!