So are you going to pocket hole screw (Kregg) the subframe together?
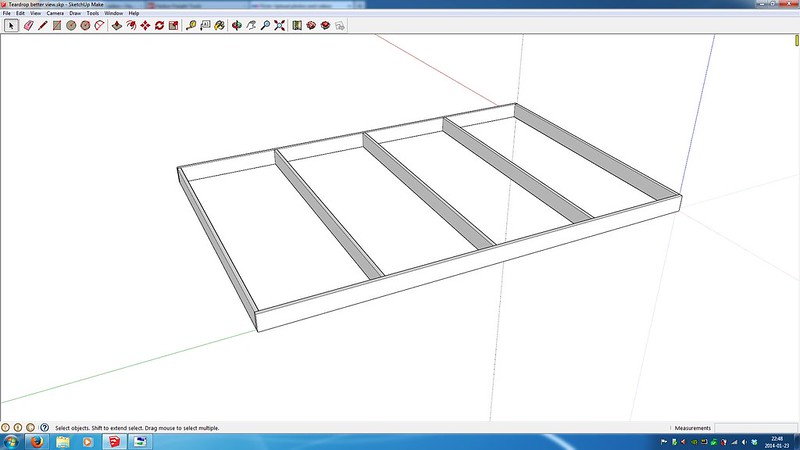
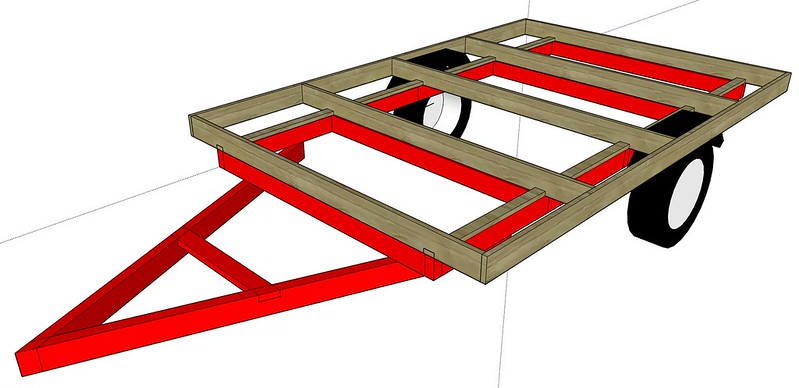
Plan your frame with the xmbrs running long over the sides of the trailer and the long boards capping the ends of these, all on edge (just like you are probably envisioning). Then you lay 1x2's down flat on top of the trailer frame side rails... stringers, if you will. Cut your xmbrs to length, clamp all of them together at the same time and lay them out over the trailer frame and stringers. Mark where they intersect and notch the bottom of the xmbrs so they sit down over the stringers. Make all of the notches at once while they are still clamped together so they are all in a line and there are no measuring mistakes. Spread your xmbrs out and Kregg down from the vertical faces above the notches so that the Kregg screws will run into the stringers. Once assembled you can bolt thru the stringers and trailer frame in between the xmbrs where it is wide and flat and is still part of the subframe.
Newbie Looking Leaning Towards a Foamie (My Question Thread)
Moderator: eaglesdare
Re: Newbie Looking Leaning Towards a Foamie
![]() by KCStudly » Thu Jan 23, 2014 2:18 pm
by KCStudly » Thu Jan 23, 2014 2:18 pm
KC
My Build: The Poet Creek Express Hybrid Foamie
Poet Creek Or Bust
Engineering the TLAR way - "That Looks About Right"
TnTTT ORIGINAL 200A LANTERN CLUB = "The 200A Gang"
Green Lantern Corpsmen
My Build: The Poet Creek Express Hybrid Foamie
Poet Creek Or Bust
Engineering the TLAR way - "That Looks About Right"
TnTTT ORIGINAL 200A LANTERN CLUB = "The 200A Gang"
Green Lantern Corpsmen
-

KCStudly - Donating Member
- Posts: 9613
- Images: 8169
- Joined: Mon Feb 06, 2012 10:18 pm
- Location: Southeastern CT, USA
Re: Newbie Looking Leaning Towards a Foamie
![]() by jseyfert3 » Thu Jan 23, 2014 7:11 pm
by jseyfert3 » Thu Jan 23, 2014 7:11 pm
KCStudly wrote:So are you going to pocket hole screw (Kregg) the subframe together?
Plan your frame with the xmbrs running long over the sides of the trailer and the long boards capping the ends of these, all on edge (just like you are probably envisioning). Then you lay 1x2's down flat on top of the trailer frame side rails... stringers, if you will. Cut your xmbrs to length, clamp all of them together at the same time and lay them out over the trailer frame and stringers. Mark where they intersect and notch the bottom of the xmbrs so they sit down over the stringers. Make all of the notches at once while they are still clamped together so they are all in a line and there are no measuring mistakes. Spread your xmbrs out and Kregg down from the vertical faces above the notches so that the Kregg screws will run into the stringers. Once assembled you can bolt thru the stringers and trailer frame in between the xmbrs where it is wide and flat and is still part of the subframe.
How you describe the frame is how I was was envisioning it. And the stringers/attachment method make perfect sense, thank you.

-

jseyfert3 - Teardrop Master
- Posts: 285
- Images: 1
- Joined: Sun Jan 05, 2014 9:13 am
- Location: Peoria, IL, USA

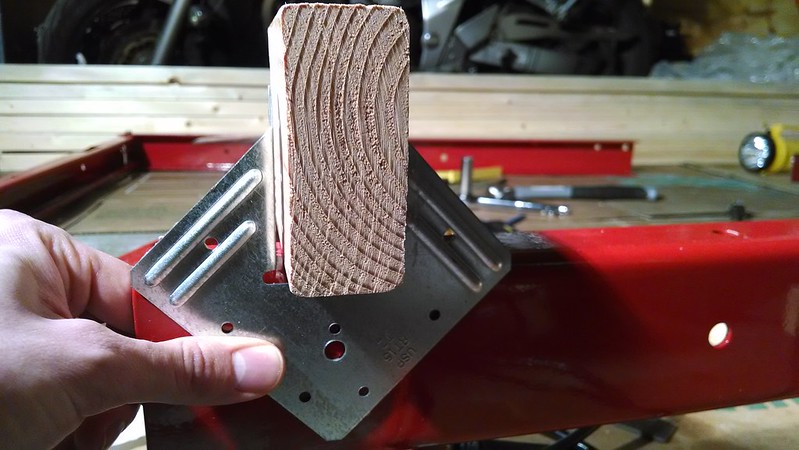
 I was thinking about some simple blocking that would reinforce the cross-members in the bolt areas ...no stringers necessary ... and basically , you could drop a bolt through in any location you wanted.. Easy !!!


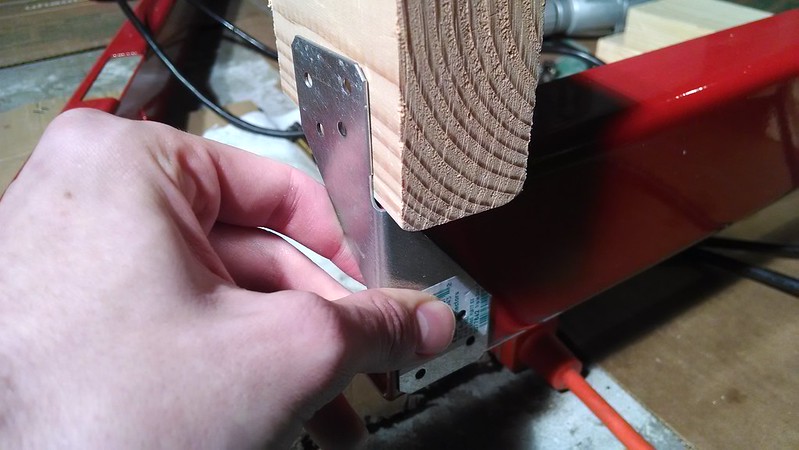
 We used a whole bunch of those for the House and Studio build and the city building inspector said he wanted to see a nail in every hole ... makes sense...


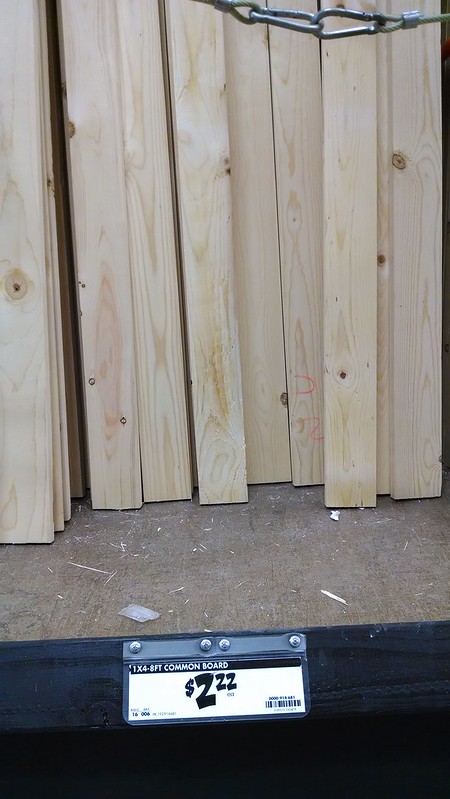


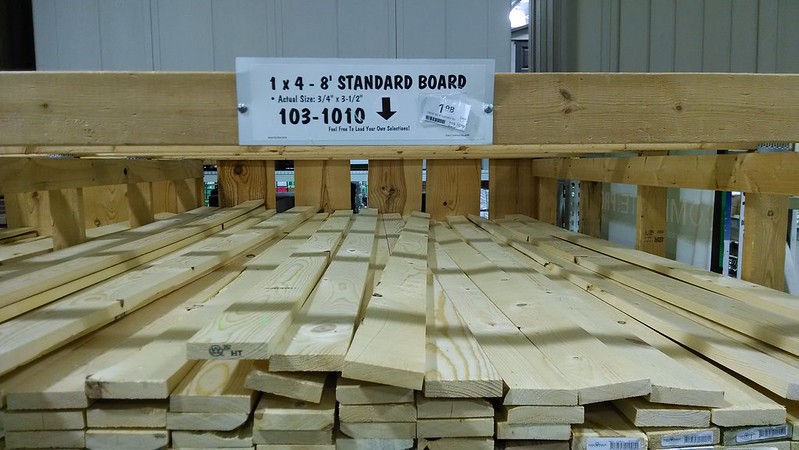

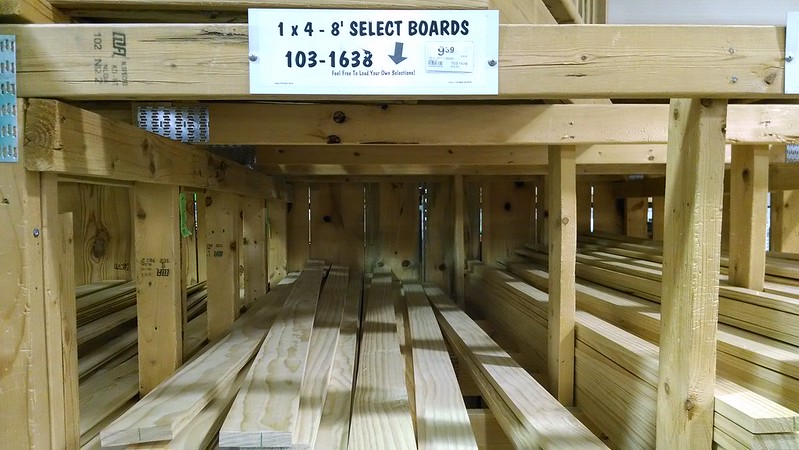
 And it sure wasn't the only warped/bent select piece either.
 it starts to make more sense.