Ah, okay, thanks for the cap update. It certainly makes sense. Now I know!
Alright, time for an update! To start off I'll expand a bit on my trip to Wisconsin. On April 19th I had reached my deadline to leave Illinois, and had been spending a lot of time the last week getting my teardrop to the point I could at least tow it, hence the daily (or more) updates at that time. I
mentioned this before, on the 18th in the morning my sister, dad, and friend came over, and with their help, we painted the outside, installed canvas on the lower half of the inside of teh front curve, installed a tongue jack, and mounting some temporary lights since the hatch was not in place. I did not take any pics that day.
On the morning of the 19th, I was packing to leave Illinois (since I stayed up drinking and having a fire with friends the night before instead of packing). My wire order from bestboatwire.com arrived as scheduled. This is all the wire I need to wire from my car to the teardrop, the teardrop, the teardrop lights, etc. I ordered 25 feet each of red and black 10 and 12 gauge (100 feet total of all), and 100 feet of 16 gauge white wire (since red was not available). The 10 gauge is from car battery to teardrop, the 12 gauge black is for the main teardrop ground wire for lights/fans/etc, the 12 gauge red will be the main power bus for the fan vent and interior lighting/cell phone charging, etc, and the 16 gauge will be the main wiring for individual lights/signal lights/phone chargers, etc.
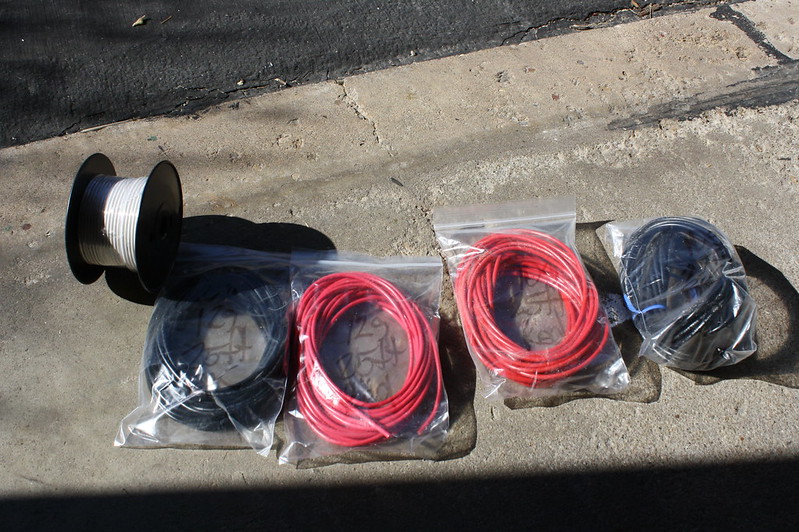 bestboatwire.com Order
 by
jseyfert3, on Flickr
With the 12 gauge black wire as ground and the stock trailer wiring (which will be removed now that the trip is over) I wired up the stock lights I had temporarily installed the previous day, and tested them. They are on in this picture...not very bright. I can't wait till the hatch is finished and the LED lights from superbrightleds.com are installed. I will
not have a low brightness issue with them! (Good thing, at $20
each turn signal and brake light...yeah $100 for five lights on the rear...but if anyone misses the signals, they are blind...)
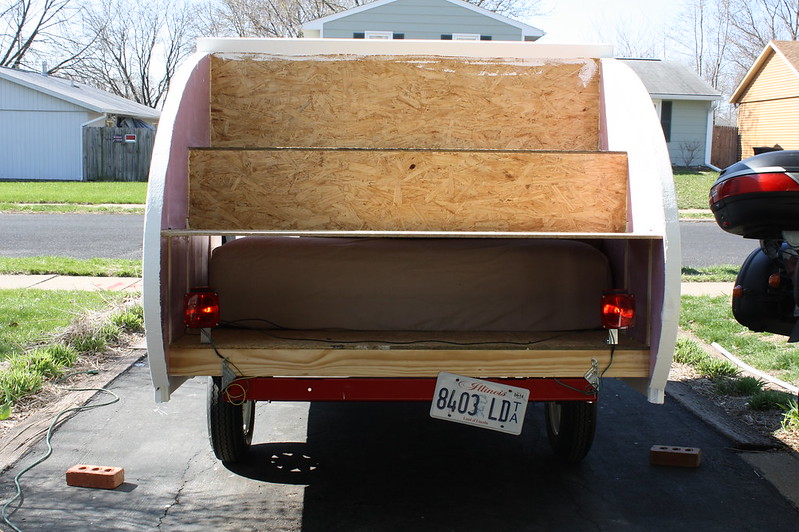 Light Check
 by
jseyfert3, on Flickr
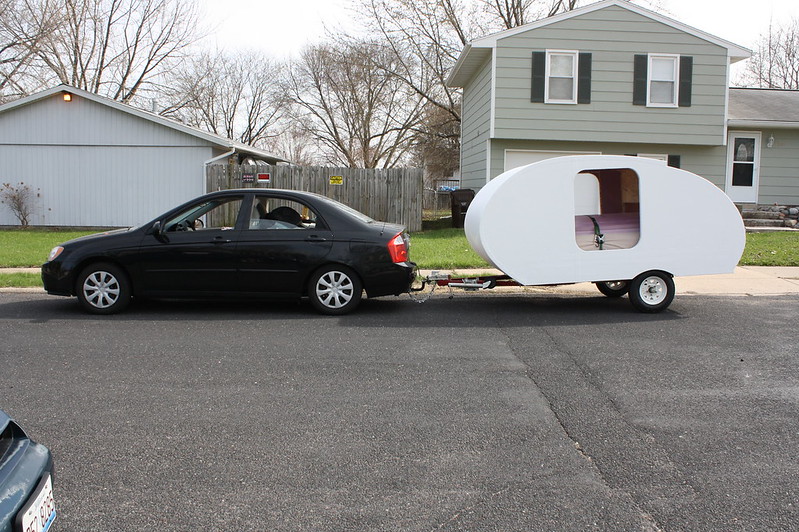
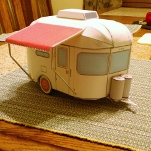
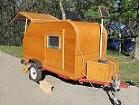
After packing my trailer I was ready for a test pull. The mattress, partially completed hatch, foam to finish the hatch, some OSB for completing shelves and thin ply for the door lip are inside the camper. Everything sat on the mattress and was strapped to the mattress with a single ratchet strap.
This is also the first picture I took of it after the final paint job.
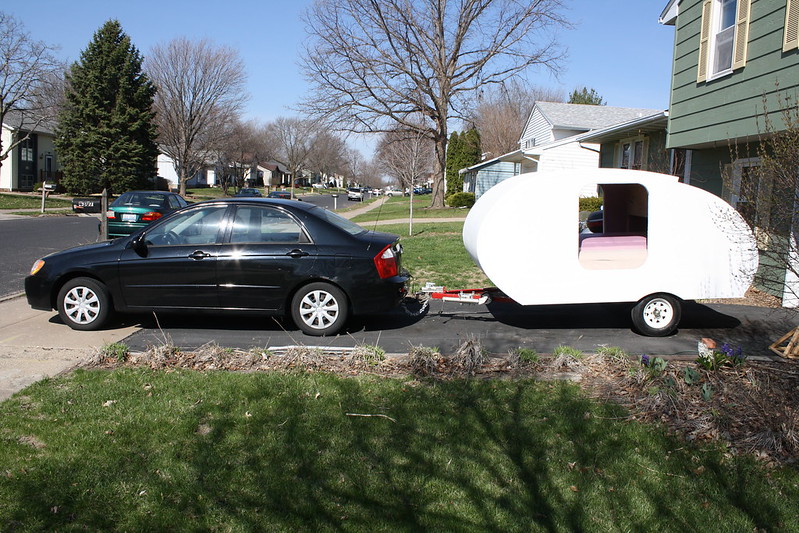 Ready for Test Tow
 by
jseyfert3, on Flickr
As part of the test tow down a residential street, I tried a full radius turn to test my clearance I checked for during the planning stages. This is my car after going in the tightest circle it can go, still plenty of clearance. Good thing, not much could be done at this point...
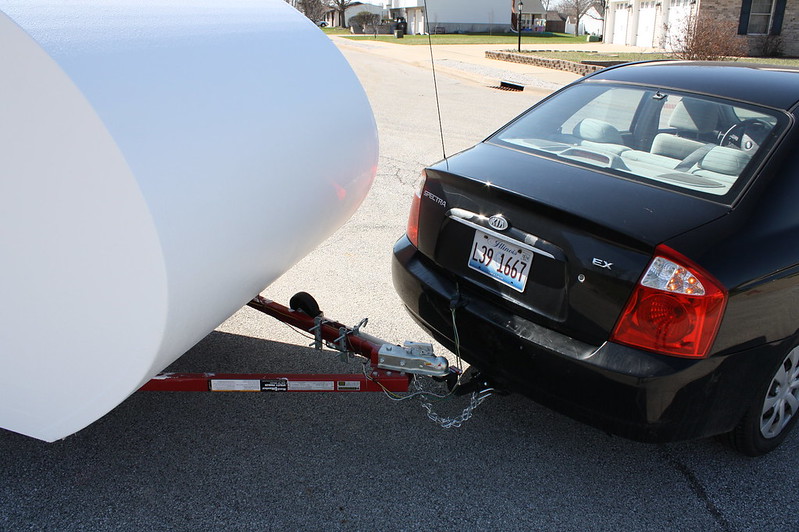 Turning Radius Check
 by
jseyfert3, on Flickr
As I practically am living up here now, I packed my car with lots of stuff, including a lot of tools and stuff (not just for me, but some to help my brother with his house remodel). End result, look at my poor car's shocks...

 Leaving Peoria
 by
jseyfert3, on Flickr
I stopped at the edge of Peoria after about ten minutes and checked the stuff in the teardrop and the bearing temps, all good. Then again after 20 minutes of highway driving at a wayside. A little paranoid perhaps, but it was the first tow!
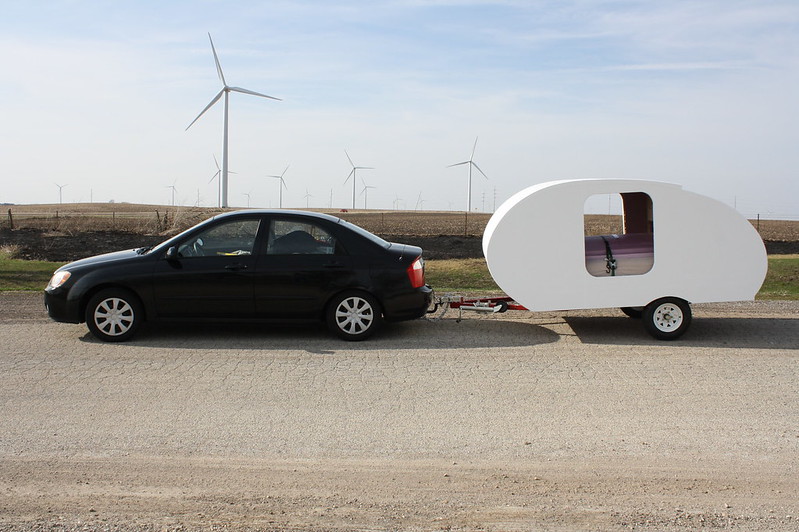 20 Minutes Out - 2nd Check (1)
 by
jseyfert3, on Flickr
This was why I was worried. No hatch, and no way to strap the mattress down. But it, and the stuff strapped to it, did not budge at all the entire trip. Also checked the lights again using my hazards.
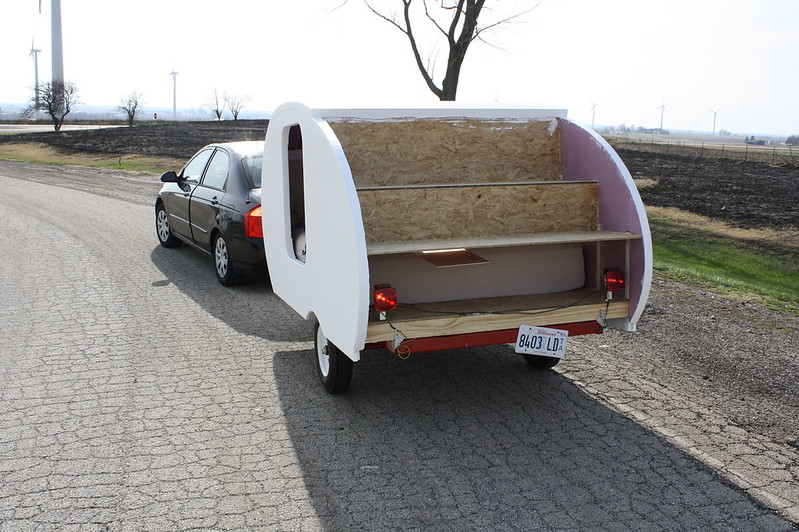 20 Minutes Out - 2nd Check (2)
 by
jseyfert3, on Flickr
Stopped about two hours into the trip to get a snack, checked everything again...
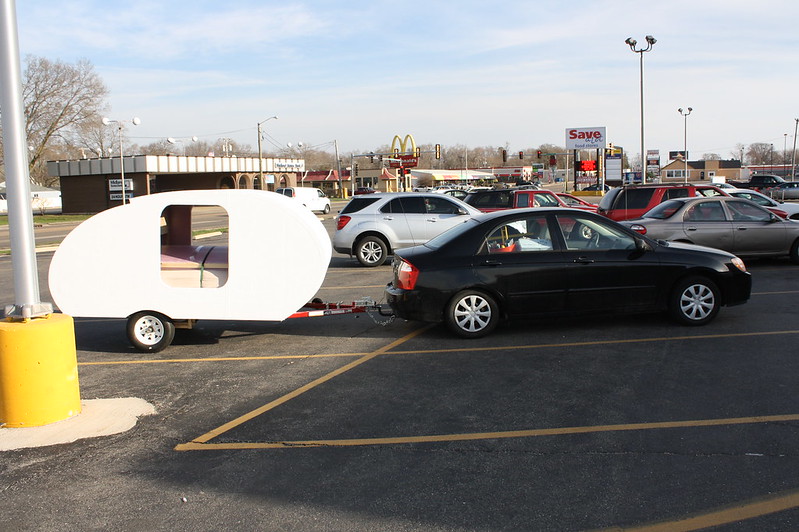 Stopped for a Snack
 by
jseyfert3, on Flickr
Overall, it towed pretty good. 40 PSI in the tires, IIRC, perhaps a hair much. I plan to check it properly with chalk when fully assembled and loaded for camping. On one bumpy road I know both tires came off the ground at least once. But overall it seemed quite stable and towed nicely. Got somewhere between 22-25 MPG, I think around 23 MPG (overloaded car can't take as much gas I think), vs around 28 MPG I normally would have got on the 176 mile trip. So not bad at all, although I did have a tailwind some (most?) of the trip. Time and more trips will work out an average MPG down the road. The car has a 2.0 L gasoline inline 4 with 138 HP and 136 ft-lbs of torque.
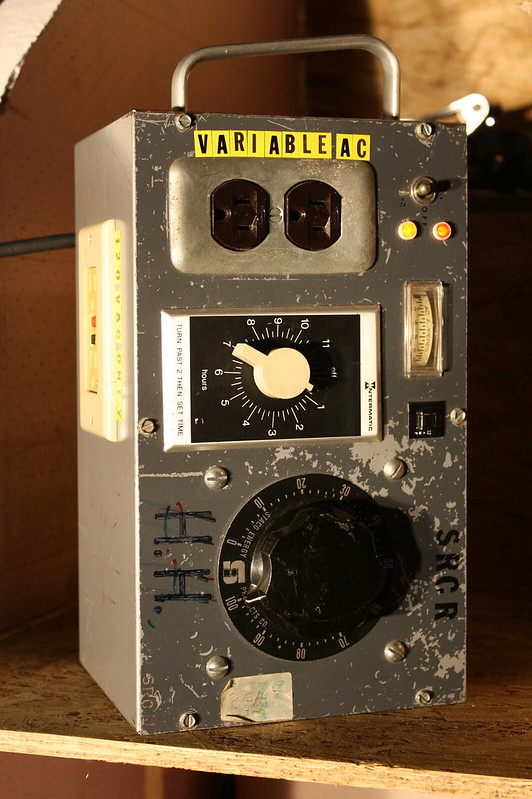
On the 21st, I snagged this for $15 at the University of Wisconsin-Madison's
SWAP (surplus with a purpose) where I stopped with my brother to get a computer for me for work (I'm interning where he works). It's a variable transformer in a case, with an optional timer (can select timer or no timer), and an GFCI outlet on the side that provides constant 120 VAC. The GFCI protects the rest of the unit, so the variable outlet is GFCI protected as well.
 Variac for Hot Wire Cutter (1)
 by
jseyfert3, on Flickr
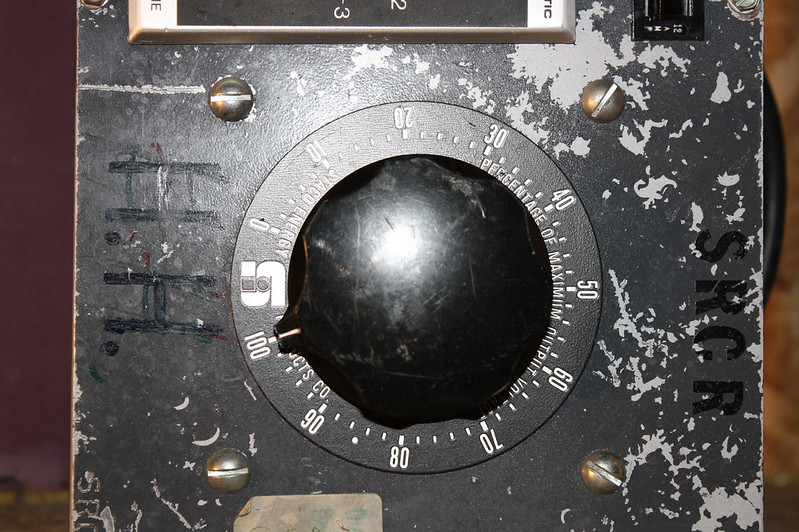
Remember how I burned up that dimmer with my hot wire cutter? Well, this is replacing the dimmer. Almost infinite control and a lot more capacity, and it can handle it great as it adjusts the output voltage from 0-100%. This is true analog AC voltage control, not shutting off and turning on the AC as dimmers work and inductors (transformers) do not like, which is why my dimmer was destroyed. Also handy if you need a low AC source for testing something.
Tested it on my 2x 250 W halogen work light, works great. At 0%, the lights are off, can be slowly turned on to were the filaments are barely glowing, all the way to full power. It's pretty awesome, and the knob has a nice feel to it.
 Variac for Hot Wire Cutter (2)
 by
jseyfert3, on Flickr
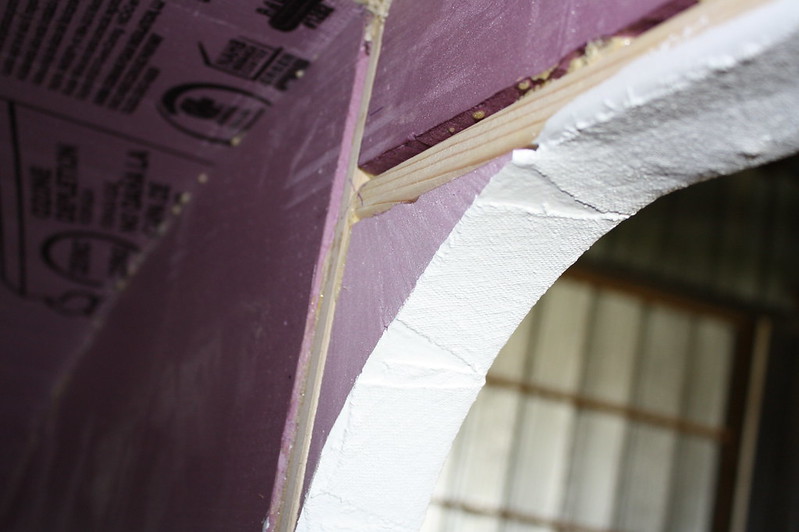
One rainy day I was up here I went out and got the foam near the doors ready. Inside the wood corner junction I trimmed the foam with a steak knife flush with the surface of the wood, and trimmed off the great stuff that had leaked out from gluing in the wood door framing.
 Corner Foam Trimmed
 by
jseyfert3, on Flickr
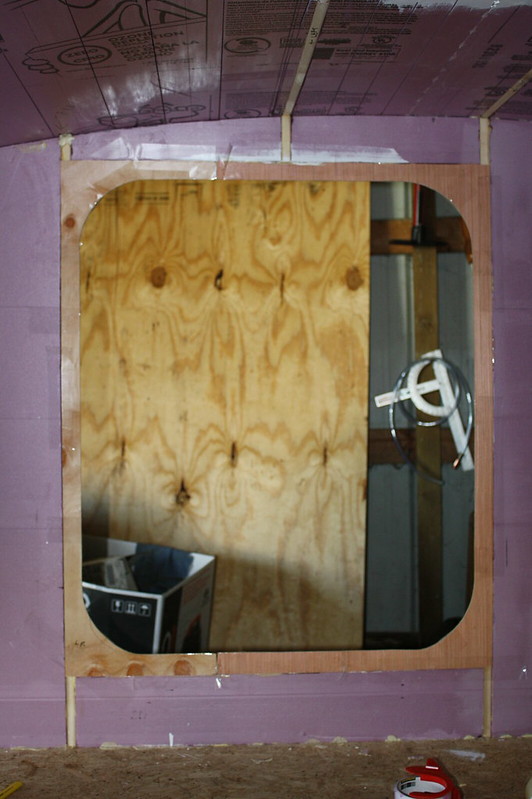
Other then that, I didn't do anything for a while. I meant to work on it Saturday, I lacked motivation. Finally on Sunday (May 4th) I worked on it again. Using some thin ply, I glued up a lip around the door. This is where I will attach a seal that the door will press against when closed to keep out water. I cut the first one in two pieces thinking it would be easier. This pic shows why I cut the foam flush to the wood in the corners. The wood was purposely inlaid so the ply would be flush (or close to flush) with the inside surface of the foam.
 First Lip Piece
 by
jseyfert3, on Flickr
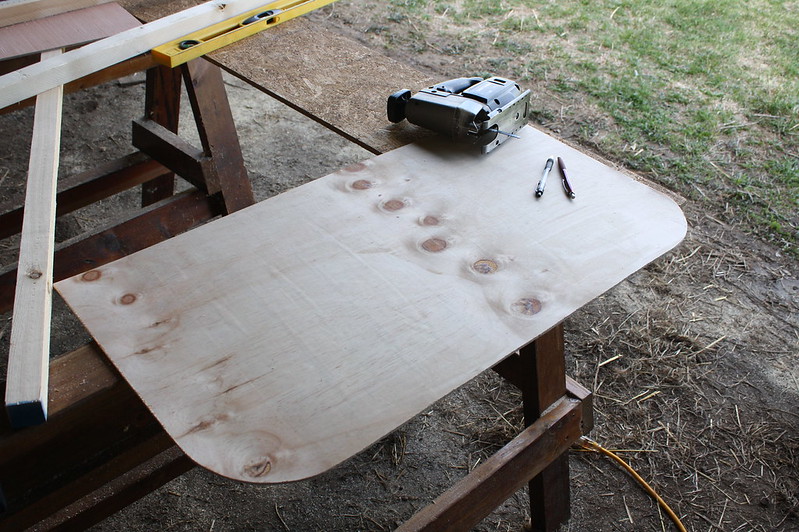
Here is the piece I cut that lip from.
 Remainder After Cutting First Lip Piece
 by
jseyfert3, on Flickr
Soon I had the second piece up, completing the lip.
 Both Lip Pieces in Place, Inside View
 by
jseyfert3, on Flickr
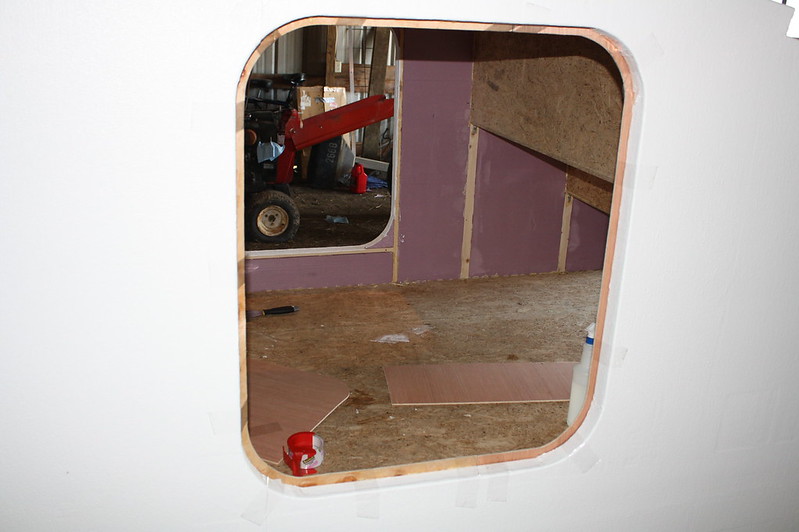 Both Lip Pieces in Place, Outside View
 by
jseyfert3, on Flickr
For the other side, I cut it out of a single piece of ply, as I realized that would actually be a bit easier to do.
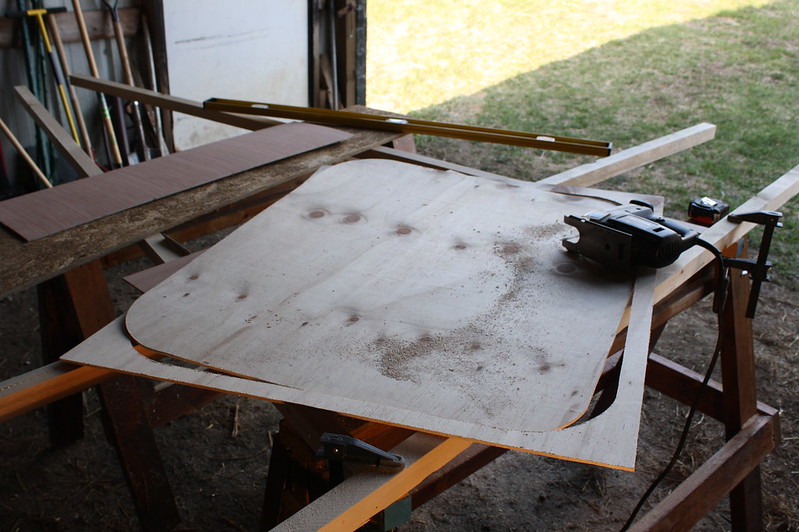 Second Side Whole Lip Piece at Once
 by
jseyfert3, on Flickr
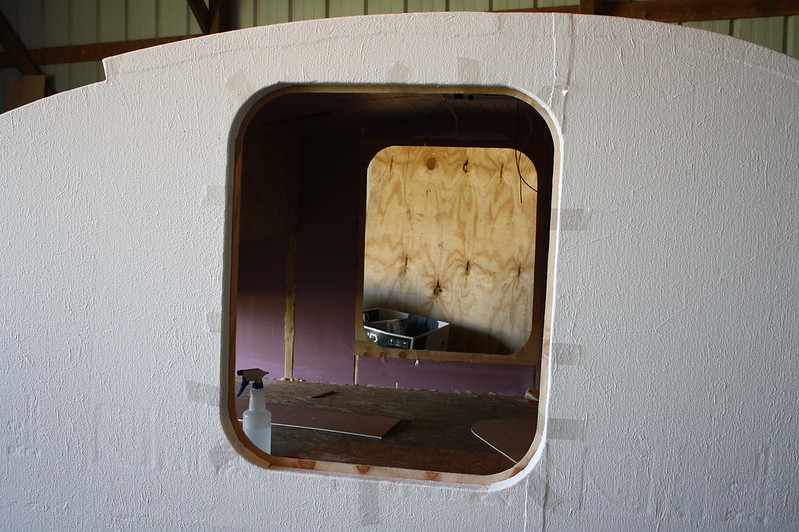 Second Side Lip Piece in Place
 by
jseyfert3, on Flickr
And that is where I currently stand. I need to get some more Gorilla Glue, almost out. Not sure how much more I'll get done this week. None this weekend as I'm heading back to Illinois to see the GF, grab a couple things, and plant some veggies in my garden (my roommate will water them while I'm gone).


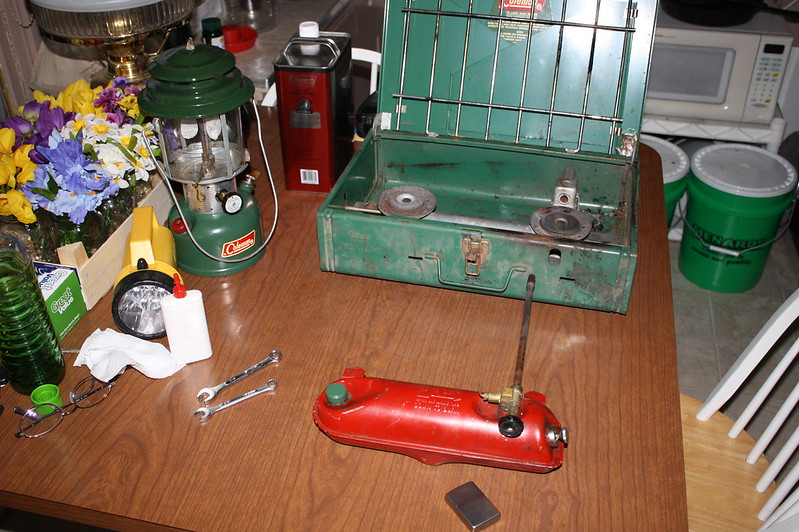
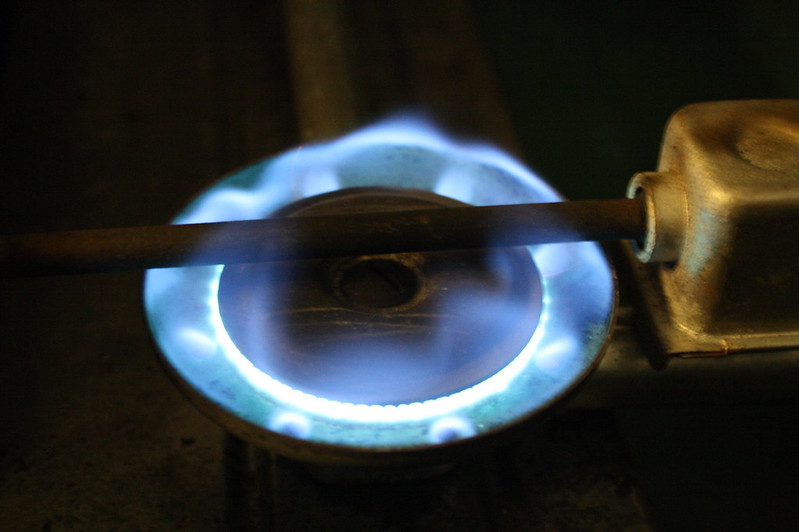
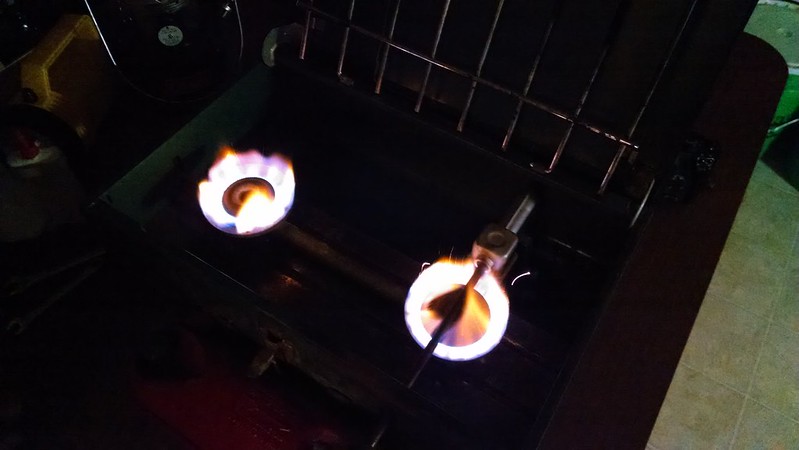
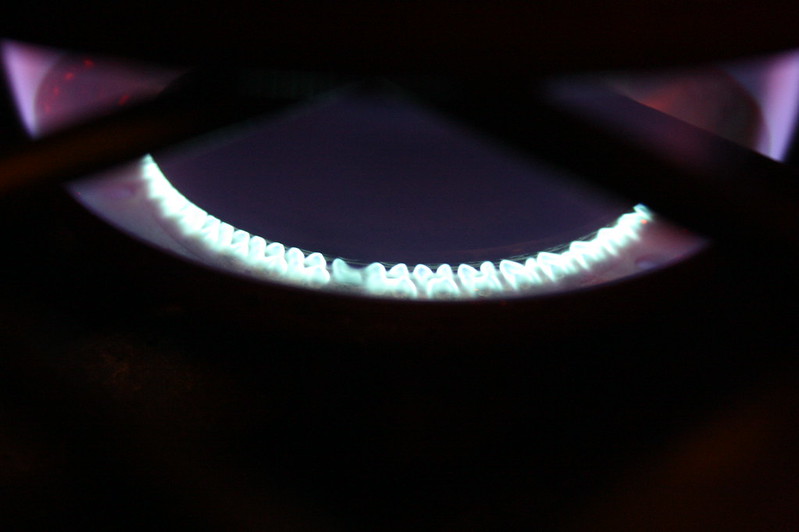
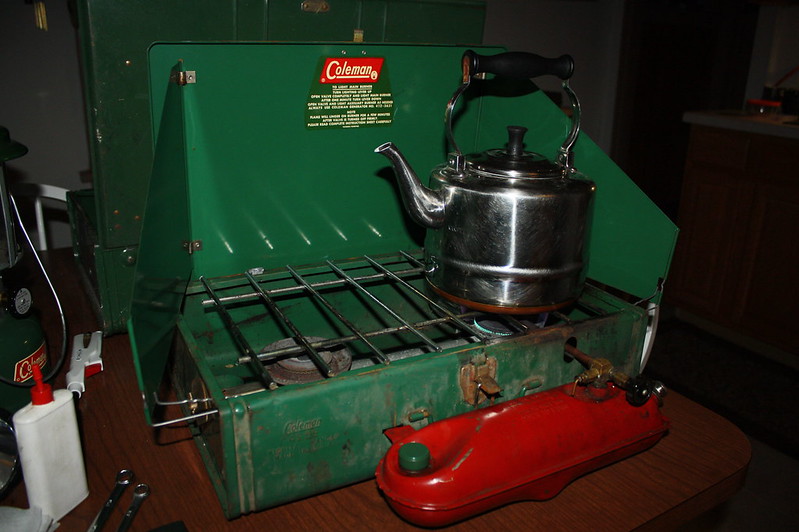

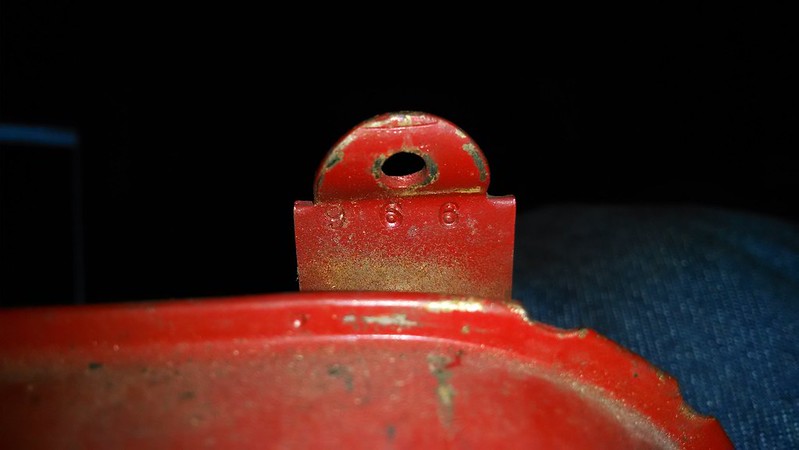


 My bday stove.
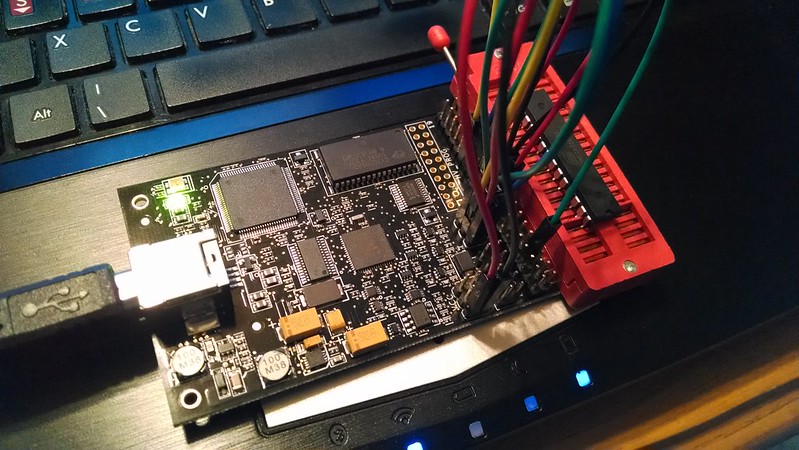
 (Although I will briefly touch on it again by posting the scematic when I post pics of the completed controller)