M116A3 Build
Re: M116A3 Build
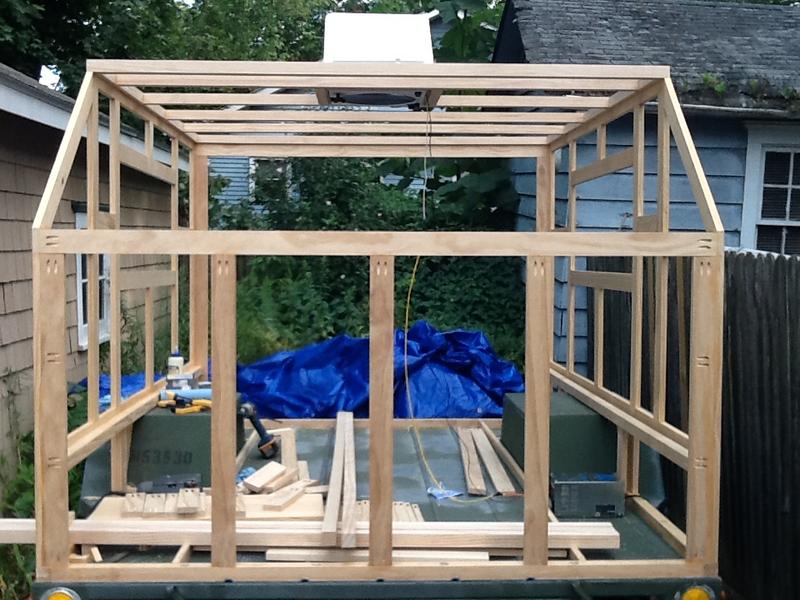
![]() by lfhoward » Mon Aug 17, 2015 7:40 pm
by lfhoward » Mon Aug 17, 2015 7:40 pm
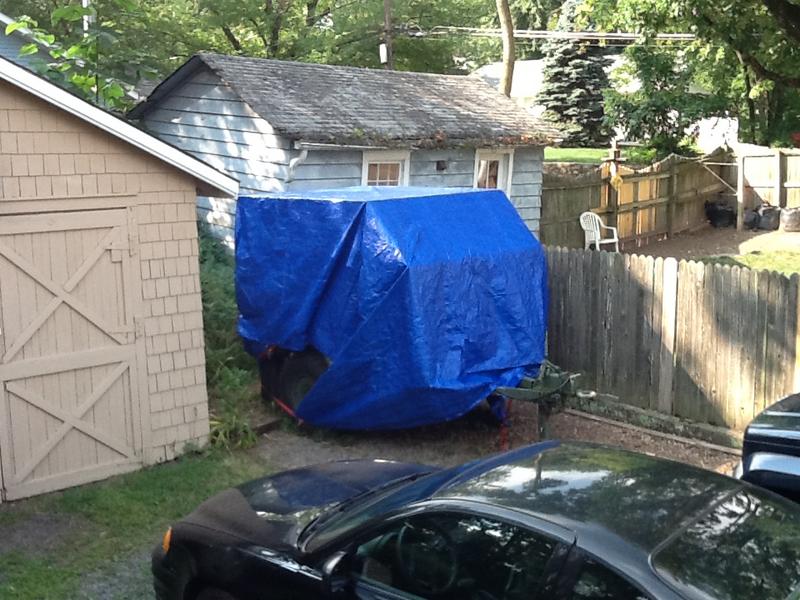
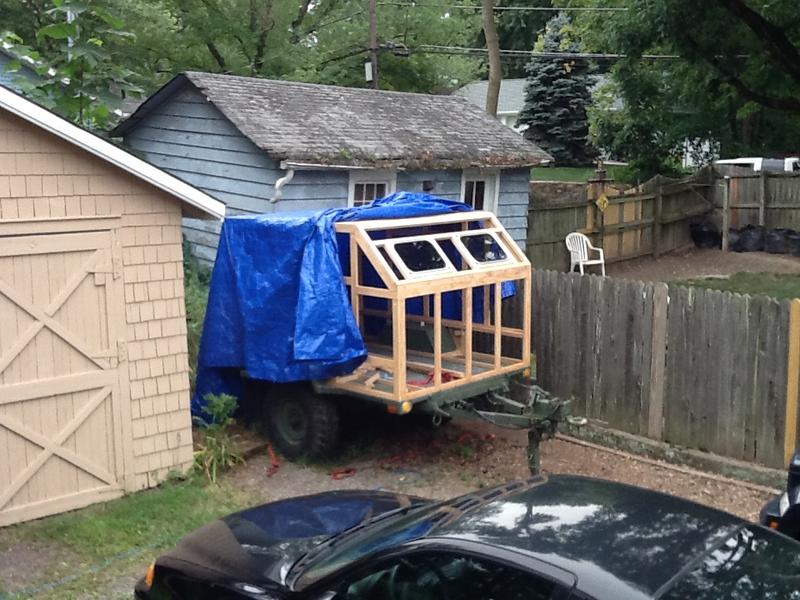
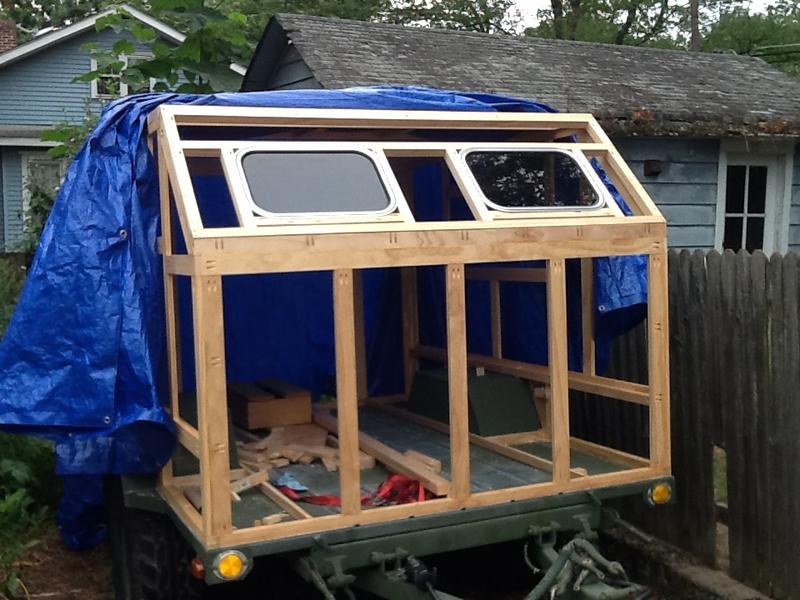
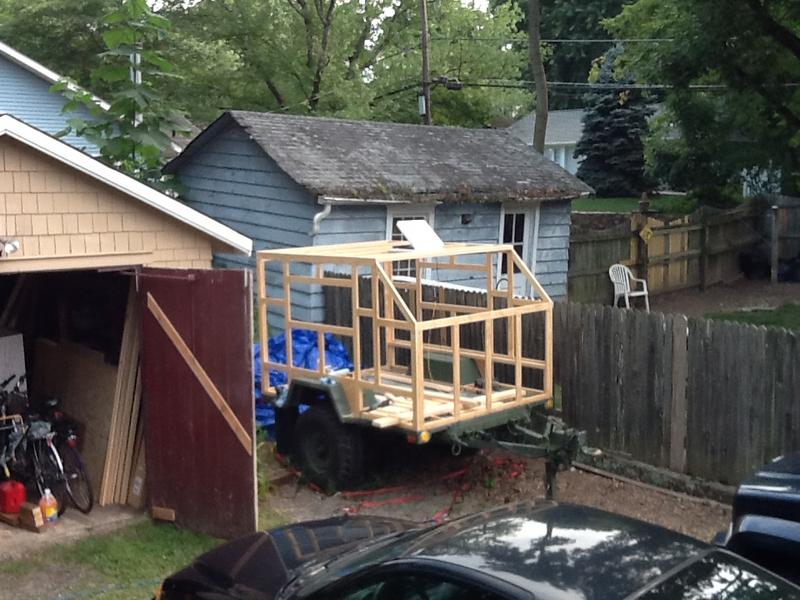
We had several hours of rain today that were not predicted, so I pulled a tarp over the trailer to keep it dry. I worked in the shop measuring and cutting spans for the side benches, and drilling pocket holes in them with the Kreg jig. Stacks of small wooden parts don't make a very exciting photo, but they will be necessary for successful assembly later on. I also double checked my wood supply and made a run to the Depot to exchange 6' roof beams for some 8' ones. It turns out the width of the roof beams needs to be about 6'-1&1/4", so 6" beams were not up to the task!
My off-road camper build on an M116A3 military chassis:
http://www.tnttt.com/viewtopic.php?f=50&t=62581
Tow vehicle: 2008 Jeep Liberty with a 4 inch lift.
http://www.tnttt.com/viewtopic.php?f=50&t=62581
Tow vehicle: 2008 Jeep Liberty with a 4 inch lift.
-

lfhoward - 1000 Club

- Posts: 1369
- Joined: Wed Jan 22, 2014 6:10 pm
- Location: Philadelphia, PA
Re: M116A3 Build
![]() by noseoil » Tue Aug 18, 2015 8:03 am
by noseoil » Tue Aug 18, 2015 8:03 am
The more stuff you can do on the bench now, the better off you'll be later on when assembly is happening. To me, seeing a stack of properly made parts is like money in the bank & very rewarding.
I had a buddy help with the wall, deck, cabinet assembly when it was time to actually put the parts in place & assemble it. Told him it would take a couple of hours start to finish. He was amazed at how well everything fit together when we stood the walls & dropped in cabinets to screw it all together permanently. What he didn't see was the time spent on the bench dry-fitting, checking, measuring & prepping for the actual assembly.
Just sayin' the more time you spend on sub-assemblies at the bench, the easier it is when working inside the build later on. Do as much as you can now to save time later.....
P.S. It's looking really nice so far. You will be amazed to see how strong that thing is when it's finally assembled. A bit of Kevlar or AR500 in the sides and it would be completely "bullet proof" when it's finished!
Build log: viewtopic.php?f=50&t=60248
The time you spend planning is more important than the time you spend building.........

The time you spend planning is more important than the time you spend building.........
-

noseoil - 1000 Club
- Posts: 1820
- Images: 669
- Joined: Sun Apr 27, 2014 8:46 am
- Location: Raton, New Mexico, living the good life!


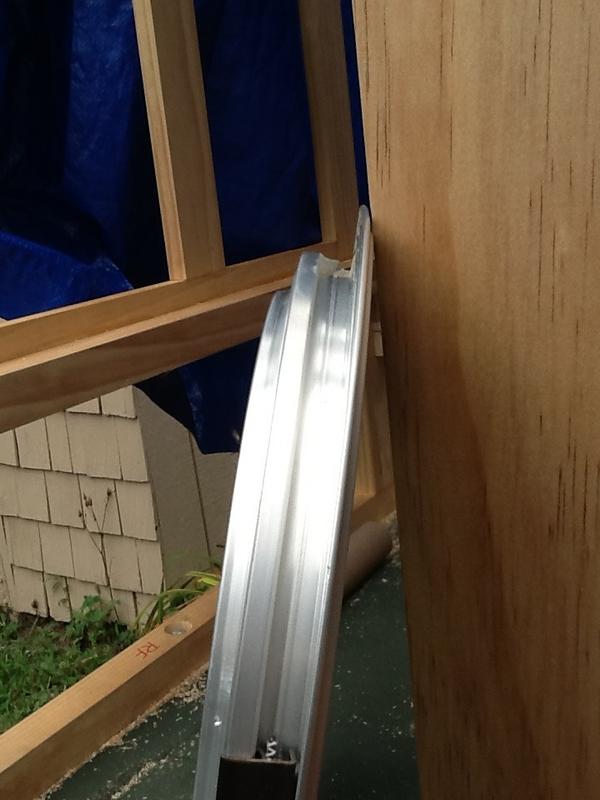
 it won't be noticeable to the casual observer, but I do want the door to open properly.