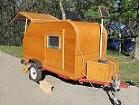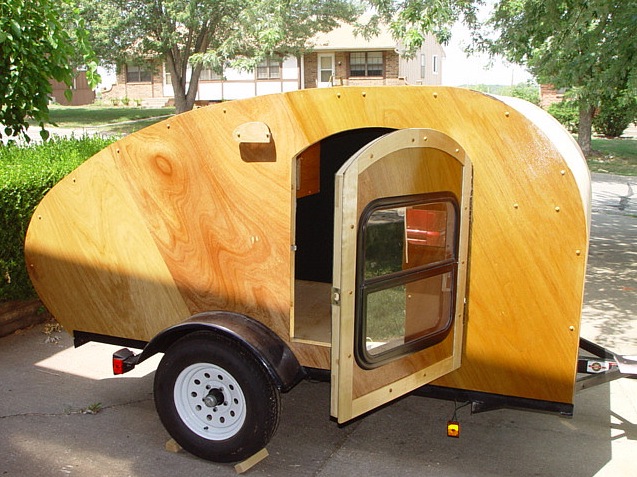
I’m not worried about weight in the back. First culations, if the top is all wooden, it would weigh about 250 Lbs.
I also plan to have a Gas bottle up front, Tool box, tire chocks, spare tire, two solar panels on the top, and possibly
a honda generator running on LP gas. I will mostly be camping just by my self, so I’ll have plenty of room for food.
I just need room for my toys.
This TD will not only be for camping but I plan to use it for hauling my RC planes to out of state flying events. The
extra battery is needed to charge my flight box and all the RC batteries. Most of the time the Tow Vehicle will be
filled with rc planes as well. The reason for the 4 place seating arrangements is so Pilots can set in there and BS
while waiting for the rain to stop or the winds to settle down. At least that is the plan. What is that old saying
“ The best laid plans for mice and men “.
The Galley is going to be simple compared to some TD on the forums. I’ll have 7 fixed shelves and one adjustable
one in the middle. Microwave is a must for me, Camp stove is a wish. The cooler, dry food storage containers, and
Hot water on demand will sit on a removable floor. Removing this floor will give access to a shallow well for can
food, pots, pans, cables, and other odd items.


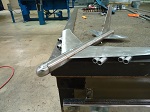
My 1985 Pilot Decathlon. I got 3 of these.