Thanks all, here is my current contribution....

Tonight I was just chilling in the garage, as my work day was a bit poo, and I needed to unwind.
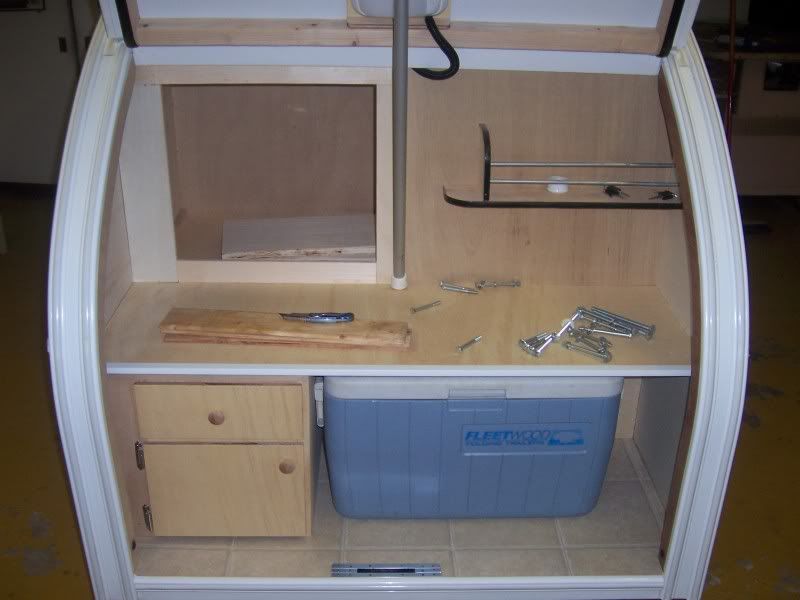
I coated all the surfaces for the galley, and the internal cabinets with their 2nd coat of varnish.
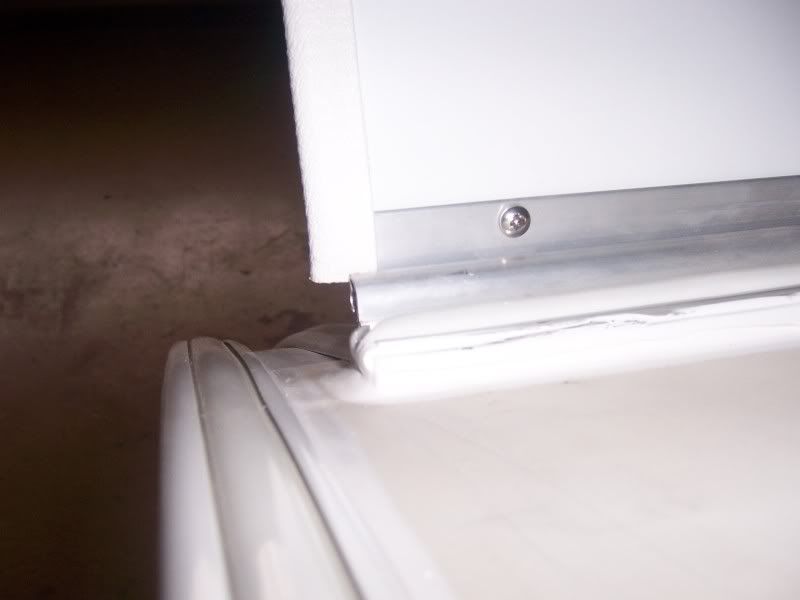
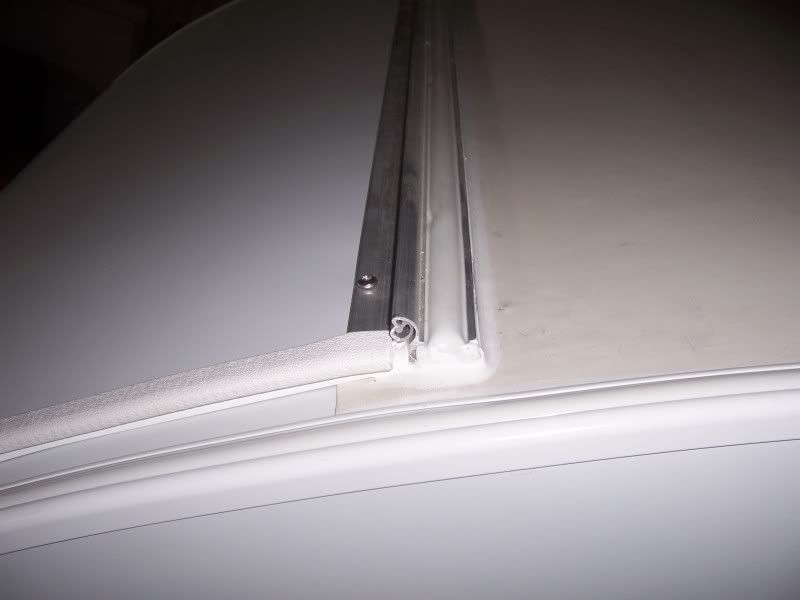
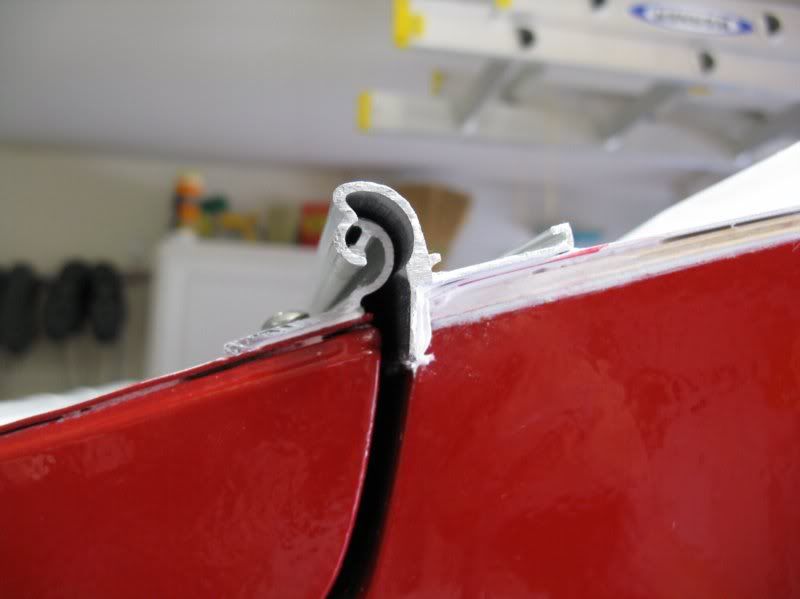
When that was done, I felt the MOJO still bubbling away, so decided to see if I could get the hinge off the window I bought for £10.00 on Saturday. That way I can start making up the galley hatch when I am ready for it.
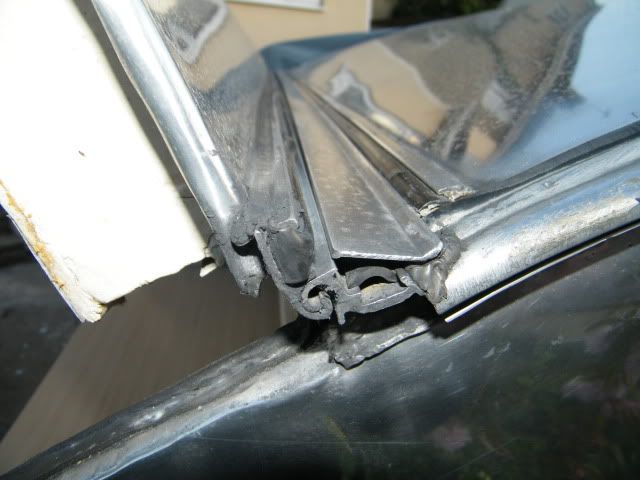
One side slips out, the other had been press fitted along with a rubber seal between the ally and the window perspex.
I asked DeliDave and he suggested cutting it off with perspex in place.... but of course I tried "Old Skool" therapy first.... large lump hammer and screwdriver, followed by liberal WD40 application, a mug of tea and then some more hammer action down the length.
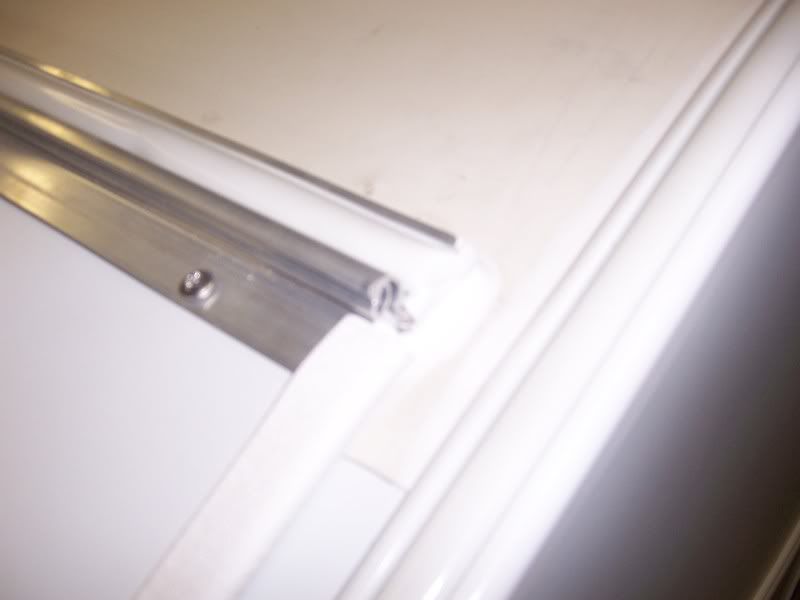
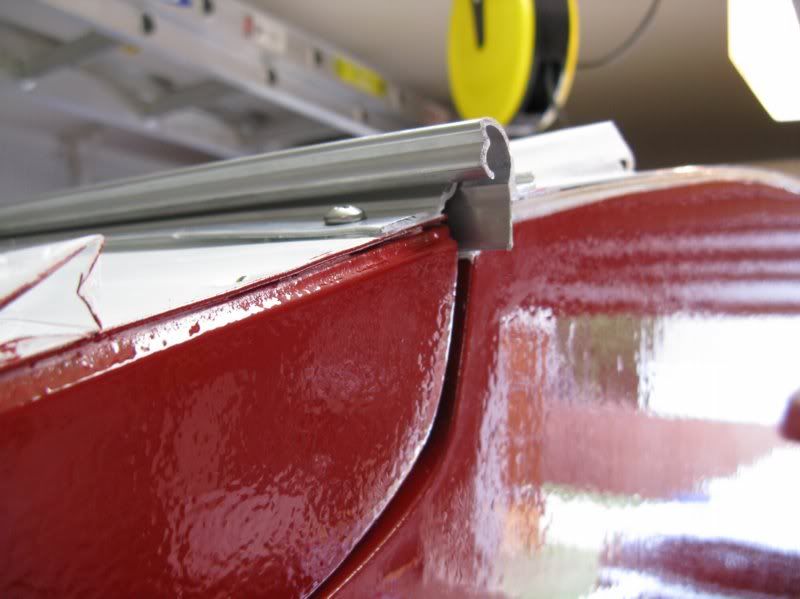
After a reasonably short time I had them seperated and am now the proud owner of 5ft 5 inches of hinge.
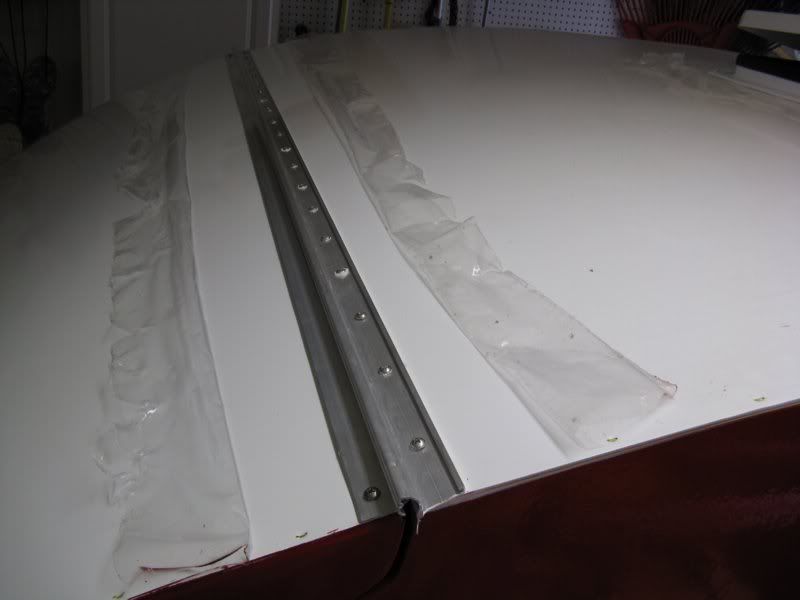
Starting to seperate away.

Done !!! WoooHoooo !!

Greetings from England.
Rian.
Hoping to get it all done in time.


 Mark (& Cindi)


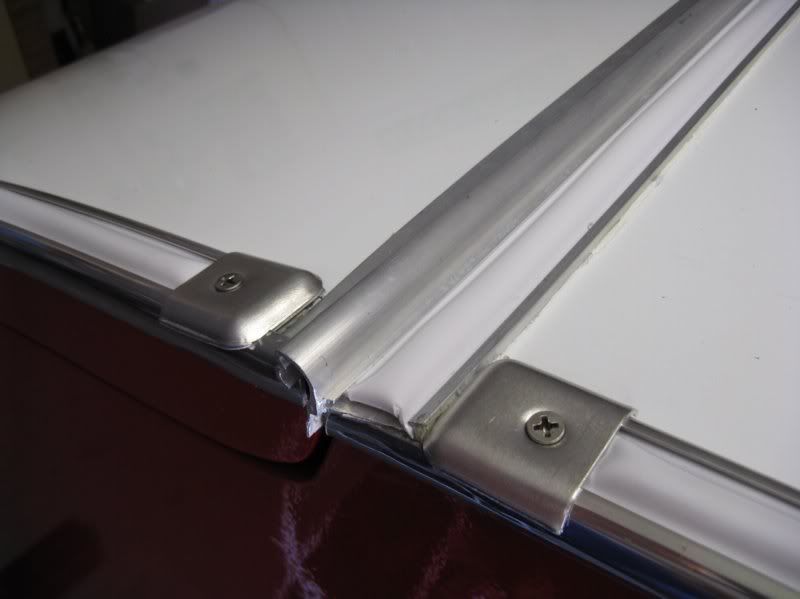
 Wow you guys did good. Mine is simple and a heavy duty piano hinge. Now the truth is by the time I shipped I could have bought a hurricane hing from Grant!


 Yep that is it.
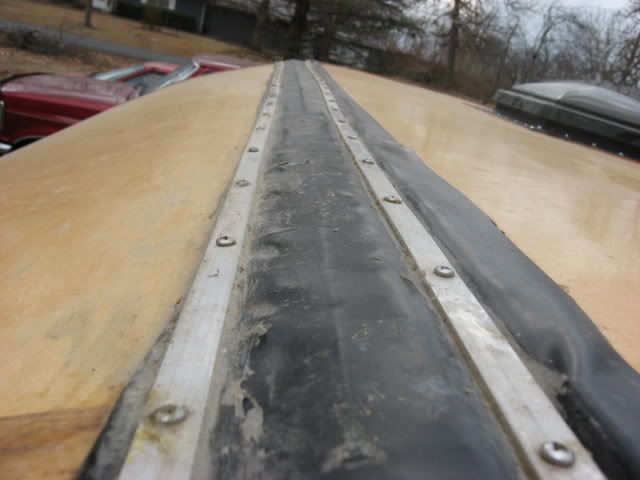
  Wish I had seen the roll stuff.