Where or When Jr. --Paint & New Tow Vehicle--update 5/17/15
![]() by cracker39 » Fri Apr 29, 2011 7:10 pm
by cracker39 » Fri Apr 29, 2011 7:10 pm
Mike, you've done a great job. The Compact was part of the inspiration for my Pop Top. I like that propane tank "cage". Where did you get it? And, can you tell me exactly what connections you have to connect the tank to your cook top unit? I have a two burner Wedgewppd Vision that I haven't installed yet and have no idea where or how to get the hoses with the right connectors. I suppose I'll go to one of the RV dealers around Lakeland.
Dale
Sometimes I pretend to be normal. But, that gets boring...so I go back to being me.
Squidget Pop Top Build Pages http://www.thesquidget.com/ptbuild/ptbuild.html
Squidget and Pop Top Plans Info and Photos: http://www.TheSquidget.com
Sometimes I pretend to be normal. But, that gets boring...so I go back to being me.
Squidget Pop Top Build Pages http://www.thesquidget.com/ptbuild/ptbuild.html
Squidget and Pop Top Plans Info and Photos: http://www.TheSquidget.com
-
cracker39 - 3000 Club

- Posts: 3069
- Images: 233
- Joined: Thu Jun 30, 2005 2:18 pm
- Location: Lake Alfred, Florida, USA
![]() by myoung » Sun May 01, 2011 11:56 pm
by myoung » Sun May 01, 2011 11:56 pm
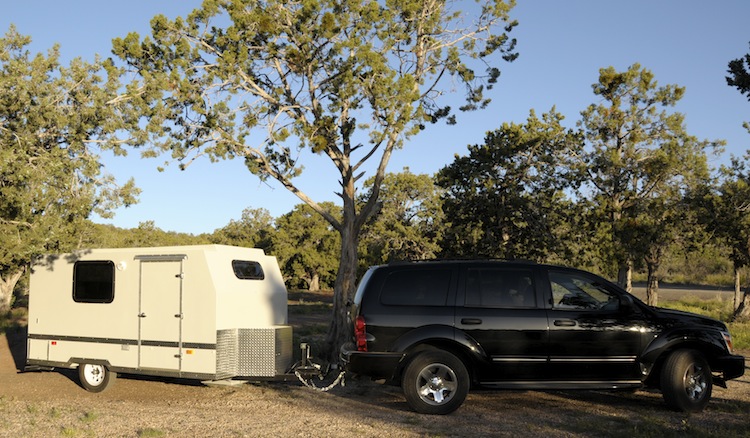
The trailer is roadworthy so it is time to try it out. On Thursday when all but some small stuff (except the big three items of flooring, counter tops, and fabric and screen popup) had been finished, I decided to go up early to the start of the 24th Annual Route 66 Fun Run.
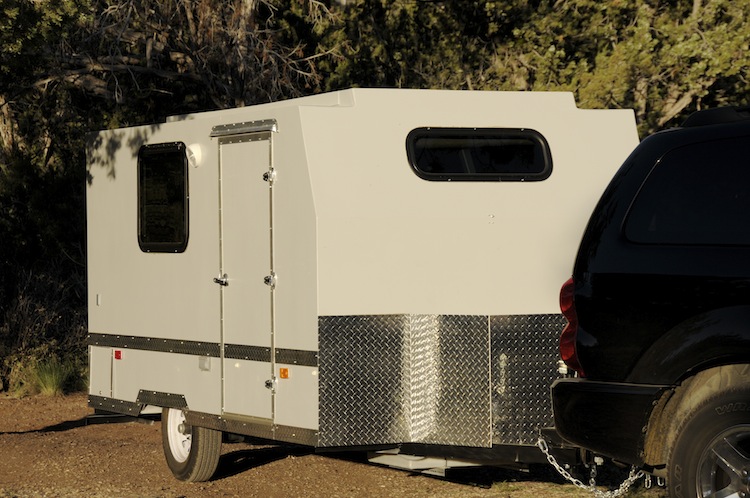
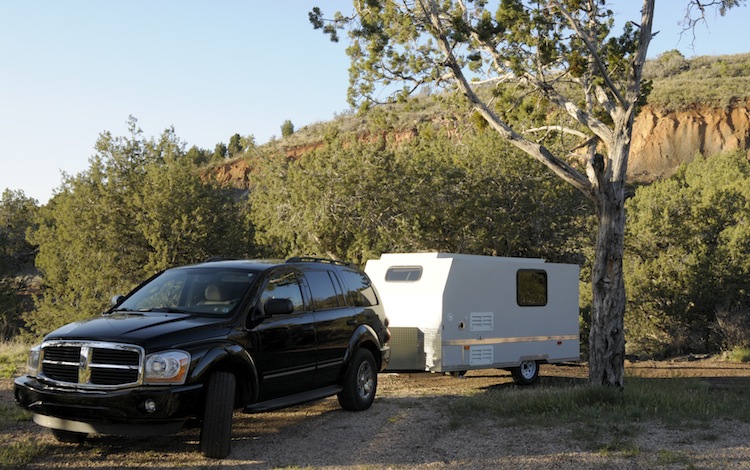
Here are a few photos of the first camp site a few miles east of Seligman, AZ, just off Historic Route 66 at the 5,700-foot elevation.
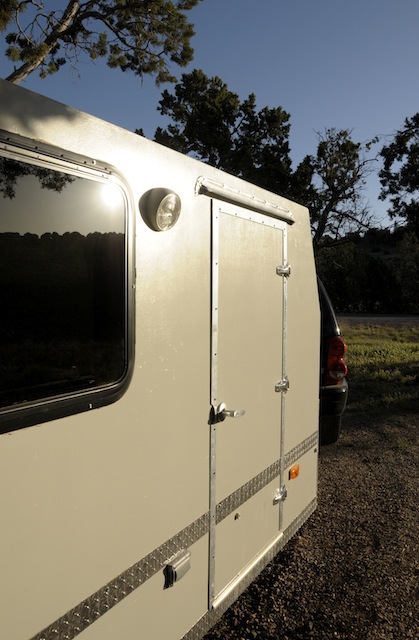
Naturally, there are many small items to buy and to fix and to finish. Are trailers ever really complete? Didn't think so.
I forgot to buy a can opener, dish detergent, sponges, and a few other useful items.
The three days on the road gave me time to try out most of the systems and to make a list of things that need tweaking or completing.
I was pleasantly surprised how little the strong cross winds or passing trucks affected the trailer. I had expected more drama from the slab sides but nothing happened.
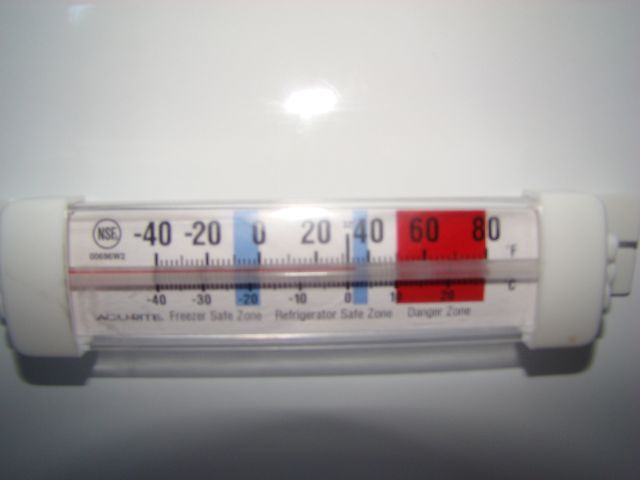
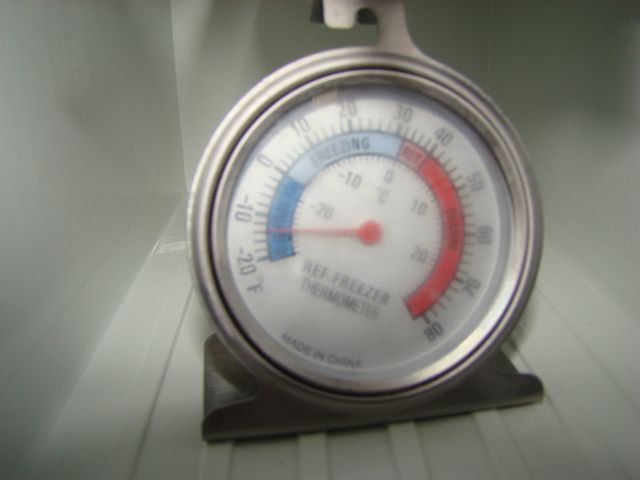
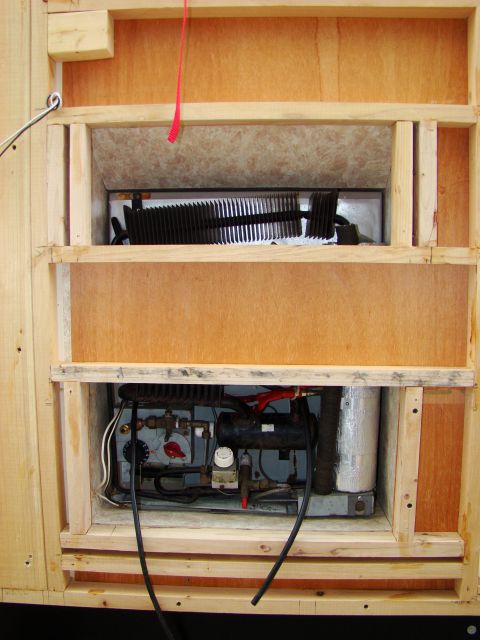
The fridge was a big disappointment. It is one of those absorption types that runs on AC, DC, or gas. I didn't have the opportunity to test the AC mode, but the DC mode consumes too much juice for the paltry amount of cooling gained. The gas mode was just as disappointing. It's hard to tell whether the flame is lit and what you can see is miniscule. Gas and electricity work beautifully on our Airstream but that has a real fridge not one of these pretenders.
Also, unlike the Airstream, I don't have a weight distribution hitch on this trailer because it would seem unnecessary. However, one useful aspect of the weight distribution hitch setup is that it puts the trailer and the tow vehicle in the same horizontal plane. In this way, the dips or bumps between road and curb at entrances to gas stations, for example, seldom cause the hitch to drop down much.
I have to be more careful and mindful of bumps and dips now, because the flexing that takes place at the hitch ball cause scraping on two occasions. I carved a pair of grooves in the pavement with the angle bracket that holds my grey water tank in place. I'll bevel or round the front edges of the brackets to lessen the problem a bit.
The blue glow from the digital voltmeter was a terrific nightlight. The LED lights (2) are perfect for illuminating the galley counter, stove, and sink. The other three ceiling lights are placed just right for reading. I now have ribbons to hold the window coverings up, which look and work well.
Before my next trip, I'll have to put an anchor or two on the gaucho because the road bumps caused it to slide out too easily. Also, I want to add an adjustable screw to hold the rotating table in place while traveling. I knew these had to be done, but didn't expect as much movement as I got especially from the gaucho.
Lastly, there must be quite a bit of bouncing at the extreme rear end of the trailer because on three occasions all the hangers including those with a coat and a robe jumped off the closet rod. Hmmm.
Here are a few photos of the first camp site a few miles east of Seligman, AZ, just off Historic Route 66 at the 5,700-foot elevation.
Naturally, there are many small items to buy and to fix and to finish. Are trailers ever really complete? Didn't think so.
I forgot to buy a can opener, dish detergent, sponges, and a few other useful items.
The three days on the road gave me time to try out most of the systems and to make a list of things that need tweaking or completing.
I was pleasantly surprised how little the strong cross winds or passing trucks affected the trailer. I had expected more drama from the slab sides but nothing happened.
The fridge was a big disappointment. It is one of those absorption types that runs on AC, DC, or gas. I didn't have the opportunity to test the AC mode, but the DC mode consumes too much juice for the paltry amount of cooling gained. The gas mode was just as disappointing. It's hard to tell whether the flame is lit and what you can see is miniscule. Gas and electricity work beautifully on our Airstream but that has a real fridge not one of these pretenders.
Also, unlike the Airstream, I don't have a weight distribution hitch on this trailer because it would seem unnecessary. However, one useful aspect of the weight distribution hitch setup is that it puts the trailer and the tow vehicle in the same horizontal plane. In this way, the dips or bumps between road and curb at entrances to gas stations, for example, seldom cause the hitch to drop down much.
I have to be more careful and mindful of bumps and dips now, because the flexing that takes place at the hitch ball cause scraping on two occasions. I carved a pair of grooves in the pavement with the angle bracket that holds my grey water tank in place. I'll bevel or round the front edges of the brackets to lessen the problem a bit.
The blue glow from the digital voltmeter was a terrific nightlight. The LED lights (2) are perfect for illuminating the galley counter, stove, and sink. The other three ceiling lights are placed just right for reading. I now have ribbons to hold the window coverings up, which look and work well.
Before my next trip, I'll have to put an anchor or two on the gaucho because the road bumps caused it to slide out too easily. Also, I want to add an adjustable screw to hold the rotating table in place while traveling. I knew these had to be done, but didn't expect as much movement as I got especially from the gaucho.
Lastly, there must be quite a bit of bouncing at the extreme rear end of the trailer because on three occasions all the hangers including those with a coat and a robe jumped off the closet rod. Hmmm.
Mike Young
build thread: viewtopic.php?t=40459
build thread: viewtopic.php?t=40459
-

myoung - 500 Club
- Posts: 644
- Images: 250
- Joined: Sat Aug 07, 2010 11:21 am
- Location: Nipomo, CA