Well after some searching on the internet and getting quotes of $160 shipping cost plus material for five sheets 1/8" Baltic Birch I had almost given up and was going to wait until December. I then one day I came across Wolstenholme an importer of Baltic Birch plywood located in Boulder, CO and contacted them for 5 sheets 1/8" plywood. They emailed me back and said they were just the importer but gave me three of their resellers (Austin Hardwoods who I was using but they were out of stock, Paxton Lumber and National Wood Products). I looked Paxton Lumber and National Wood up and both were fairly close to each other. I called Paxton first and they had 400 sheets in stock and $1 cheap than I had been paying. I picked up the five sheets I needed to finish my build.
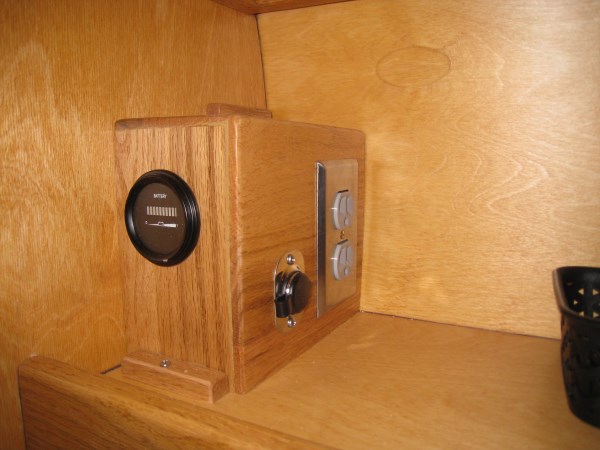
While I was searching for BB I figured out how to make my power box with battery meter removable. I glued on a couple small pieces of wood and used them to screw into the wall and shelf.
I also did some searching for fabric for the curtains. I was looking for something Jeep, mountains or fly fishing theme related but didn't find anything I really liked. I came across some bright Route 66 material that I liked but didn't want the Route 66 theme so I kept looking and then came across this road trip theme fabric that I liked.
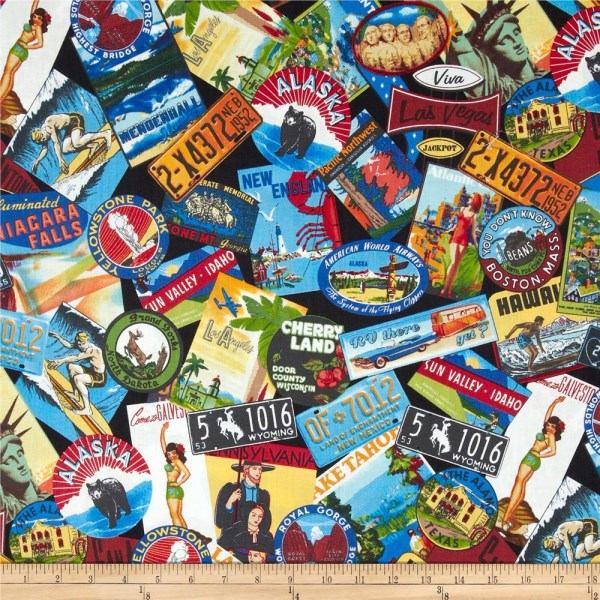
It is bright and colorful, has many of the places I have been or want to go and applicable to what I plan to do with my tear drop. I order several yards and asked my wife to make 2 door window curtains, curtains for the sky light and two pillow covers before spring.
Winter is coming and I had moved my teardrop inside my utility room. It is a little tight but I can walk around it and work on it, but not enough room for a work bench to put the hatch on to epoxy and cloth. We have had a few days of snow and the days highs are usually into the 40s but this past weekend the weather was going to be real nice (close to 60's for 3-4 days) and I figured it would be our last 60 degree weather (60s in Colorado with the sun feels a lot warmer) for while so I decided to move my teardrop back outside so I had more room to work inside to epoxy and cloth the hatch etc.
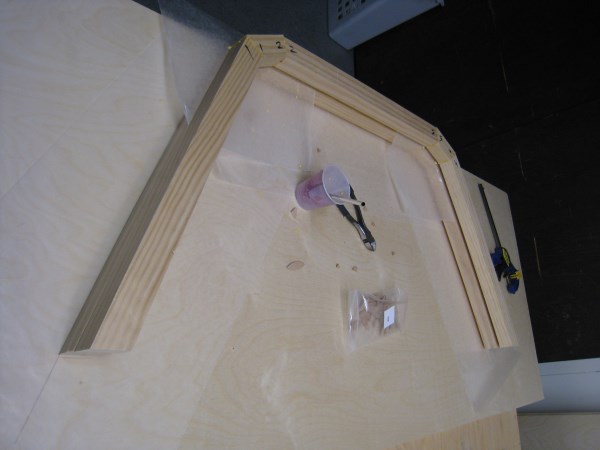
I put the axle on and decided I needed to figure out how to mount the fenders. My fenders are 10" wide but with the jeep wheels and axle location they needed to be a little wider to cover the tread so I decided to make some spacers and use them to mount to the body. I glued up a 1.5 x1.5 frame, belt sanded it semi round and then backed it with 1/4" plywood.
Here is picture of the spacers being glued up
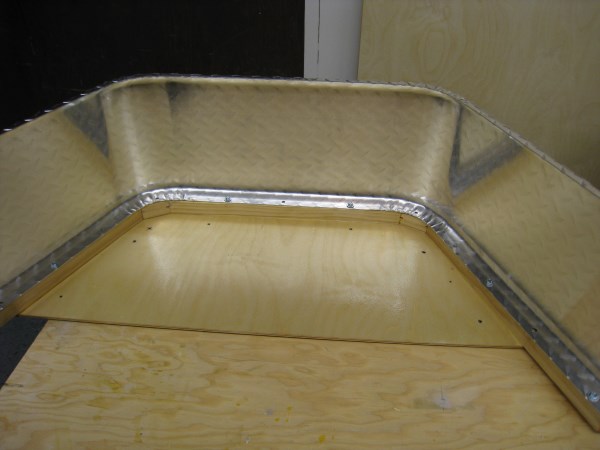
Here is the fender mounted onto the spacer and a view of the plywood backing
Here is an outside view of the fender mounted onto the spacer
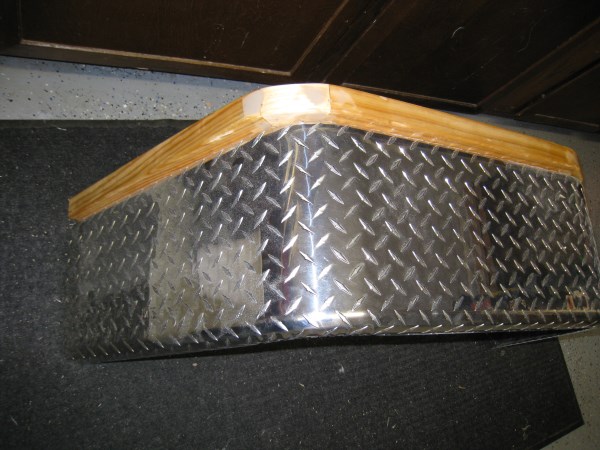
I screwed the fenders to the spacer and screwed the whole assembly with 6 bolts to the side of the teardrop.
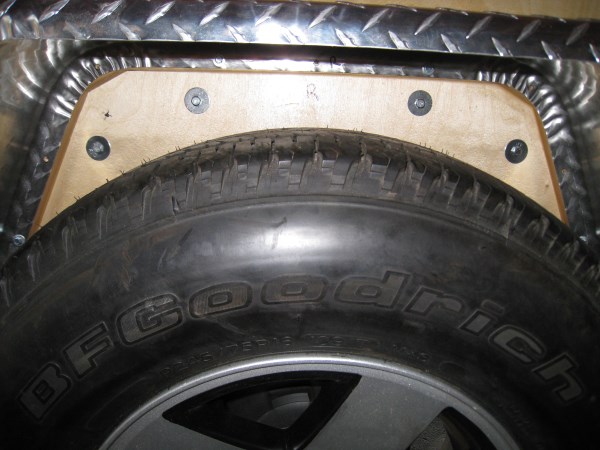
Here is a picture of the fenders mounted to the body
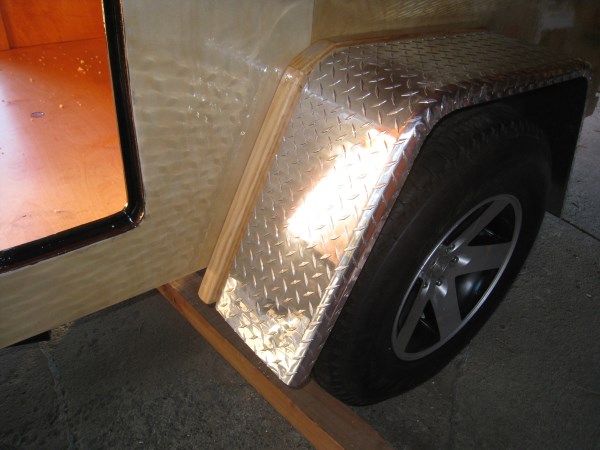
Here is side and side rear view. I think they look pretty good
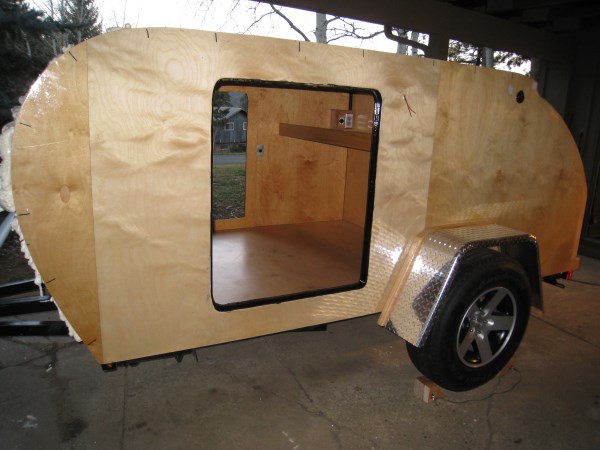
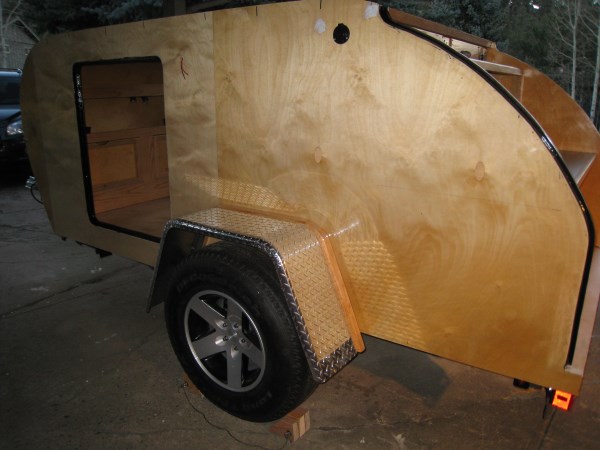
I plan to paint the spacer the same color as the body so it will blend in and use black fender welting between the aluminum fender and the spacer.
While I was working outside I was also inside epoxying the hatch
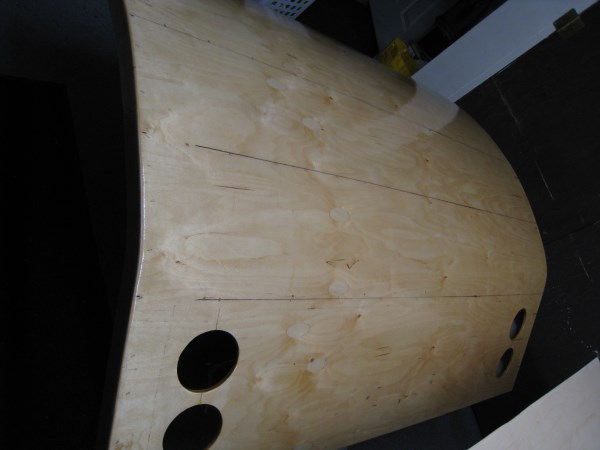
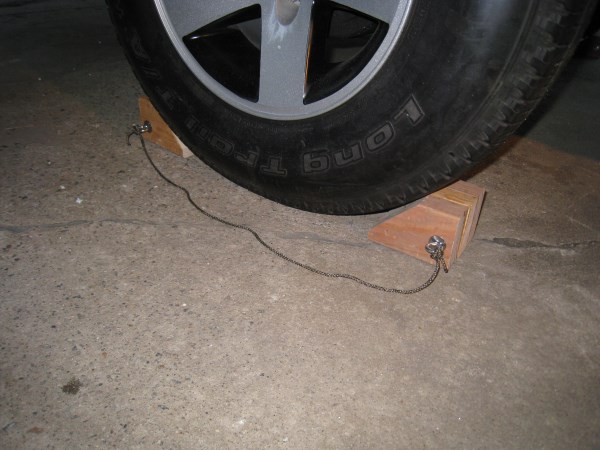
I worked outside on closing up the roof and putting in the insulation. I had used a couple 4x4 pieces of wood to keep the tear from moving while I worked on the top but they were too long and got in the way so I made a two sets of wheel chocks. I got the idea off of this web site but I don't remember who posted it.
While I worked outside I skinned my tongue box. It is skinned in 1/8" Baltic Birch and I will fiberglass cloth and epoxy the outside to seal it up.
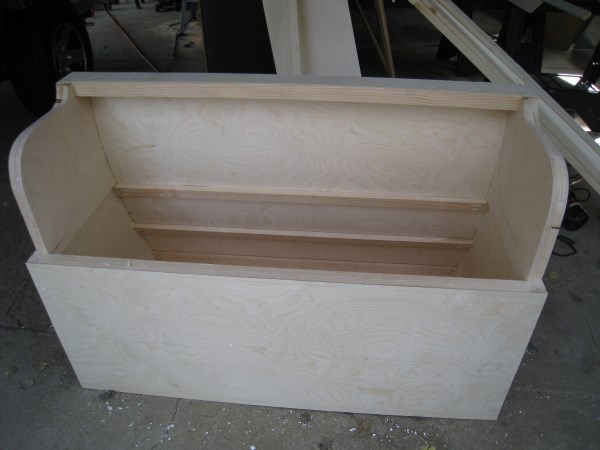
Here I am skinning the lid and had to screw and clamp to keep the skin tight.
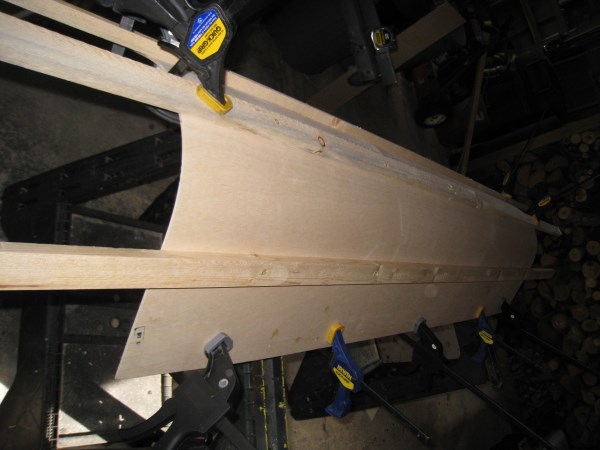
I cut the 3/4 insulation for the roof glued it in place. I used two layers and scored where it needed to curve. I then decide to use expanding foam to fill any gaps. I used milk jugs full of sand to weigh it down until dry.
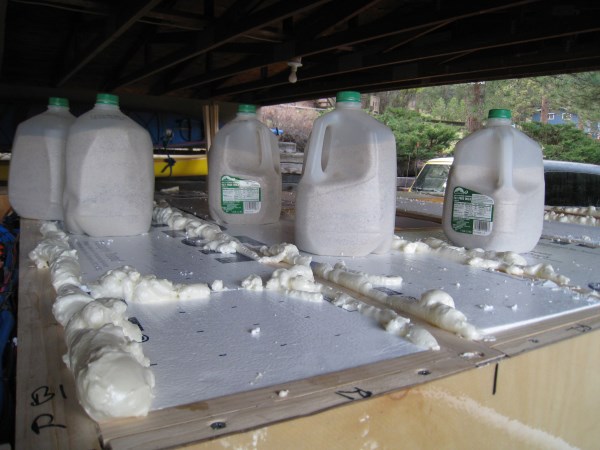
I then used a hack saw blade to cut off excess expanding foam and a belt sander to level the foam out even with the roof spars. What a mess it made

Another picture of the front being clamped until dry.
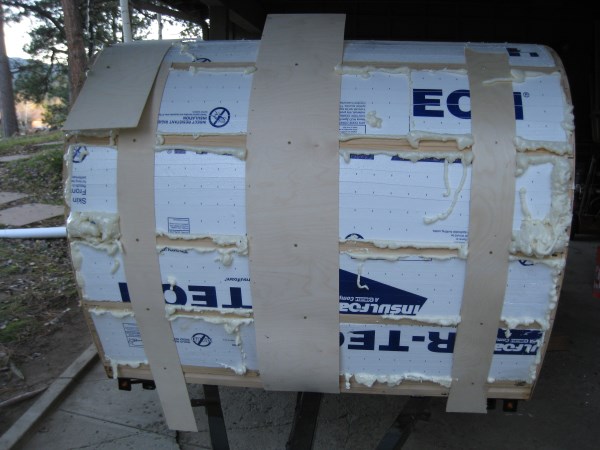
Twice I bumped into the wet expanding foam and got in all over my work clothes. Glad I was wearing old clothes that stuff is sticky
Inside my utility room on my worktable I joined two and half sheets Baltic Birch with 4" fiberglass cloth and epoxy to make one continuous roof panel.
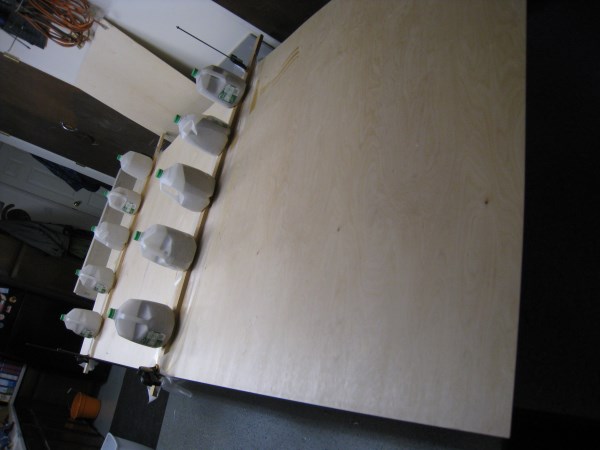
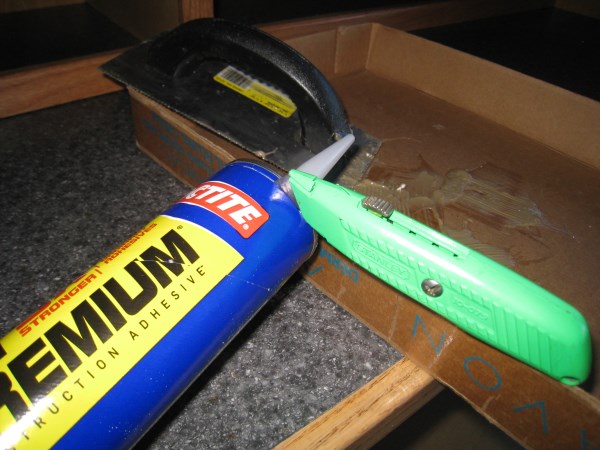
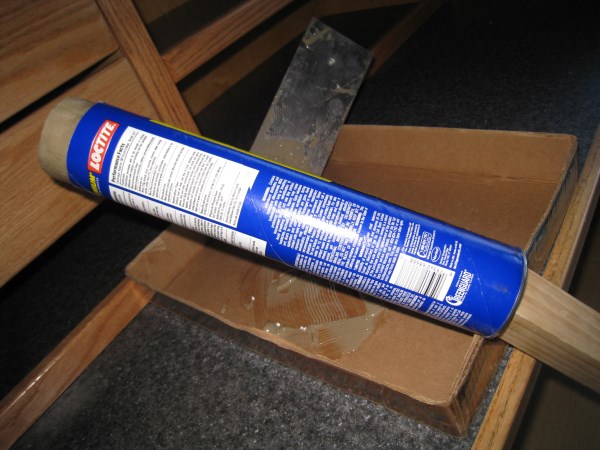
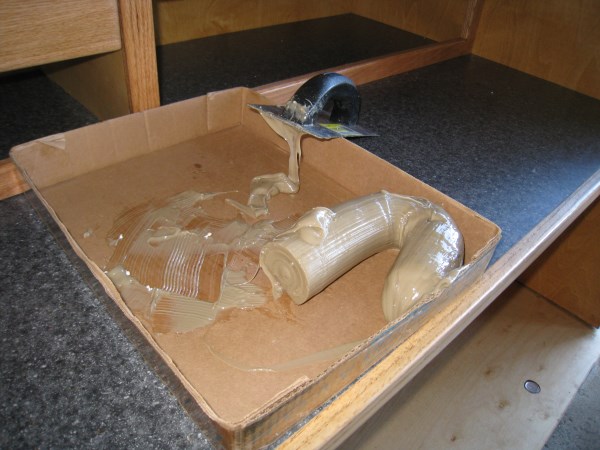
The next day I skinned my roof. All along I have been using PL premium glue in the large tubes (cheaper than many smaller ones, and I couldn't find it in a can) to laminate my walls, glue the insulation down, etc. I have struggled with enough pressure and got cramped hands when applying the glue with the caulk gun. Today I knew I would needed a couple large tubes to trowel onto the roof before skinning and needed to work quickly so I could get the entire roof glued and then covered. I decided to cut off the end of the PL premium tube, used a 2x2 to push the glue out of the tube into a cardboard lid. From there it was easy to apply with a trowel. I wish I had figured this out a lot earlier.
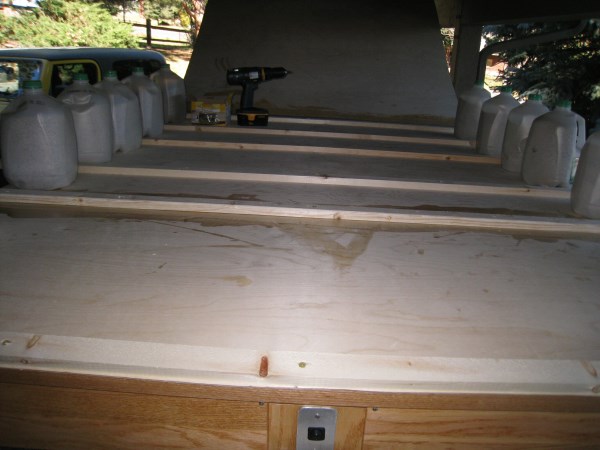
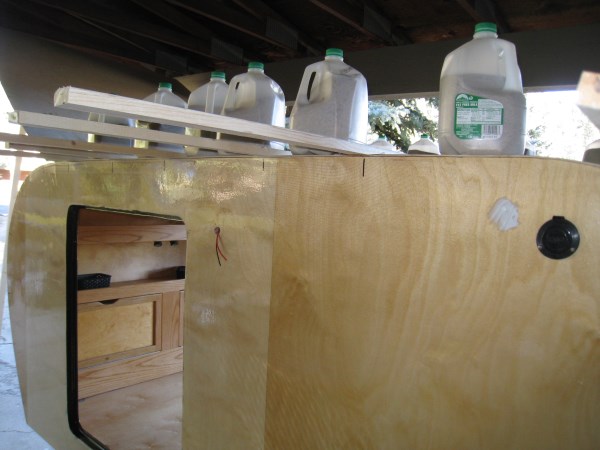
Since I am not making a woody (I am painting) I used some cheap 1x2 to screw across the spars to hold the roof tight. I used milk jugs filled with sand to hold down edges, and some staples.
Here is a view of the top from the back showing the 1x2 screwed down and milk jug weights
Here is a side view
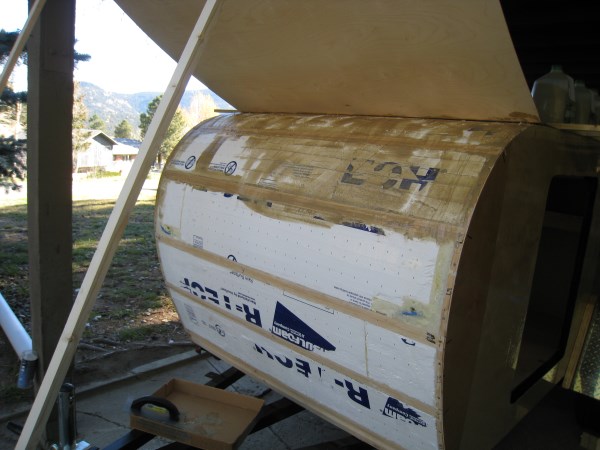
Here I peeled back the front and finish troweling on the glue before clamping the roof down.
Here the front is all done
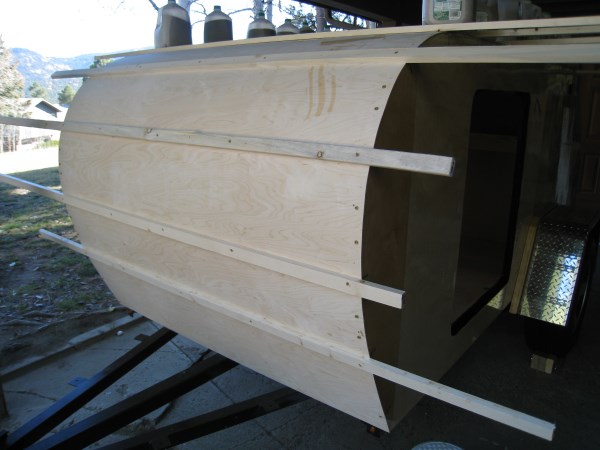
I had a few small gaps that I couldn't seem to get out so I screwed them down some but kept the smooth arc and will fill the gaps before skinning the roof with epoxy and cloth. Hopefully after paint no one will ever know the gaps existed.
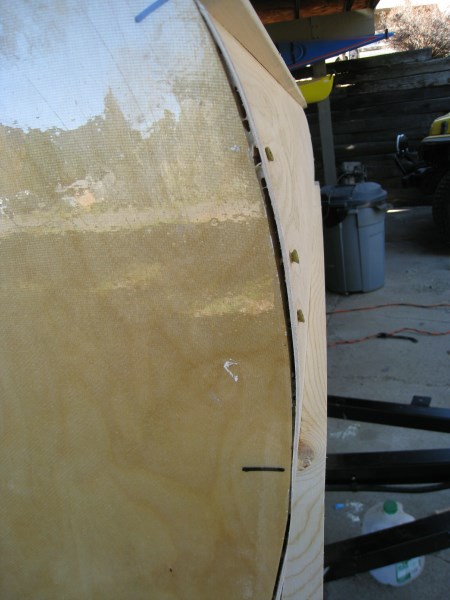
Now I need to clean up and wait for everything to dry before I can router out the sunroof, fan and roof edges and then move then teardrop back inside for the winter.
Detailed finish work is all that is left and my build should be done well before Memorial Day weekend next year which was my original goal. I may have to do an early spring campout just to test it out, and of course my daughter plans to test it out this winter in the utility room with some of her friends
Happy building
Dan


