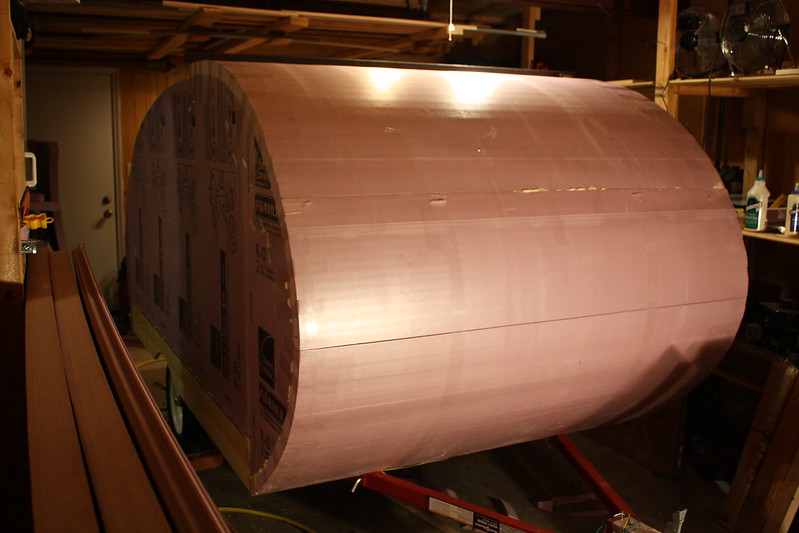
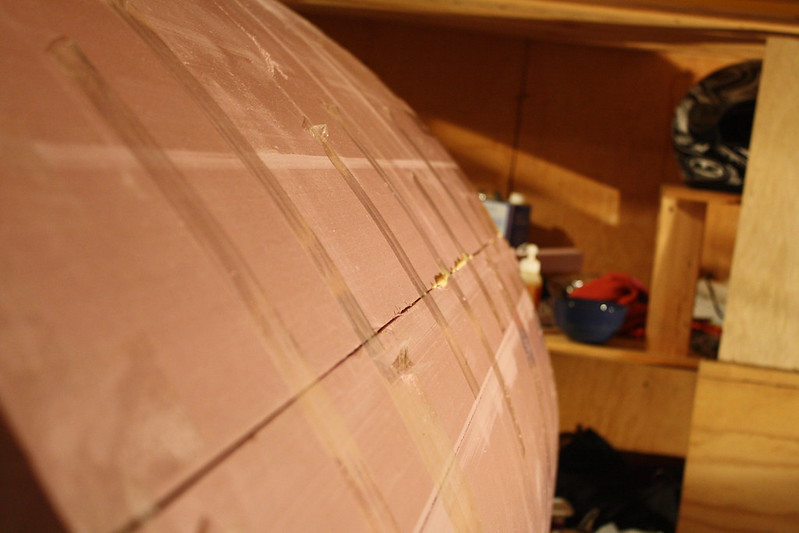
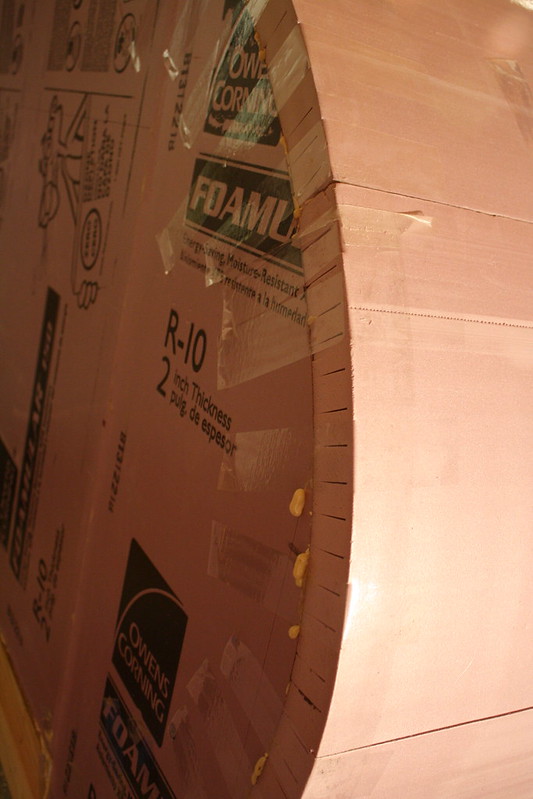
1st Build, a 5'x8' Foamie Teardrop on a 4'x8' HF Trailer
Re: 1st Build, a 5'x8' Foamie Teardrop on a 4'x8' HF Trailer
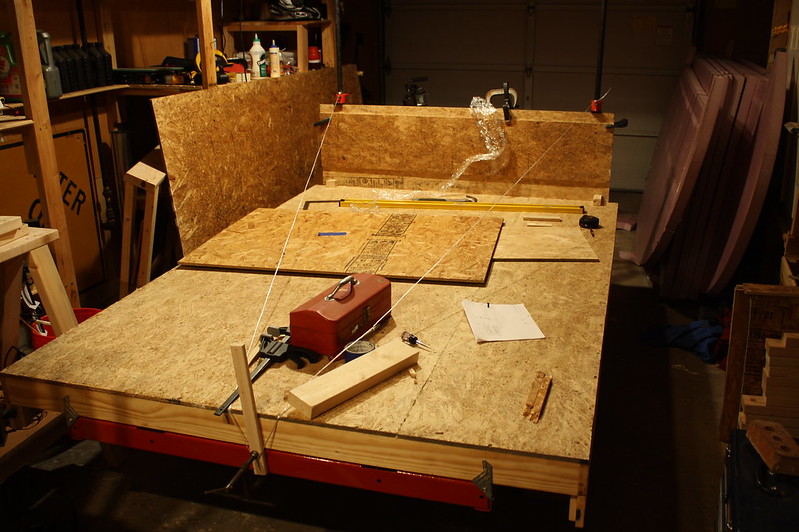
Two coats of the mix on tonight. I tried my HVLP spray gun, but I quickly decided against it cause the overspray would have coated everything in the garage by the time I was done. I brushed it on, it's the consistency of water. Really weird, I've never brushed on something that thin before.
I should be able to get two more coats on tomorrow, then I'll decide if I need to do more or do a coat with more poly mixed in, or perhaps finish with straight poly. The OSB drinks it up like crazy. By the time I get around the whole floor, the OSB where I started is completely dry.
I should be able to get two more coats on tomorrow, then I'll decide if I need to do more or do a coat with more poly mixed in, or perhaps finish with straight poly. The OSB drinks it up like crazy. By the time I get around the whole floor, the OSB where I started is completely dry.
-

jseyfert3 - Teardrop Master
- Posts: 285
- Images: 1
- Joined: Sun Jan 05, 2014 9:13 am
- Location: Peoria, IL, USA
Re: 1st Build, a 5'x8' Foamie Teardrop on a 4'x8' HF Trailer
I decided to wait a bit longer to put another coat on, to let the first two I did on the same day dry better. They are drying in a semi-heated, unventilated garage because the weather is not very warm right now. What happened to our sunny, 50 °F days we were getting? Not supposed to get above 50 °F again until next Saturday, highs mostly in the 30's this whole next week. 
My house smells like paint thinner because the weather sucks...
Anyhow, good news is now that I have the third coat on, I'm seeing improvement. With the first two coats, I'd work all the way around till I got back where I started, and by that time, the wood was bone dry except for the last couple sections I just did. With this third coat, it's not soaking in as much, there is even wet spots on the thirsty OSB that I started with by the time I got done (approx 35 minutes). This is a good sign since it shows the wood pores are getting filled.
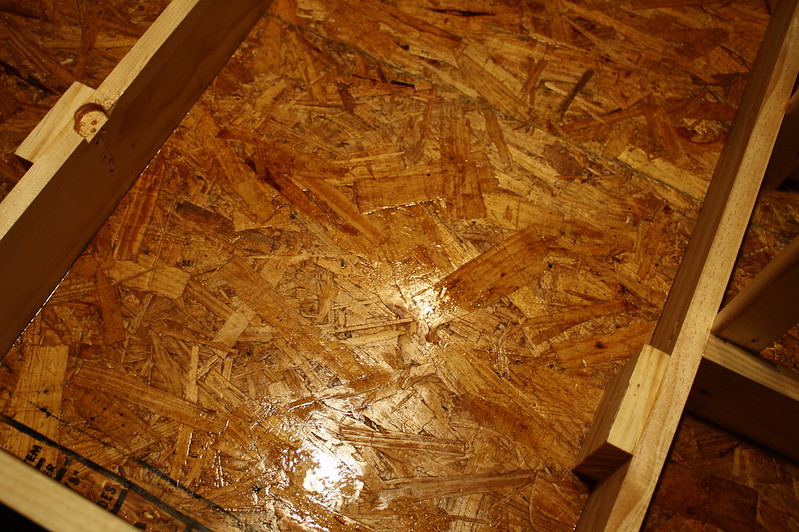
Third Coat of 75% Thinner, 25% Poly - Not Soaking in As Much by jseyfert3, on Flickr
Because of this, after I finished, I wiped off the first half, then after I let it sit for a half hour or so I'll wipe off the second half. Otherwise the stuff that doesn't soak in will turn into white spots with an excess buildup of flattener, since this is satin poly and not gloss, and it's probably pretty old cause the previous owners left it here.

My house smells like paint thinner because the weather sucks...
Anyhow, good news is now that I have the third coat on, I'm seeing improvement. With the first two coats, I'd work all the way around till I got back where I started, and by that time, the wood was bone dry except for the last couple sections I just did. With this third coat, it's not soaking in as much, there is even wet spots on the thirsty OSB that I started with by the time I got done (approx 35 minutes). This is a good sign since it shows the wood pores are getting filled.

Third Coat of 75% Thinner, 25% Poly - Not Soaking in As Much by jseyfert3, on Flickr
Because of this, after I finished, I wiped off the first half, then after I let it sit for a half hour or so I'll wipe off the second half. Otherwise the stuff that doesn't soak in will turn into white spots with an excess buildup of flattener, since this is satin poly and not gloss, and it's probably pretty old cause the previous owners left it here.
-

jseyfert3 - Teardrop Master
- Posts: 285
- Images: 1
- Joined: Sun Jan 05, 2014 9:13 am
- Location: Peoria, IL, USA
 Good job.


 I misinterpreted what you said.