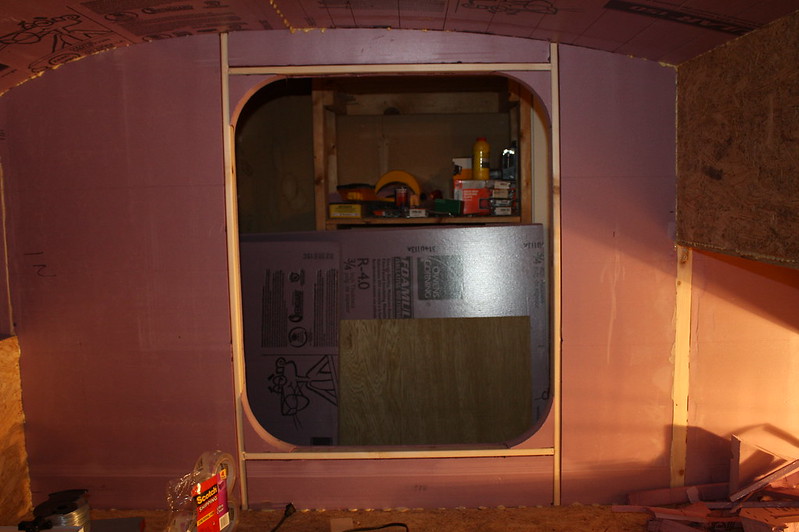
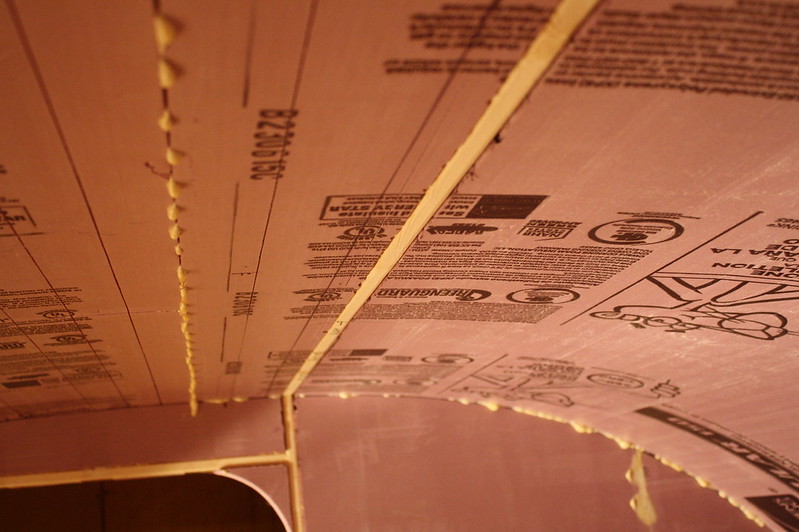
The two clearance holes in the wall for the roof vent 1x2 installs needed to be filled, so I figured I'd give Great Stuff a go, as I had an unopened can. I positioned my halogen light to shine on the wall, and filled and taped the holes. Then I moved my light and discovered both lights were too close to my foam wall...
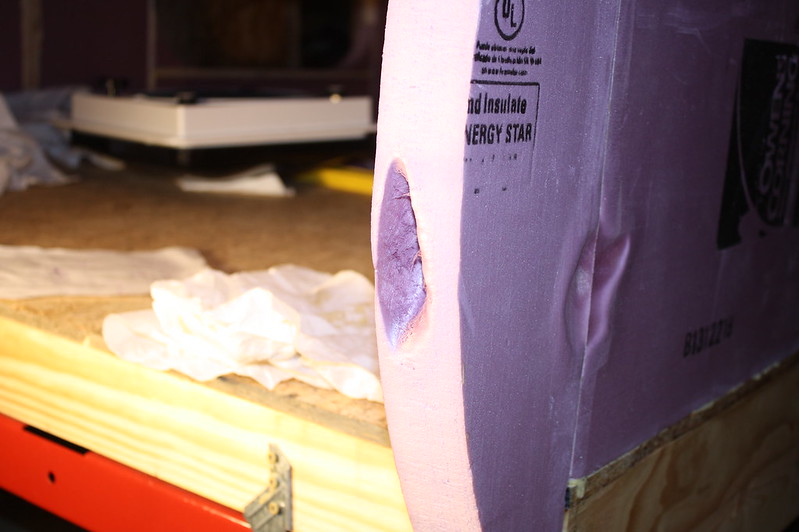 Holes From Halogen Lights
 by
jseyfert3, on Flickr
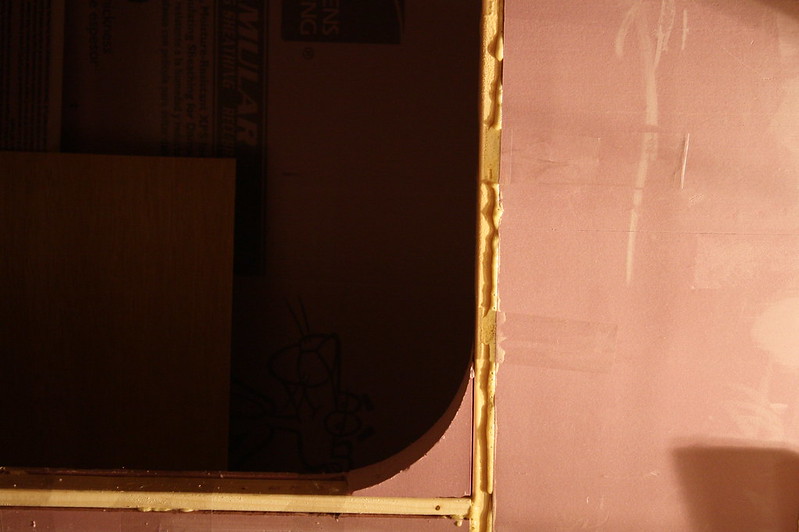
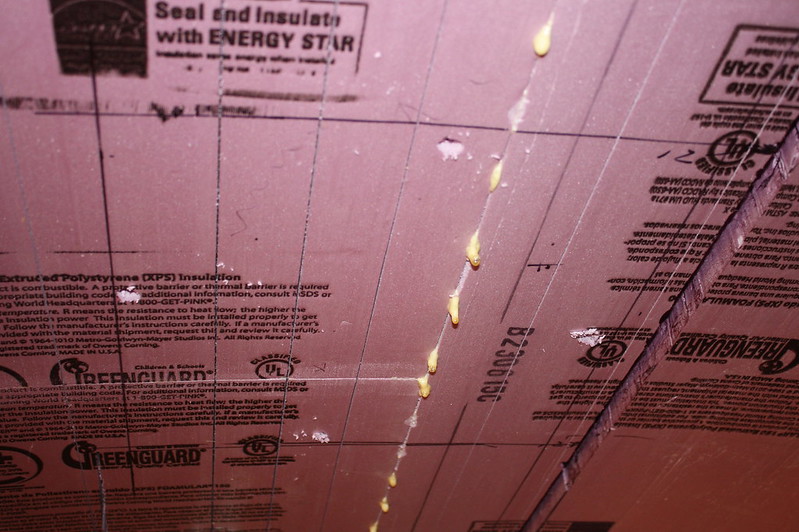
I had the Great Stuff out, so I filled the holes caused by moving the light to see filling other holes by Great Stuff...
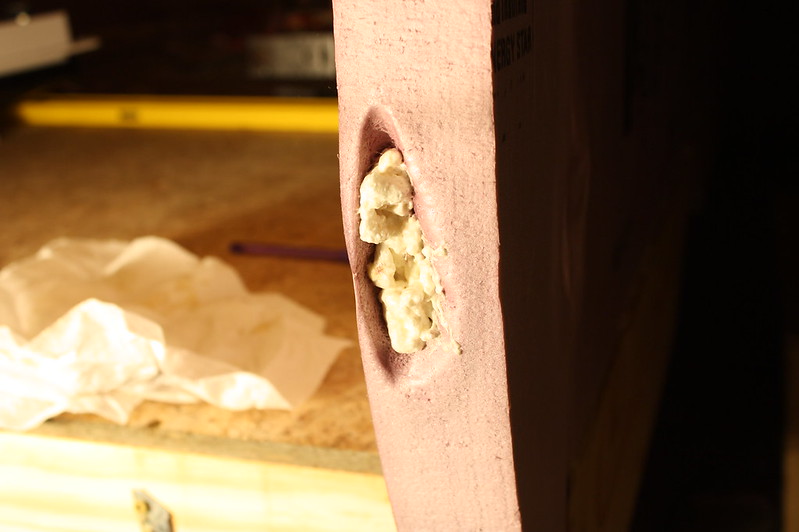 Hole From Halogen Lights After Initial Great Stuff Filling
 by
jseyfert3, on Flickr
My dad and two of my sisters came over, and we sanded all the Gorilla Glue that used out flush, routered the edges of the foam with a 1/4" roundover bit to just add a bit of curve to the edge. We ran a spiked roller over the entire outside to perforate it for better canvas adhesion. One of my sisters also cut up some wedges to use to center my fan once I'm ready to install that, to hold it in place while I screw and seal it.
As a lot of people covered in canvas by painting/gluing the foam, sticking on the foam, then painting/gluing over the canvas immediately to saturate the canvas, that is what I tried doing with the Glidden Gripper. However, when we tried a sample piece, the roller was pulling up the canvas which cause wrinkles that had to be smoothed out and would just be a mess to do on such a large surface as the teardrop. A brush did not pull up the canvas, but using a brush would take forever on such a large Teardrop. It was past 19:00 already, so ee ate, then my dad and sister left, while one stayed.
After searching TnTTT a bit more, I found that some people attached the canvas by painting, sticking on the canvas, and letting it dry before painting to saturate the canvas. I figured this would be the way to go.
My sister said she would stay and help, so we got started on the roof. We started near the hinge line and painted up to the vent fan hole. Note the perforations in the foam, those are from the spiked roller earlier.
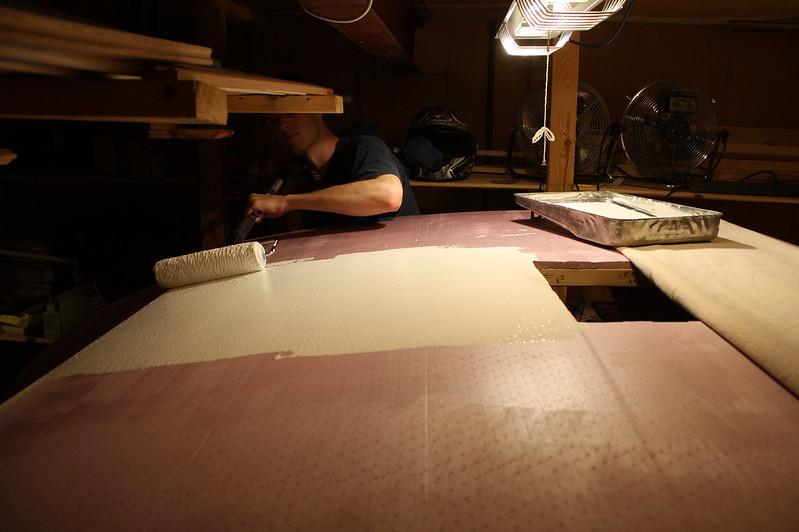 I'm Painting on Glidden Gripper
 by
jseyfert3, on Flickr
This Glidden Gripper is thick stuff, thicker then the paint/primer I used to paint one of my bedrooms a few months back. We rollered it on thick, too much if you were painting a wall, but it's not being used to paint but to attach canvas, so there needs to be enough to soak into the fibers.
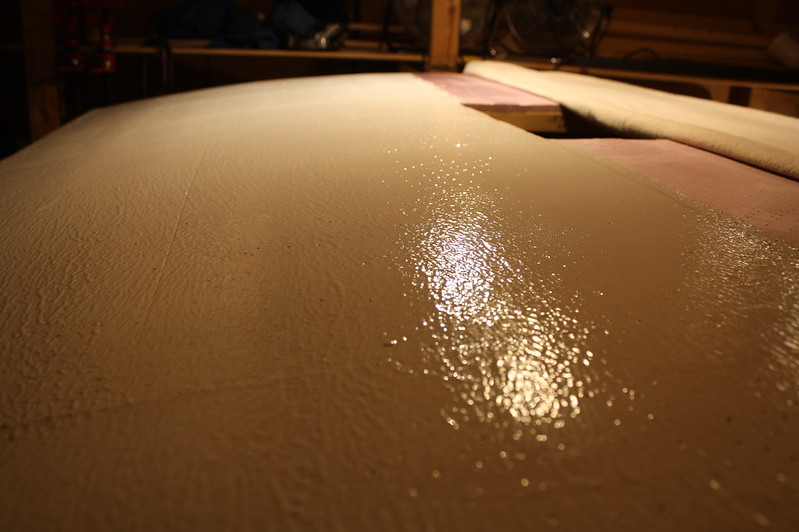 We Put It On Very Thick
 by
jseyfert3, on Flickr
After painting up to the vent hole, we stuck down the canvas and smoothed it out, then folded the rest of the canvas over onto the canvas we just stuck down and painted the next section.
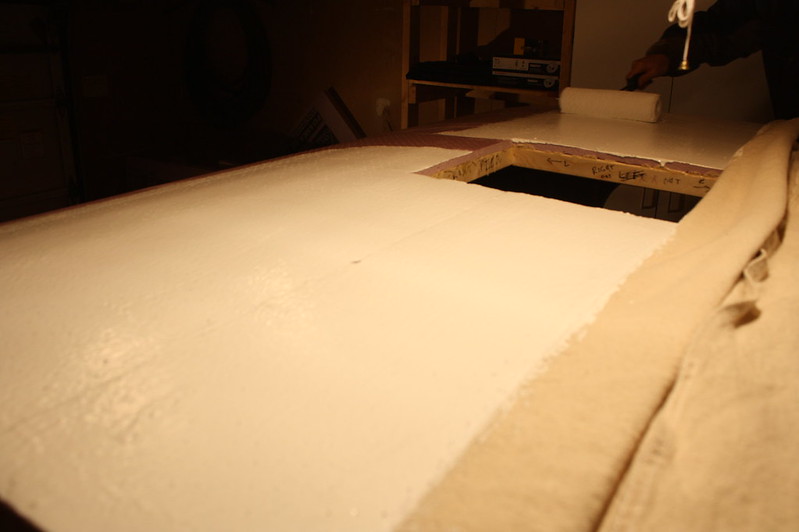 Painting Section Two
 by
jseyfert3, on Flickr
After sticking down the canvas on this section, it was starting to look good. Note the indent where the fan hole is.
 First Two Sections Finished
 by
jseyfert3, on Flickr
Here's a close-up picture of the canvas after sticking down and smoothing out. The primer does not soak through the canvas to the top. After it dries, I'll primer the outside of the canvas, working it in good to try to get it to soak down as much as possible.
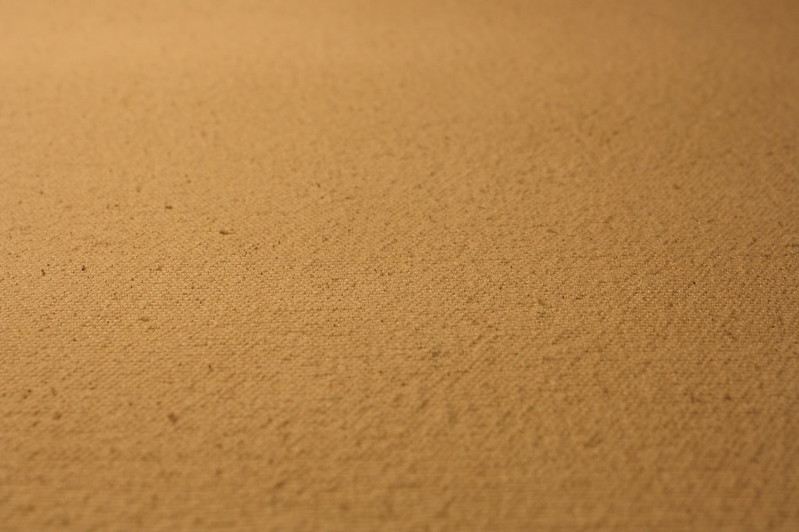 Sample of Canvas After Sticking Down
 by
jseyfert3, on Flickr
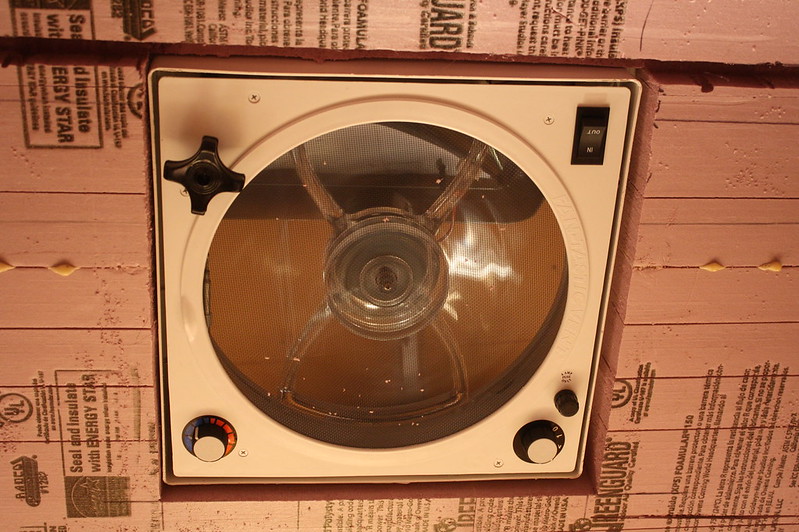
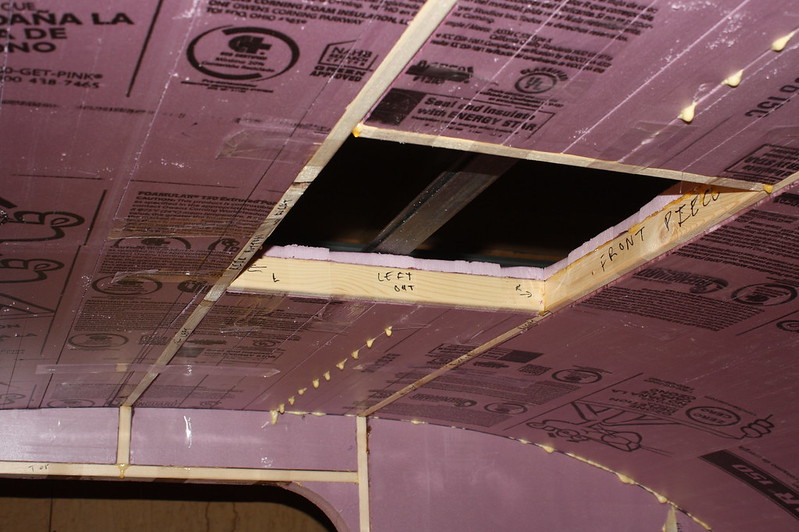
At this point we paused and finished the roof vent hole. I cut it in an X from corner to corner then we wrapped it in and stuck it down after trimming some of it off. Thinking back, I probably should have just barely wrapped it onto the ceiling so it would be covered by the vent fan surround, but meh. It'll work. I'll hide it while I'm filling the kerfs in the ceiling before canvasing the inside.
 Inside Vent Hole After Canvasing Roof
 by
jseyfert3, on Flickr
We continued down the curve, working in sections as before.
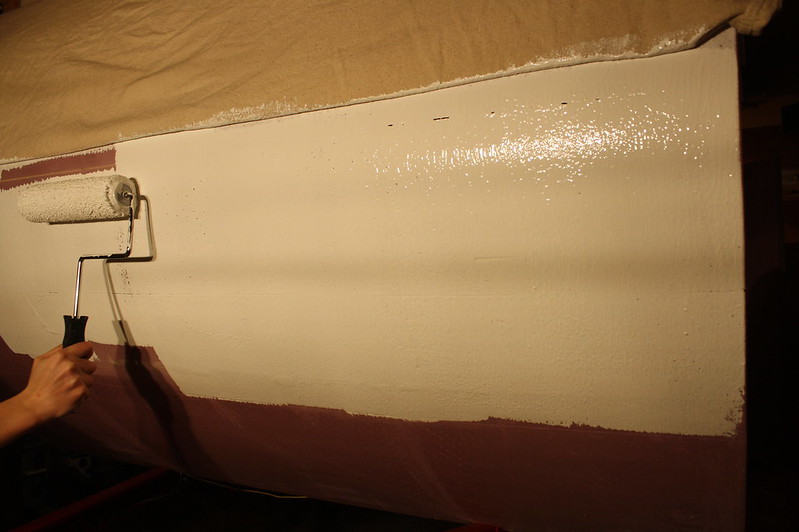 Painting Front Curve
 by
jseyfert3, on Flickr
Before much longer, we were done with the roof section!
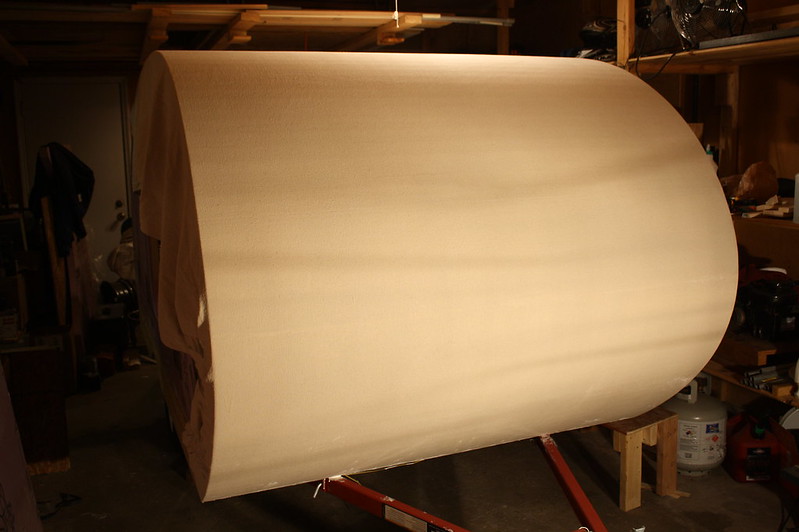 Roof Done! (1)
 by
jseyfert3, on Flickr
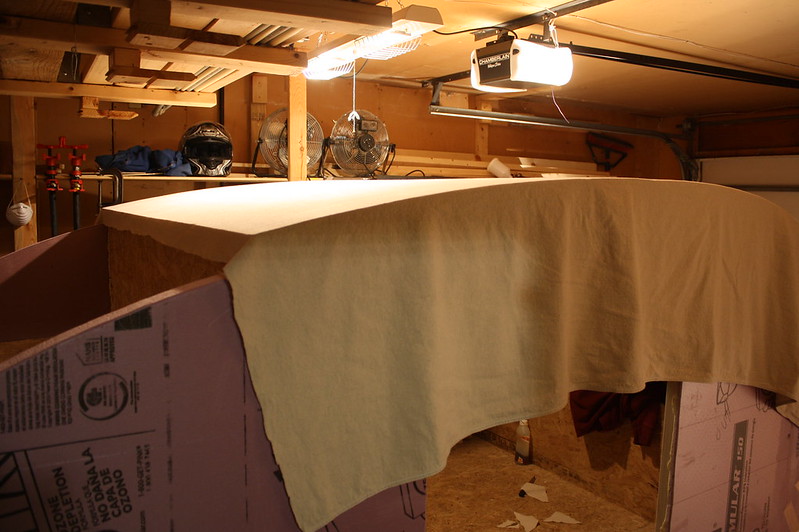 Roof Done! (2)
 by
jseyfert3, on Flickr
I plan to have the canvas overlap onto the walls about 2", the rest will be cut off. I did not stick down the edges because I thought it would be easier to do once the roof primer was dried (or at least drier) and would not pull up easily. I also didn't want to pull up the edges to primer under them and mess up the smooth roof. I'm going to leave my garage halogen lights on over night and keep the door to the house open to keep the temp up to get the primer to dry (it's below 40 °F outside right now).
Tomorrow my sister is coming over in the morning again, and hopefully we can get both walls done on the outside. If so, I'll be able to prime the entire outside of the camper tomorrow night after work, and paint it Thursday or Friday depending on how long I decide to let the primer dry for. Still hoping to tow this up Saturday, but I can push to Sunday or (hopefully not) the following weekend if I must to let the paint cure long enough. I wouldn't want to tow with paint that hasn't cured enough and have the canvas work away from the foam.
People that have done this before, thoughts? If I can primer the outside of the canvas tomorrow night, how long do I want to let it dry before painting, and how long do I want the paint to dry before towing?


 (need a smilie shooting his head) I couldn't park my tear under anything except a cheapo picnic awning or a tarp, thanks to the finish just being paint I was able to paint over the grooves and they don't show now.




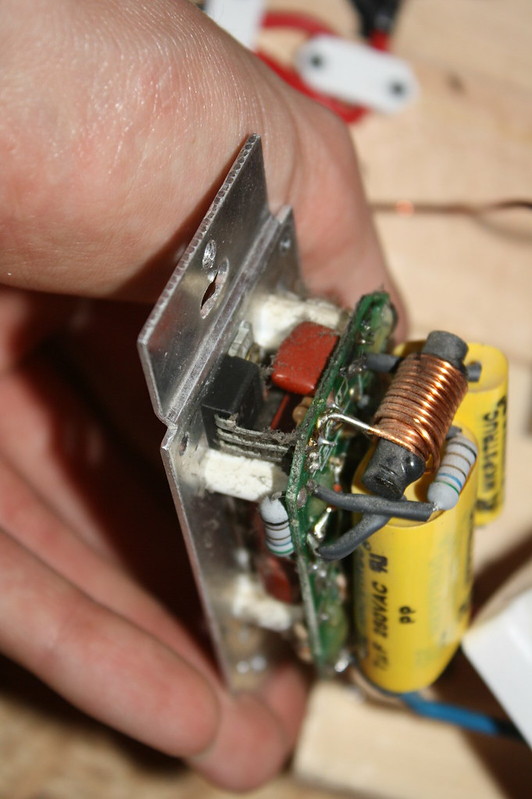
 (Identical dimmer to the one I already blew)



 I am intrigued with the whole foamie concept, and have been since we started out build. I think that you are doing an outstanding job, and great work on documenting it!